The first time you see a wood spirit carving, it is hard not to feel a sense of wonder. These expressive, often wise-looking faces carved into pieces of wood seem to hold ancient secrets and stories. The weathered features, deep-set eyes, and flowing beards create a connection between the wood and the human spirit that is both profound and beautiful. Watching a piece of wood transform into a face with recognizable emotions is one of the most rewarding experiences a carver can have.
Wood spirit carving for beginners has become increasingly popular as more people discover the accessibility and satisfaction of this art form. Unlike some other types of carving that require extensive tool collections and years of training, wood spirit faces can be created with a minimal set of tools. The organic, asymmetrical nature of these carvings is forgiving, making them the perfect starting point for anyone who wants to carve expressive faces in wood.
This guide presents eleven wood spirit carving ideas specifically designed for beginners. We will cover different styles, expressions, and techniques that will help you develop your skills and find your own carving style. From simple, minimalist faces to more detailed carvings with flowing beards and intricate hair, these ideas will inspire you to pick up your tools and start your wood spirit carving journey.
1. Simple Face on a Branch
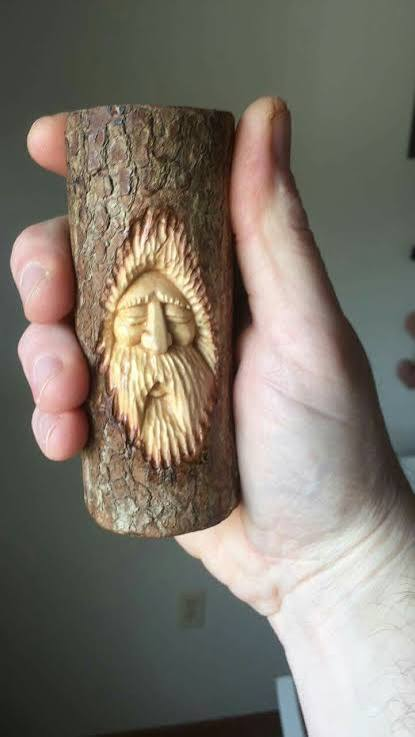
The simplest wood spirit carving for beginners begins with a branch or a piece of found wood. The natural shape of the branch provides the basic structure for the face, with the bark acting as the framing elements. Simply carve a face into the side of the branch, using the existing shape as your guide. This approach is forgiving because the wood's irregularities become part of the character. A face on a branch can be completed in a single session, making it a satisfying first project for aspiring wood spirit carvers.
2. Face on a Walking Stick
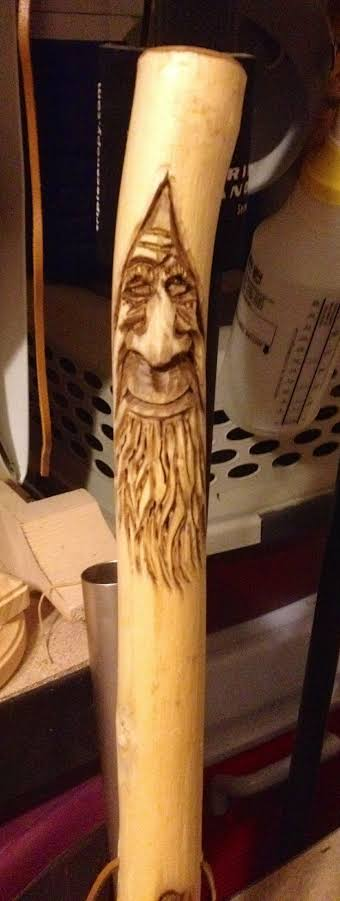
Carving a wood spirit face onto a walking stick combines function with artistic expression. The top of the walking stick provides the perfect location for a face, which can serve as a handle. The face should be carved to look comfortable to hold, with the features arranged to fit naturally in the hand. This project allows you to create a personalized tool that you can enjoy for years. The practical aspect of a walking stick also makes it a thoughtful gift.
3. Minimalist Face Carving
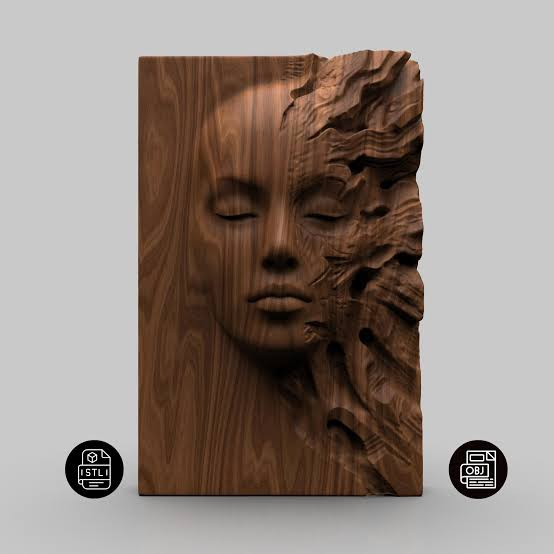
Minimalist wood spirit carvings focus on a few key features, keeping the overall design simple and clean. A minimalist face might only include eyes and a nose, with the suggestion of a mouth rather than detailed lips. This approach is ideal for beginners because it requires fewer cuts and less detailed work. The minimalist style also has a modern aesthetic that works well in various decorative settings. As you become more confident, you can add more details to your minimalist carvings.
4. Face with Deep-set Eyes
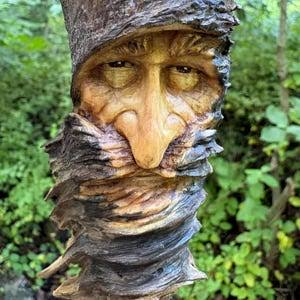
Deep-set eyes are one of the most expressive features of wood spirit carvings. Creating the illusion of deep, knowing eyes requires carving a concave area around the eye shapes, which gives the face a more dramatic and wise appearance. This technique adds depth to the face and creates interesting shadows that change as the viewing angle changes. The deeper the eye sockets, the more dramatic the effect, so do not be afraid to remove enough wood to create significant depth.
5. Face with Long Beard
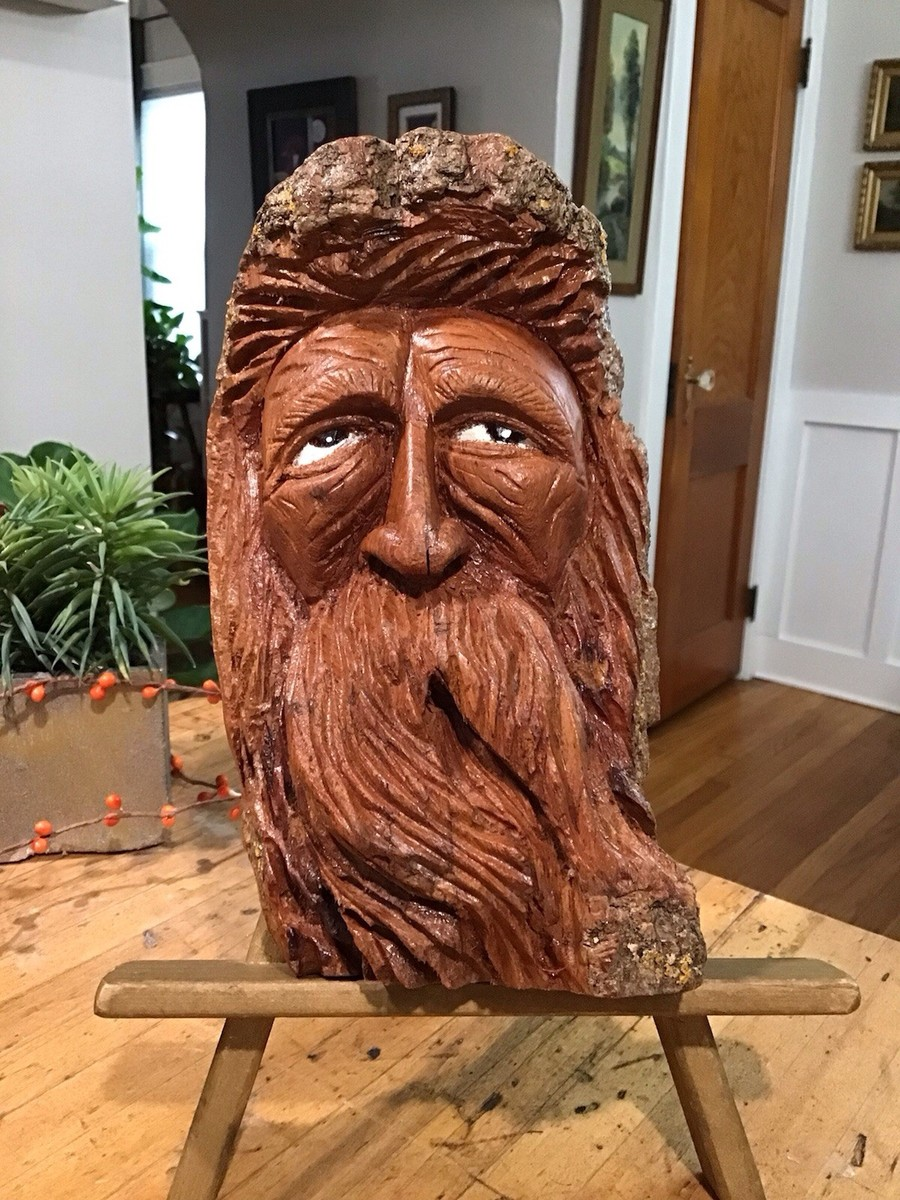
The long, flowing beard is perhaps the most iconic feature of wood spirit carvings. Carving a convincing beard requires using sweeping, flowing cuts that follow the natural direction of the wood grain. The beard can be carved as a series of overlapping shapes, with the deepest cuts creating the shadow areas at the bottom. A bearded wood spirit has a distinguished, wise appearance that looks impressive while allowing plenty of space for beginner-friendly carving.
6. Face on a Flat Board
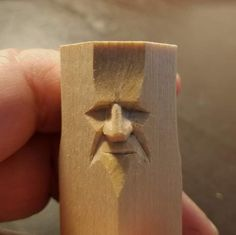
Carving a wood spirit face on a flat board is an excellent project for practicing face proportions and features. The flat surface provides a consistent carving plane, making it easier to focus on the details of the face. The board can be finished as a wall hanging or a decorative plaque. This style of carving is often called relief carving, as the face is raised above the background of the board. The board provides a clear frame for your carving, giving it a finished appearance.
7. Face with Ornamental Hair
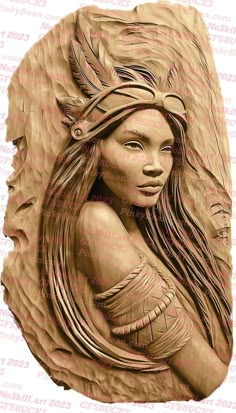
Adding ornamental hair to your wood spirit carving allows you to practice decorative carving techniques. The hair can be carved in flowing curls, simple lines, or patterns that flow from the top of the head. The ornamental hair frames the face and adds visual interest to the carving. Beginners can start with simple hair patterns and gradually increase the complexity as they gain confidence.
8. Face with Crown
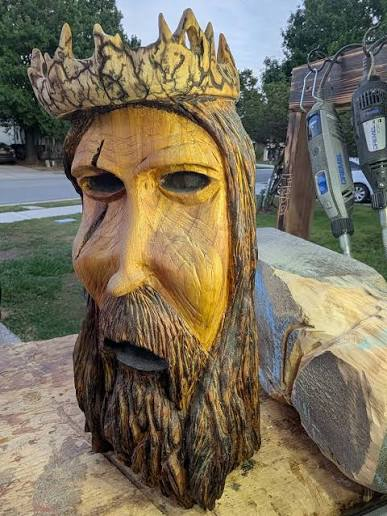
A wood spirit with a crown has a regal, dignified appearance that sets it apart from other carvings. The crown can be carved as a separate element or integrated into the wood above the head. This idea works particularly well on branches, where the crown can represent the continuation of the wood's natural form. The crown adds a distinctive element to your carving and allows you to incorporate decorative patterns.
9. Face with Closed Eyes
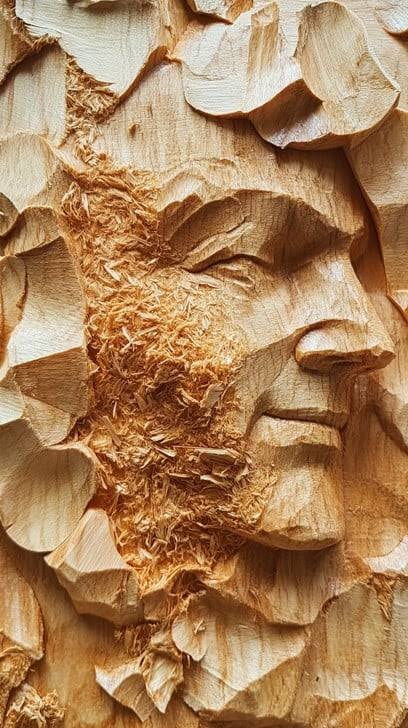
A wood spirit with closed eyes expresses calmness, meditation, or deep wisdom. This design is particularly useful for beginners because you do not need to carve detailed eye shapes. Instead, the closed eyes are carved as smooth, curved lines that suggest the eyelids. The closed eyes convey a sense of peace and tranquility, giving your wood spirit a serene expression. This is a wonderful option for a gift for someone who values quiet contemplation.
10. Face with Slight Smile
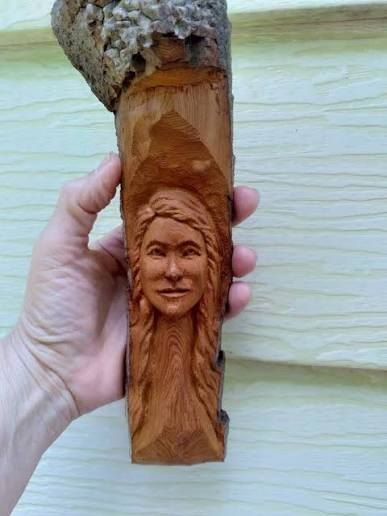
A subtle, slight smile on your wood spirit changes the entire character of the carving. The slight smile is achieved by curving the mouth carving upward very gently at the ends. This expression suggests happiness and kindness, making the wood spirit more approachable. Carving a convincing smile takes practice, as even slight changes to the mouth shape can dramatically affect the expression. A wood spirit with a slight smile is a wonderful project that will bring joy to whoever sees it.
11. Face with Wild Hair
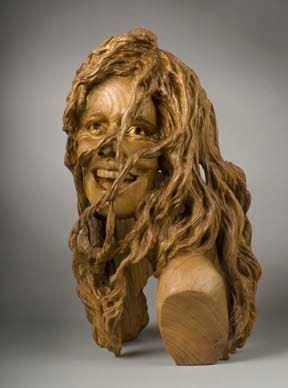
A wood spirit with wild, untamed hair has a dramatic, almost mythical appearance. The hair is carved in flowing, dynamic shapes that seem to move independently of the face. This style allows for creative expression and is forgiving because the hair does not need to be symmetrical. Wild hair carvings look impressive and can be carved using basic cuts that create a sense of texture and movement. The wild hair option is perfect for carvers who want to try a more dramatic and expressive style.
Helpful Tips for Wood Spirit Carving
Understanding basic face proportions is essential for successful wood spirit carving. The eyes are typically located halfway between the top of the head and the chin. The bottom of the nose is halfway between the eyes and the chin, and the mouth is halfway between the nose and the chin. These proportions are not strict rules but serve as helpful guidelines when you are learning. The asymmetrical nature of wood spirits means you have some flexibility with these proportions.
The tools you use for wood spirit carving should include a quality carving knife with a comfortable handle. A detail knife is also useful for fine work around the eyes and mouth. Small gouges in various sizes help create the sweeping curves found in beards and hair. Many carvers also use V-tools for defining eyebrow shapes and other sharp lines. Strop your knives regularly to maintain a sharp edge that makes carving easier and safer.
Take advantage of the wood grain in your carvings by letting it influence the direction of your cuts. Carving with the grain rather than against it produces smoother cuts and reduces the likelihood of splintering. The natural grain patterns of the wood can also add character to your carving, enhancing the organic appearance of the face.
Frequently Asked Questions
What tools do I need for wood spirit carving?
A carving knife, a detail knife, and a few small gouges are the basic tools for wood spirit carving. A V-tool for defining shapes and a strop for sharpening are also recommended for beginners.
What wood is best for wood spirit carving?
Basswood is the best choice for beginners due to its soft, consistent grain and ease of carving. Butternut and white pine are also good options. Avoid woods with complex grain patterns that can be difficult for beginners.
How long does a wood spirit carving take?
A simple wood spirit carving can be completed in two to four hours, while more detailed carvings may take several days. The time depends on the complexity of the design and your skill level.
Can I carve a wood spirit from a branch?
Yes, branches are excellent for wood spirit carving. The natural shape of the branch adds character and provides an interesting base for your carving.
How do I finish a wood spirit carving?
You can finish a wood spirit carving with mineral oil, butcher block oil, or a specialized wood finish. Apply the finish with a soft cloth and allow it to dry before displaying your carving.
Conclusion
Wood spirit carving for beginners offers a wonderful entry into the world of expressive wood carving. The eleven ideas presented here provide a variety of approaches to creating faces that capture the imagination and connect with the natural world. Starting with a simple branch or flat board, you can create a wood spirit that has its own unique character and story. As you complete more carvings, you will develop your style and confidence, eventually creating wood spirits that express your artistic vision. Your first wood spirit carving marks the beginning of a journey that will be rewarding and creatively fulfilling for years to come.