
There is a particular kind of magic in chip carving that draws woodworkers to this ancient craft. Unlike other forms of carving that remove large amounts of wood to create three-dimensional forms, chip carving is the art of removing small, triangular chips from a flat surface to create intricate geometric patterns and designs. The result is a piece that looks incredibly complex and detailed, yet the technique itself is remarkably accessible to beginners. The precision and repetition of chip carving create a meditative rhythm that many find deeply satisfying.
The beauty of chip carving patterns for beginners is that they are built on a few simple cuts that, when combined, create stunning geometric designs. The primary cut is the three-cornered chip, formed by three intersecting cuts that meet at a single point. By arranging these chips in different patterns, you can create everything from simple borders to complex mandalas and intricate Celtic knotwork. The craft requires minimal tools and materials, just a specialized carving knife and a piece of flat wood. The learning curve is gentle, and even your first projects can produce beautiful results.
In this guide, we will explore a variety of chip carving patterns that are perfect for beginners. We will cover the fundamental techniques, discuss the tools you need, and provide step-by-step guidance on how to approach your first projects. From simple border patterns to geometric designs and stylized flowers, these patterns will build your skills and confidence. Whether you want to decorate boxes, frames, or furniture, chip carving offers a world of creative possibilities.
14 Chip Carving Patterns for Beginners
Here are fourteen chip carving patterns that are simple, stunning, and perfect for beginners.
1. Basic Three-Cornered Chip
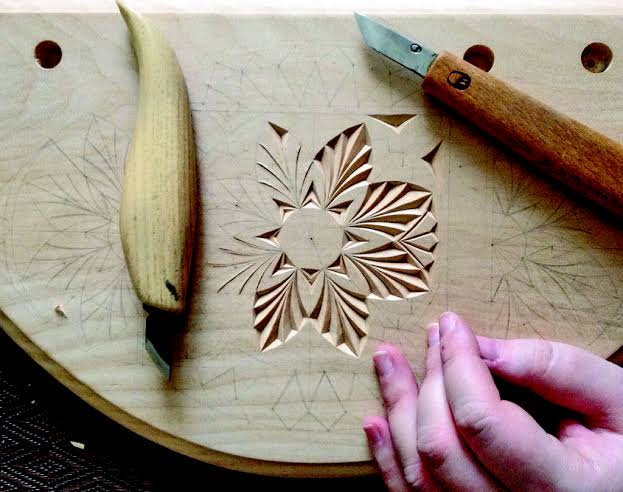
The three-cornered chip is the foundation of chip carving. It is formed by three intersecting cuts that meet at a single point, creating a triangular depression. Practice making this chip in different sizes and orientations. Mastering this basic chip is the key to all other chip carving patterns.
2. Simple Border Pattern
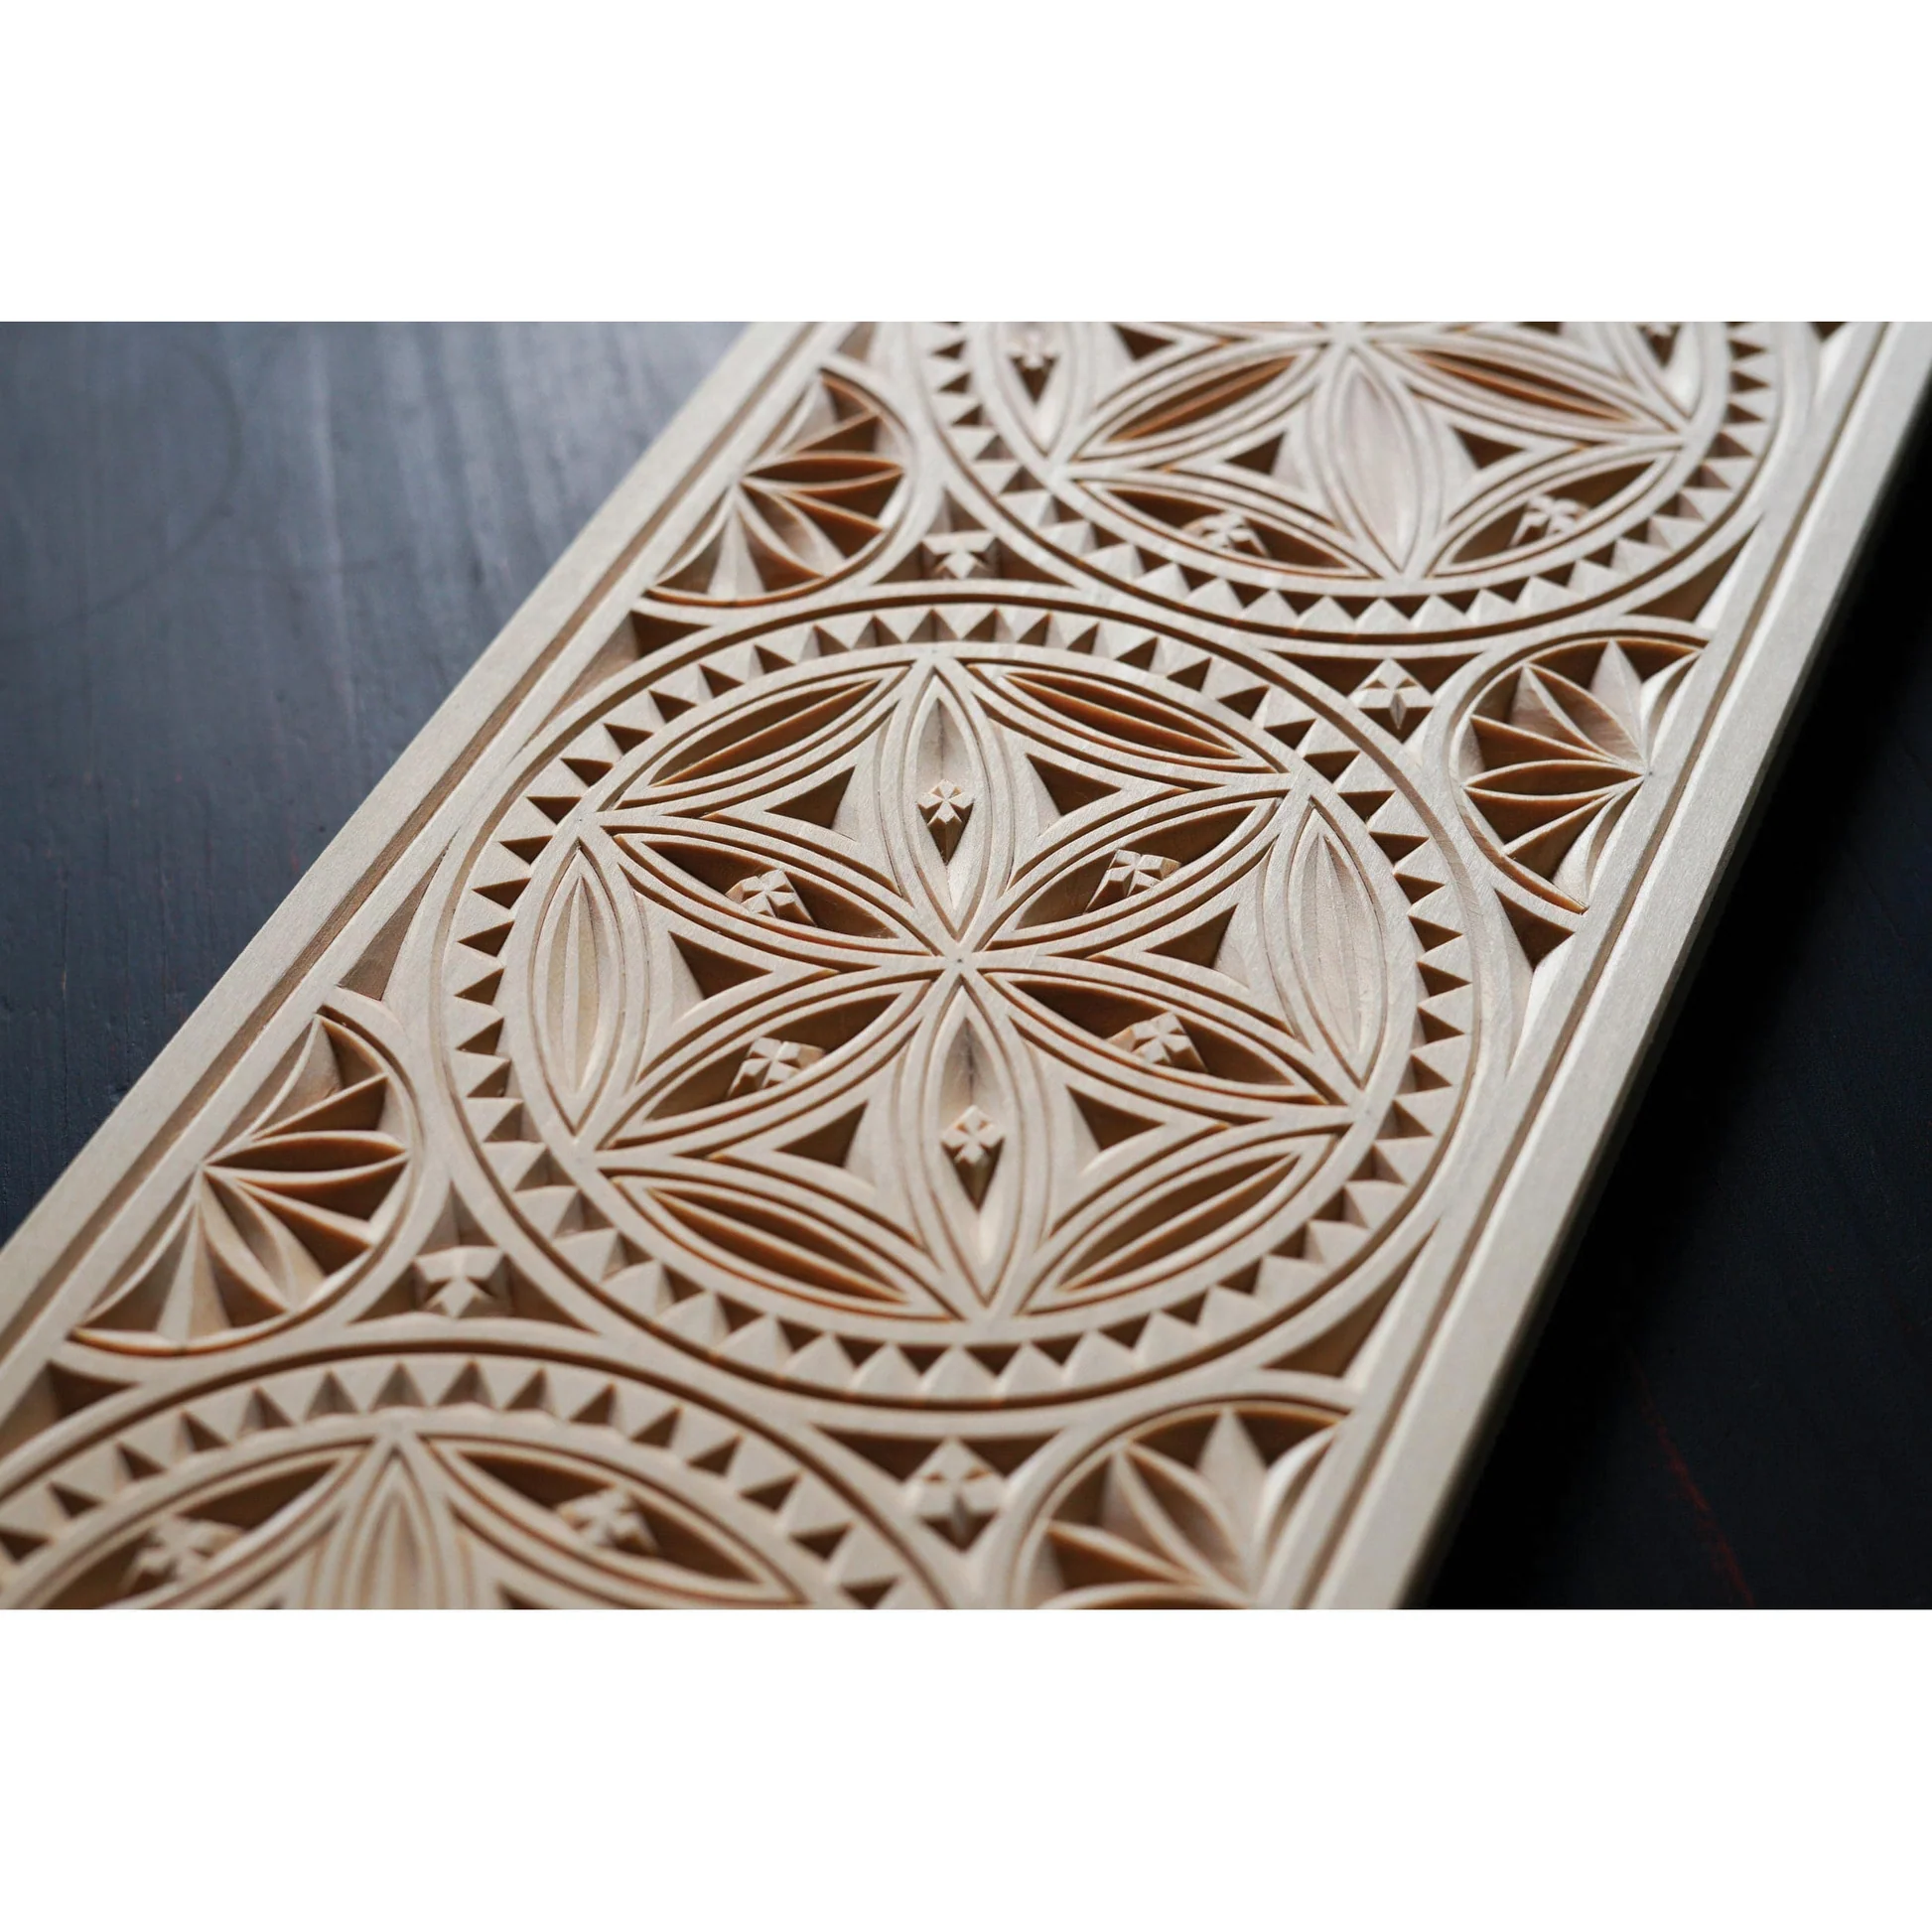
A border pattern is an excellent first project. Create a line of evenly spaced three-cornered chips along the edge of a piece of wood. The repetition teaches you consistency and control. You can also create a double border for a more complex look.
3. Diamond Pattern
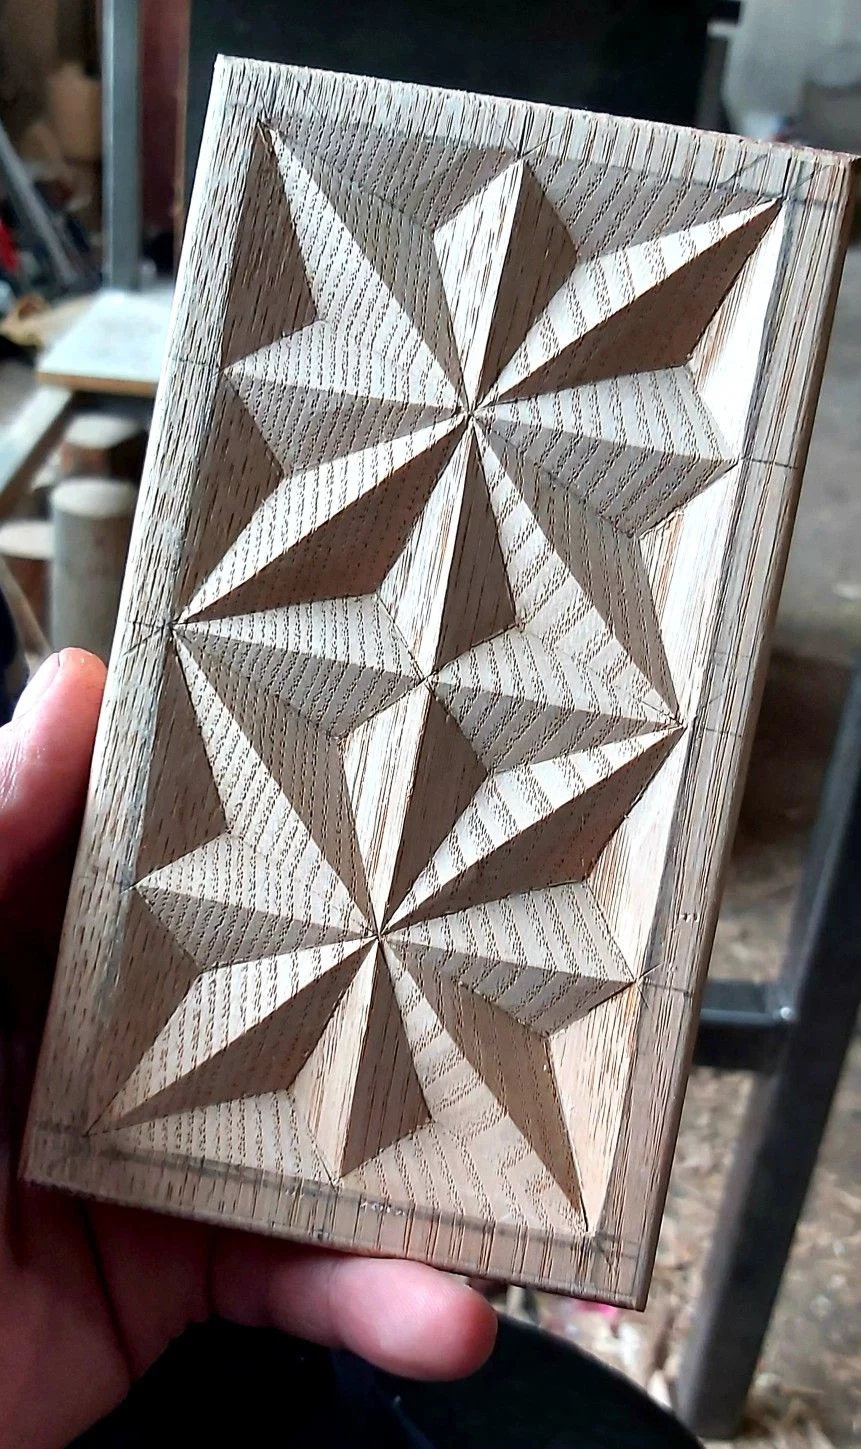
The diamond pattern is formed by arranging chips to create diamond shapes. This pattern teaches you to work with angles and symmetry. Start with a single row of diamonds and expand as you gain confidence.
4. Chevron Pattern
The chevron pattern consists of V-shaped chips arranged in rows. This pattern is great for practicing angled cuts and creating a dynamic, flowing design. The repeating V-shapes create a sense of movement and rhythm.
5. Square Pattern
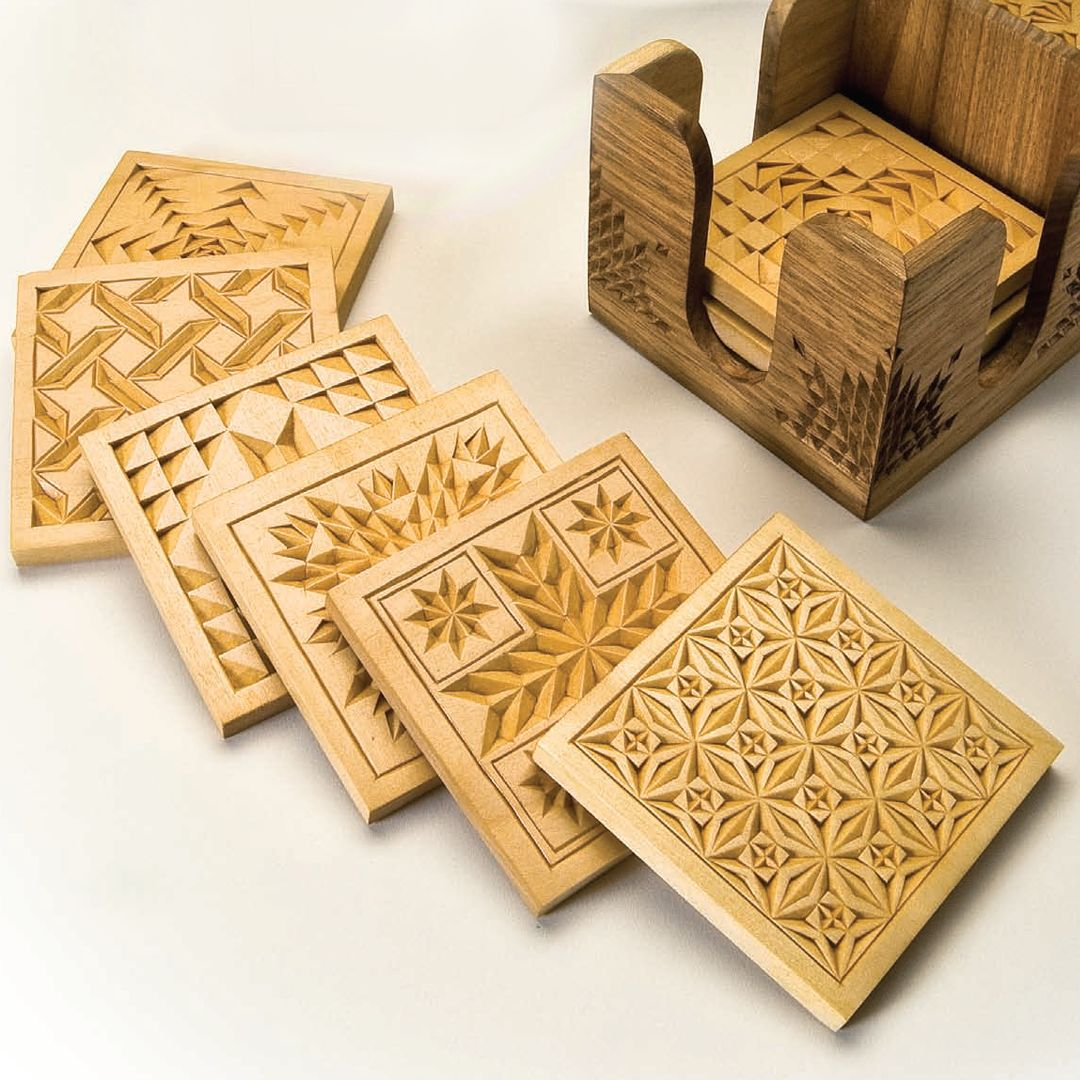
A square pattern involves arranging chips to form square shapes. This pattern teaches you to create clean, straight lines and precise corners. It is a great way to practice your knife control and create a structured design.
6. Starburst Pattern
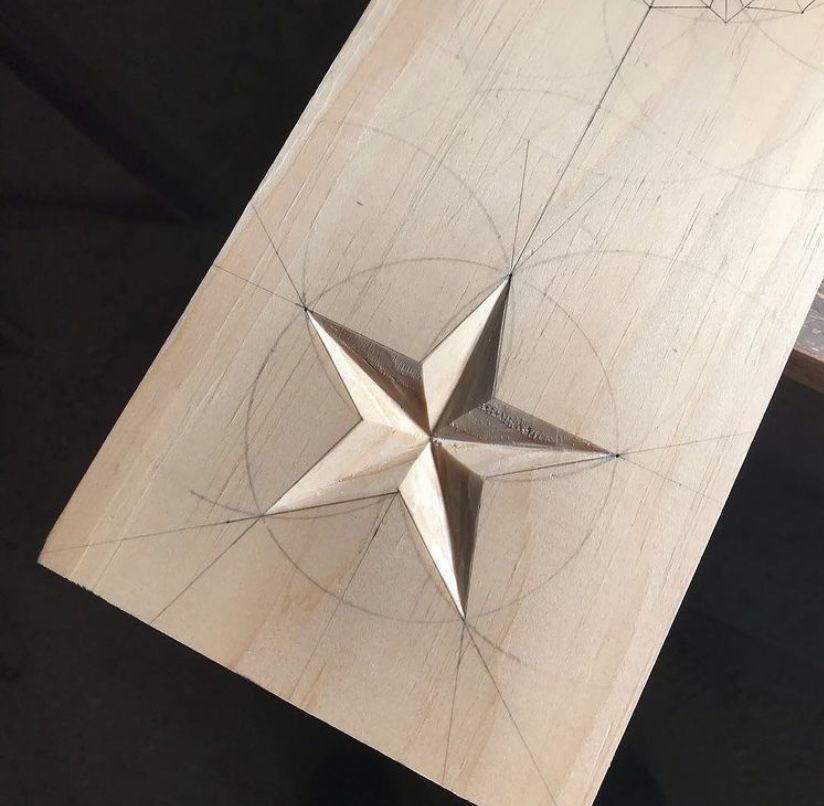
The starburst pattern features radiating lines of chips from a central point. This pattern teaches you to work with symmetry and to create a design that draws the eye inward. It is a beautiful and impressive pattern for beginners.
7. Spiral Pattern
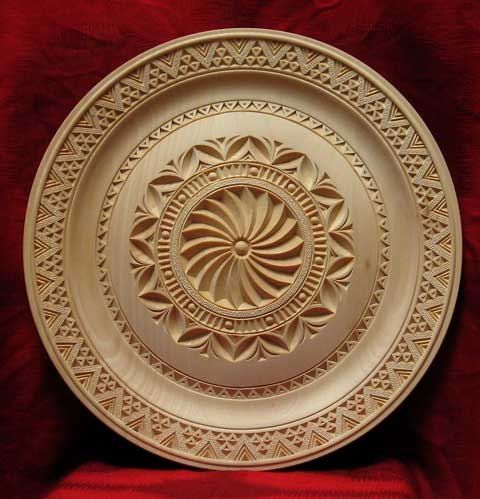
A spiral pattern creates a sense of motion and flow. The chips are arranged in a spiral pattern, with each chip following the curve of the spiral. This pattern teaches you to carve curved lines and create a flowing design.
8. Floral Rosette Pattern
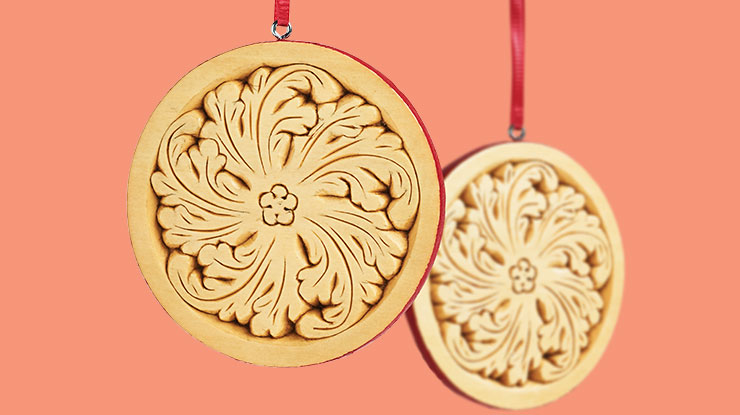
A floral rosette is a beautiful pattern made by arranging chips in a circular flower-like design. The petals are formed by chips that radiate from a central point. This pattern teaches you to create a symmetrical, decorative design.
9. Interlocking Circle Pattern
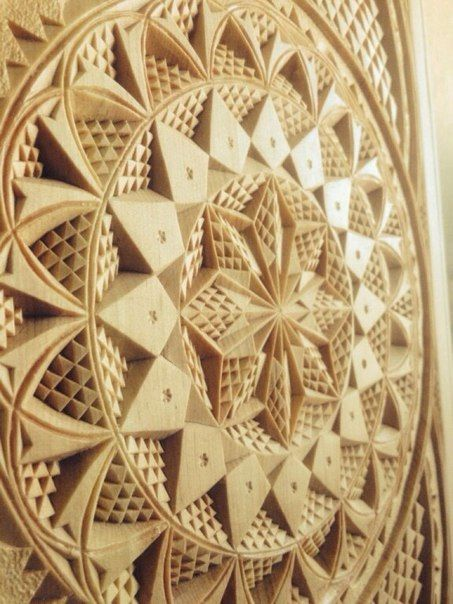
Interlocking circles create a complex, Celtic-inspired design. The chips are arranged to form overlapping circles. This pattern teaches you to plan your cuts carefully and create a design with depth and visual interest.
10. Simple Leaf Pattern
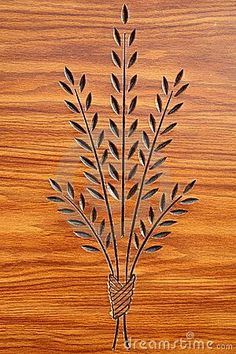
A leaf pattern is a great way to incorporate organic shapes into chip carving. The chips are arranged to form the shape of a leaf, with the center vein created by a line of chips. This pattern teaches you to carve curved lines and create natural shapes.
11. Geometric Wave Pattern
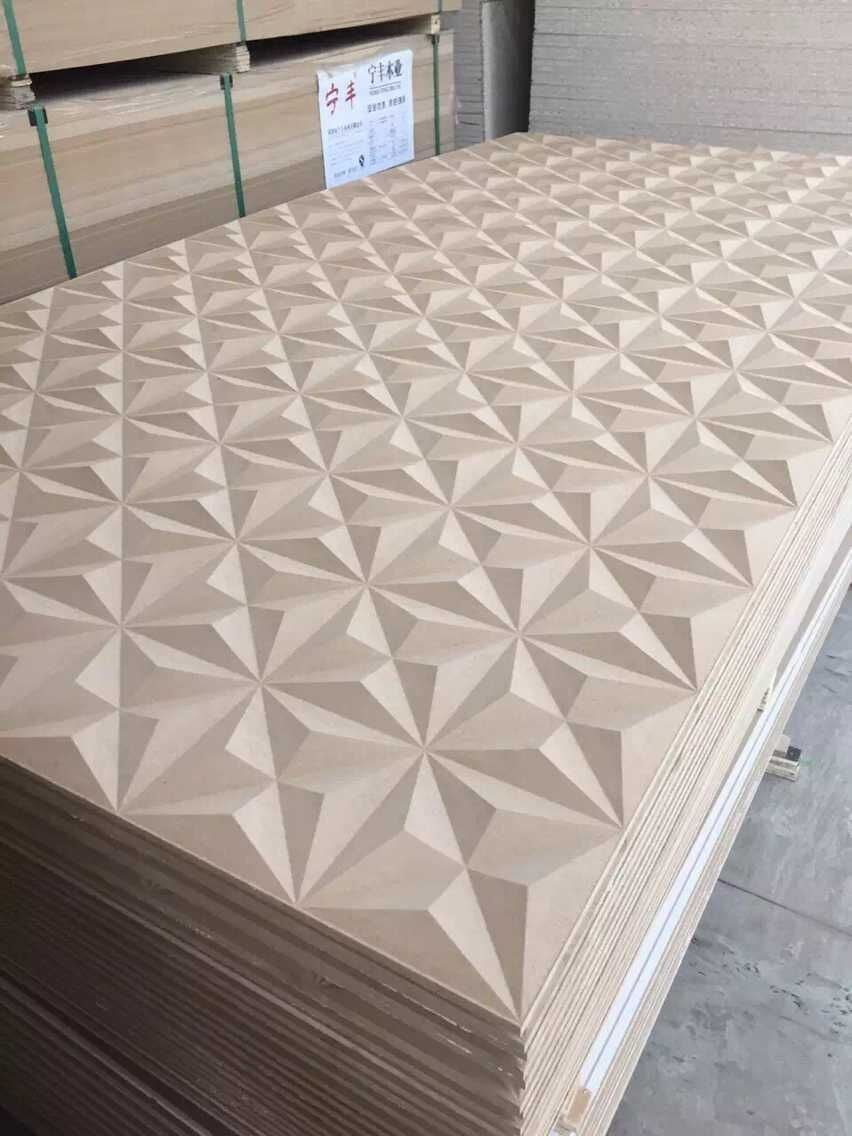
A geometric wave pattern creates a sense of movement and rhythm. The chips are arranged in a wavy line, with each chip following the curve of the wave. This pattern is great for practicing curved cuts and creating a flowing design.
12. Checkerboard Pattern
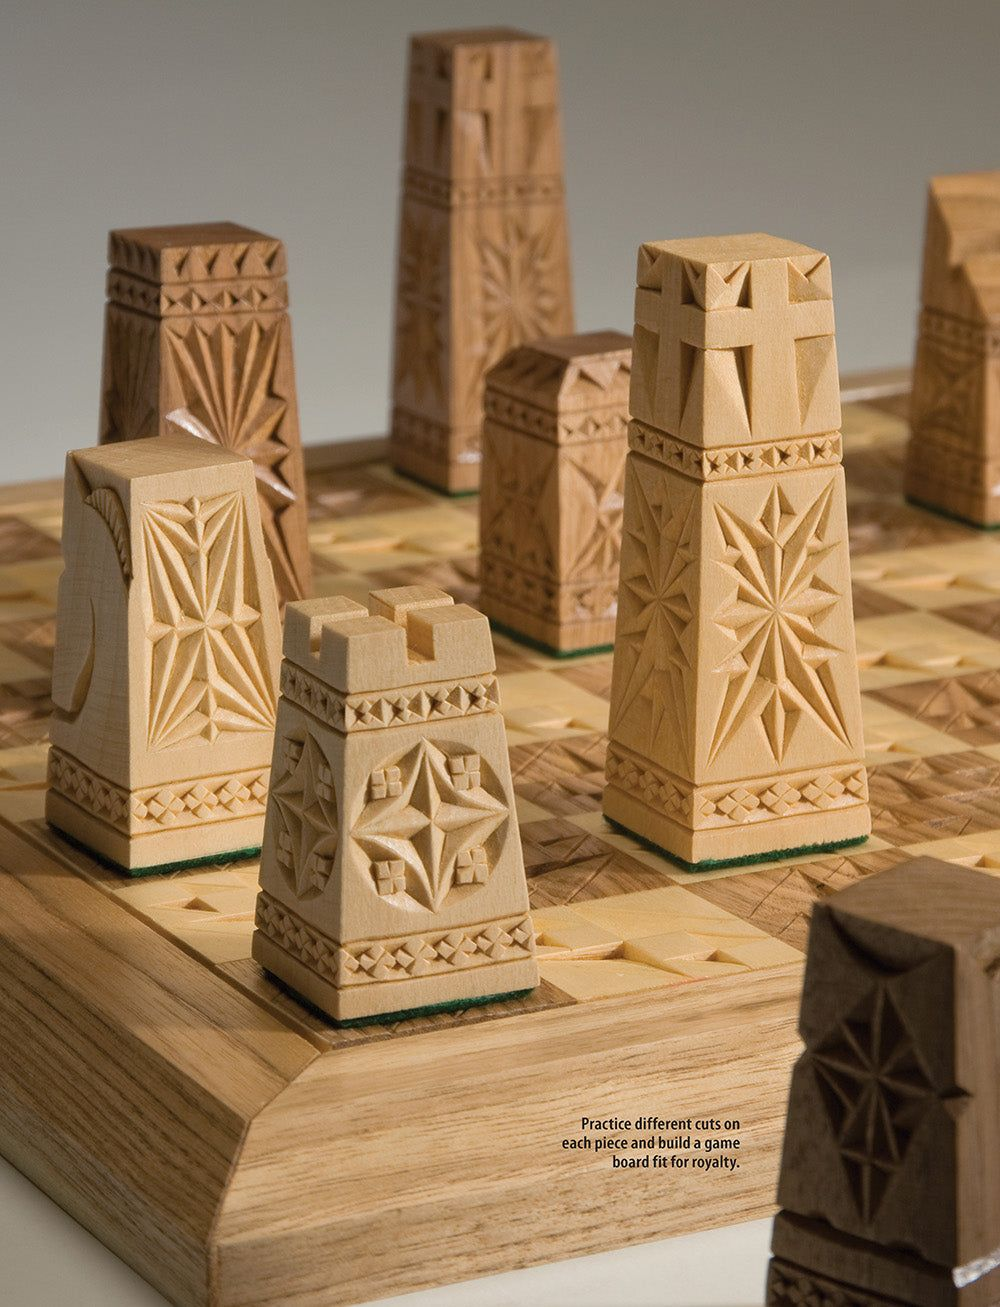
A checkerboard pattern is formed by alternating directions of chips in a grid. This pattern teaches you to work with precision and create a balanced, structured design. The repetition builds consistency and control.
13. Sunburst Pattern
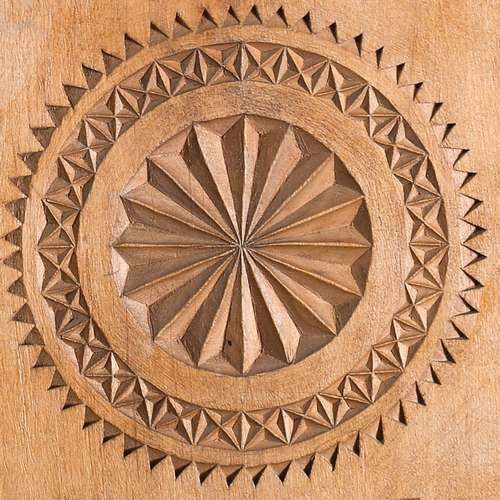
A sunburst pattern features radiating lines of chips from a central point, similar to a starburst but with a more organic feel. This pattern teaches you to create a design that feels expansive and radiant.
14. Petal Pattern
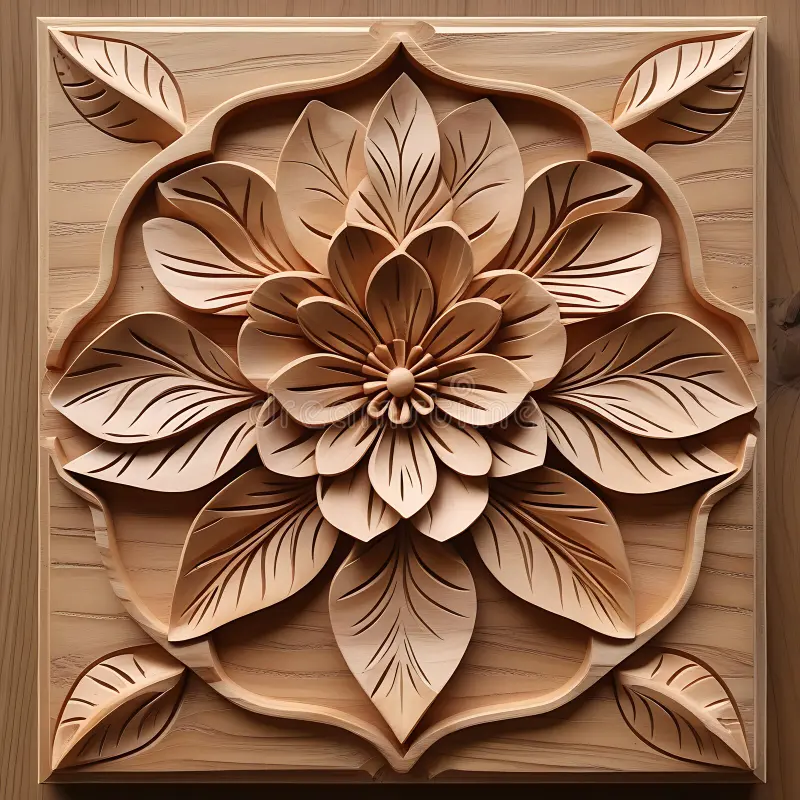
A petal pattern is formed by arranging chips to create a flower petal shape. This pattern teaches you to carve curved lines and create a soft, organic design. It is a great introduction to floral chip carving.
Section: Essential Tools and Techniques for Chip Carving
Chip carving requires only a few specialized tools. The most important is a chip carving knife, which has a short, sharp blade that is angled to allow for precise cuts. You will also need a sharpening stone and a strop to keep your knife razor-sharp. A piece of flat wood, preferably basswood, is your canvas. A pencil and ruler are helpful for marking your patterns.
The basic technique of chip carving involves three main cuts: the push cut, the pull cut, and the stab cut. The push cut is made by pushing the knife away from you. The pull cut is made by pulling the knife toward you. The stab cut is made by pushing the knife straight down into the wood. Proper hand position is essential for safety and control. Always hold the knife with a firm grip and keep your fingers behind the blade. Practice making clean, sharp cuts on scrap wood before starting your project.
Frequently Asked Questions About Chip Carving for Beginners
What is chip carving?
Chip carving is a form of wood carving that involves removing small, triangular chips from a flat surface to create geometric patterns and designs. It is known for its precise, repetitive cuts and beautiful decorative results.
What tools do I need for chip carving?
You need a specialized chip carving knife, a sharpening stone, and a strop. A piece of flat wood, pencil, and ruler for marking patterns are also helpful.
What wood is best for chip carving?
Basswood is the best choice for chip carving. It is soft, has a consistent grain, and holds fine detail well. Butternut is another good option.
How do I transfer a pattern onto wood for chip carving?
You can draw the pattern directly onto the wood using a pencil and ruler, or you can use carbon paper to transfer a printed pattern. Some carvers also use a stencil.
What is the easiest chip carving pattern for beginners?
The three-cornered chip is the most basic and essential pattern. A simple border pattern using three-cornered chips is an excellent first project.
Conclusion
Chip carving is a beautiful and accessible craft that allows beginners to create stunning geometric designs with just a few simple cuts. The patterns outlined in this guide provide a solid foundation for developing your skills and building your confidence. Remember to start with the basics, focus on precision and consistency, and enjoy the meditative rhythm of the craft. With practice, you will be able to create intricate, decorative pieces that showcase the beauty of this ancient art form. Pick up your chip carving knife, choose a pattern, and discover the joy of creating art in wood.