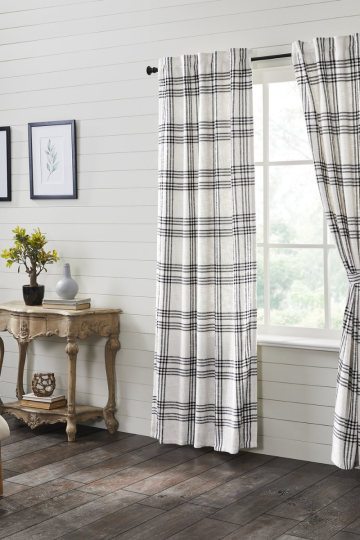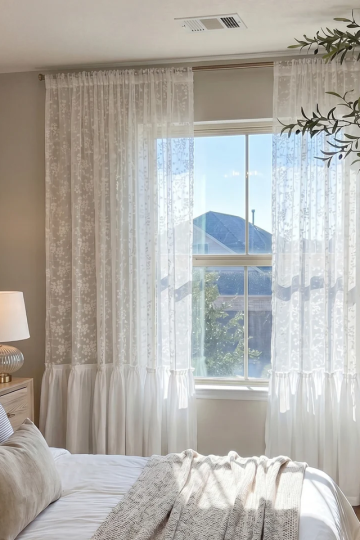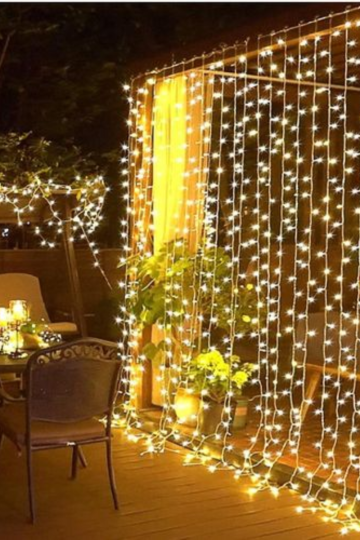
Hanging curtains might seem like a simple task, but proper installation can make the difference between a room that looks professionally designed and one that feels amateur. The right curtain placement can make ceilings appear taller, windows look wider, and the entire room feel more polished and inviting. Whether you're a first-time homeowner or a seasoned decorator, learning how to hang curtains like a pro is an essential skill.
The secret to professional-looking curtains lies in the details: proper measurements, correct bracket placement, and careful installation. Many people make common mistakes like hanging curtains too low, choosing rods that are too short, or failing to level the brackets properly. These small errors can significantly impact the overall look of your window treatments .
With the right tools and techniques, you can achieve professional-quality results. This complete step-by-step guide will walk you through the entire process, from measuring to the final touches. Here's how to hang curtains like a pro .
Step 1: Gather Your Tools and Materials
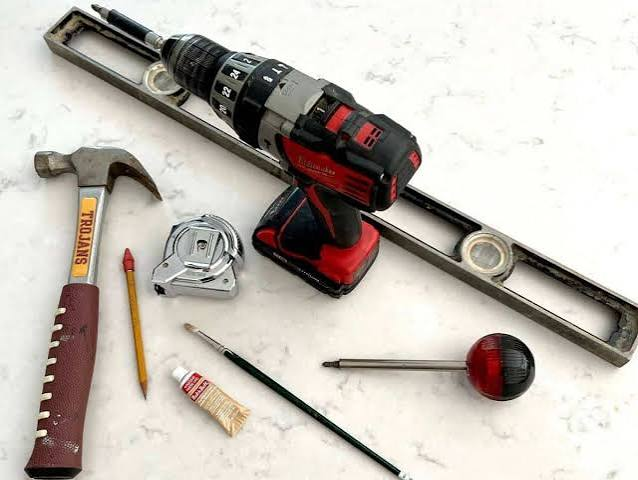
Before you begin, make sure you have all the necessary tools and materials. Having everything ready will make the installation process smoother and more efficient.
What You'll Need:
- Stepladder
- Measuring tape
- Pencil
- Level
- Stud finder (optional)
- Power drill and drill bits
- Drywall anchors (if needed)
- Curtain rod and brackets
- Curtains
Step 2: Measure for Your Curtains and Hardware
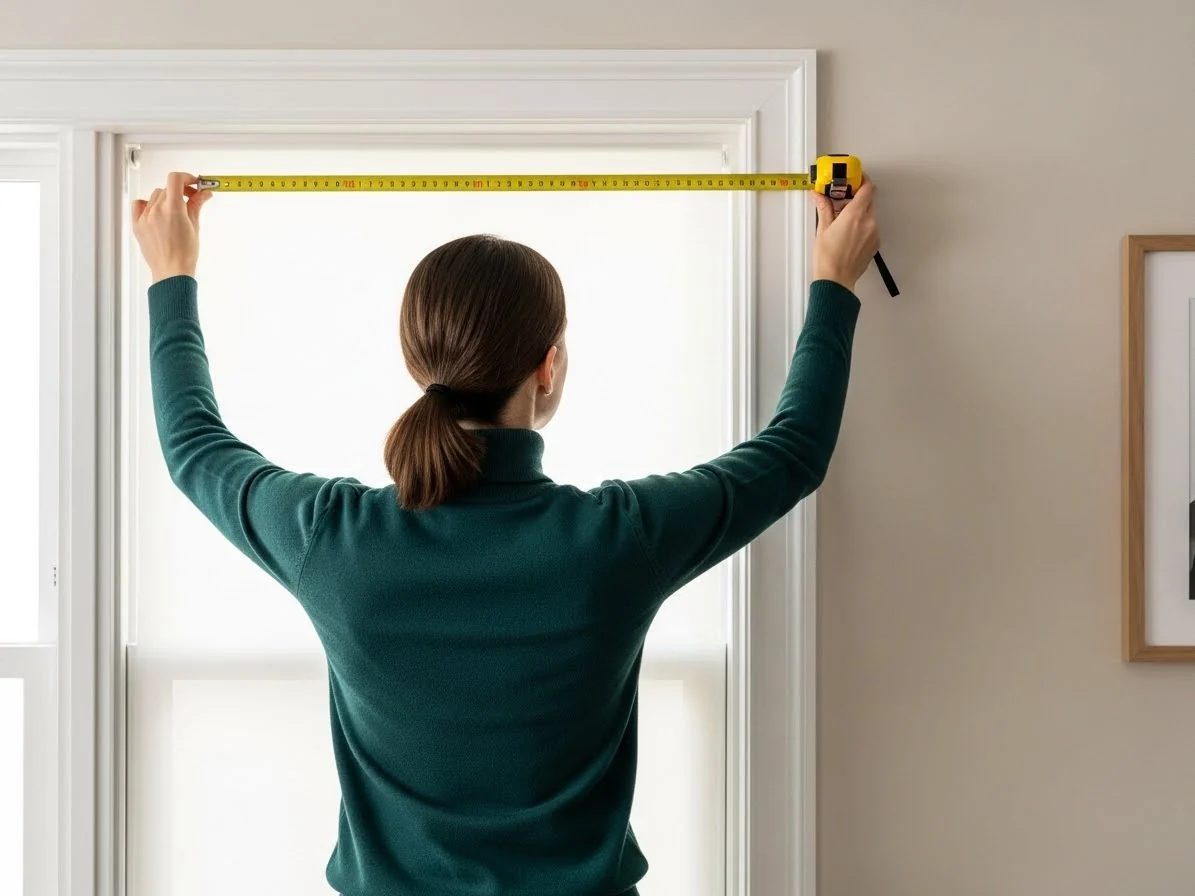
Proper measurements are the foundation of professional-looking curtains. Take your time with this step to ensure your curtains fit perfectly and create the desired effect.
Calculate the Width: Your curtain rod should extend past the window on both sides by at least 8 to 10 inches. To create the appearance of a larger window, your rod should be a total of 16 to 20 inches longer than your window. This allows you to pull the curtains completely clear of the window, maximizing natural light and making the window appear larger .
Consider the Fullness: For a lush, full look, the combined width of your curtain panels should be 1.5 to 3 times the width of your window. Skimpy curtains are a dead giveaway of a DIY job. When in doubt, buy more panels .
Calculate the Height: To make a room feel taller and more grand, hang your curtain rod 4 to 6 inches above your window frame. "The most common mistake is hanging curtains too low," says interior designer Ashley Macuga. For an even more dramatic effect, you can hang curtains 6 to 12 inches above the window frame .
Measure Length: Measure from the top of your window frame to the floor. Add a few inches since your curtain rod will be hung above the window. Curtains should just about reach the floor—about ¼ inch above the floor is ideal, or ½ inch if you have pets that might cause pet hair to accumulate on the bottom .
Step 3: Mark Your Bracket Placement
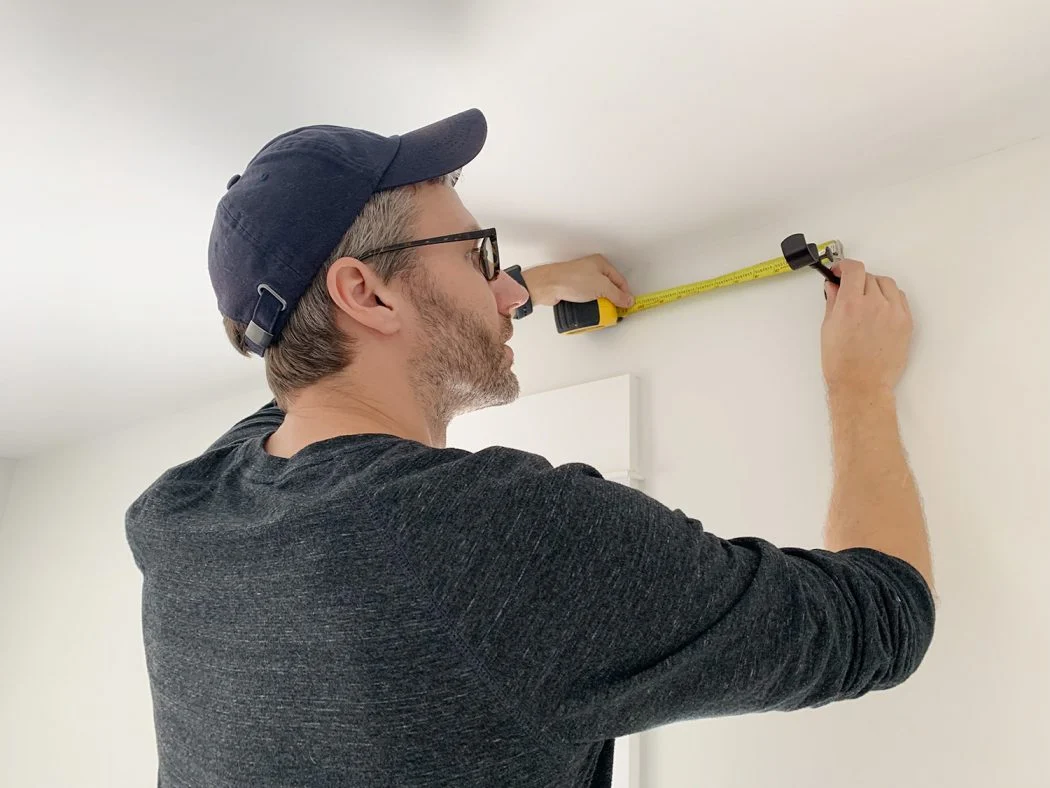
Once you've determined the ideal height and width, it's time to mark the bracket placement on your wall.
Mark the Height: Using your measuring tape, find the desired height for your curtain brackets and mark the screw holes with a pencil on either side of the window. The brackets should be placed at least 2 inches wider than the window frame on both sides .
Level the Marks: Use a level to ensure the marks for your left and right brackets are perfectly even. Crooked brackets will result in crooked curtains, which will ruin the entire look .
Find the Studs: Use a stud finder to identify studs in your walls. If you can, mount the brackets directly to the studs for extra strength. If you cannot find studs, you'll need to use drywall anchors for added support .
Step 4: Install the Mounting Brackets
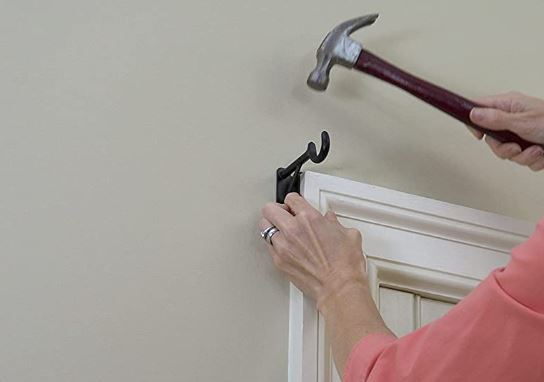
With your marks in place, it's time to install the brackets.
Drill Pilot Holes: If you're mounting directly to studs or using drywall anchors, drill a small pilot hole first. If using anchors, gently tap them into the holes .
Screw in the Brackets: Using your drill and the provided screws, secure your brackets to the designated spots on the wall. Before you tighten them all the way, double-check their placement with your level .
Consider Center Support: If your window is wider than 60 inches, install a center support bracket to prevent the rod from bowing under the weight of the curtains .
Step 5: Prepare and Attach Your Curtains
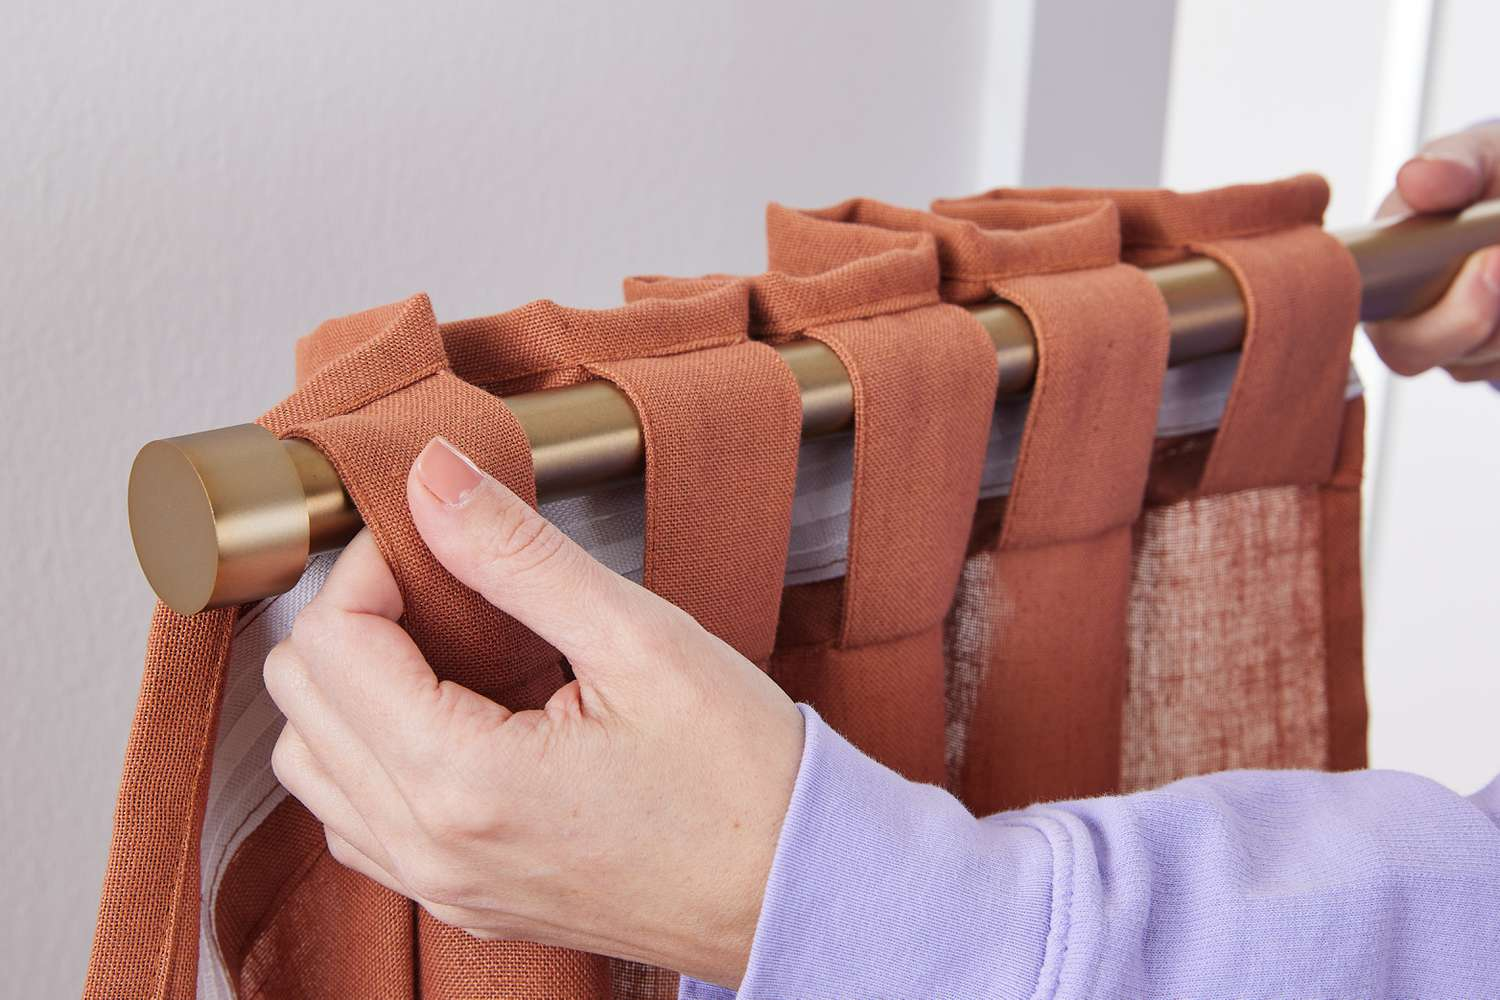
Before hanging the curtain rod, prepare your curtains and attach them to the rod.
Steam or Iron: Iron or steam your curtains before hanging! Wrinkled curtains will cheapen the look no matter how well you've installed the rod. This is a step people often skip, and it makes a huge difference .
Attach Curtains to the Rod: The process will vary depending on the style of curtain you have. If your curtains have built-in grommets or rod pockets, slide the curtain panels onto the rod. For rods with decorative finials, unscrew one side to thread the rod through the curtain. Otherwise, use curtain rings with clips or hooks to secure the top of the curtain panels to the rod .
Step 6: Mount the Curtain Rod
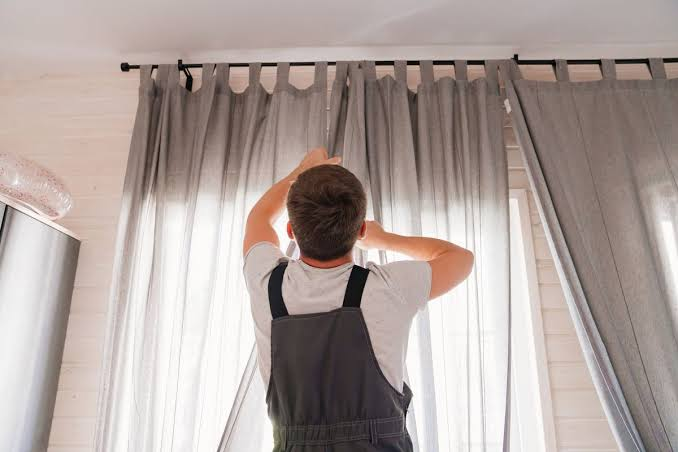
Once your curtains are attached, it's time to mount the rod.
Position the Rod: Position the rod over the brackets on the wall. Secure them with setting screws if needed—otherwise, they will simply rest on the brackets .
Check the Level: Step back and double-check that the curtains are level and at the proper height. Make any final adjustments needed .
Style Your Curtains: Fluff and arrange your curtains so they hang evenly. Adjust the folds to create a beautiful drape. Step back and admire your work !
Helpful Tips for Hanging Curtains Like a Pro
Go High and Wide: Hanging rods higher and wider than the window frame is the single most important tip for professional-looking curtains. It makes ceilings feel taller and windows appear larger .
Choose the Right Rod Diameter: Ensure the rod's diameter is sturdy enough to support the curtain weight—typically ¾ to 1 inch for standard curtains and 1 inch or more for heavier drapes .
Use Quality Hardware: Cheap hardware sags under the weight of curtains. Invest in quality rods, brackets, and anchors for a secure, long-lasting installation .
Don't Forget Finials: The decorative end caps of the rod add a finished touch. Choose finials that complement your curtain style and room décor .
Use a Second Person: Having a second person helps with measuring, leveling, and hanging, especially for large windows .
Frequently Asked Questions
Q: How high should curtain rods be mounted?
A: Curtain rods should be mounted 4 to 6 inches above the window frame for a standard look, or 6 to 12 inches for a taller appearance. The most common mistake is hanging curtains too low .
Q: What tools are needed to hang curtains?
A: You'll need a stepladder, a measuring tape, a pencil, a level, a power drill, and possibly a stud finder. A second person is also helpful .
Q: How do you ensure curtain rod brackets are level?
A: Use a level to ensure the brackets are aligned before drilling and securing them to the wall. Mark both sides with a pencil and check the alignment before installation .
Q: Should curtains touch the floor?
A: Curtains should just about reach the floor—about ¼ inch above is ideal, or ½ inch if you have pets. Avoid "high-water" curtains that stop inches above the floor at all costs .
Q: How wide should curtain rods be?
A: Curtain rods should extend 8 to 10 inches beyond the window frame on each side, making the rod 16 to 20 inches longer than the window. This allows the curtains to be pulled completely clear of the window .
Q: Can I hang curtains without drilling?
A: Renters can use no-drill solutions like tension rods or adhesive brackets that reduce damage to walls. However, these options may not support heavy curtains .
Conclusion
Hanging curtains like a pro is about attention to detail and proper technique. From measuring correctly to installing brackets level and high, each step contributes to a polished, professional look. The right curtains can transform a room, making it feel taller, wider, and more inviting.
Whether you're hanging curtains for the first time or looking to improve your technique, this step-by-step guide will help you achieve professional-quality results. With the right tools, careful measurements, and a bit of patience, you can create window treatments that look like they were installed by a designer.