The Magic of Mud Play
A mud kitchen is one of the most magical additions you can make to your outdoor play space. It's a place where children can mix, pour, stir, and create—engaging their senses, sparking their imagination, and developing fine motor skills. Mud kitchens are a classic childhood experience that supports creativity, sensory exploration, and a connection to nature.
The difference between a mud kitchen that children love and one that falls flat is thoughtful design and accessible features. Older approaches often involved a simple table with a few bowls. Today's mud kitchens can be elaborate creations with running water, functional features, and realistic details that engage children for hours. The 13 steps to build a mud kitchen outlined here will guide you through creating a stunning, functional play space.
If you're looking to build a mud kitchen, you're likely wanting to create an engaging, creative outdoor play space for your children. You want a project that's achievable, fun, and results in a beautiful, lasting play area. This guide explores 13 steps to build the ultimate outdoor play kitchen.
13 Steps to Build a Mud Kitchen
1. Choose Your Location
Choose a location that's easily accessible, visible from the house, and close to a water source if possible. Consider shade, level ground, and proximity to the main play area. The location should be practical and safe.
Why it's important: The right location ensures the mud kitchen is used and enjoyed. The practical considerations make it functional and accessible.
Best location: Near the house, in the shade, on level ground.
2. Gather Your Materials
Gather the materials you'll need for the mud kitchen: pallets or wood for the frame, a sink or basin, hooks and shelves for storage, and any additional features. The materials can be new or repurposed. Repurposing adds character and reduces cost.
Why it's important: The right materials ensure the mud kitchen is durable and functional. Repurposed materials add character and save money.
Materials needed: Pallets or wood, sink/basin, hooks, shelves, screws.
3. Plan Your Design
Design your mud kitchen on paper, considering the size, features, and layout. Include a workspace, storage, a sink, and any additional features like a stove, oven, or pantry. The design should be child-friendly and functional.
Why it's important: The design ensures the mud kitchen is functional and child-friendly. The planning prevents mistakes and ensures the project runs smoothly.
Design elements: Workspace, sink, storage, stove, pantry.
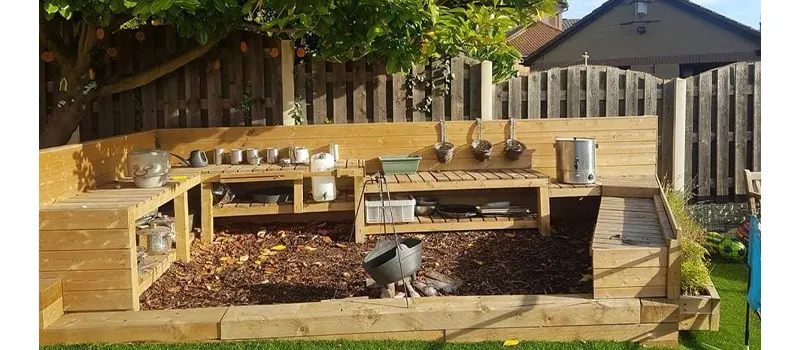
4. Build the Frame
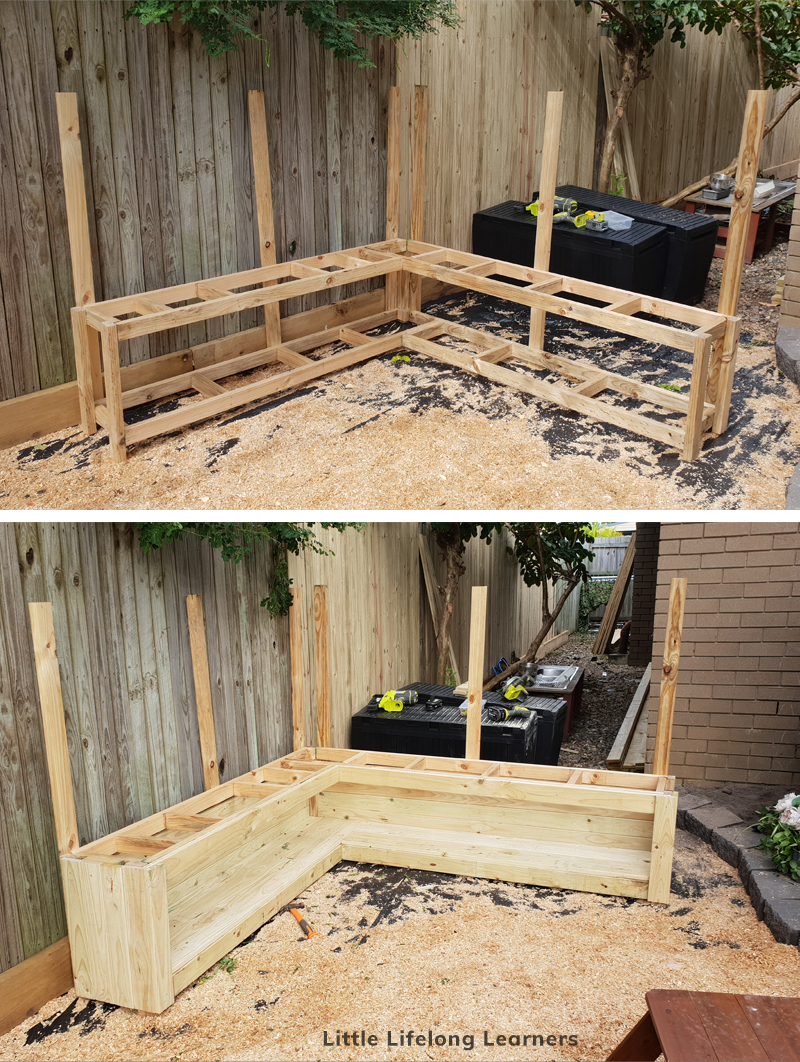
Build the frame of the mud kitchen using pallets or wood. The frame should be sturdy and at a child-friendly height (approximately 50-60 cm for young children). Secure the frame with screws for stability.
Why it's important: The frame provides the structure and stability. The child-friendly height ensures accessibility.
Build tips: Use sturdy wood, secure with screws, ensure stability.
5. Add the Workspace
Add a flat workspace surface to the mud kitchen. Use a piece of wood, a repurposed tabletop, or a flat piece of plastic. The workspace should be large enough for mixing, pouring, and creating.
Why it's important: The workspace is the main area for play. The sturdy surface allows for a variety of activities.
Workspace options: Wood, repurposed tabletop, plastic.
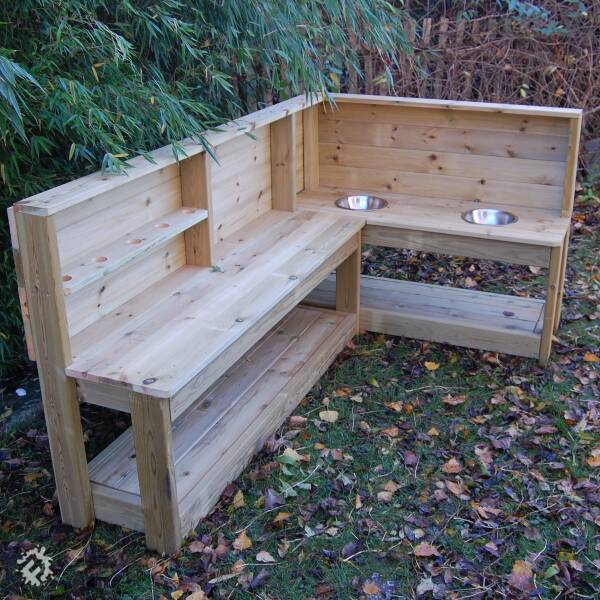
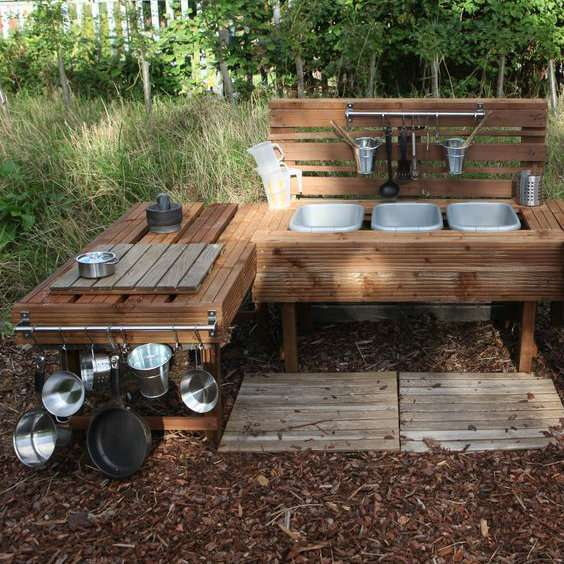
6. Install the Sink
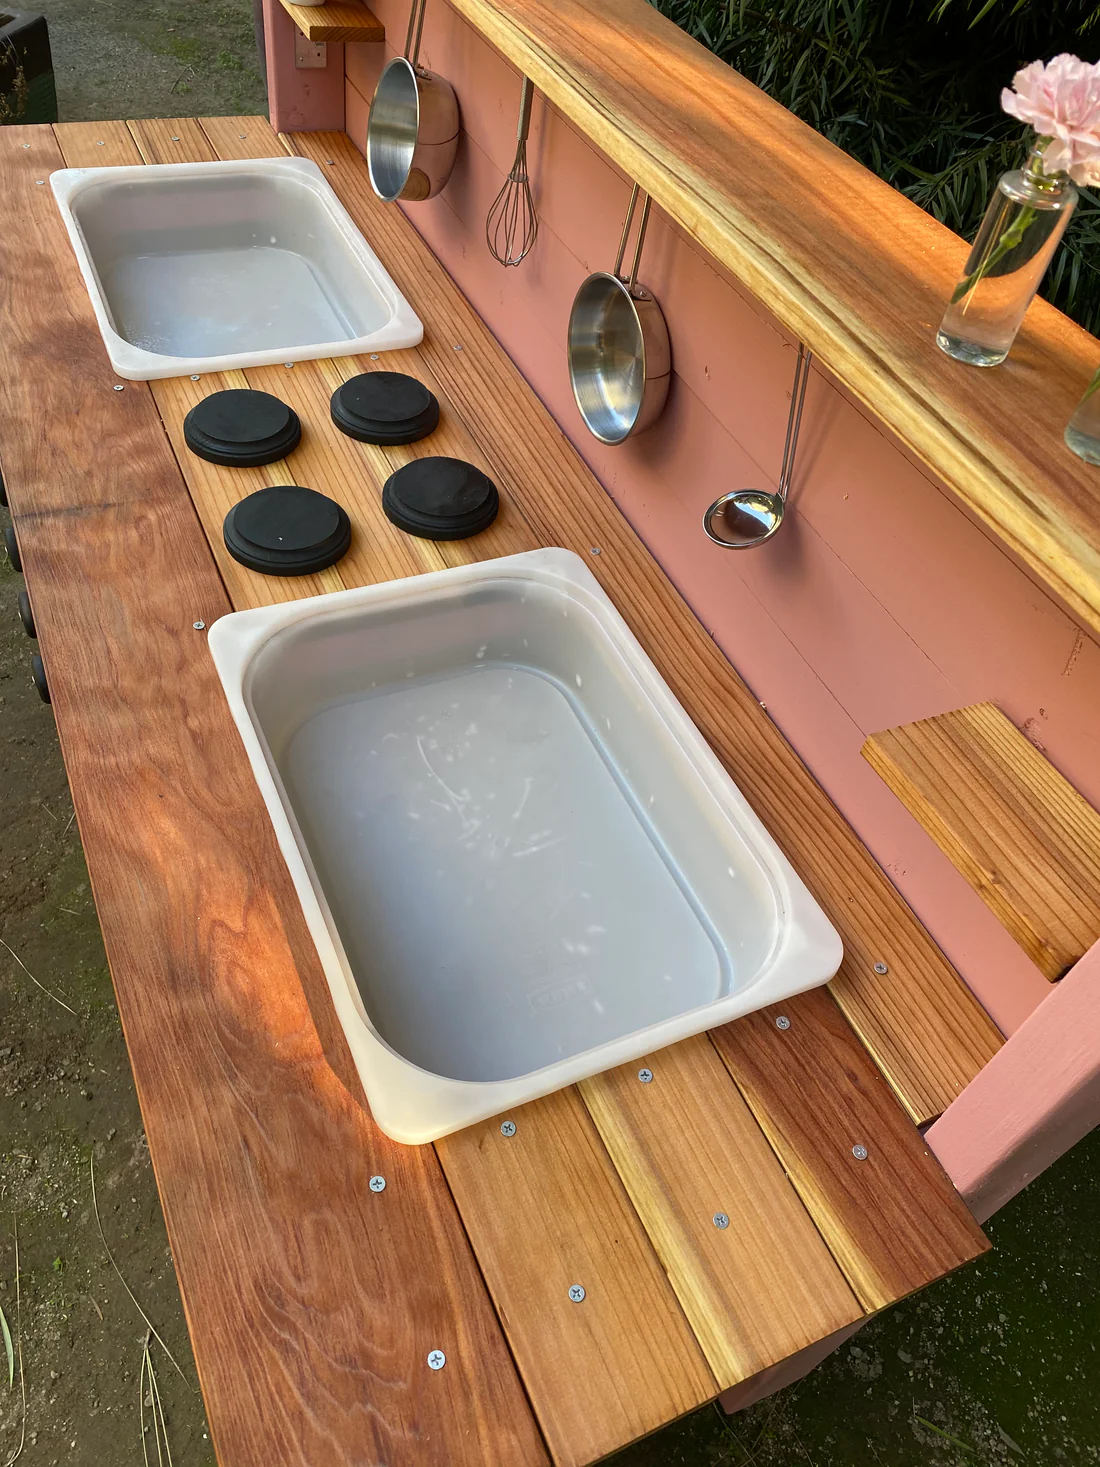
Install a sink or basin for the mud kitchen. Use a real kitchen sink, a basin, or a plastic tub. The sink should be securely attached and at a comfortable height for children.
Why it's important: The sink is a central feature of the mud kitchen. The water play adds to the sensory experience.
Sink options: Real kitchen sink, basin, plastic tub.
7. Add Hooks for Utensils
Add hooks to the mud kitchen for hanging utensils, tools, and pots. The hooks keep the workspace organized and make tools accessible. Use S-hooks, cup hooks, or any sturdy hook.
Why it's important: The hooks keep the workspace organized. The accessible tools encourage play and independence.
Hook options: S-hooks, cup hooks, sturdy hooks.
8. Create Storage Space
Create storage space for pots, pans, bowls, and other tools. Use shelves, baskets, or a simple cabinet. The storage keeps the mud kitchen organized and reduces clutter.
Why it's important: The storage keeps the mud kitchen organized. The accessible items encourage creative play.
Storage options: Shelves, baskets, cabinet.
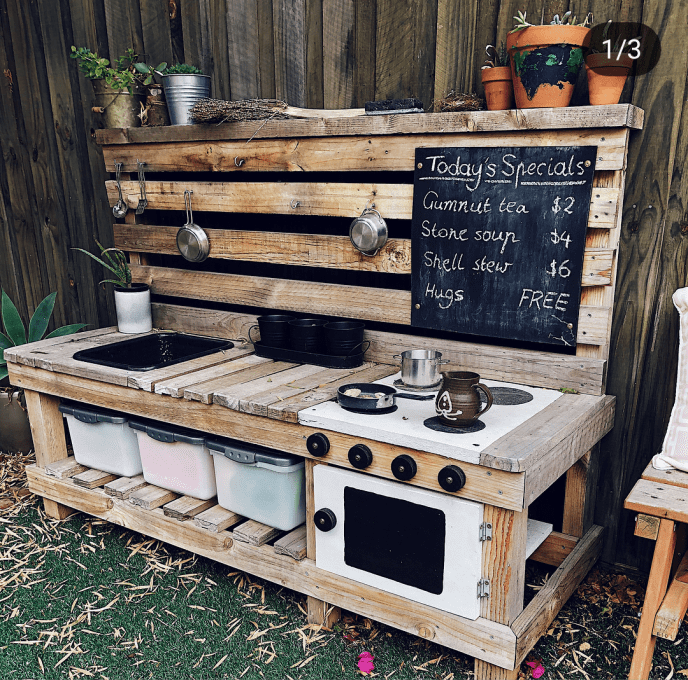
9. Add a "Stove" or "Oven"
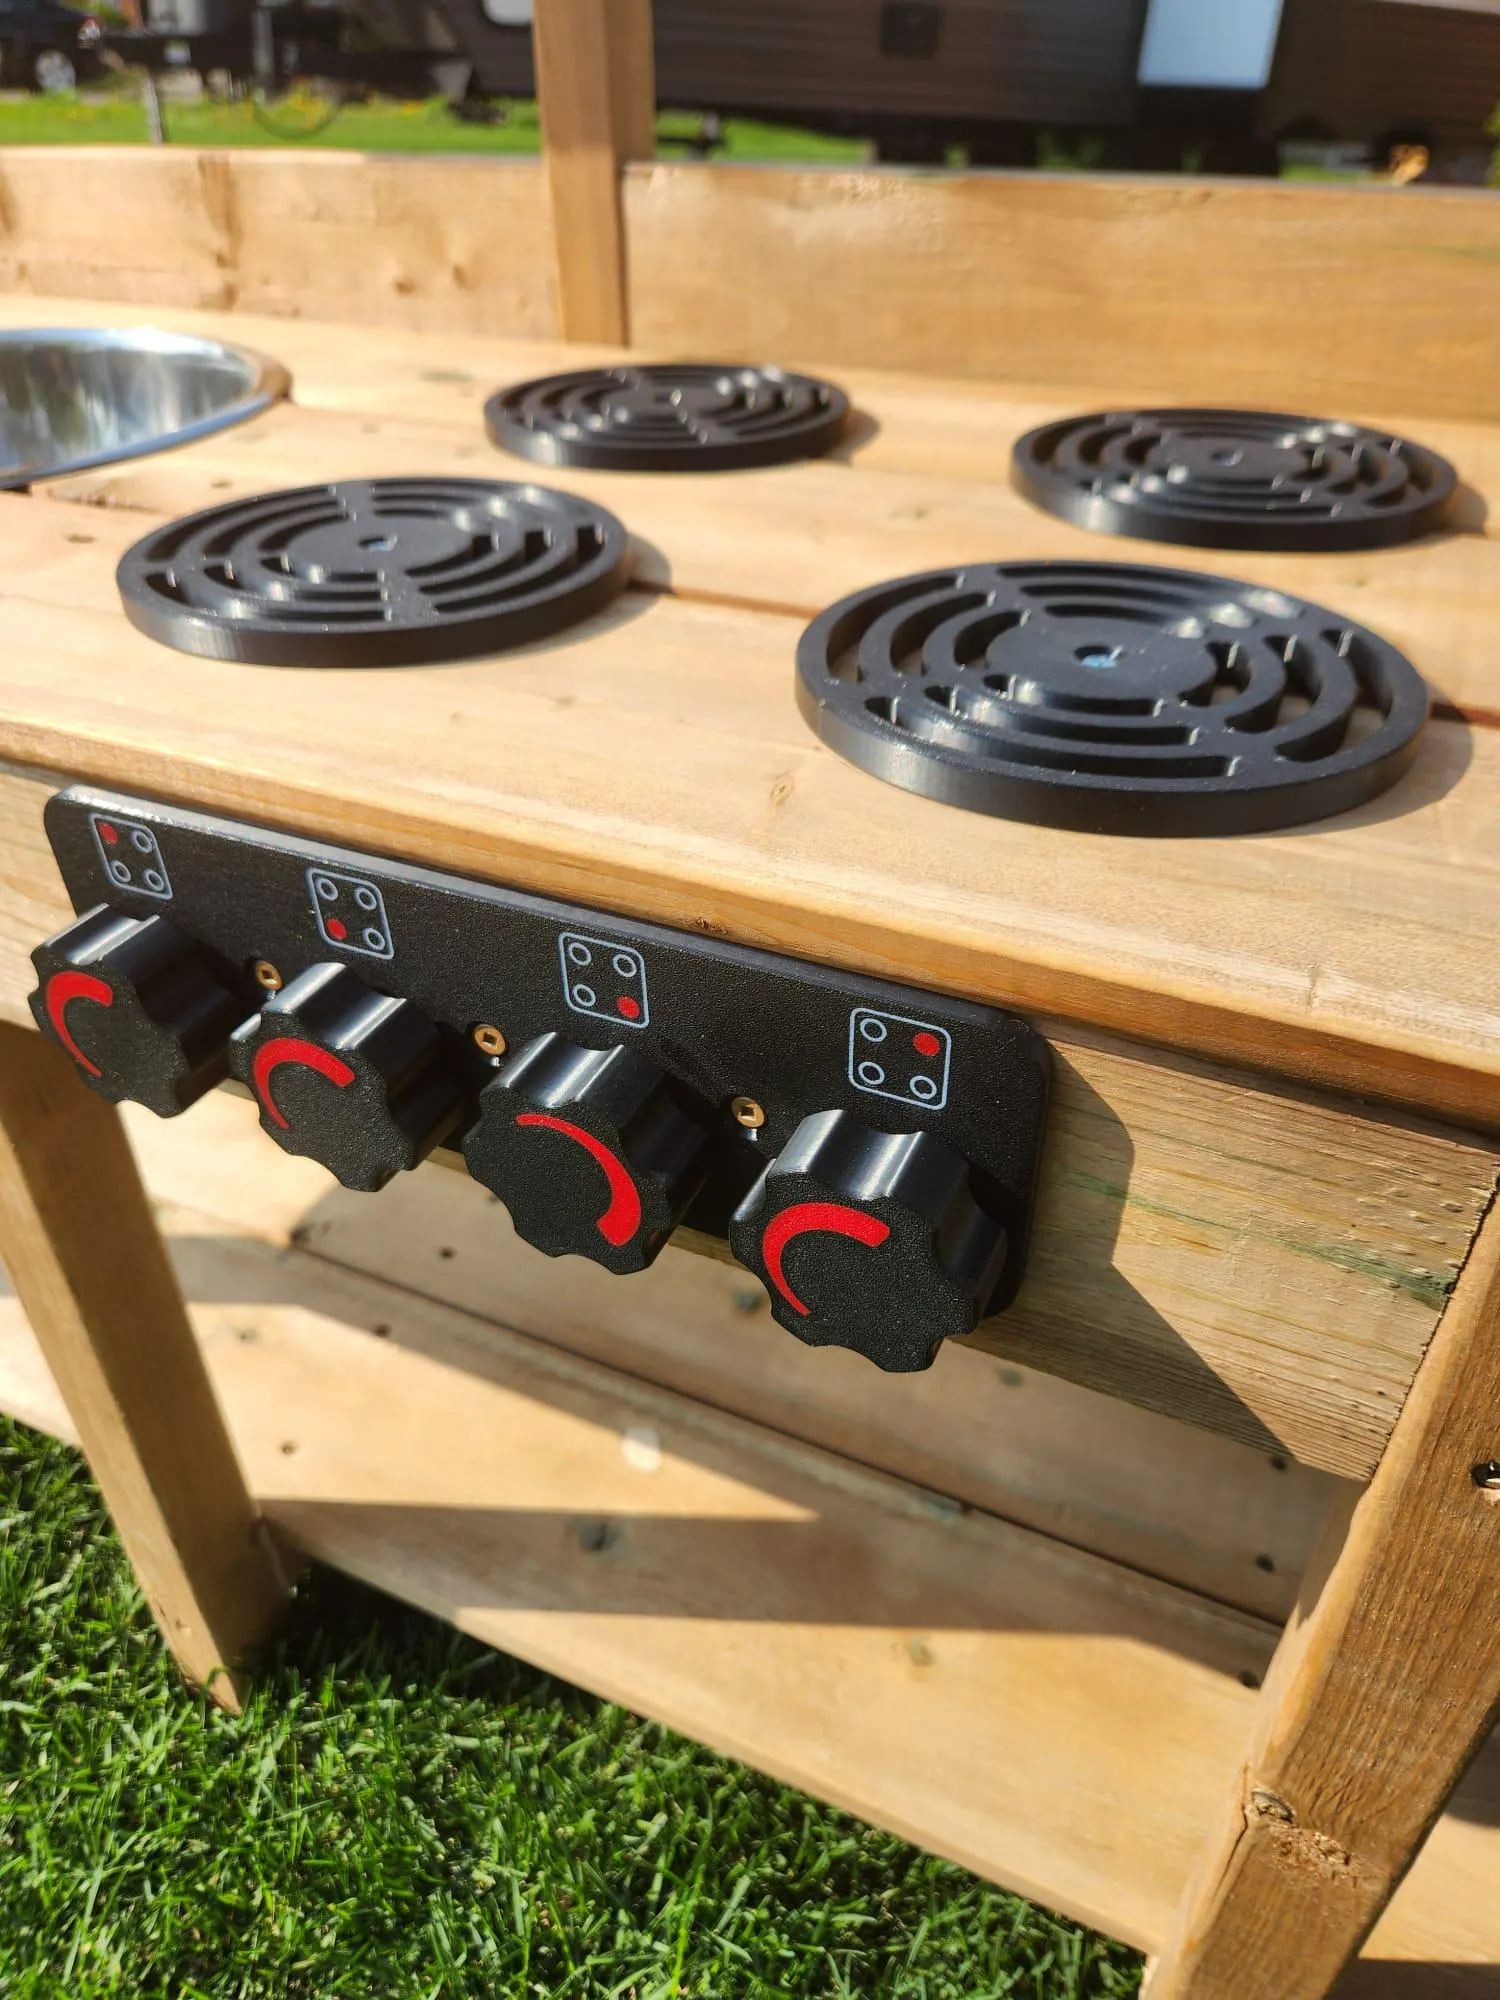
Add a "stove" or "oven" to the mud kitchen for pretend play. Use a repurposed shelf, a piece of wood with drawn-on burners, or a real old stove. The stove adds realism and encourages imaginative play.
Why it's important: The stove adds realism and encourages imaginative play. The pretend play is engaging and creative.
Stove options: Repurposed shelf, wood with drawn-on burners, old stove.
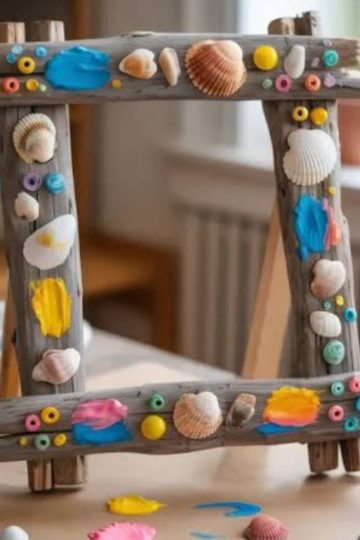
10. Paint and Decorate
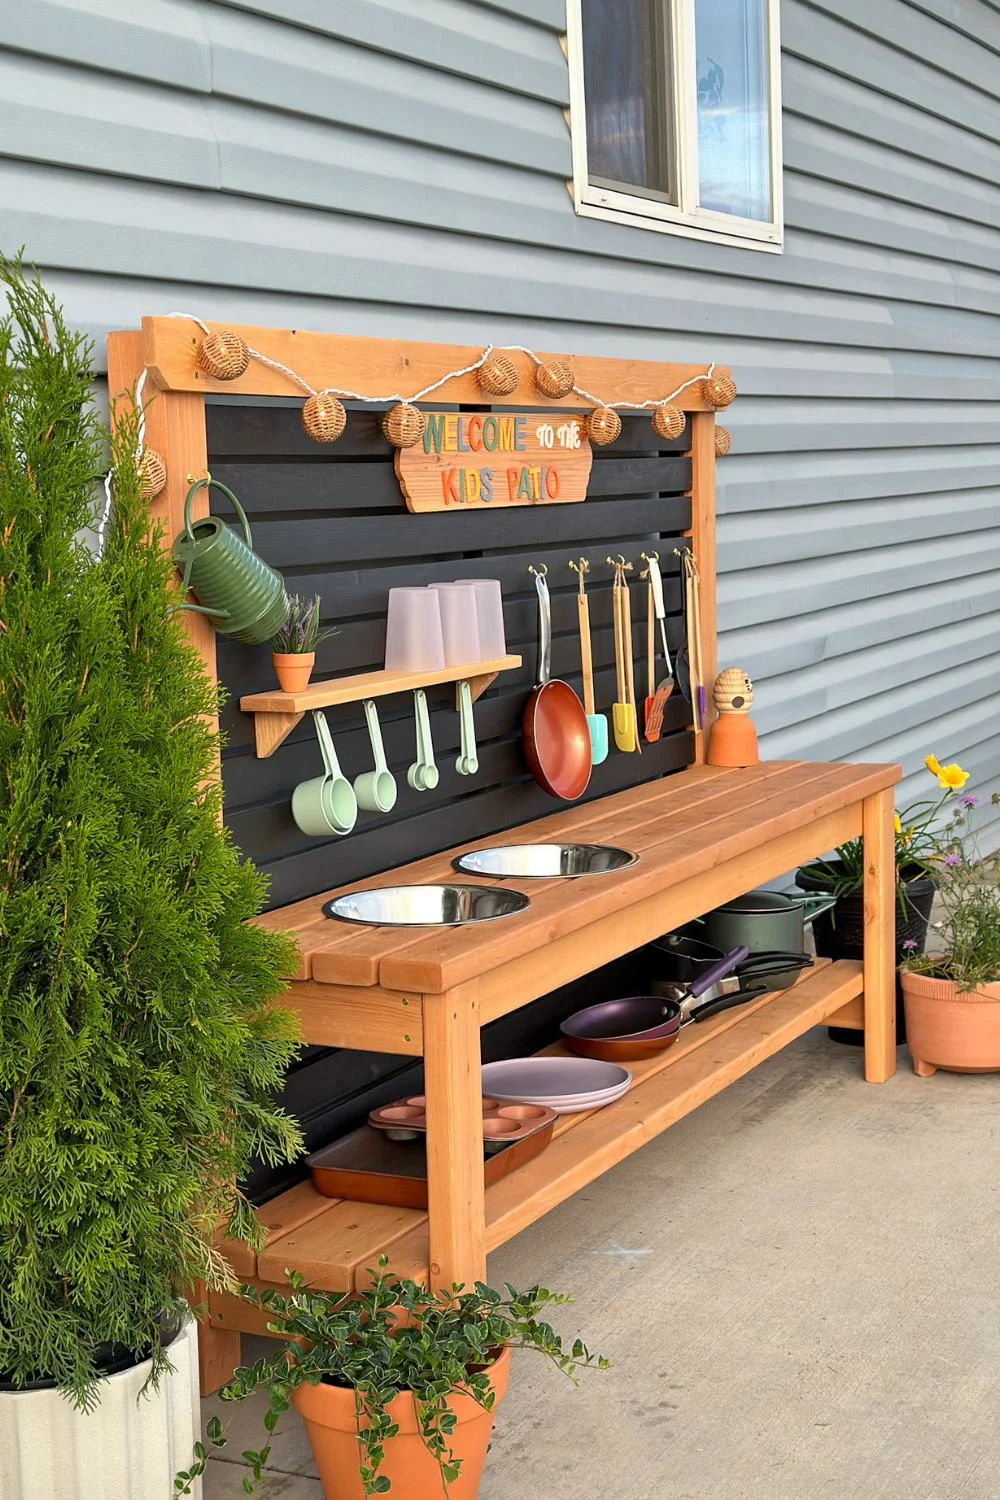
Paint and decorate the mud kitchen to make it beautiful and inviting. Use child-safe, outdoor paint in bright colors. Add decorative details like a sign, a number, or a painted name.
Why it's important: The paint and decoration add beauty and personality. The inviting design encourages children to use the mud kitchen.
Decoration ideas: Bright colors, sign, painted name.
11. Add a Water Source
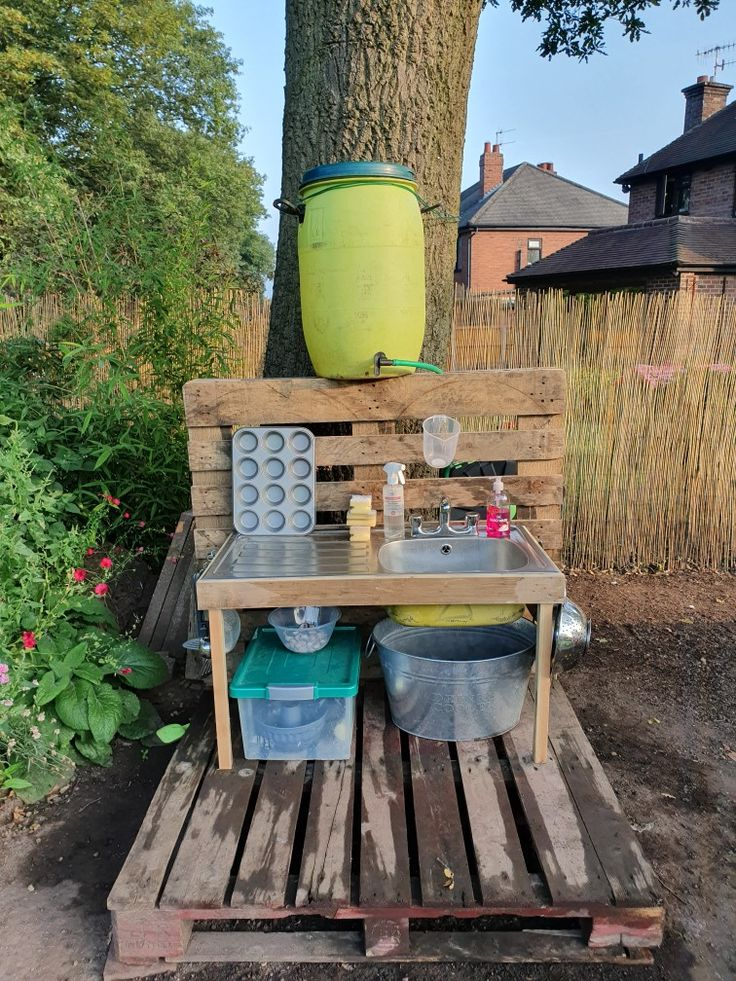
If possible, add a water source to the mud kitchen. This could be a hose connection, a small pump, or simply a bucket of water nearby. The water adds to the sensory experience and expands play possibilities.
Why it's important: The water adds to the sensory experience. The water source expands play possibilities.
Water options: Hose connection, small pump, bucket of water.
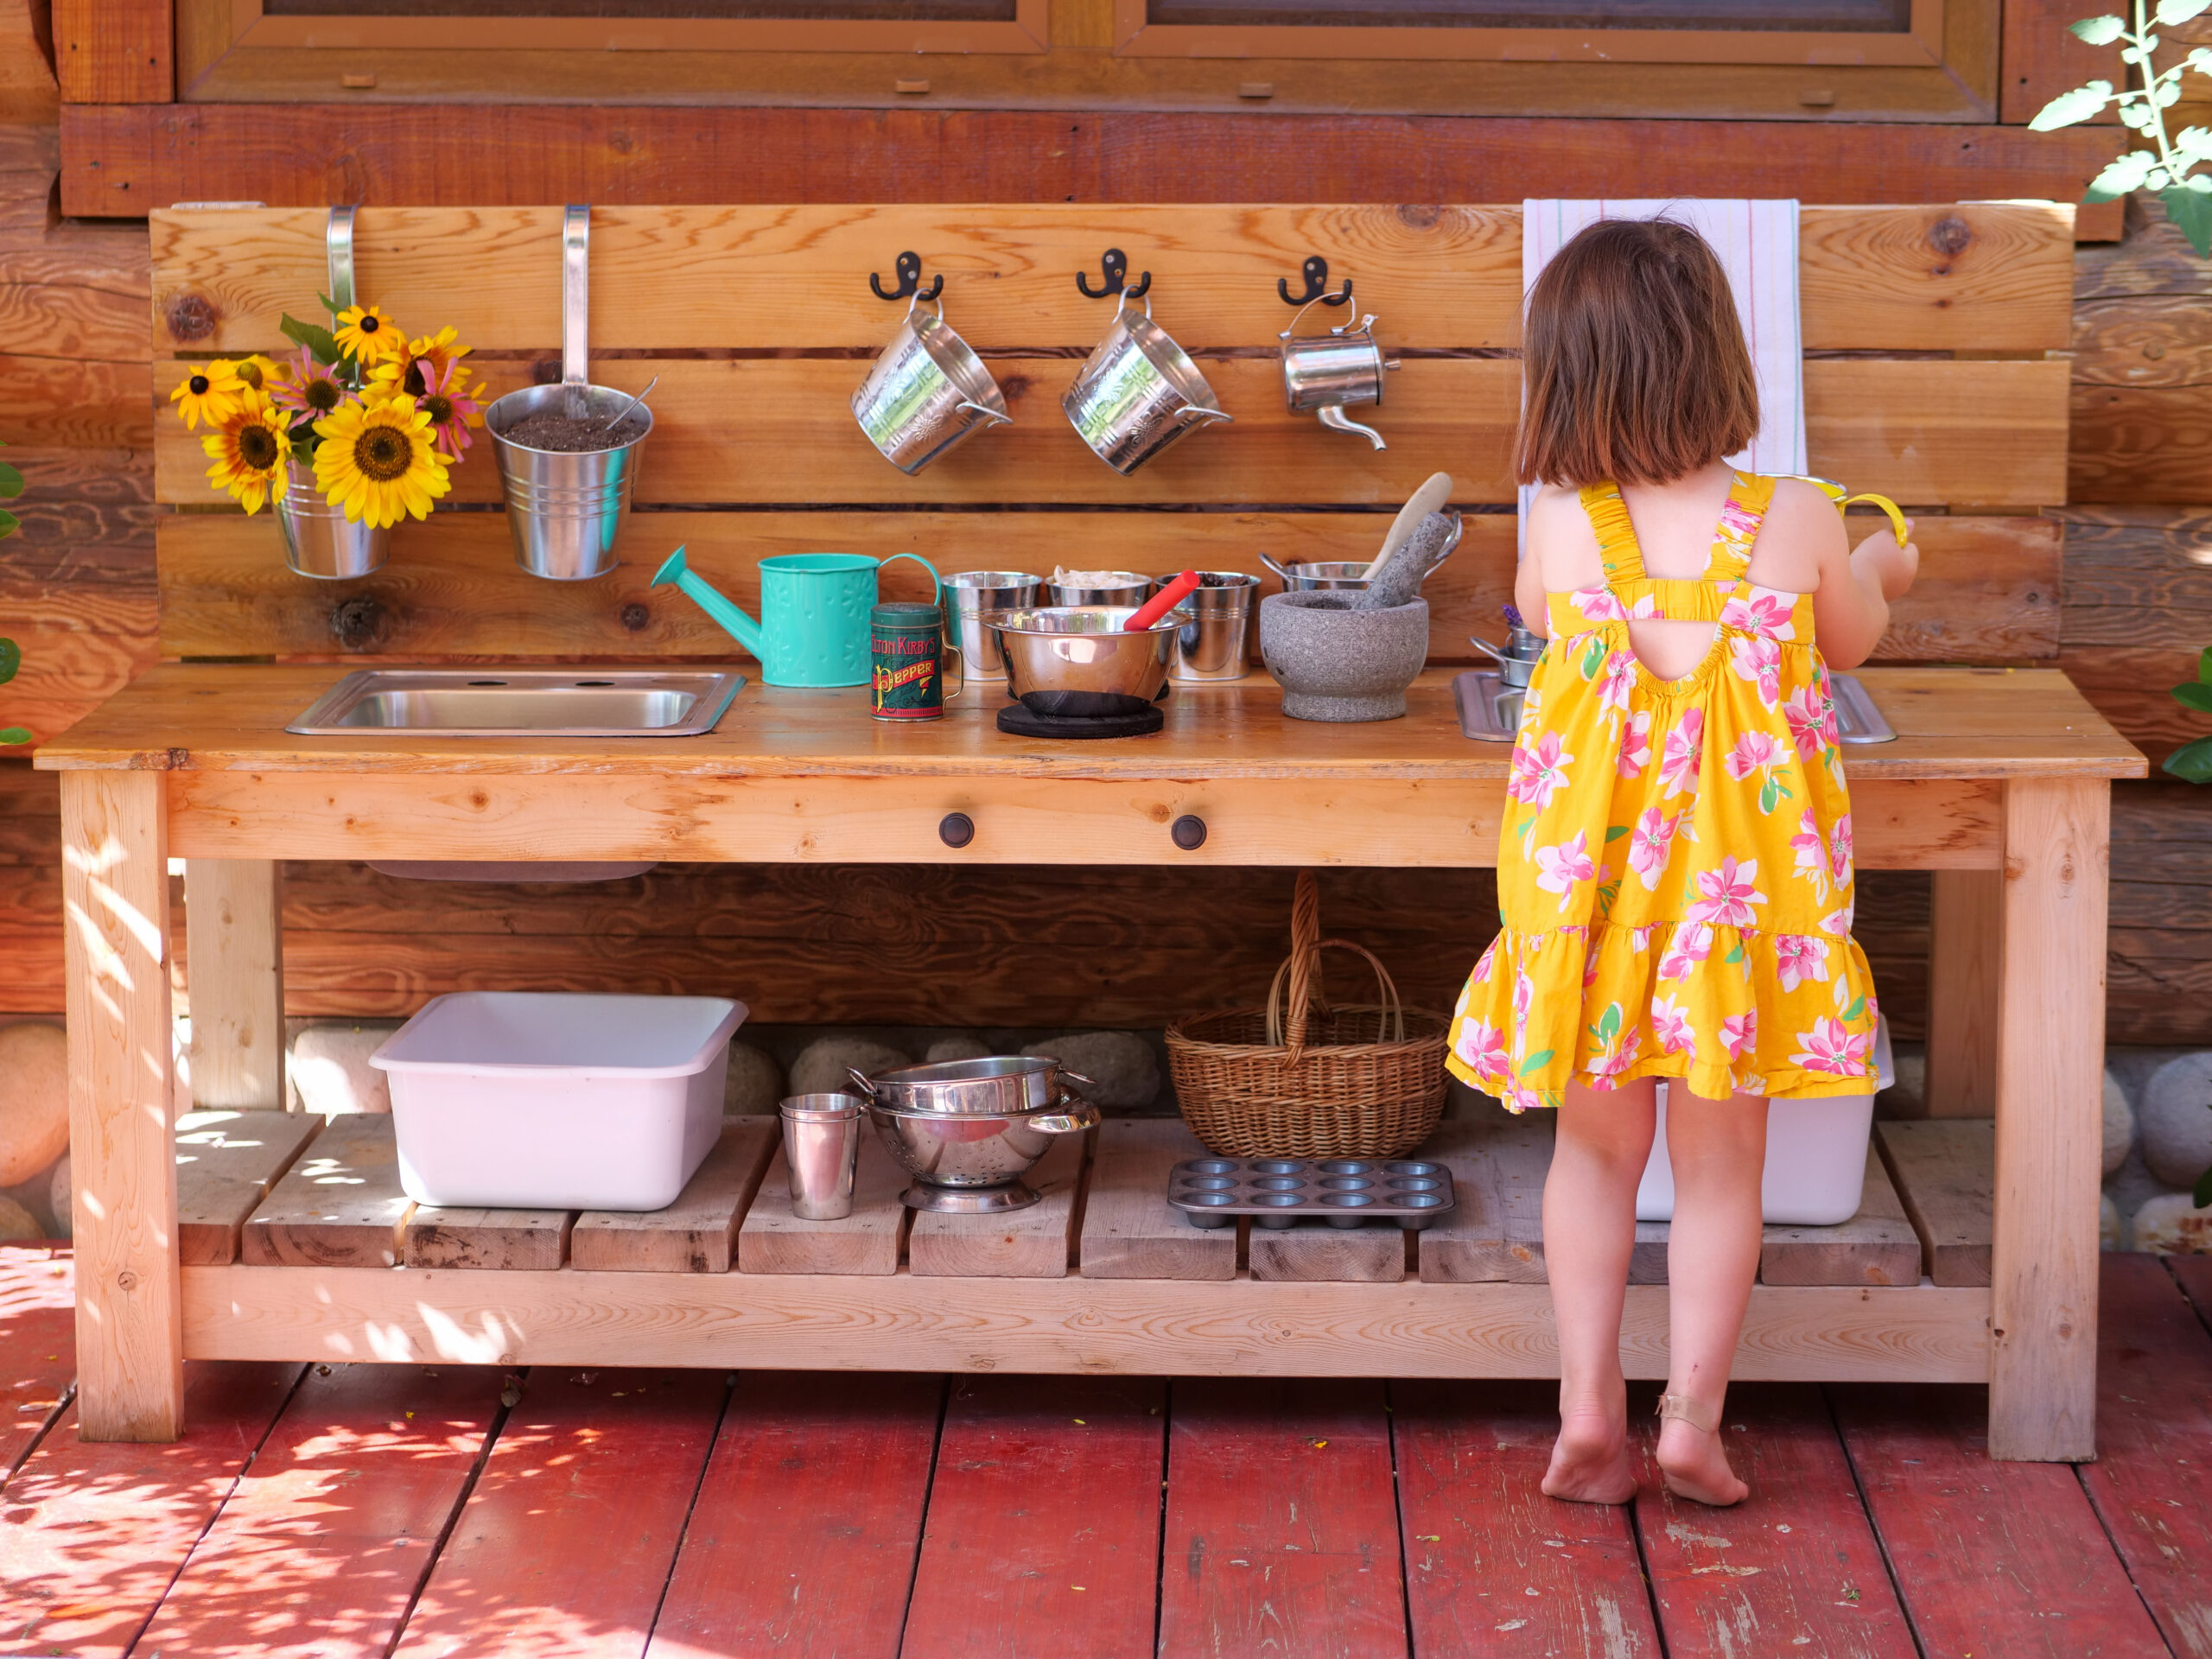
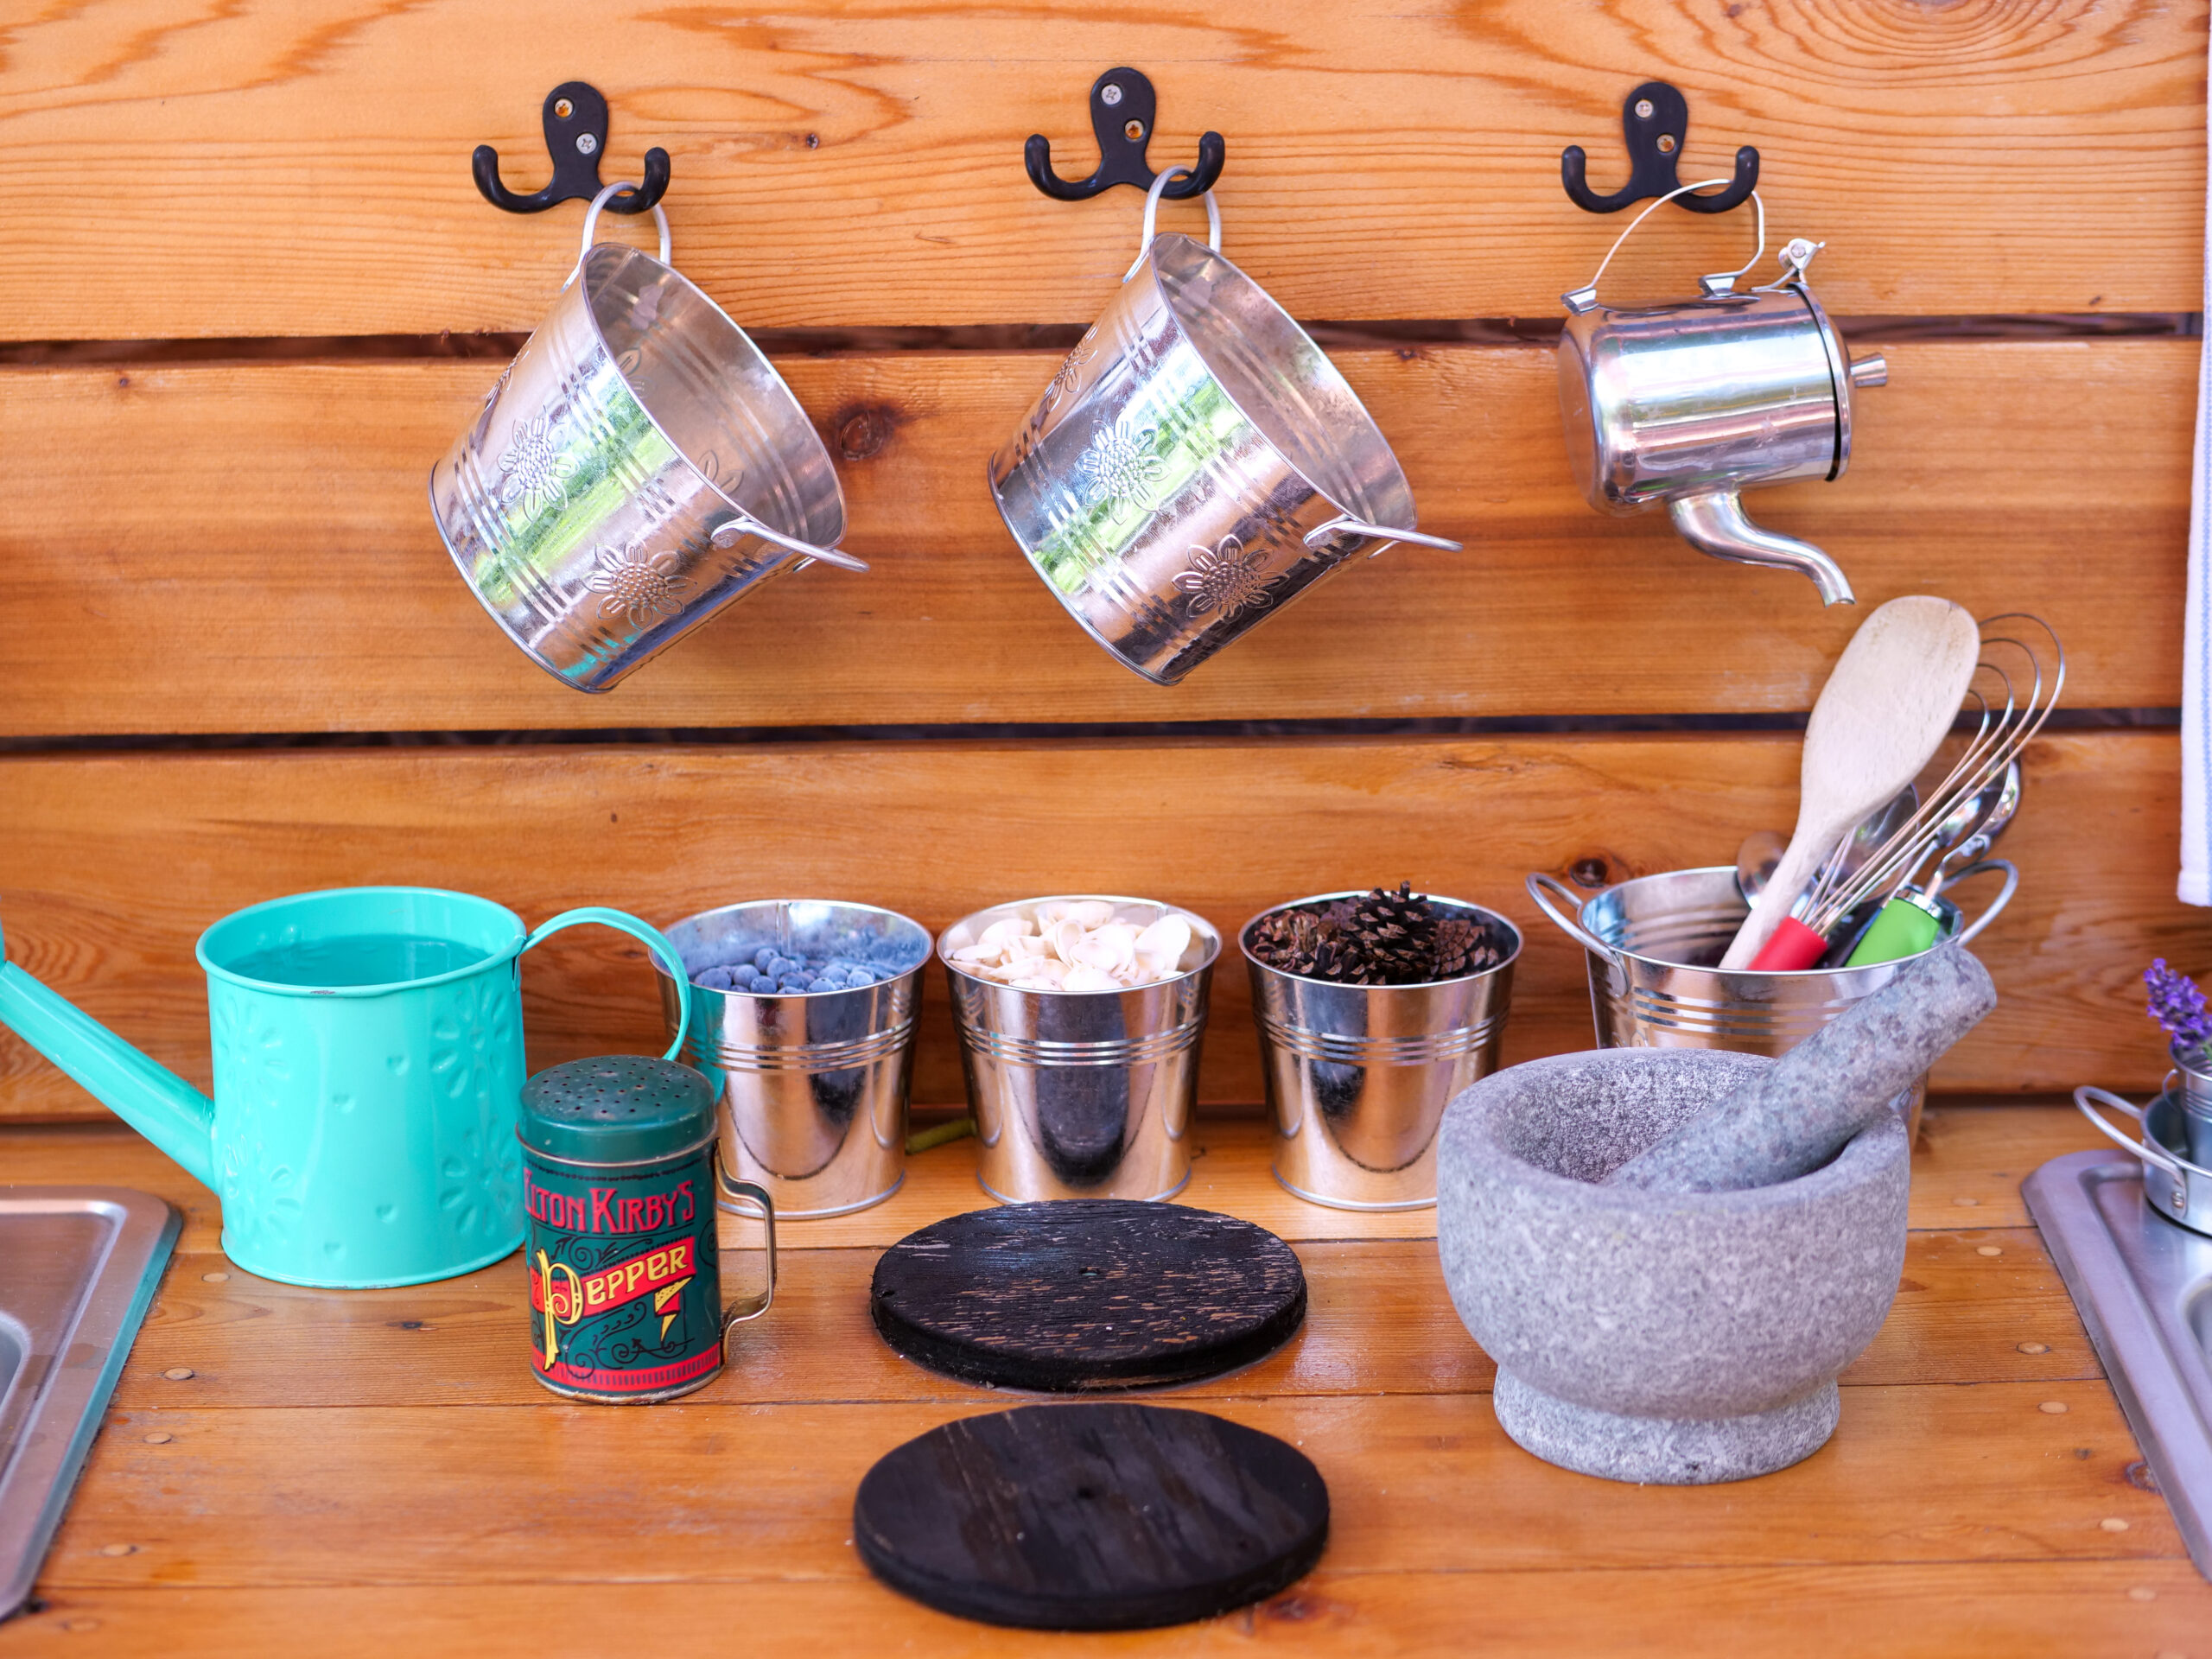
12. Stock with Tools and Accessories
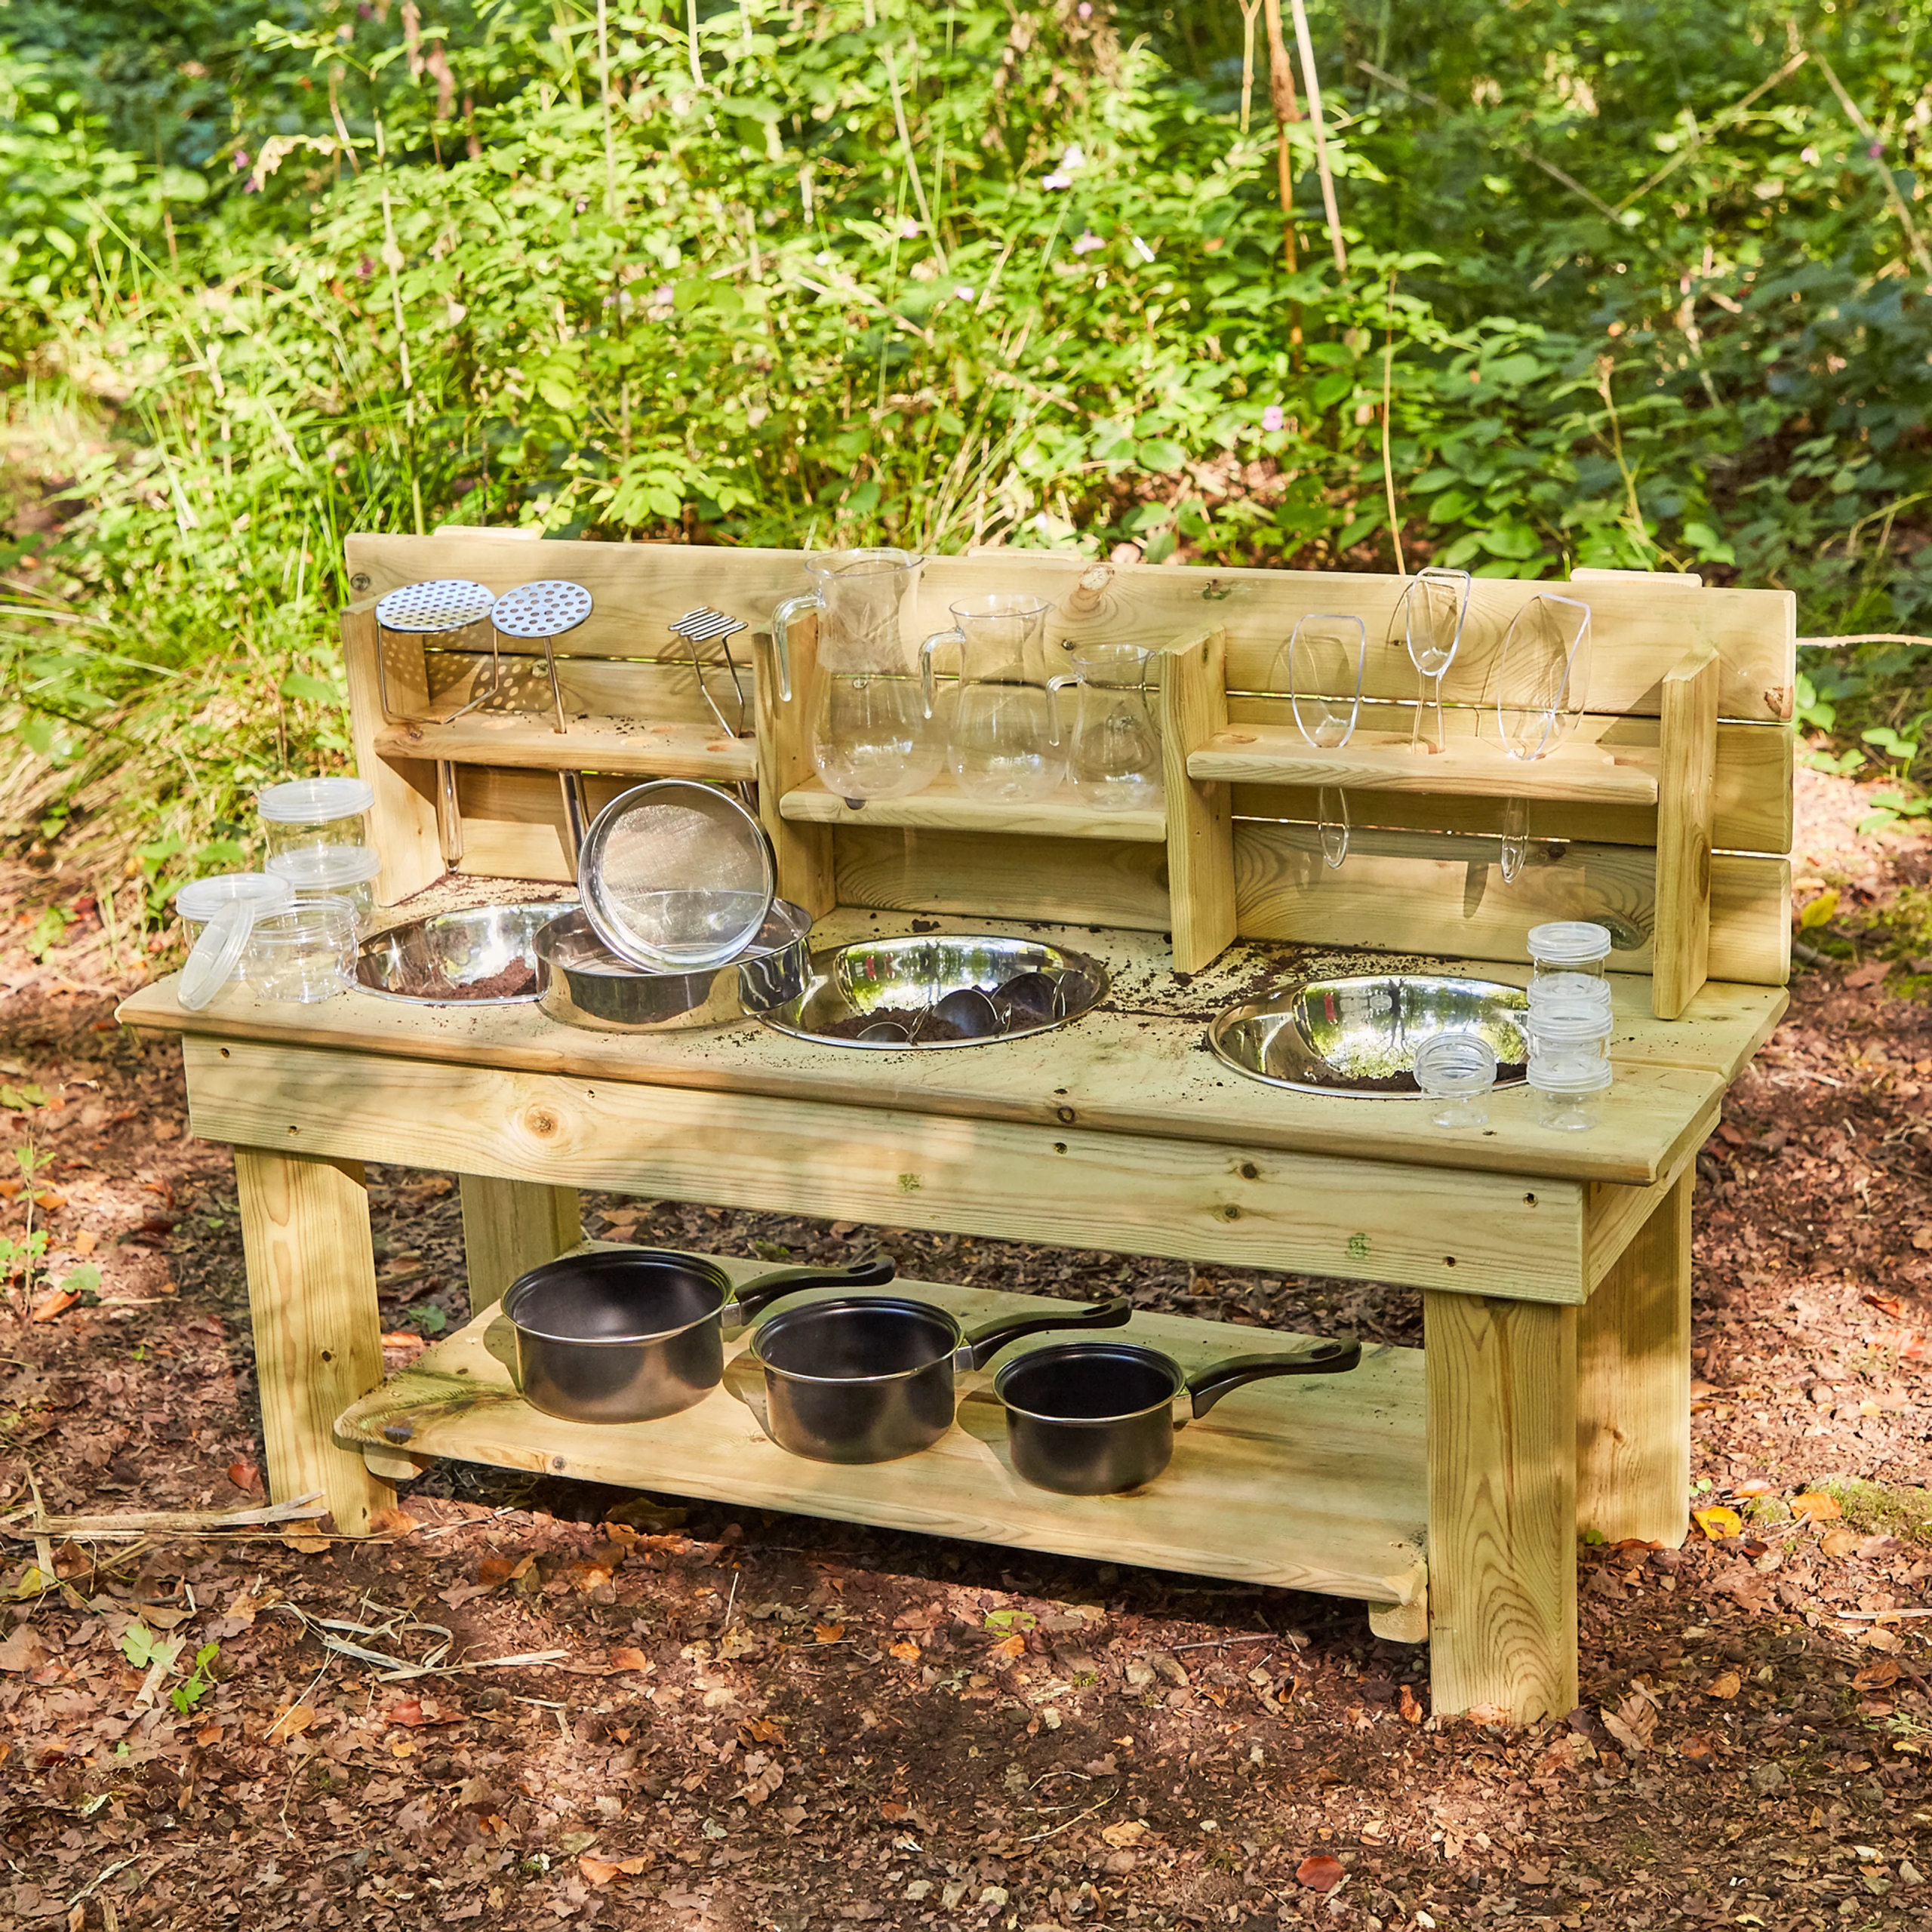
Stock the mud kitchen with a variety of tools and accessories: pots, pans, bowls, spoons, spatulas, and measuring cups. Use real kitchen items or child-safe plastic items. The variety of tools encourages creativity and engagement.
Why it's important: The variety of tools encourages creativity and engagement. The accessible items make play more interesting.
Tool ideas: Pots, pans, bowls, spoons, spatulas, measuring cups.
13. Add Natural Elements

Add natural elements to the mud kitchen area: sand, leaves, flowers, water, and mud. The natural elements support sensory play and a connection to nature. Provide a designated area for mud mixing.
Why it's important: The natural elements support sensory play and a connection to nature. The sensory experience is engaging and educational.
Natural elements: Sand, leaves, flowers, water, mud.
Conclusion
A mud kitchen is a magical addition to any outdoor play space, offering countless opportunities for creative, sensory play. These 13 steps will guide you through building a beautiful, functional mud kitchen that children will love for years to come.
Remember, the mud kitchen is about the experience, not the perfection. Don't worry if it's not perfectly built—children will love the messy, creative play regardless. The memories made in the mud kitchen will be cherished for years.