
A Christmas tree is one of the most forgiving shapes a new carver can choose. The basic form is a simple cone or triangle, so every cut builds toward a recognizable result, and small mistakes simply look like natural texture. It is a rewarding project for anyone who wants handmade holiday decor without weeks of work.
The ideas below range from ten-minute whittles to slightly more detailed relief pieces. Each one works for mantel displays, ornaments, table centerpieces or handmade gifts.
Why Christmas Trees Are Great for Holiday Carving Projects
Trees rely on bold, repeated cuts rather than fine facial details, which makes them ideal practice for knife control. Rows of branch cuts teach rhythm and consistency, and the tapered shape helps beginners understand how to remove wood evenly from all sides.
They also scale easily. The same design can become a tiny ornament, a pocket carving or a tall tabletop piece. Once you are comfortable with trees, festive companions like gnome carvings and penguin carvings make a perfect next step.
16 Christmas Tree Wood Carving Ideas
1. Classic Cone Tree
The one every carver should start with
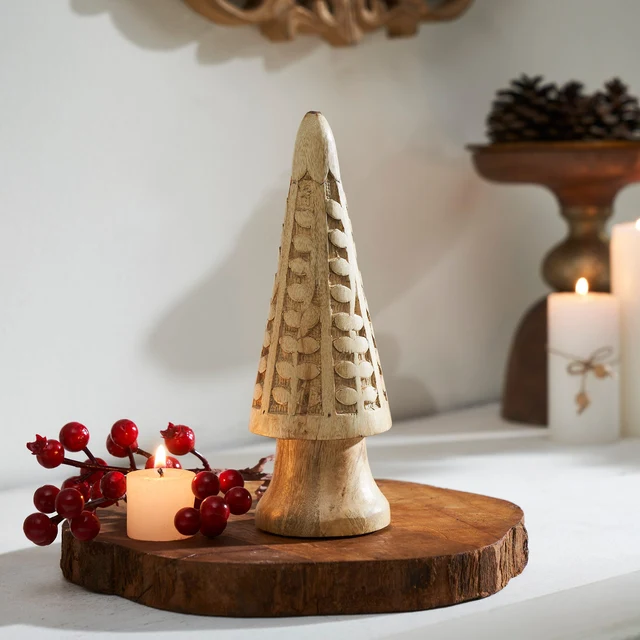
A tall cone shaped from a square blank, with shallow stop cuts marking three or four rows of branches. The finish can stay natural or take a light green wash. This project builds confidence with tapering and even stock removal.
2. Scandinavian Flat-Plane Tree
Bold facets, clean lines
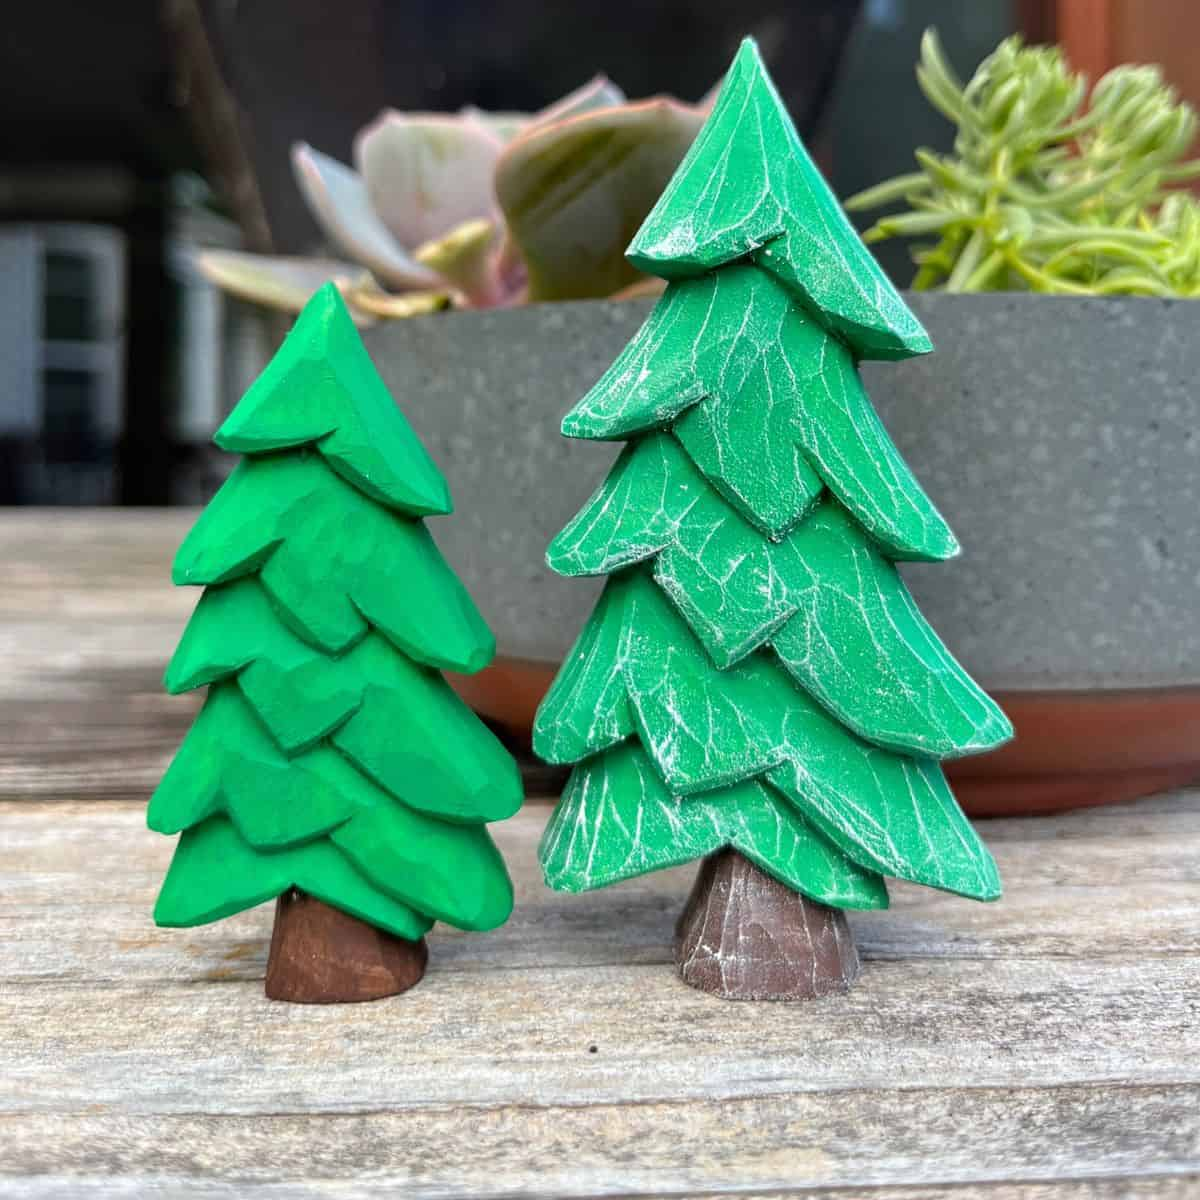
Large, flat knife cuts leave crisp facets instead of smooth curves. The style looks modern and handmade at the same time. It is excellent for learning confident, single-stroke cuts. For more of this style, see these Scandinavian flat-plane carvings.
3. Chip-Carved Tree Plaque
Pattern, not sculpture
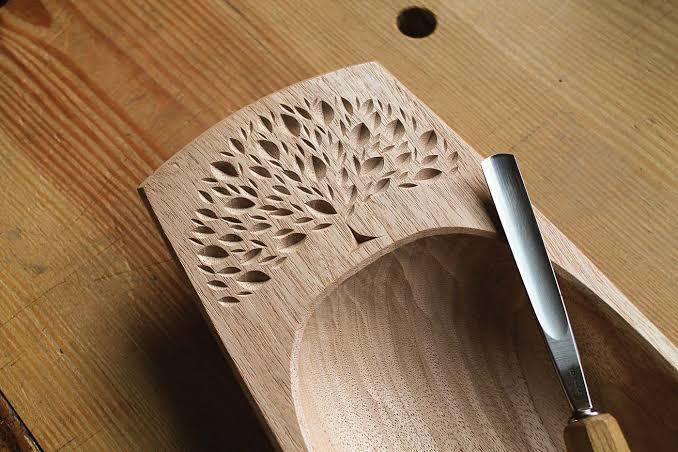
A tree outline filled with small triangular chips on a flat board. Every chip uses the same three cuts, so the work stays relaxing and repetitive. These chip carving patterns are a good warm-up before starting.
4. Stacked Tier Tree
Three tiers, instant charm
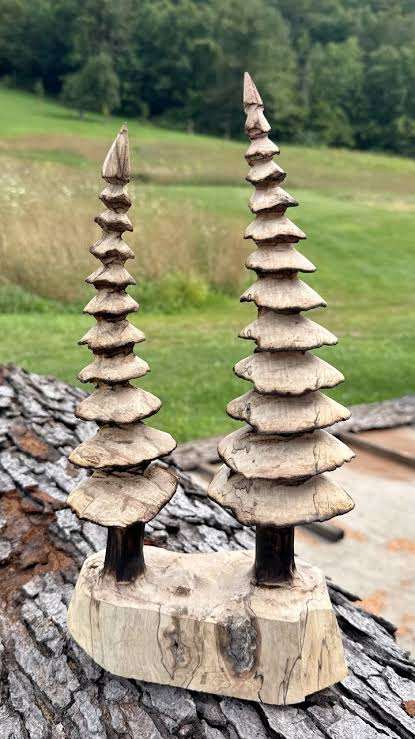
The tree is carved as distinct stacked layers, each one slightly flared at the bottom edge. Deep stop cuts separate the tiers cleanly. This design teaches depth control and looks lovely on a shelf.
5. Twig-Trunk Mini Tree
Small tree, natural stand
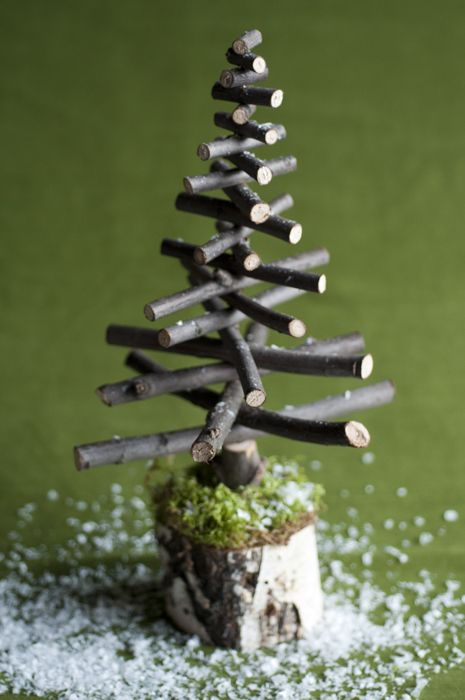
A small carved cone sits on a short twig trunk set into a round wood slice. The mix of carved and natural wood gives it a rustic feel. It is perfect for table settings and place cards.
6. Flat Tree Ornament
Made to hang on the real thing

A thin tree silhouette with softly rounded edges and a small hole drilled at the top for twine. Several can be made in one evening. These ornaments are ideal for gifts and first-time carvers.
7. Spiral Tree
One line, all the way up

A single spiral groove wraps around the cone from base to tip. Marking the spiral in pencil first keeps the spacing even. This project improves steady, controlled cuts.
8. Pencil Tree Trio
Tall, skinny and very modern
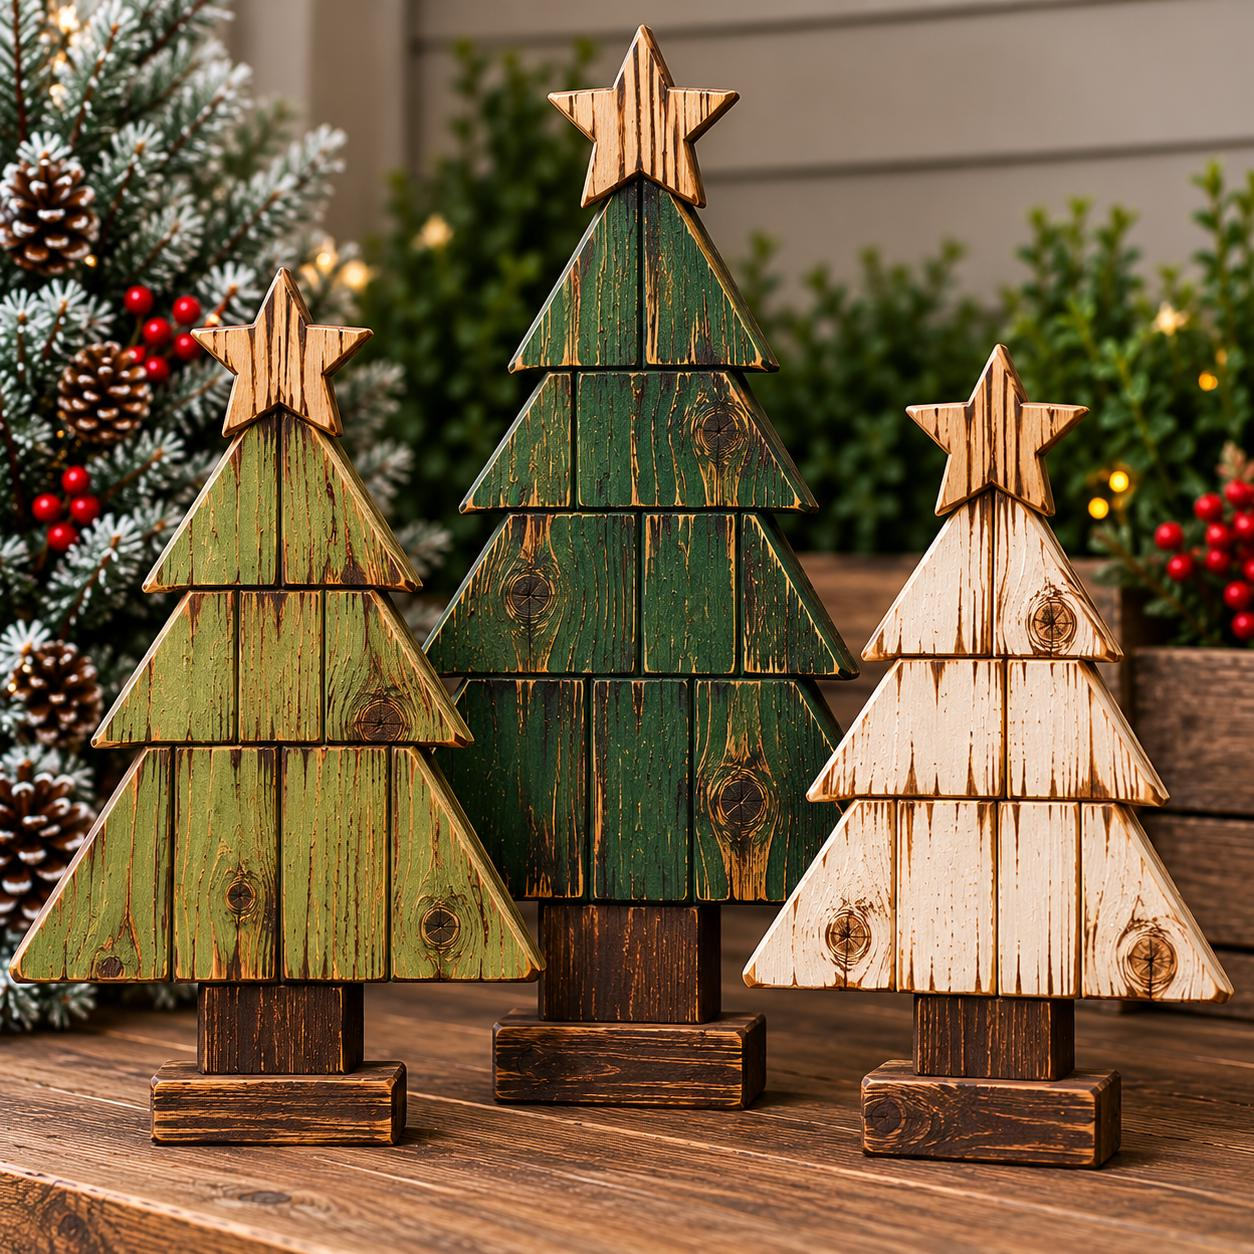
Three slim trees in different heights, carved from narrow blanks. Grouped together, they look like a miniature winter forest. The narrow shape is quick to carve and great for mantel styling.
9. Tree with a Carved Star Topper
The finishing touch
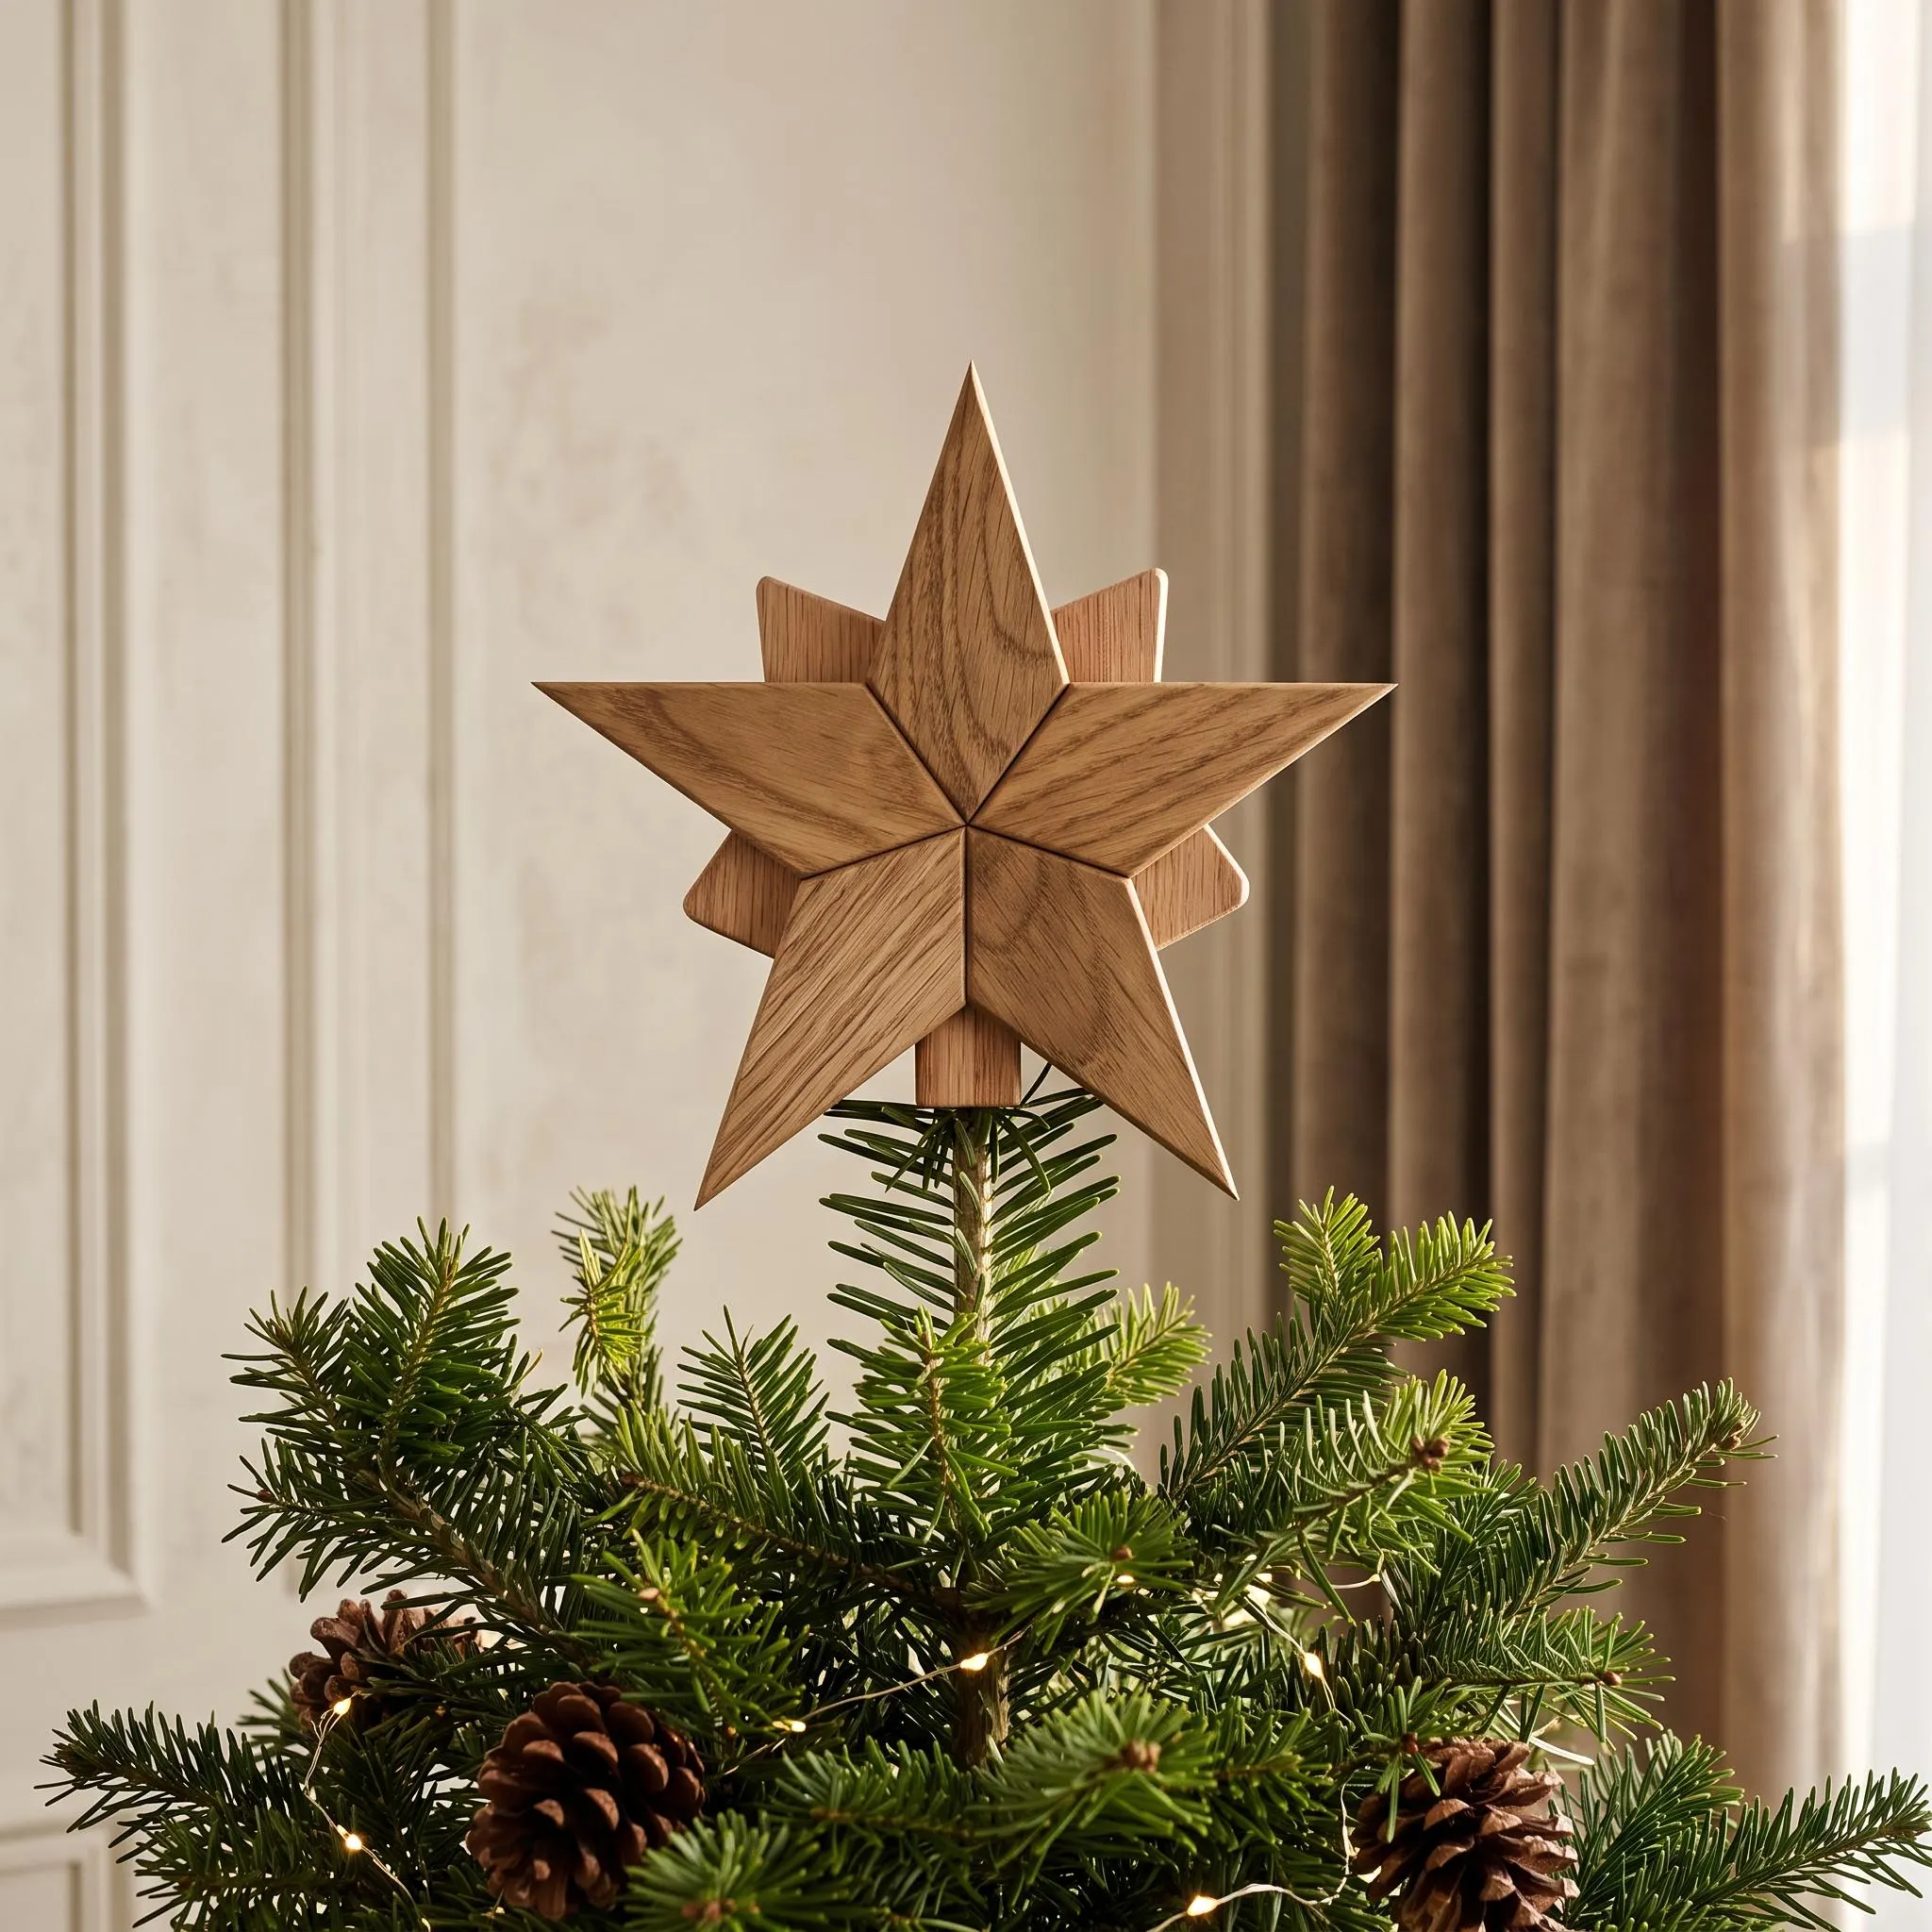
A small star is carved directly from the top of the block, so it stays attached to the tree. A dab of gold paint makes it stand out. This idea adds a fun detail without making the project difficult.
10. Snow-Capped Tree
A dusting of winter
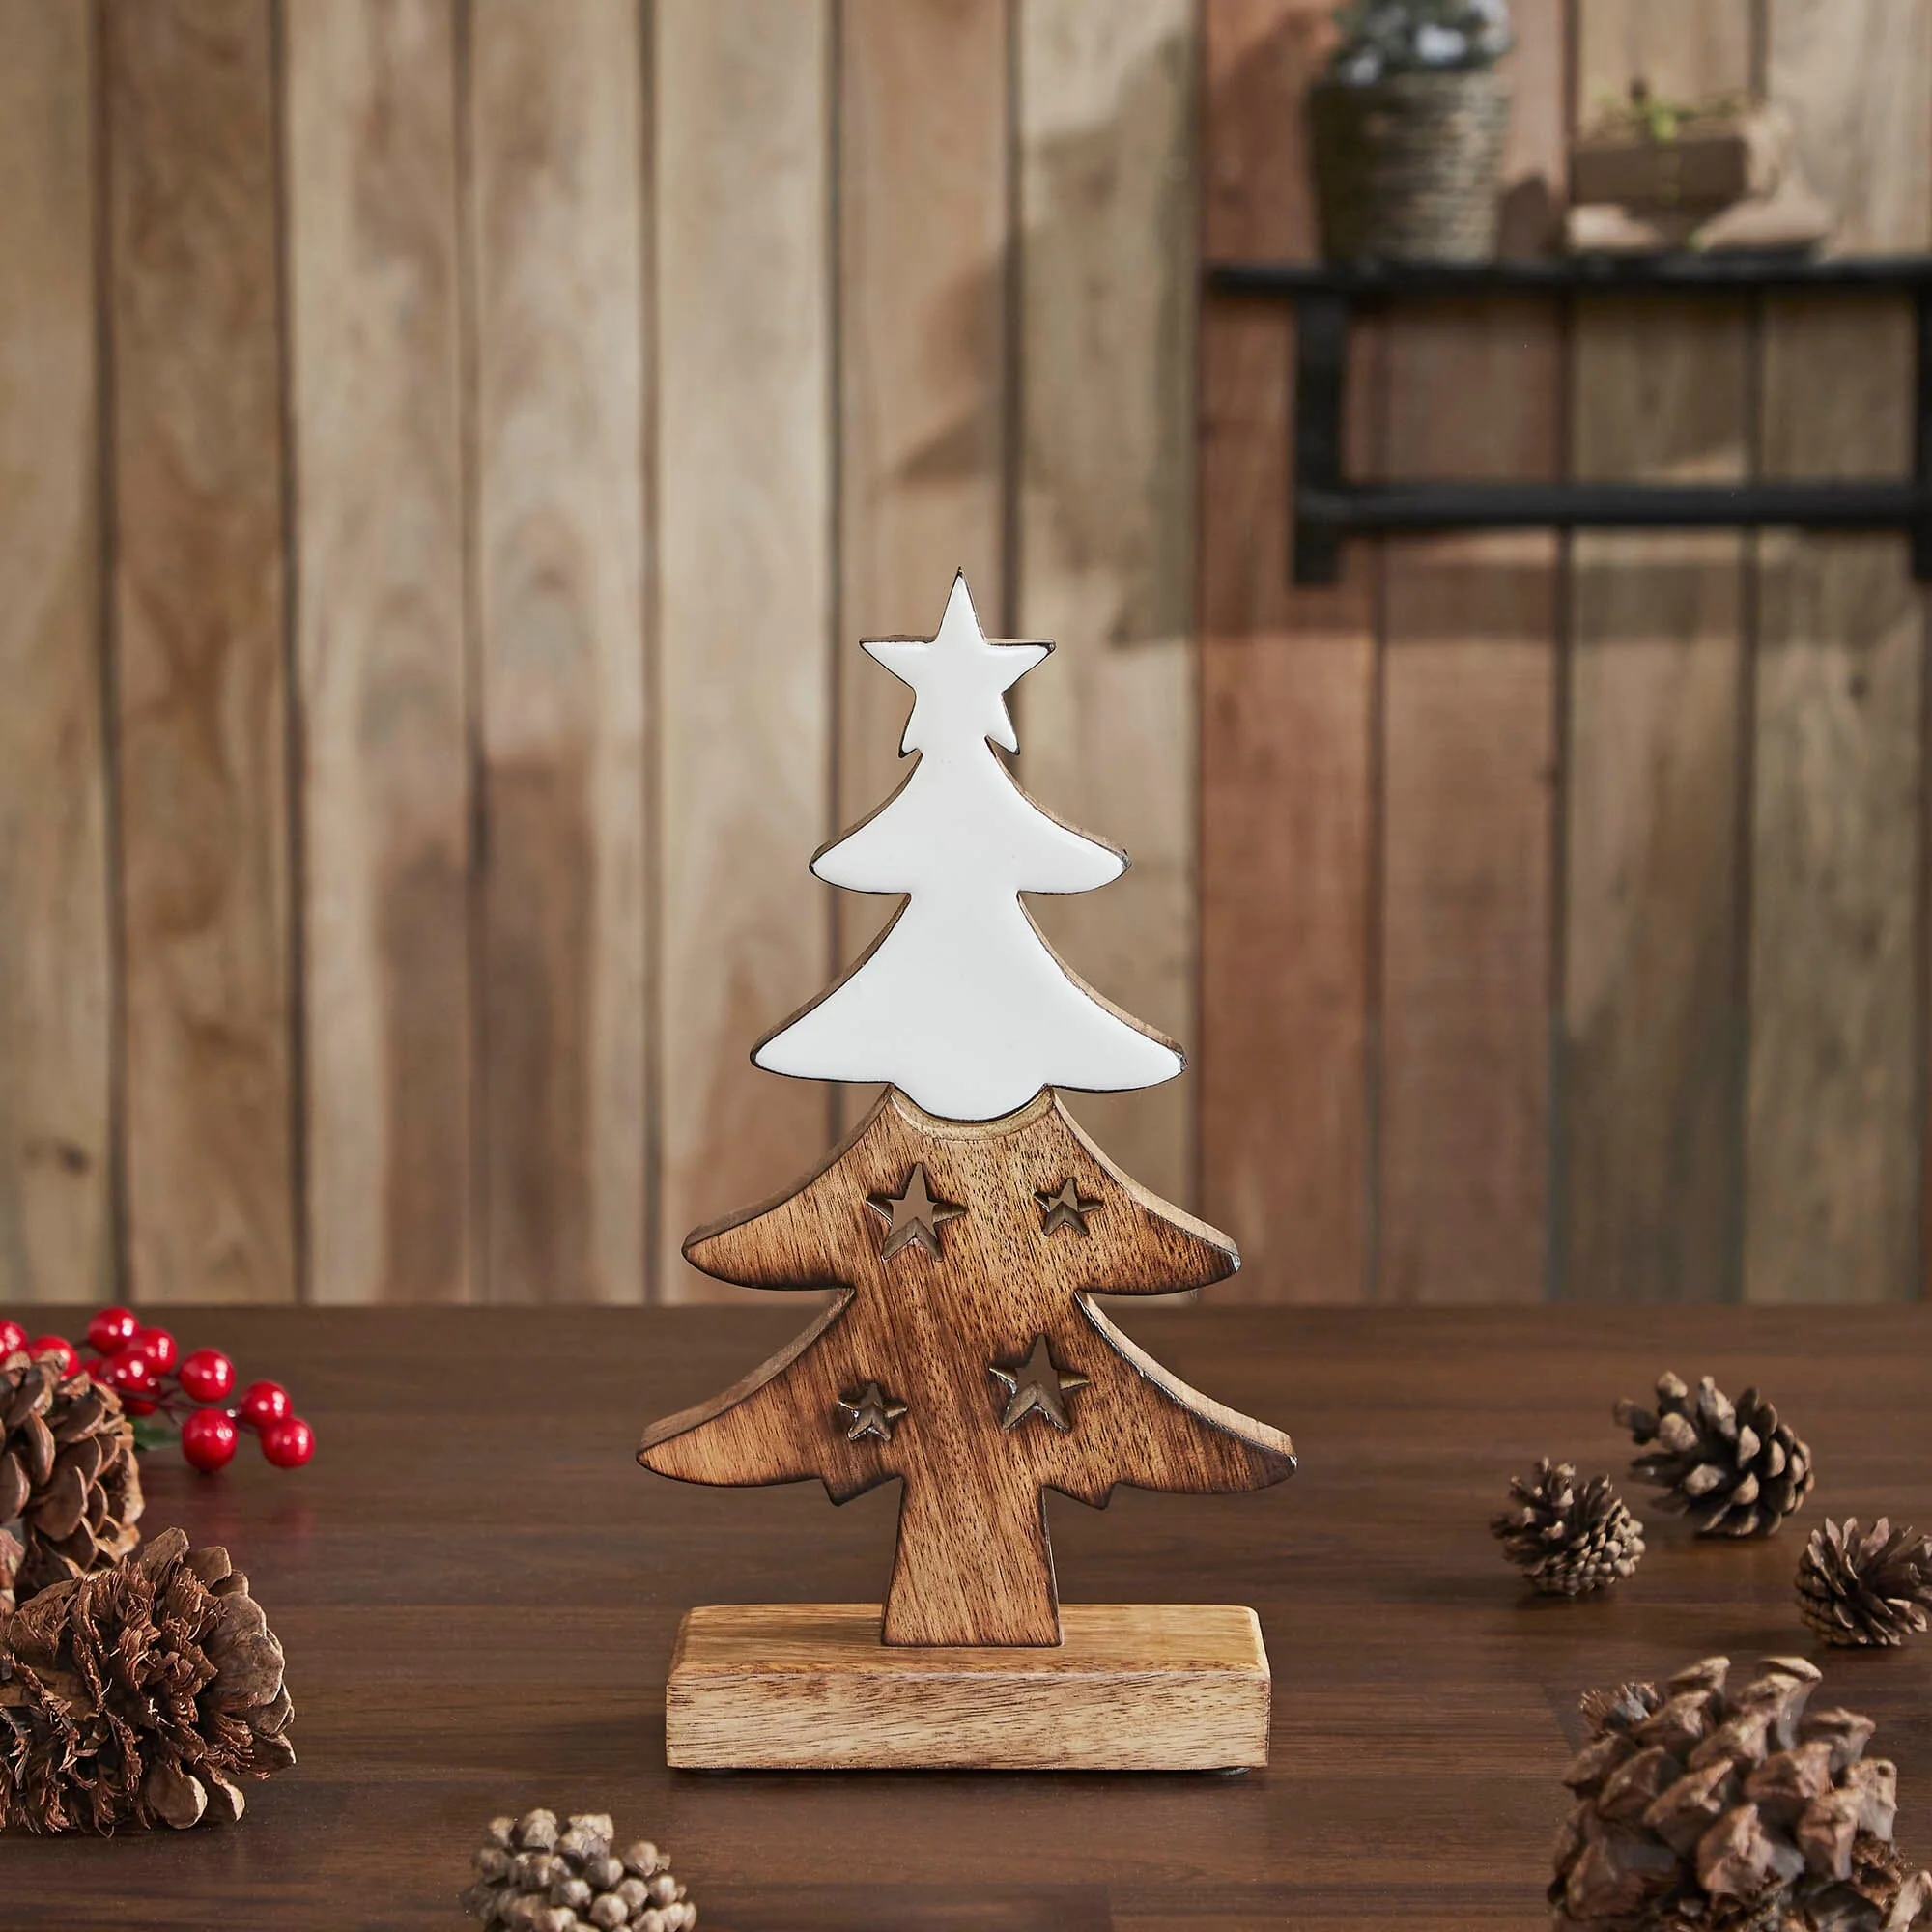
A simple branched tree with white paint dry-brushed along the tips of each tier. The contrast makes basic cuts look far more detailed. It is a great way to add a winter feel with very little extra work.
11. Relief-Carved Tree on a Wood Slice
A tree, framed by nature
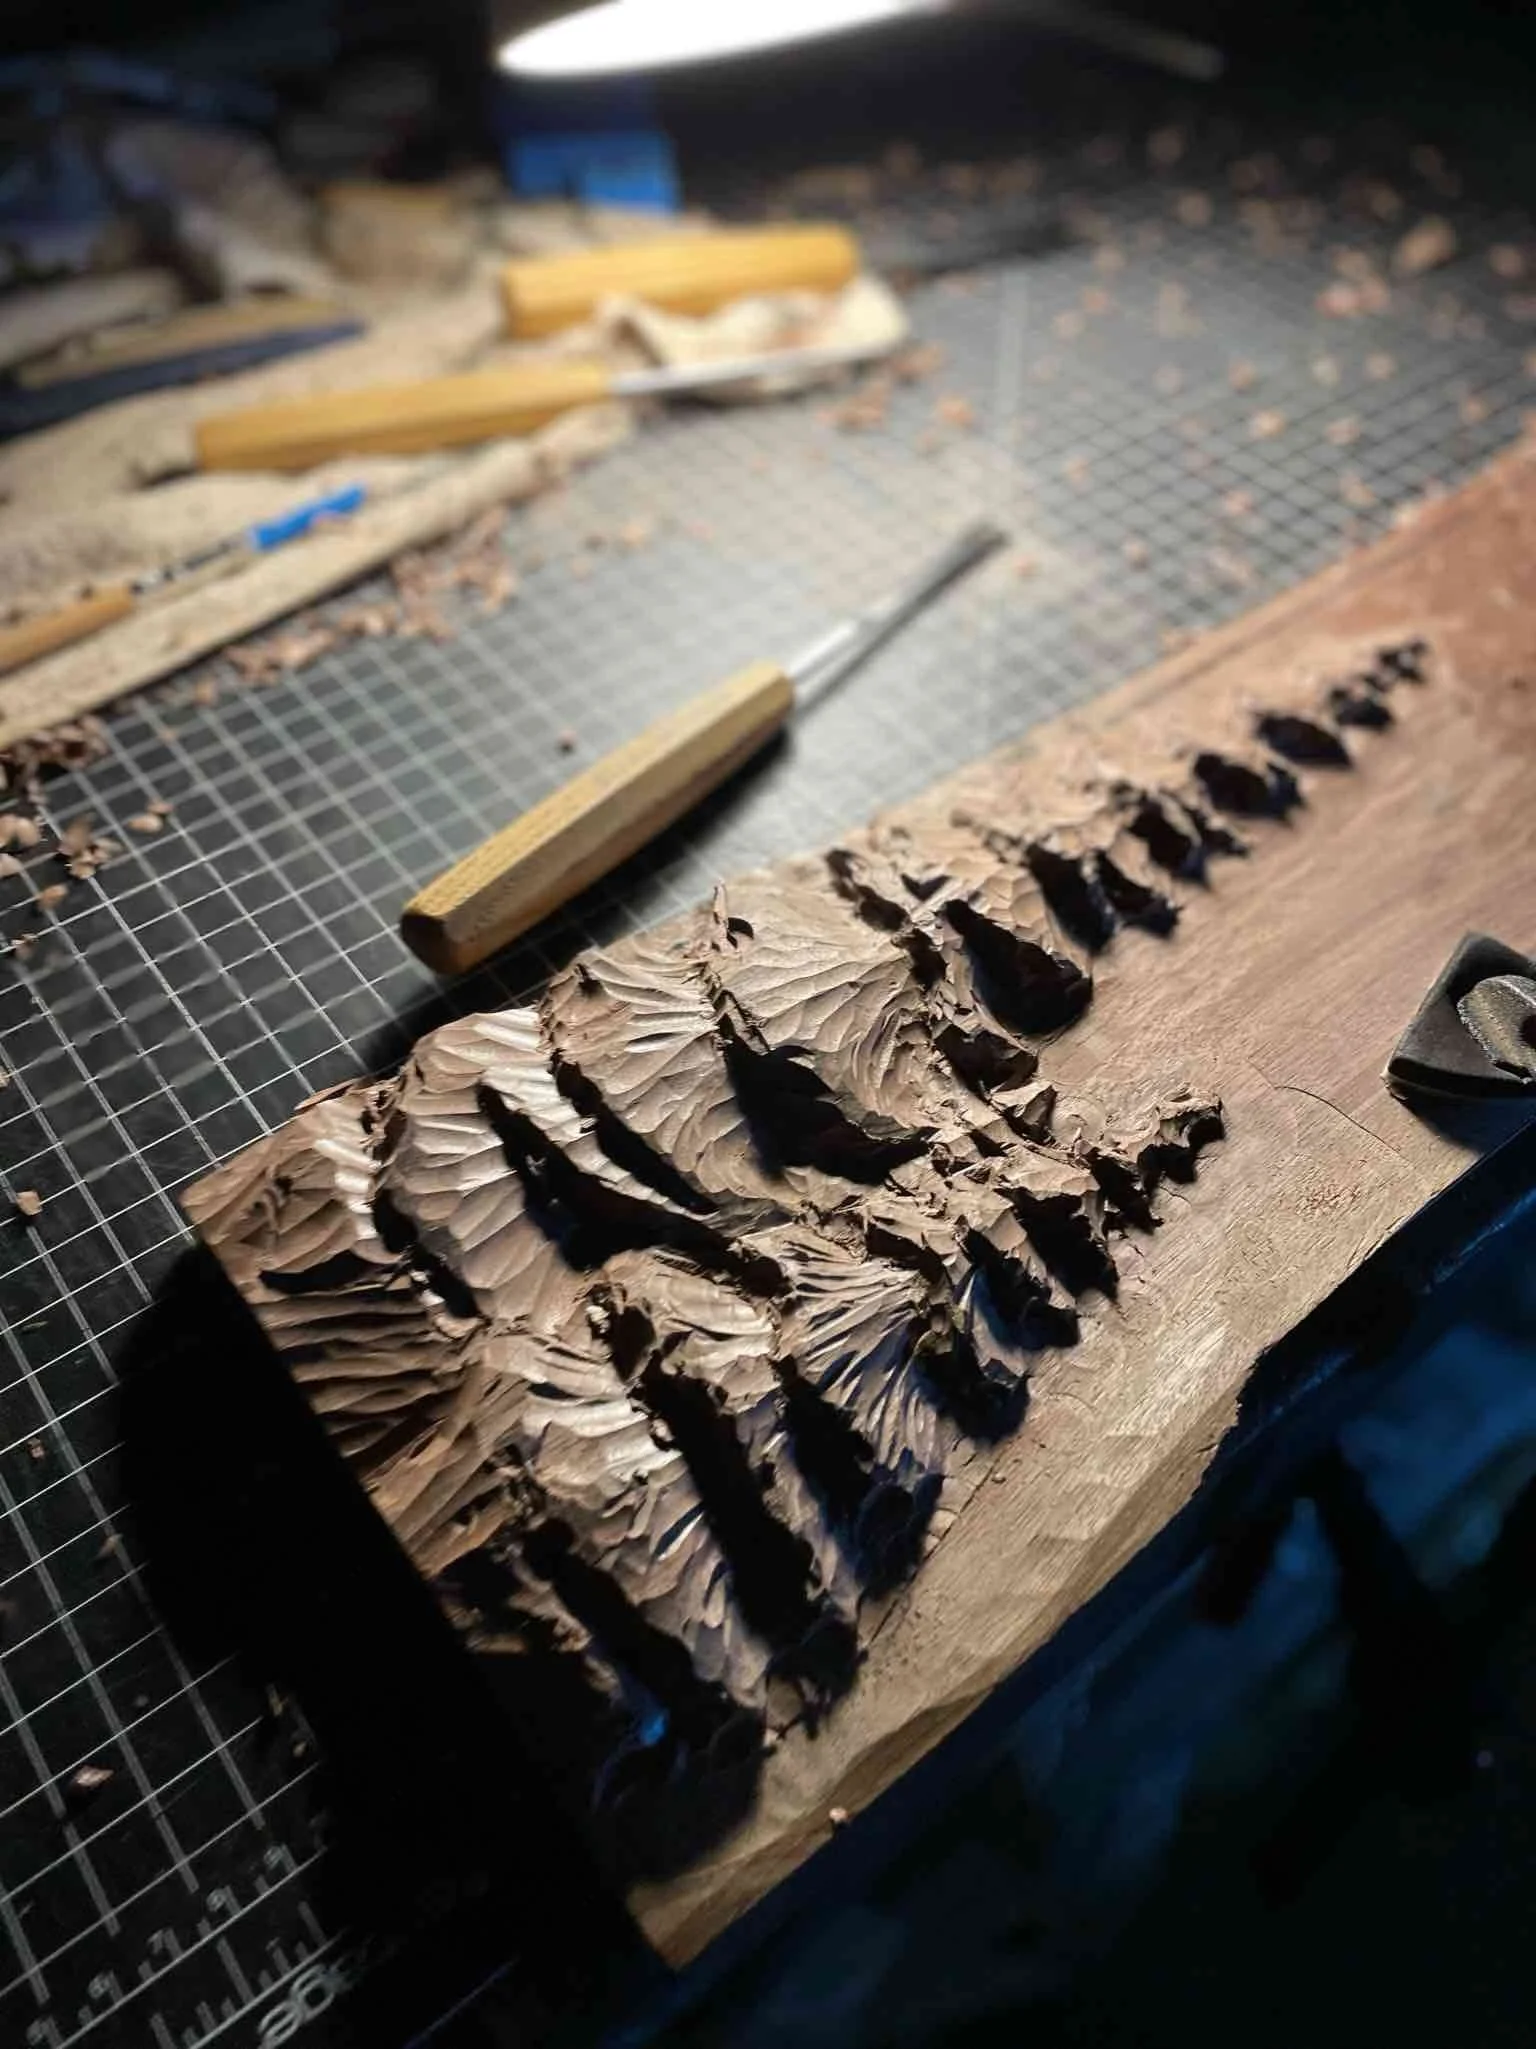
A shallow tree design carved into the face of a round log slice, with the bark edge left in place. It works as a coaster, wall hanging or gift tag. This project introduces basic relief carving in a small, manageable size.
12. Tree Family Set
Small, medium and large
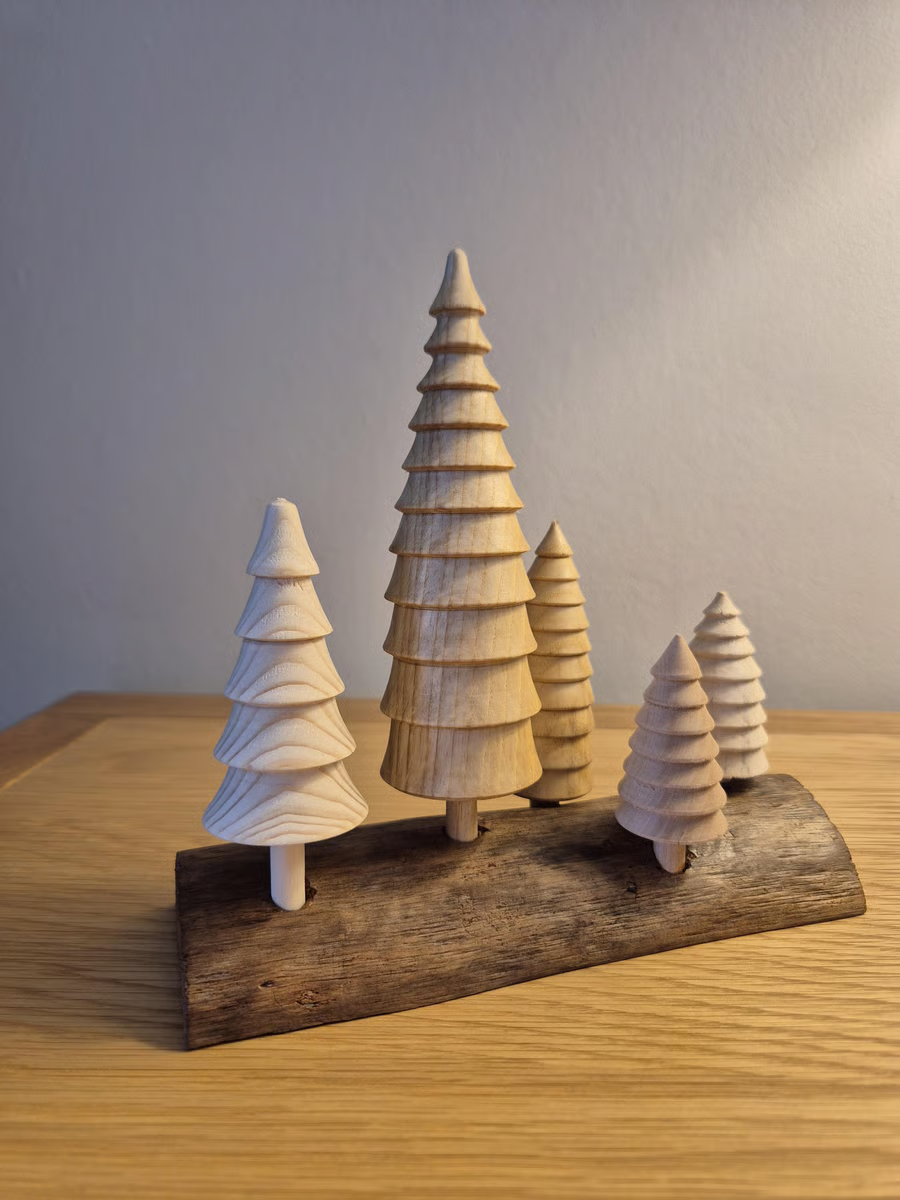
The same design carved in three sizes and displayed together. Repeating a pattern at different scales is a quiet way to build skill. The finished set makes a charming centerpiece.
13. Rustic Branch Tree
Whittled from a found stick
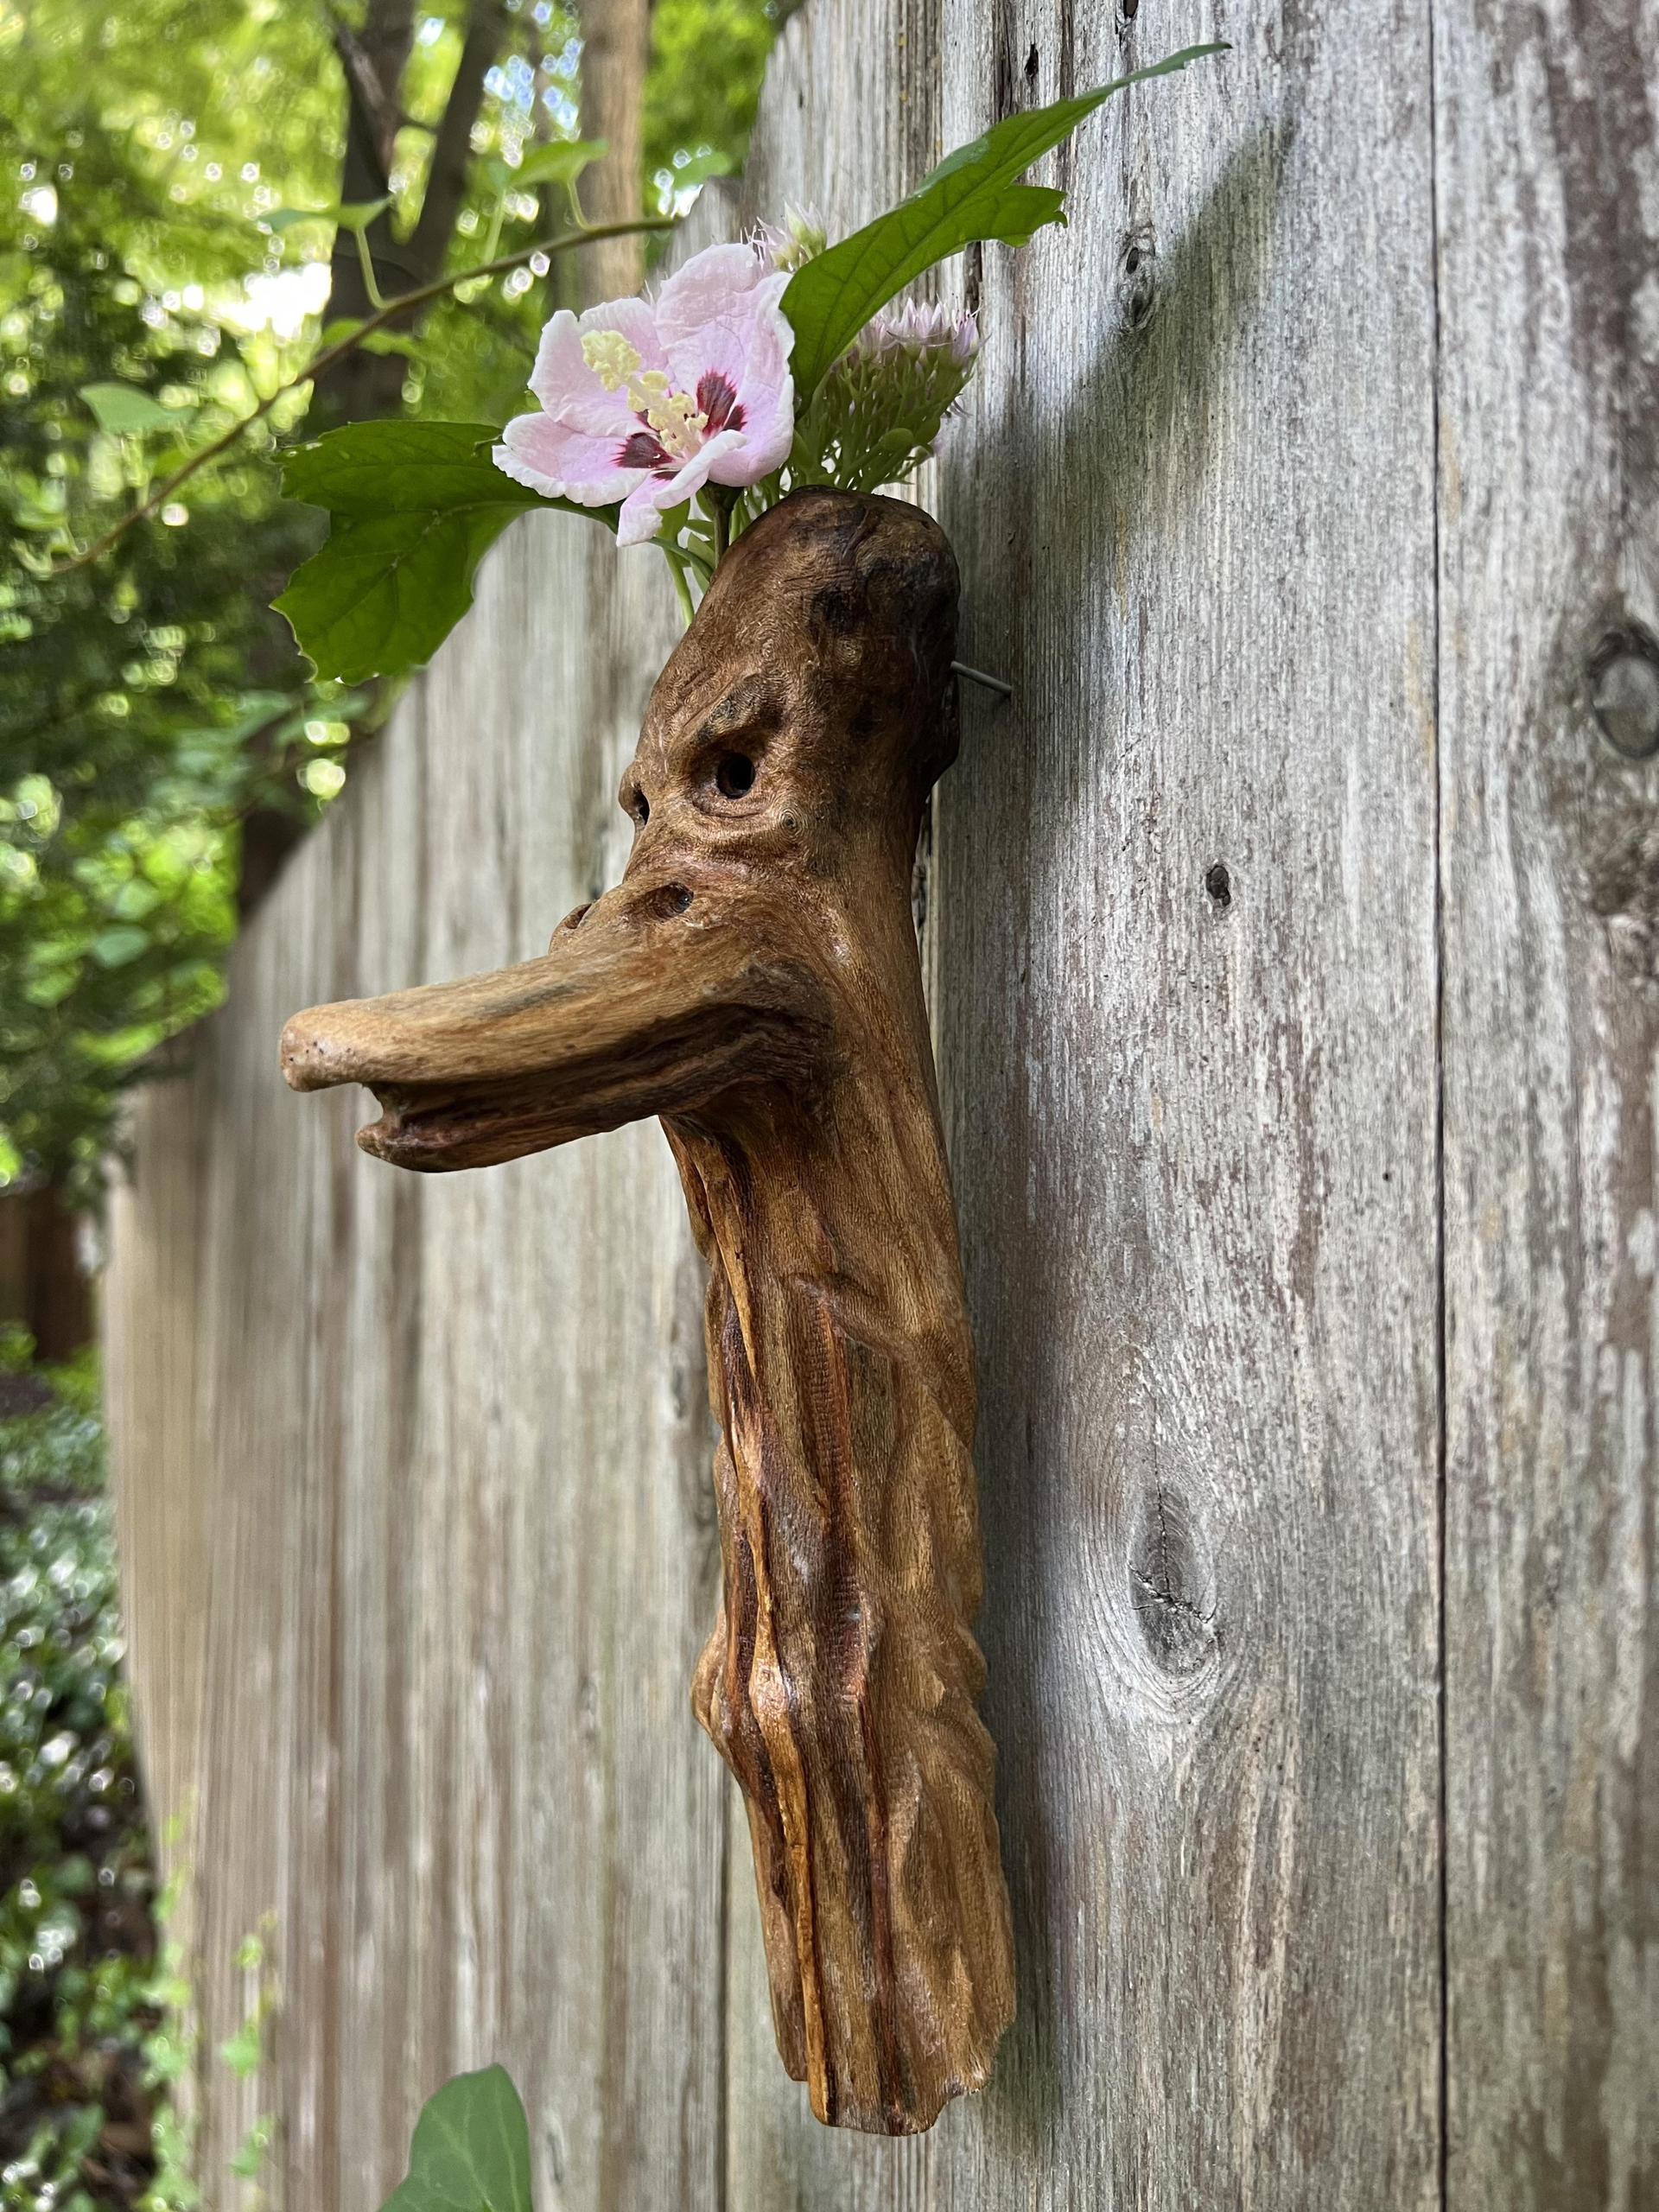
A tree shape whittled from a fallen branch, with the bark left on at the base as a trunk. No two branches are the same, so every tree has its own character. This is perfect for nature lovers and outdoor whittling sessions.
14. Tree with a Tiny Gnome
A little holiday company
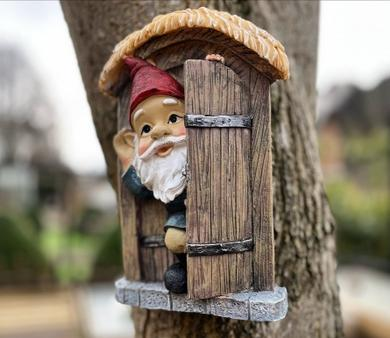
A small gnome with a pointed red hat is carved at the base of the tree, sharing the same block. The gnome needs only a hat, a nose and a beard. It adds personality while keeping details simple.
15. LED Tea Light Tree Holder
A soft glow for the table
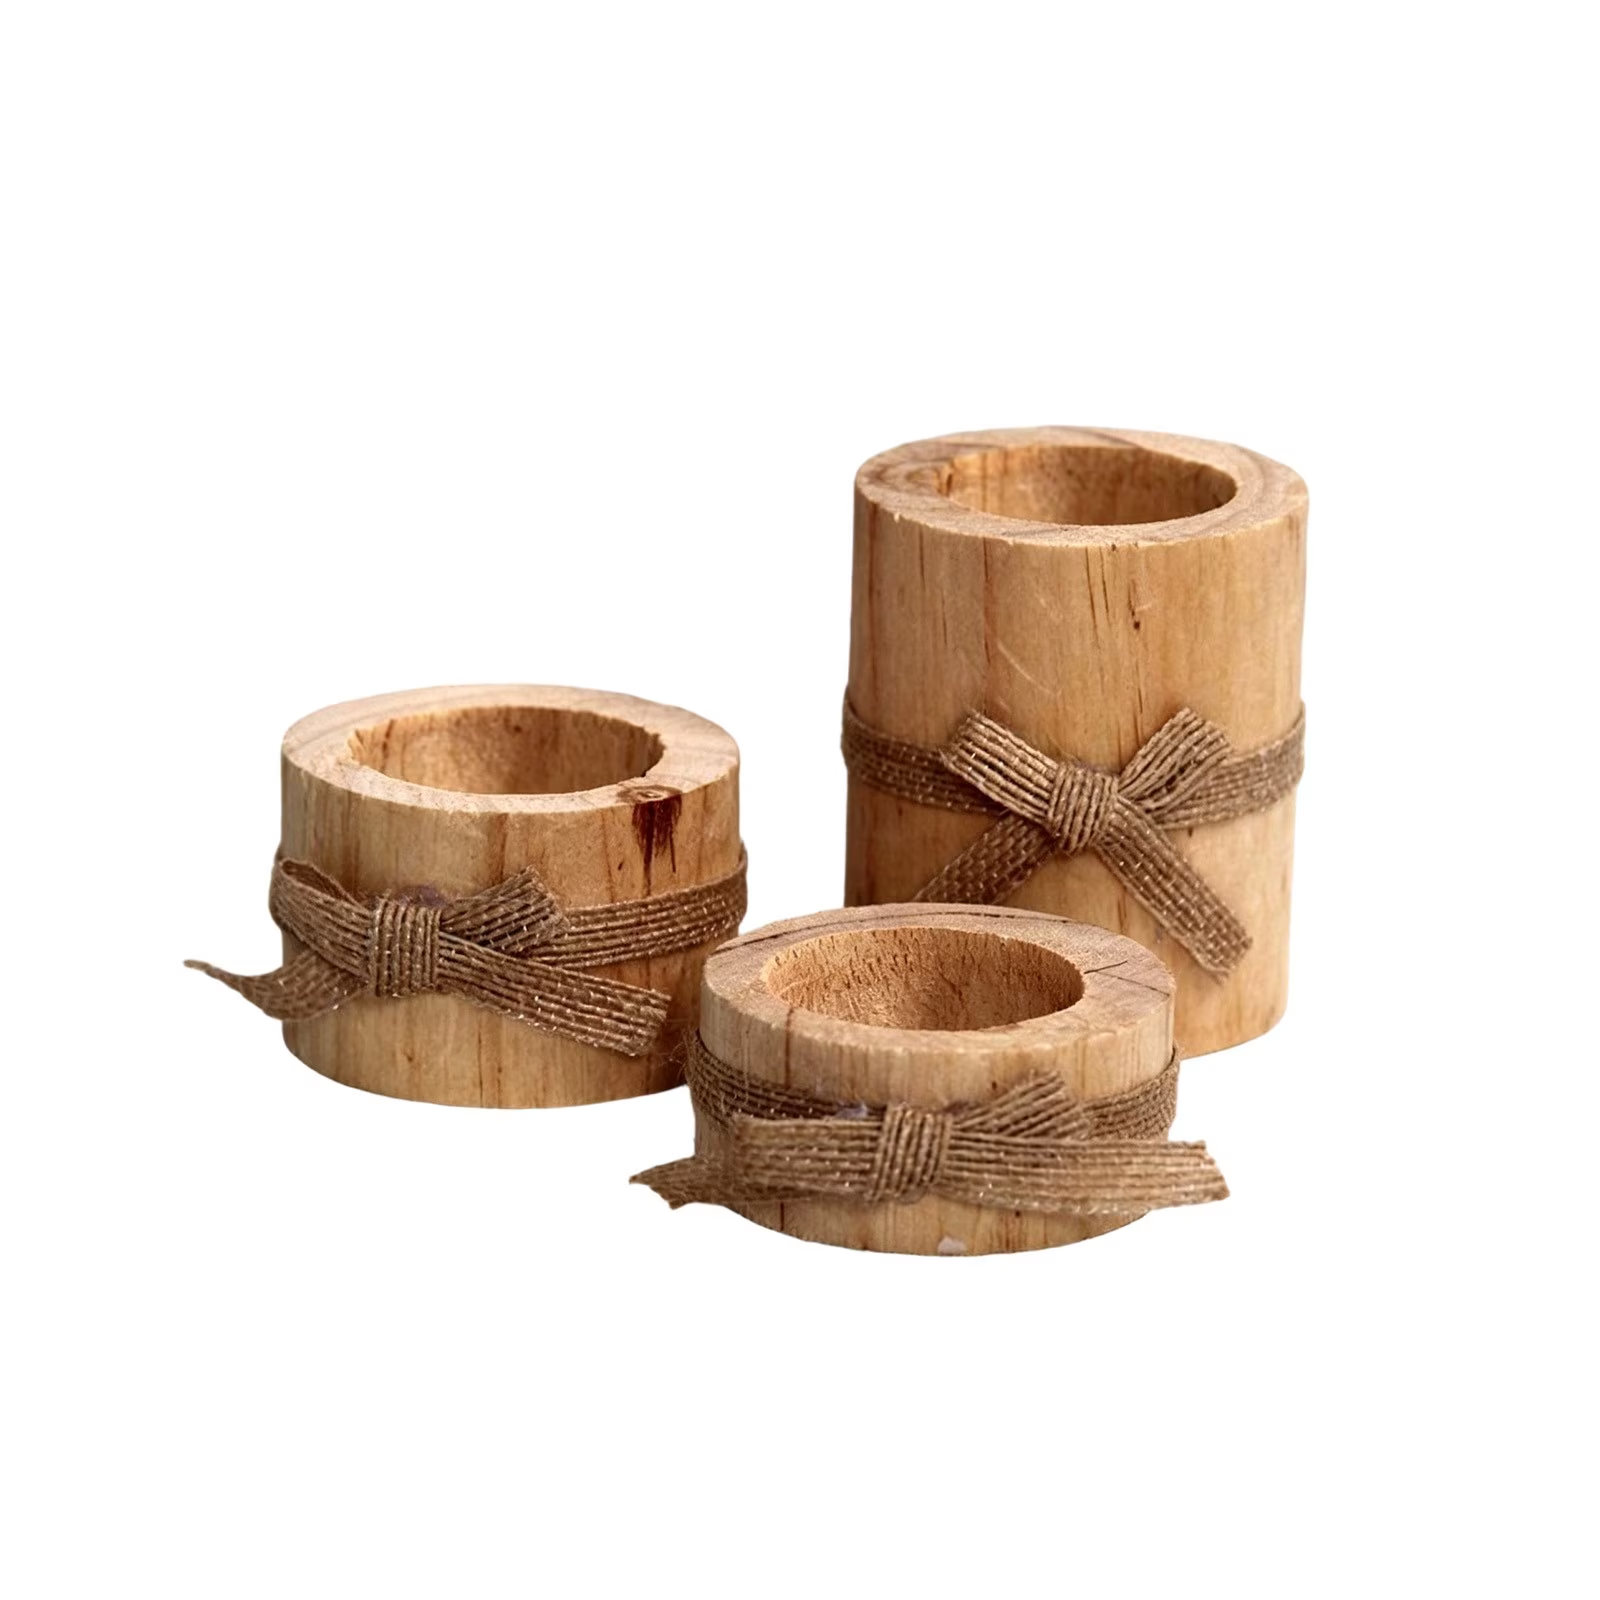
A wide, low tree with a shallow round recess drilled into the front or top to hold a battery-powered tea light. Use LED lights only, never real flames, with wood. It makes a cozy table piece for winter evenings.
16. Faceted Geometric Tree
Angles instead of branches
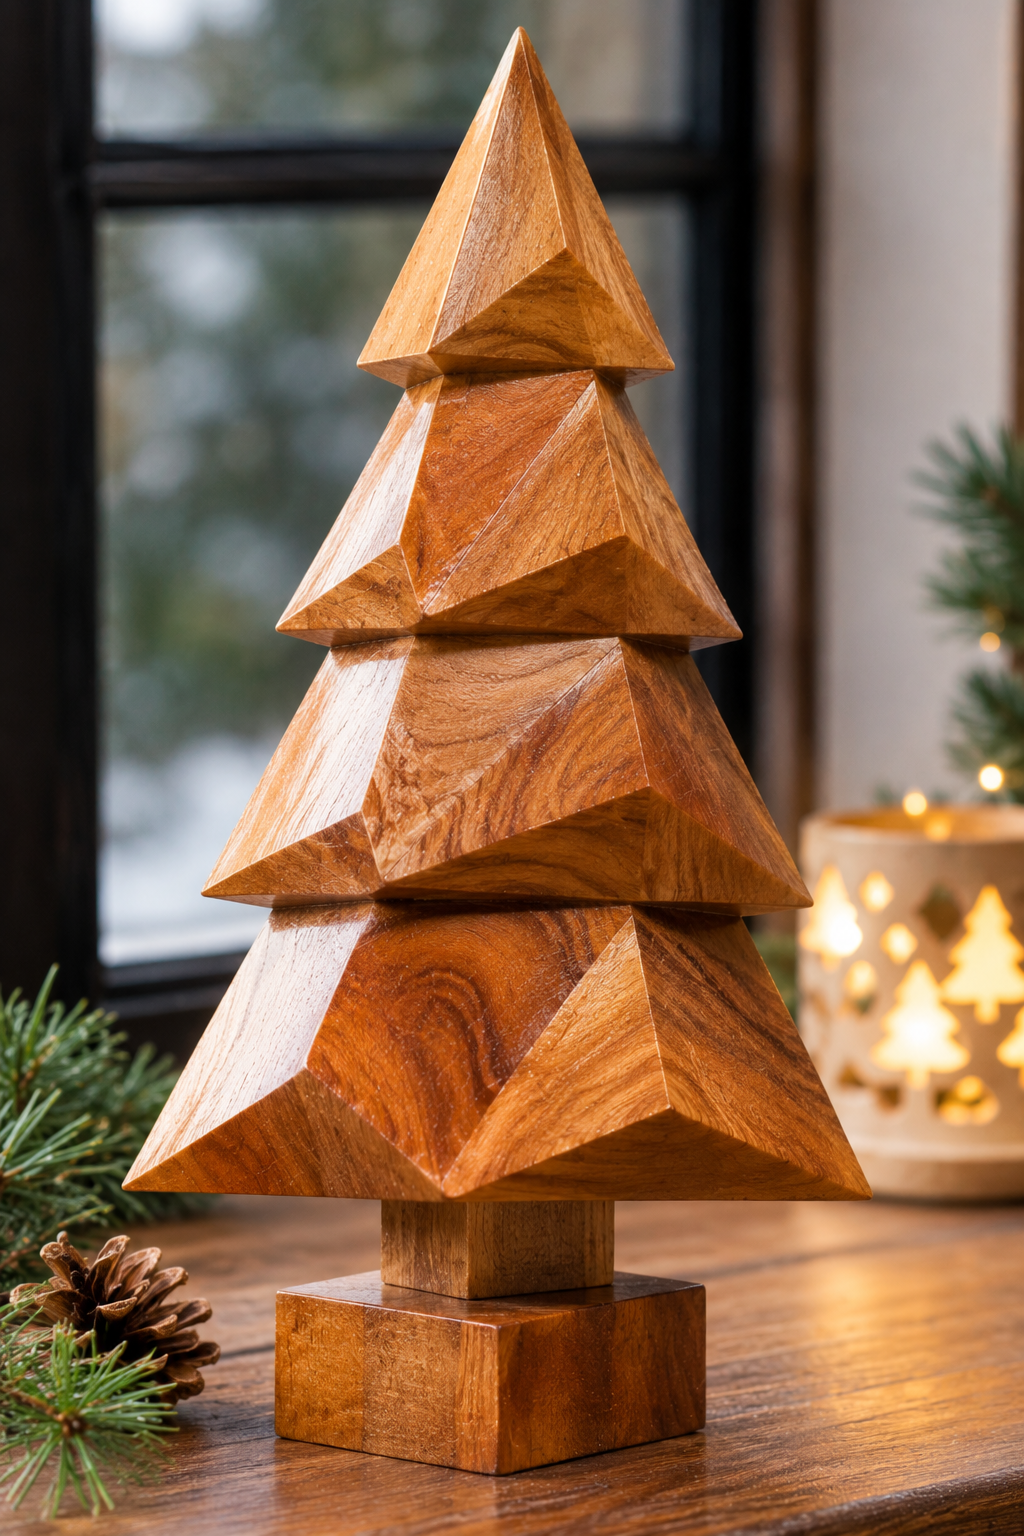
The tree is shaped entirely from angled triangular facets, with no branch cuts at all. An oil finish brings out the light catching each plane. This design suits modern homes and teaches careful planning.
Beginner Tips for Christmas Tree Carving
Start with basswood, which is soft, even-grained and easy to cut. Keep your knife very sharp and make light, controlled cuts instead of forcing deep ones. Shape the overall cone first, then add branches and details. Always carve with the grain, and wear a cut-resistant glove on the hand holding the wood. Thin acrylic paint lets the wood grain show through. If you are unsure which wood to buy, this guide to the best wood for whittling will help.
Final Thoughts
Christmas tree carvings prove that simple shapes can make beautiful holiday decor. They are quick to finish, easy to personalize and perfect for gifts, ornaments and mantel displays. Start with a classic cone, try a new style each evening and you will have a handmade forest before the holidays arrive.





Leave a Reply
You must be logged in to post a comment.