Fish are one of the best subjects a new woodcarver can choose. Their bodies are naturally streamlined and forgiving, which means you can focus on learning how your knife moves through wood without worrying about complex anatomy or fragile details.
Whether you’re whittling with a single knife or experimenting with relief carving, these nine fish carving ideas will help you build confidence, practice essential techniques, and end up with something you’re proud to display or give as a gift.
Why Fish Are Perfect for Beginners
- Simple shapes: A fish is essentially an oval with a tail—instantly recognizable
- Forgiving proportions: Even if your fish is too chunky or too flat, it still looks like a fish
- Minimal fragile parts: Unlike birds with thin legs or deer with antlers, fish have few breakable pieces
- Endless variety: You can go realistic, cartoonish, rustic, or decorative
Let’s get started.
1. Flowing Betta Pendant
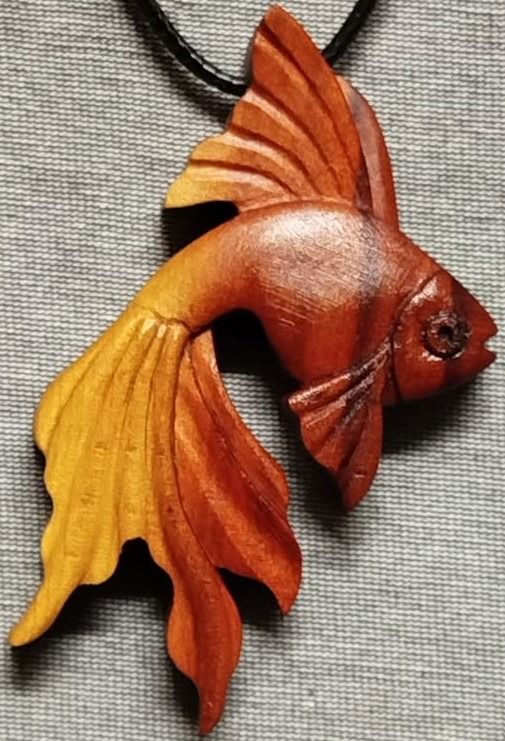
This vibrant carving demonstrates how a simple fish body can be transformed by flowing, wavy fins. It’s a fantastic project for practicing thin, delicate cuts and experimenting with warm wood stains or gradients to give the piece a sense of movement.
2. The Simple School
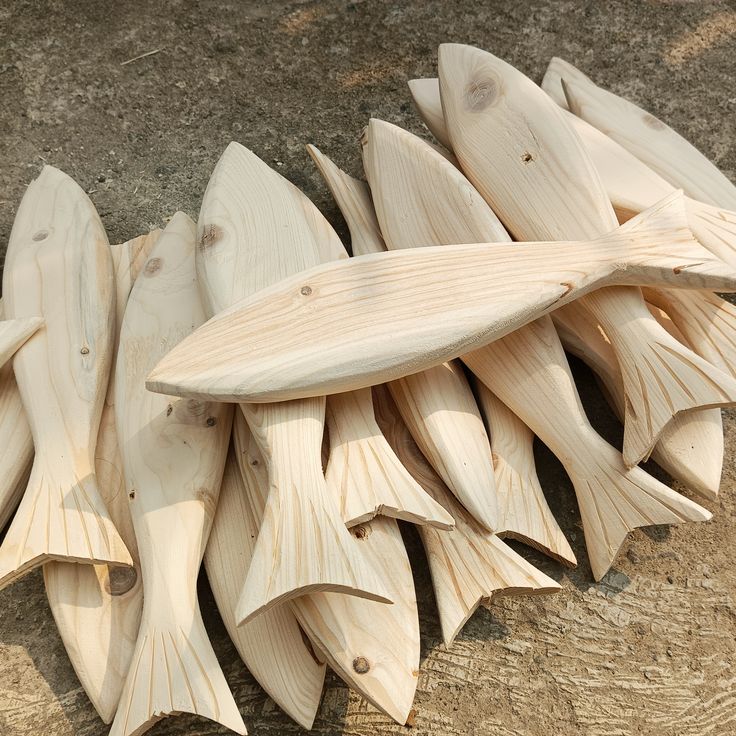
Sometimes quantity is the best way to practice. These minimalist, light-wood carvings focus on the core silhouette of a fish. Carving a “school” like this helps you master the basic almond shape and consistent tail notches without the pressure of intricate detailing.
3. Detailed Bass Carving
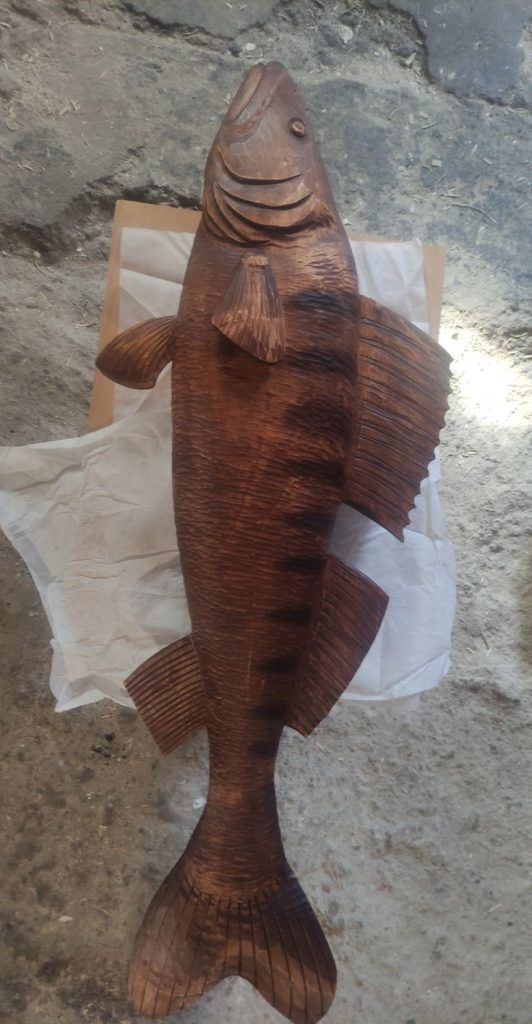
For those ready to try texture, this longer, more realistic fish is a perfect next step. The vertical ridging on the fins and the subtle gill lines show how a few intentional “stop cuts” can add significant character and depth to a flat piece of wood.
4. Relief Carved Fish
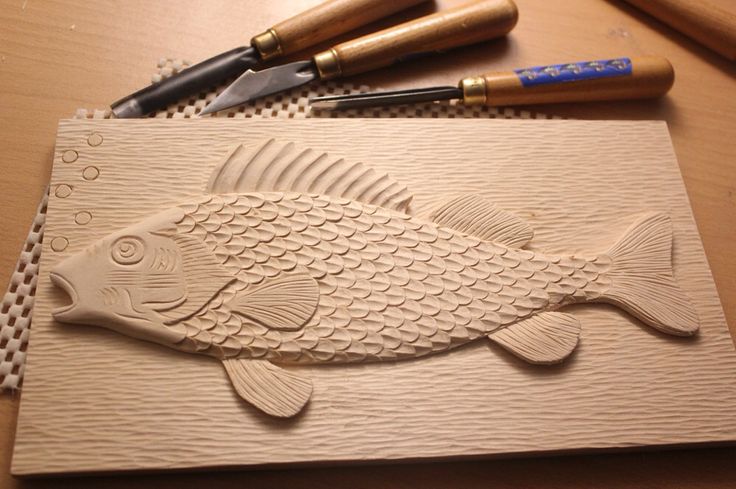
Relief carving is a fantastic way to practice scales and texture without worrying about the fish’s 3D symmetry. This project focuses on removing the background wood to let the fish “pop” forward, making it an excellent exercise for using chisels and gouges to create uniform patterns.
5. Salmon on a Stand
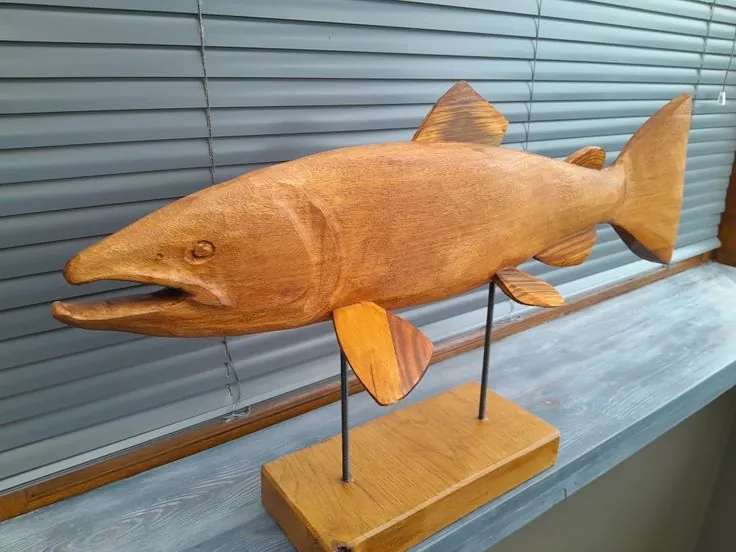
Once you’ve mastered a basic 3D body, mounting your carving on a simple wooden base with metal pins elevates it into a professional-looking desk accessory. This design features a more realistic open-mouth detail, which is a great way for beginners to practice careful interior cuts.
6. The Miniature Micro-Fish
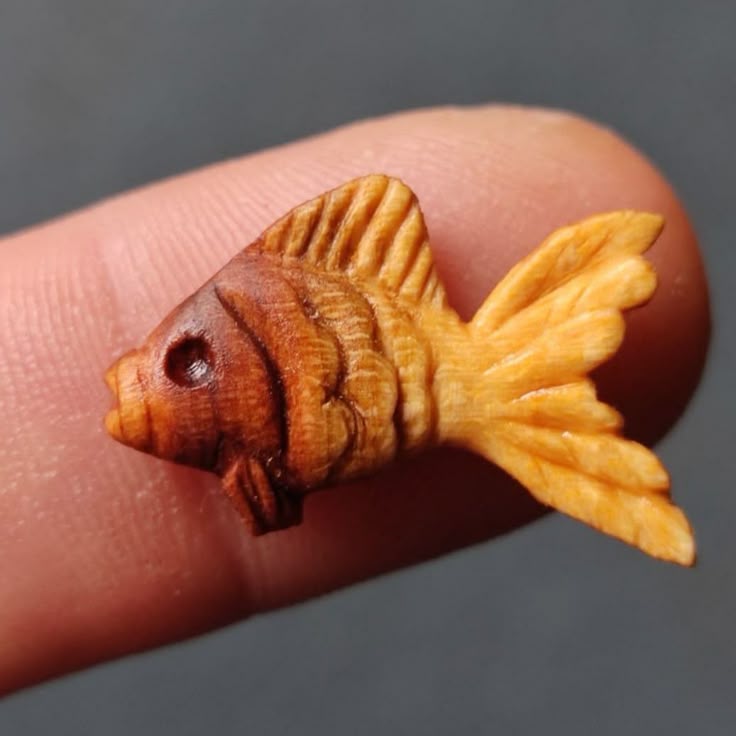
If you have small scrap pieces of wood, try a micro-carving. This tiny fish proves that you don’t need a large block to create something detailed. Because it’s so small, it forces you to focus on the essential lines—the gill, the eye, and the fin ridges—honing your fine motor skills.
7. Jumping Trout Pendant
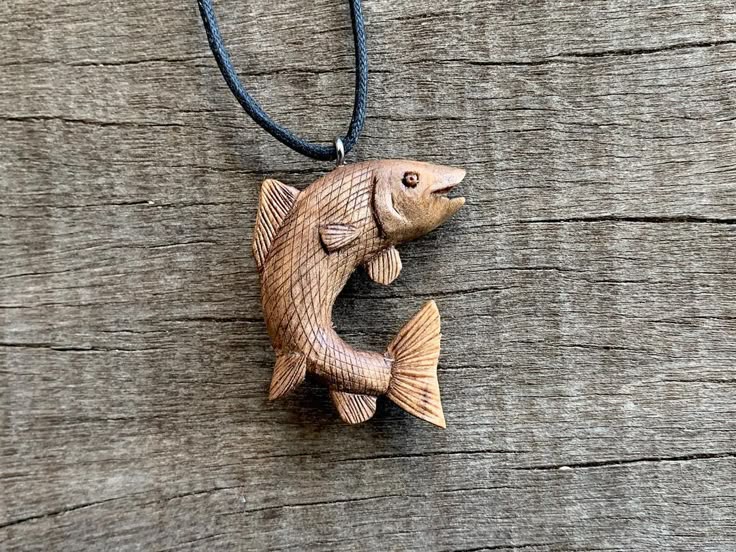
Capturing a fish in a curved, “jumping” pose adds life and energy to your carving. This piece is finished with a small eyelet, turning it into a wearable piece of art. The cross-hatched texture on the body is a simple but effective way to represent scales without carving each one individually.
8. Hand-Held Bass Silhouette
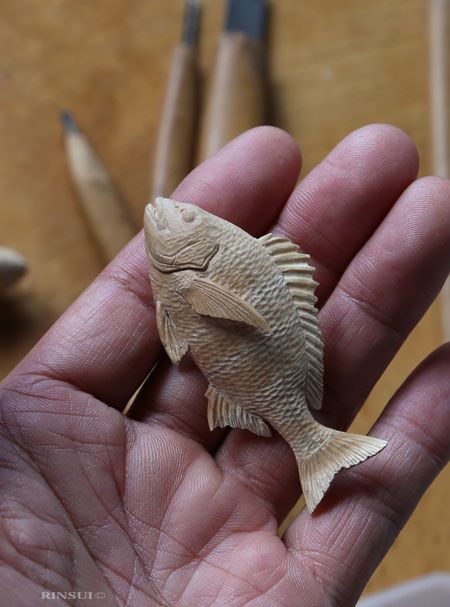
This carving fits perfectly in the palm of your hand, making it a great “fidget” fish or pocket charm. The focus here is on achieving a smooth, rounded body that feels comfortable to hold. Notice the fine ridging on the dorsal fin—a simple detail that provides a nice tactile contrast to the polished body.
9. Abstract Interlocking Fish Sculpture
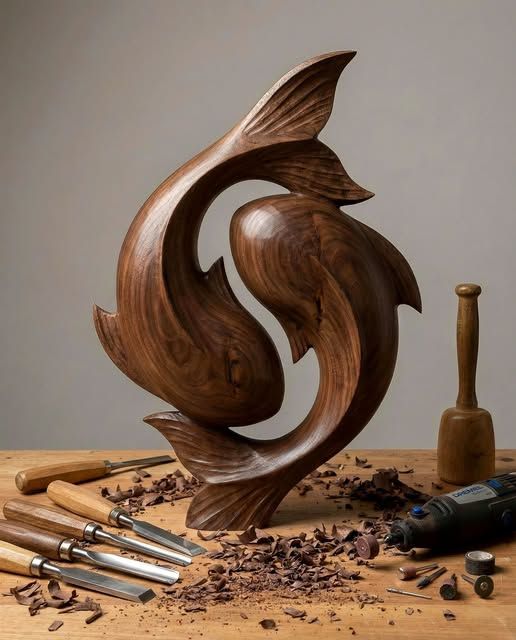
For carvers interested in interior design pieces, this elegant, modern sculpture features two fish curving into one another. It focuses on smooth, sweeping lines and high-gloss finishes rather than anatomical detail. This is a perfect project for practicing how to sand and polish wood to a professional shine.
10. Brightly Painted Pike
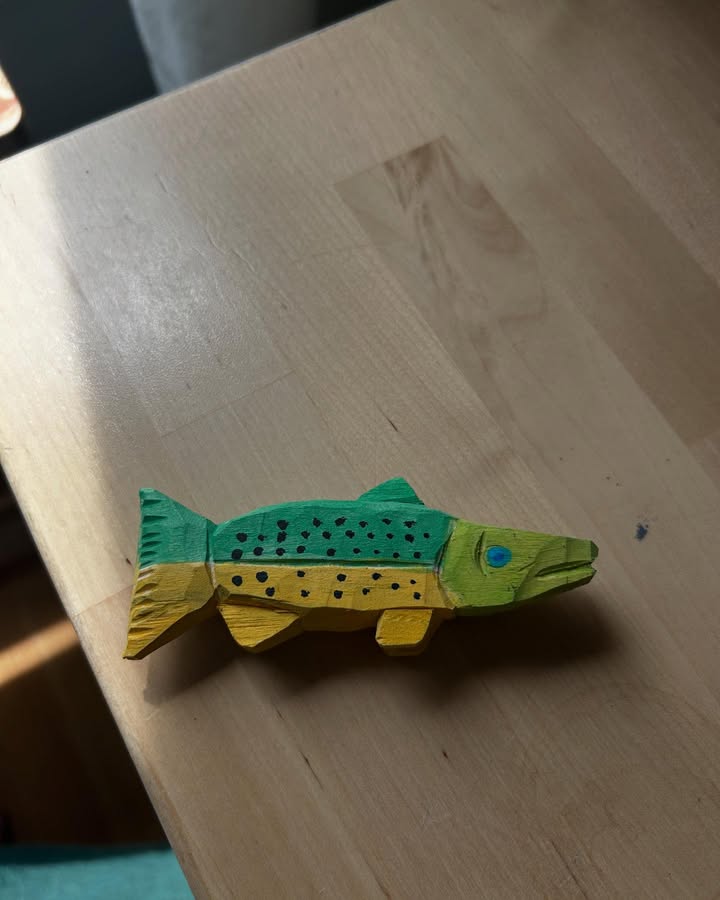
Don’t be afraid to add a splash of color! This folk-art style carving uses vibrant greens and yellows with simple painted dots to represent the markings of a Pike. Painting your carvings is a clever way for beginners to add character and personality even if the underlying wood shape is kept simple.
11. Colorful Pocket Charms
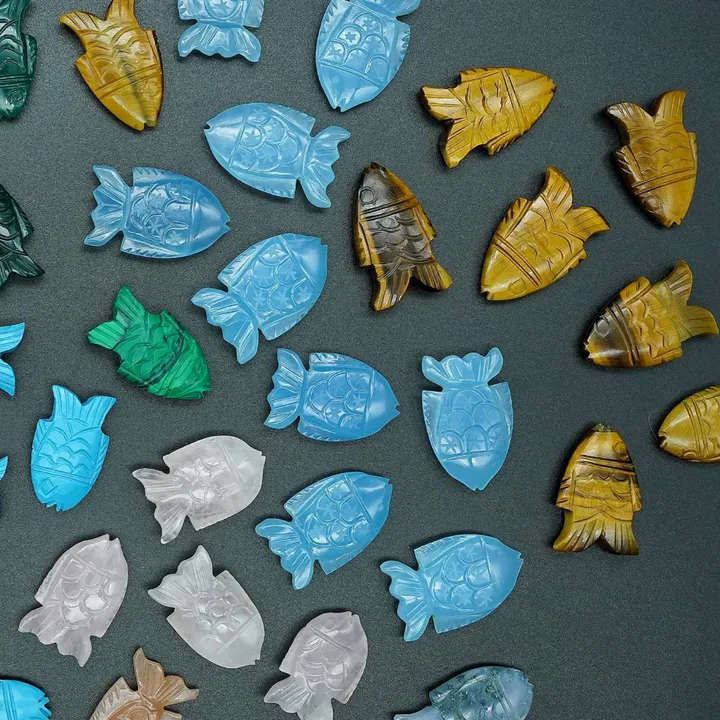
These small, vibrant fish are a great way to use up those odd-shaped wood scraps. By using different stains and paints—like these turquoise, gold, and white finishes—you can create a diverse “catch” in one afternoon. They make excellent gifts or tokens for friends.
12. Folk-Art Bluegill on a Live-Edge Base

This characterful, teal-painted fish shows how a rustic carving can become a conversation piece. Mounted on a simple cross-section of a branch with a bit of wire for “reeds,” it demonstrates that you don’t need an expensive display to make your work look professional and artistic.
13. Mixed-Material Salmon Family
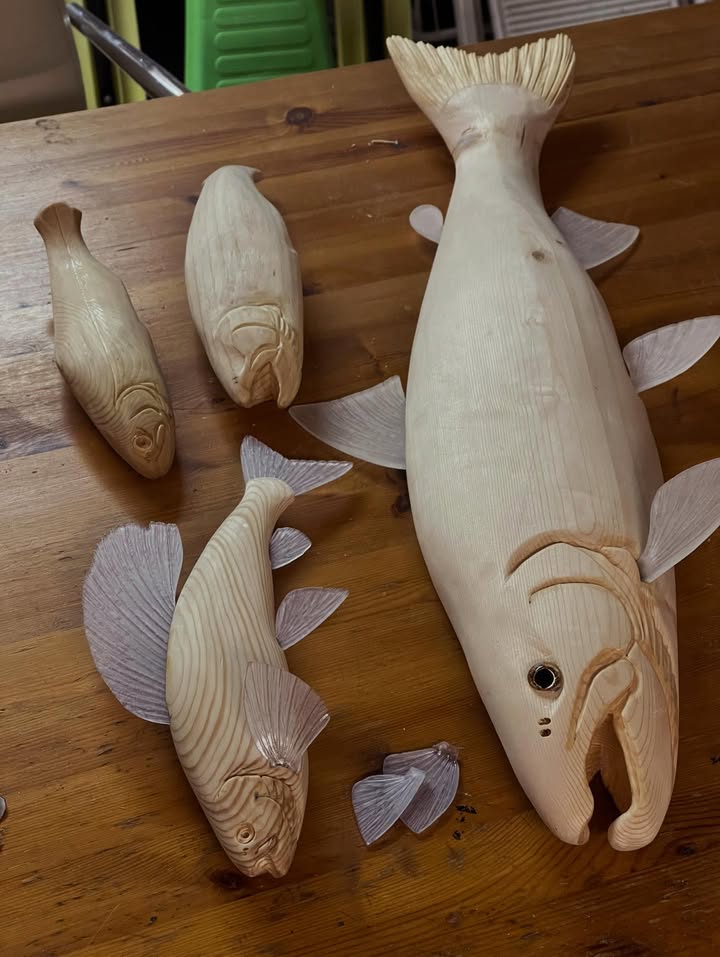
Carving a set of fish in varying sizes is a fantastic way to practice consistency. This project takes it a step further by using thin, translucent materials for the fins and tails, contrasting beautifully with the smooth, natural grain of the wood bodies. It’s a perfect example of how combining wood with other craft materials can add a modern flair.
14. Hand-Sized Bass Rough-Out
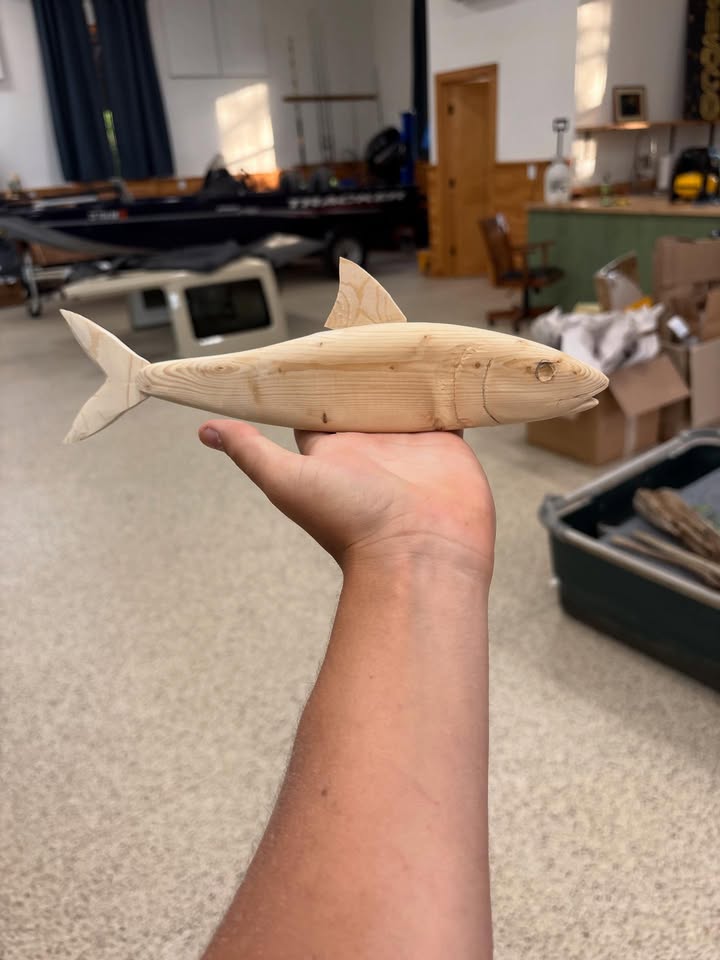
This is a perfect example of a “rough-out,” where the primary focus is on the profile and the basic volume of the fish. Holding the carving in your hand like this helps you gauge the weight and balance. It’s an ideal stage to practice smoothing out knife marks before moving on to the finer details of the gills and fins.
15. Large Scale Salmon Study
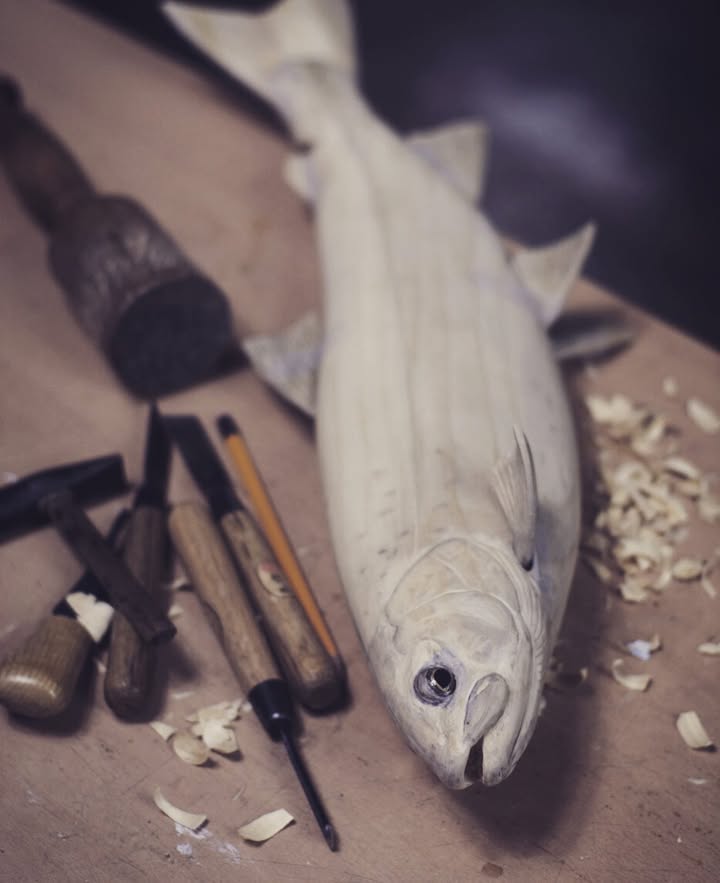
Working on a larger scale, as seen here with various chisels and gouges, allows you to experiment with more realistic facial anatomy. The open-mouth detail and the focused eye give the fish a sense of life. A larger piece like this is great for beginners who want to move beyond whittling and start using a mallet and full-sized carving tools.
16. Leaping Trout on Driftwood
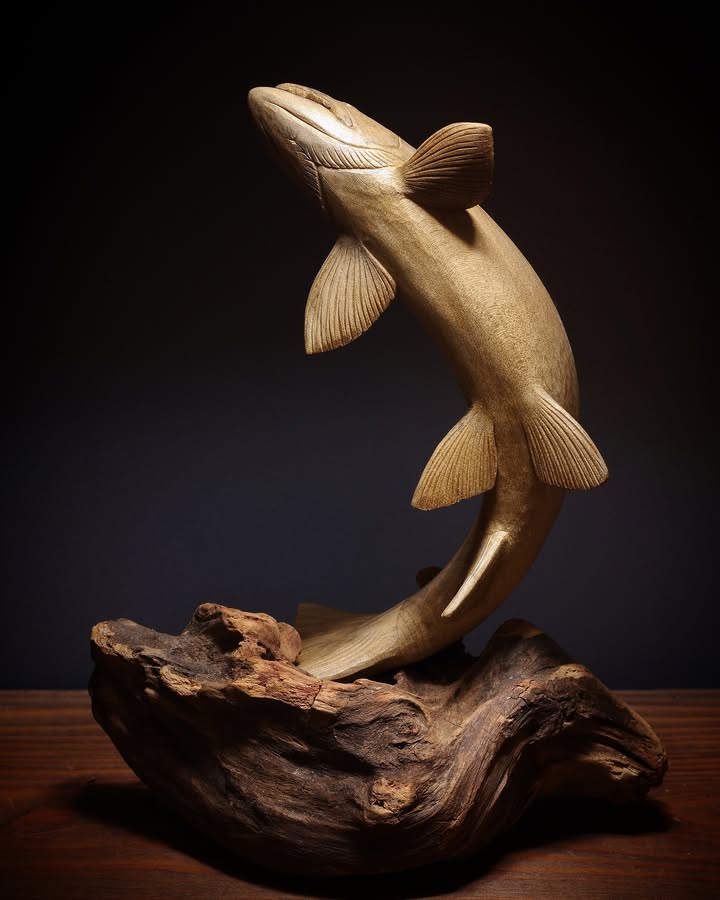
To create a true centerpiece, try mounting a curved, leaping fish onto a piece of natural driftwood or a burl. This display adds a professional, high-end look to your work. The fine, consistent texture on the fins here shows how a steady hand and a small V-tool can create a beautiful, shimmering effect that mimics real scales.
17. Stylized Angelfish Stands
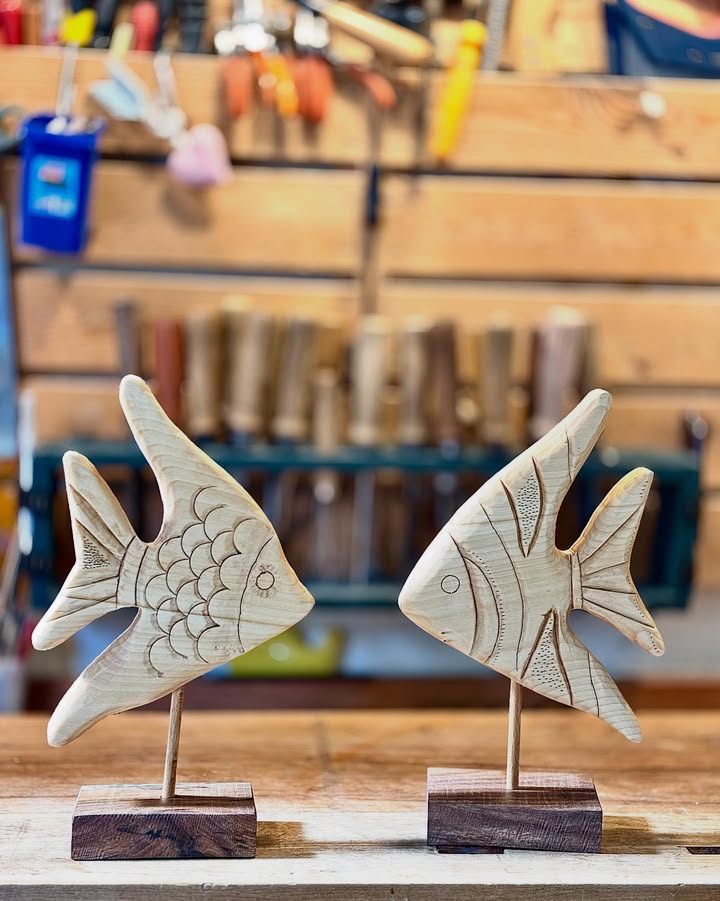
These tropical angelfish carvings use a distinct triangular shape, which is much easier for beginners to cut than complex curves. This project is a great way to practice “line work”—using a small detail knife or V-gouge to create patterns for the scales and fins without needing to carve deep into the wood.
18. The Progressive Carving Study

This image shows three different stages of a fish carving, from the flat “blank” to the refined shape. Seeing the process this way helps a beginner understand how to remove the “corners” of the wood to find the fish inside. It’s a perfect visual reminder that every detailed carving starts as a very simple, blocky silhouette.
19. Open-Centered “Infinity” Fish
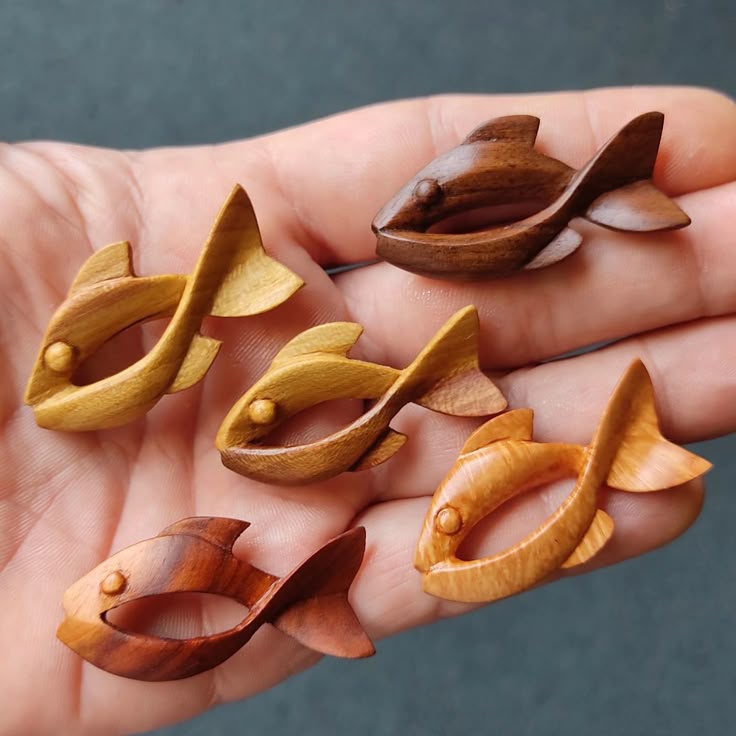
For something more artistic and modern, try carving a fish with a hollow center. This “ribbon” style focuses on elegant, sweeping curves and creates a beautiful sense of lightness. Because these are small and smooth, they are excellent projects for practicing your sanding technique to achieve a flawless, touchable finish.
20. Olive Wood School on a Live-Edge Base
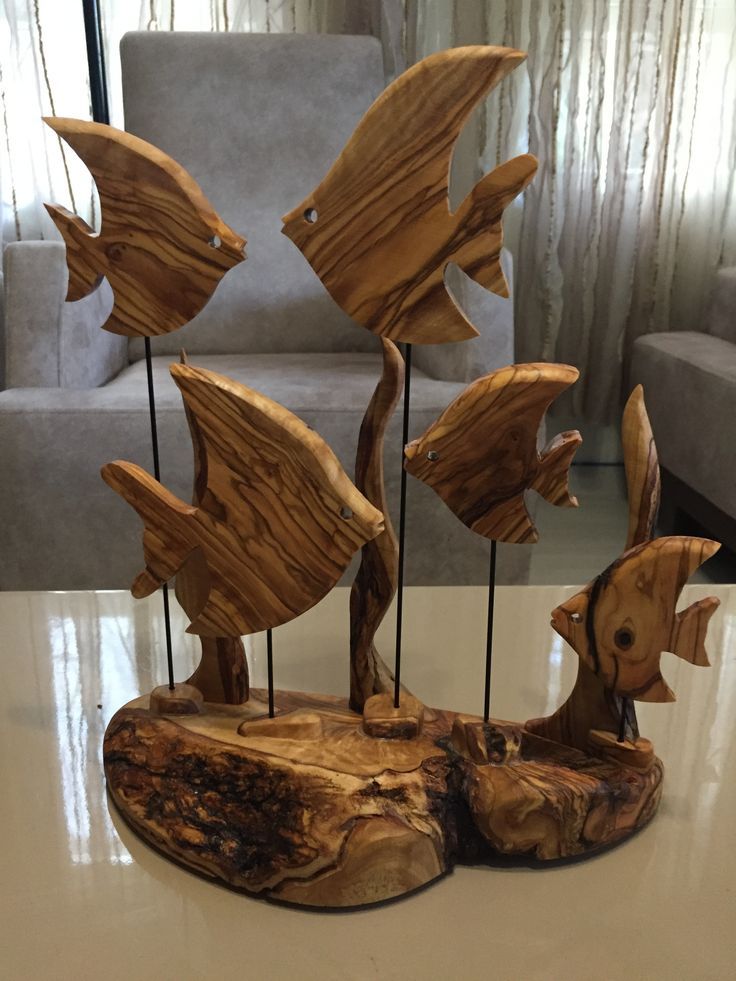
This final project demonstrates how the wood itself can do the heavy lifting. By using a wood with a dramatic, marbled grain like olive wood, even the simplest flat-profile carvings become high-end art. This multi-fish display on a rugged, bark-on base shows how you can group several beginner-friendly shapes together to create a sophisticated, gallery-worthy centerpiece.
Beginner Tips for Fish Carving
| Tip | Why It Helps |
|---|---|
| Use soft wood | Basswood and cedar are forgiving and cut cleanly |
| Keep your knife sharp | A sharp blade reduces frustration and gives you control |
| Carve with the grain | Watch which direction the fibers run to avoid tear-out |
| Go slow | Remove small shavings rather than forcing big cuts |
| Stop often | Hold your fish at arm’s length to check symmetry and flow |
| Don’t over-finish | A little sanding is fine, but rustic carvings have their own charm |
What to Do With Your Fish Carvings
- Pocket fish: Keep one in your pocket as a fidget piece or good luck charm
- Ornaments: Add a string and hang them on a tree, in a window, or from a rearview mirror
- Gift them: Hand-carved fish make memorable, personal presents
- Create a school: Carve several fish in different sizes and arrange them on a shelf
- Add to mobile: Hang small fish from a wooden hoop for a nursery mobile
Final Thoughts
Fish carving is one of the most forgiving and rewarding ways to start your woodcarving journey. You don’t need a workshop full of tools—a sharp knife, a piece of basswood, and a little patience are enough to create something wonderful.
The fish you carve today may be simple, but each one teaches you something. How the grain behaves. How a curve feels in your hand. When to stop carving and let the wood speak.
And the best part? Even your earliest fish will still look like fish. There’s magic in that.
So pick one idea from this list, find a block of wood, and start carving. The fish are waiting.