
Few Christmas projects carry as much meaning as a hand-carved nativity. The scene of Mary, Joseph and the baby Jesus in the manger has been carved in wood for centuries, from simple folk figures to detailed church displays. A carved nativity becomes a family heirloom—brought out every December and passed down for generations.
The good news is that a nativity does not need to be complicated. Many of the most beautiful sets use simple, rounded shapes with very little detail. The ideas below range from one-piece ornaments to full sets with shepherds, kings and animals, so you can start small and add figures year by year.
Why Nativity Scenes Are Great Carving Projects
Nativity figures are mostly simple robed shapes, which makes them ideal for beginners. Robes hide complicated anatomy, faces can be kept minimal, and the meaning comes from how the figures are arranged together. It is also a project you can build over time, carving a new figure each Christmas.
1. Simple Peg-Doll Holy Family
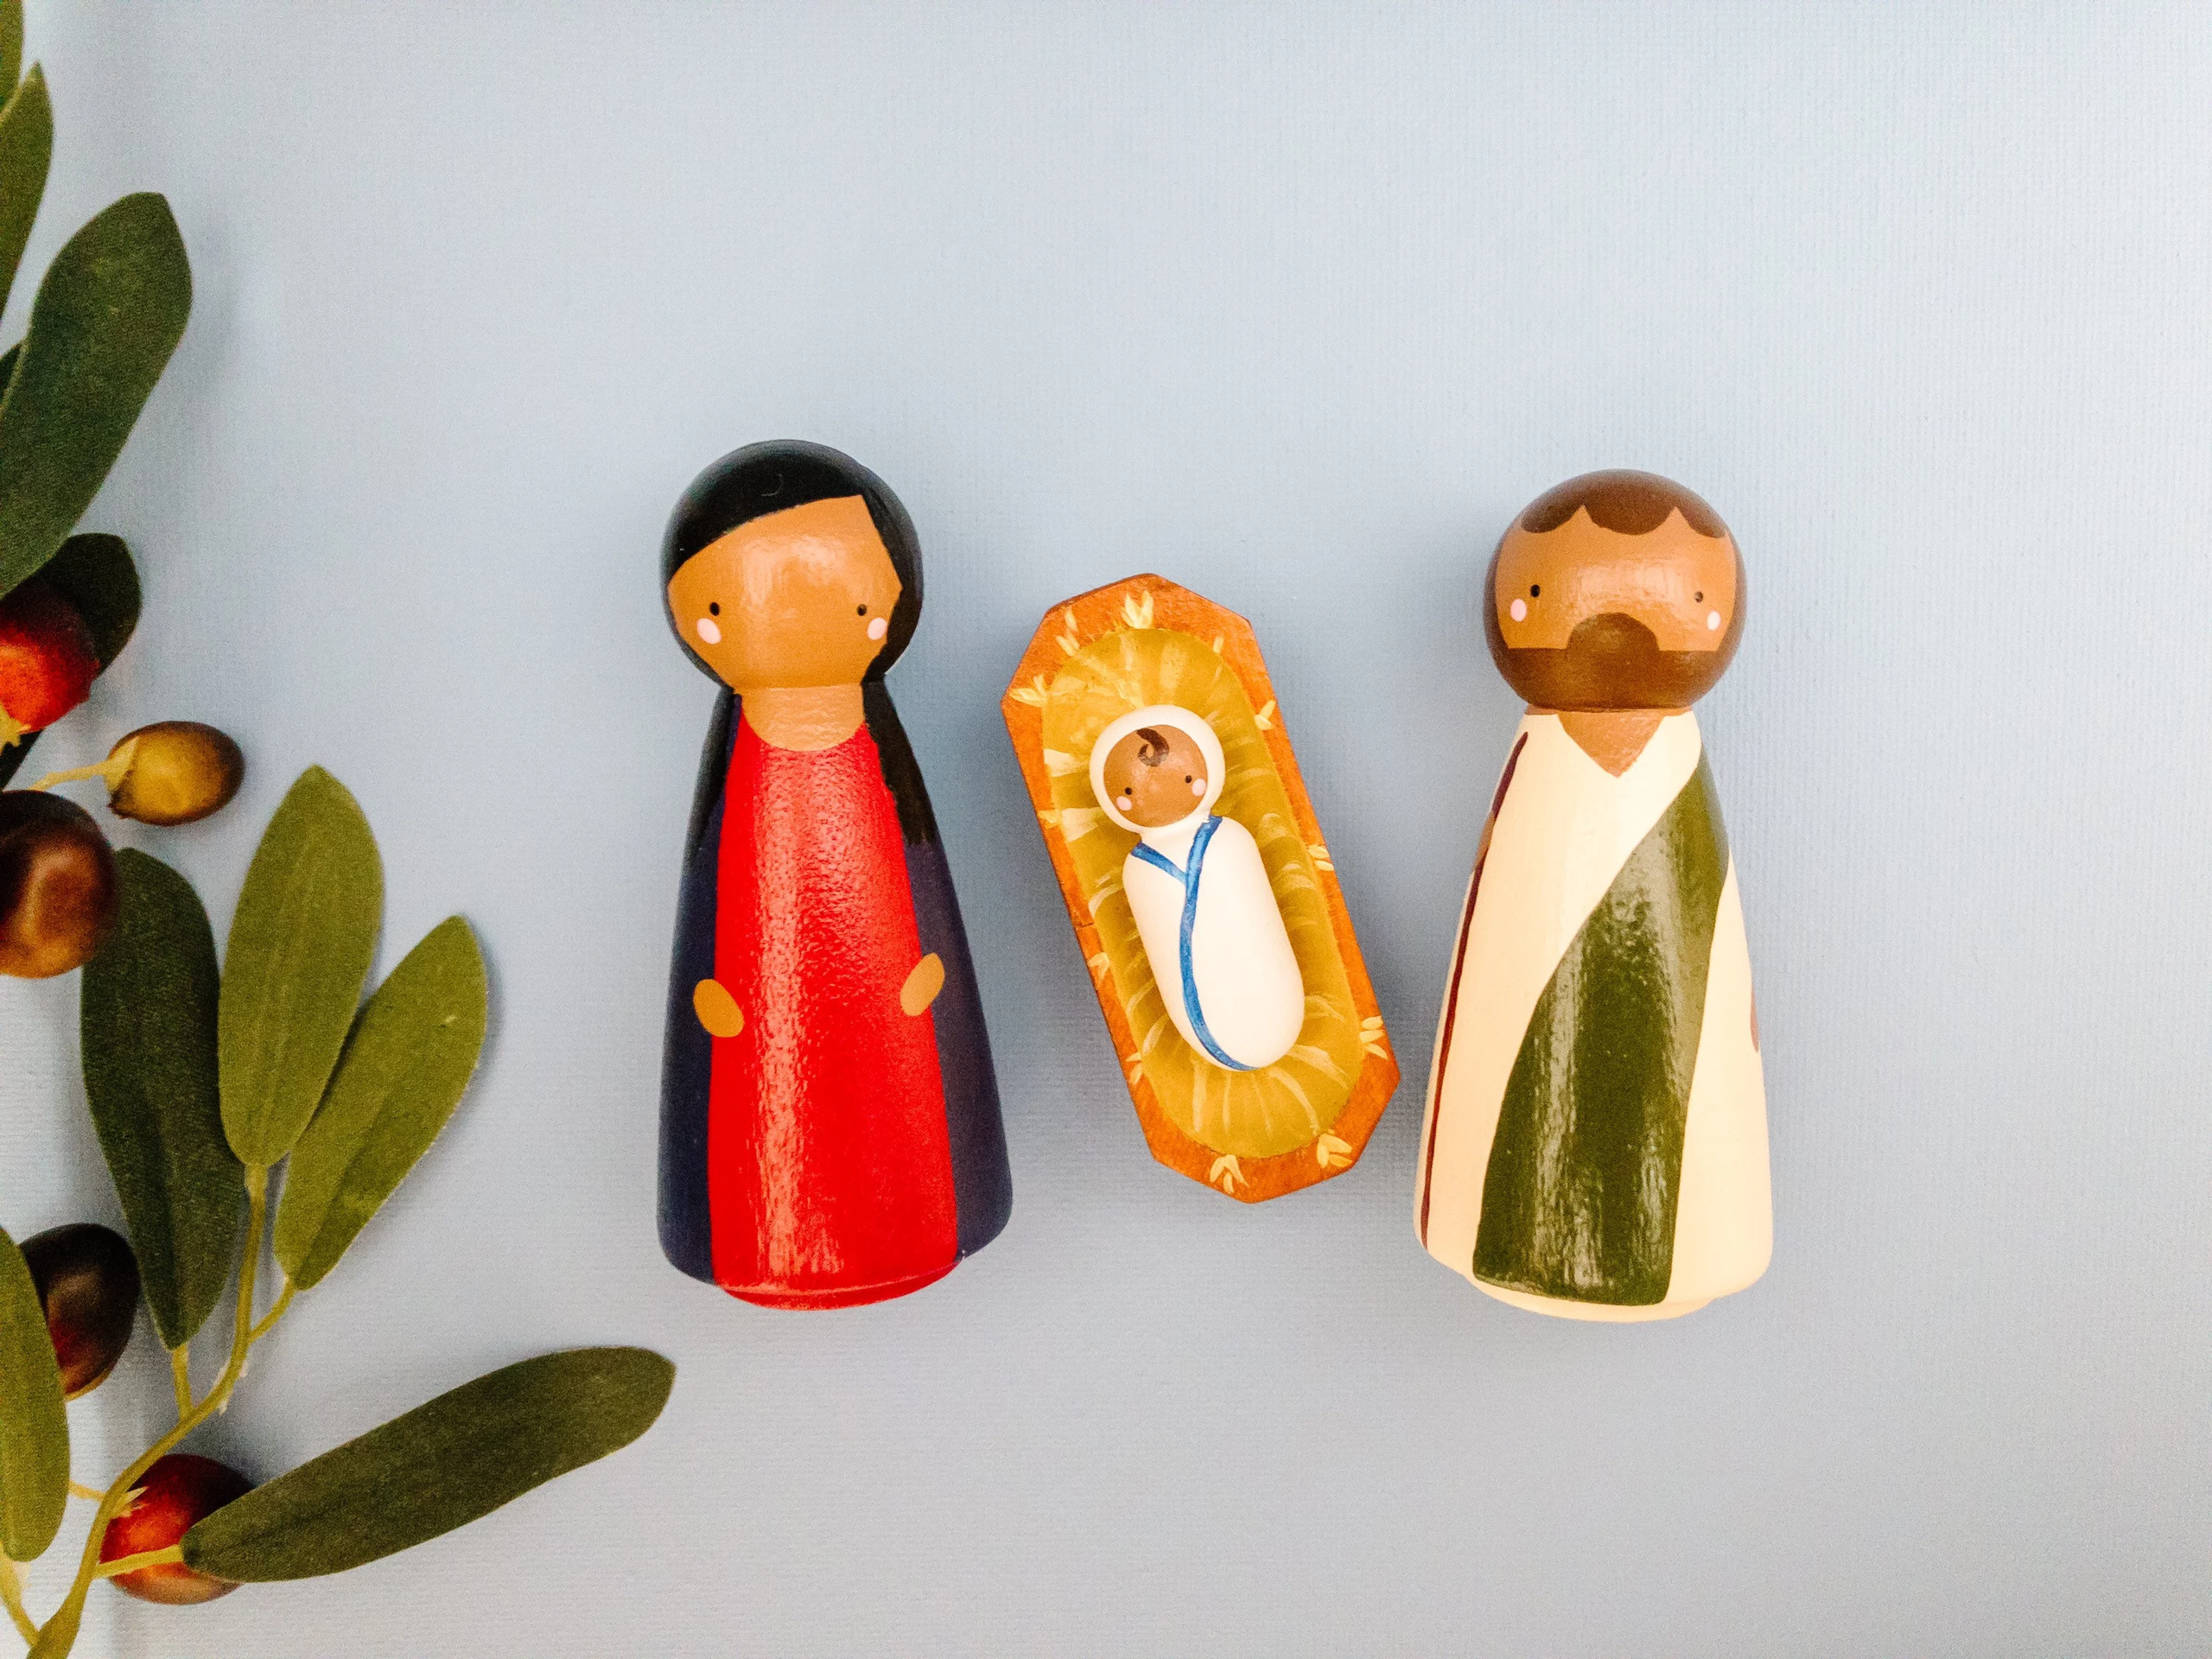
Simple shapes, timeless meaning
Start with three rounded peg-doll shapes: Mary, Joseph and a tiny swaddled baby. Use a knife to shape a head and robe, and add a hood line or a staff for Joseph. Leave them natural or add soft paint for robes.
2. Baby Jesus in the Manger
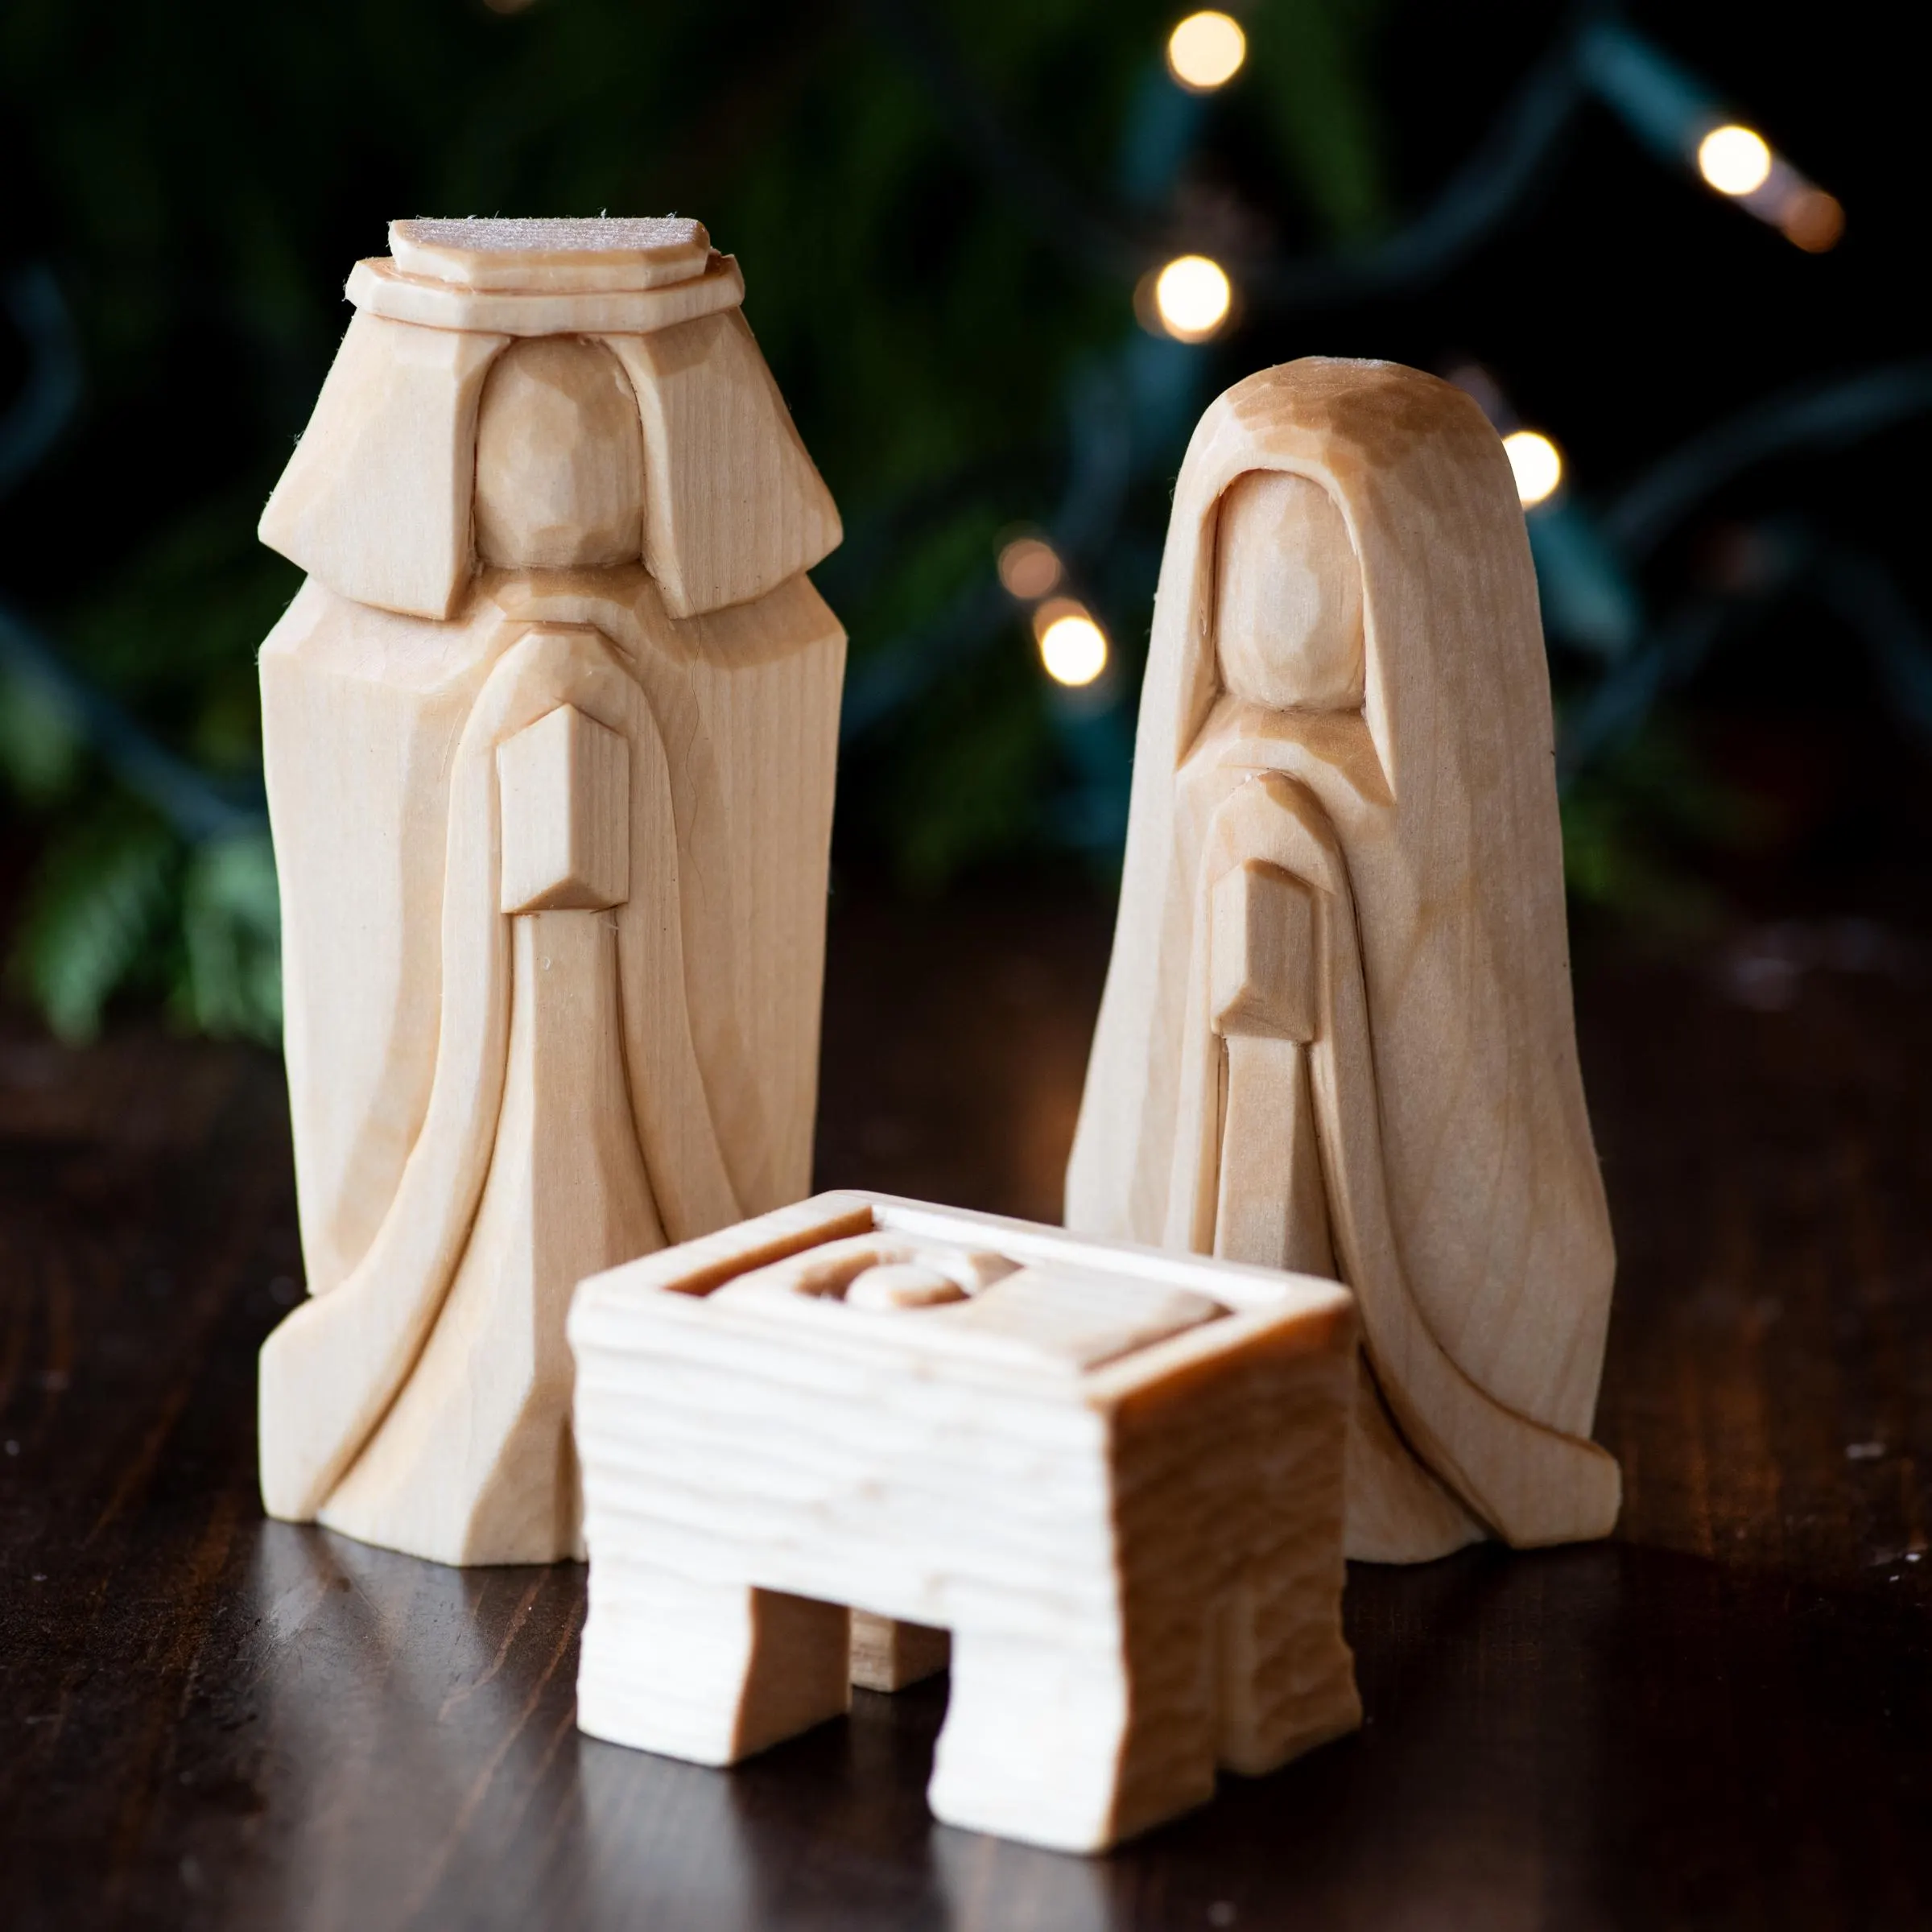
The heart of the scene
If you only carve one piece, make it the baby in the manger. Carve a small rectangular manger with angled legs and a swaddled baby resting on top. It is a quick project that makes a meaningful gift or tree ornament.
3. One-Piece Nativity Block
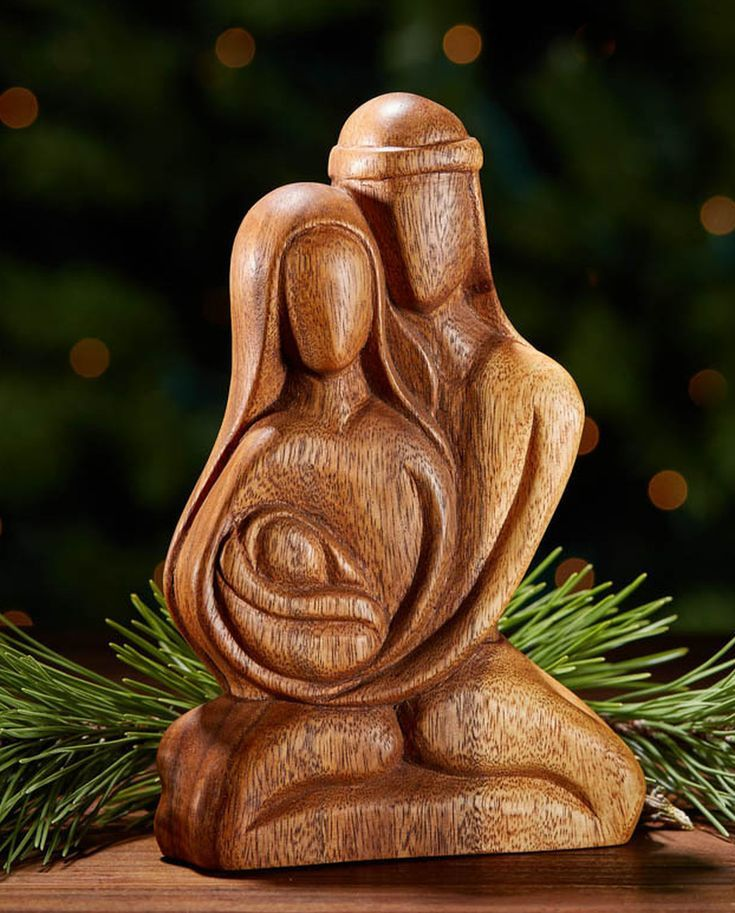
The whole story in one block
Carve the Holy Family as one connected piece from a single block. The figures lean in together, which is easier to carve than separate pieces and creates a beautiful, unified look.
4. Relief Nativity Plaque
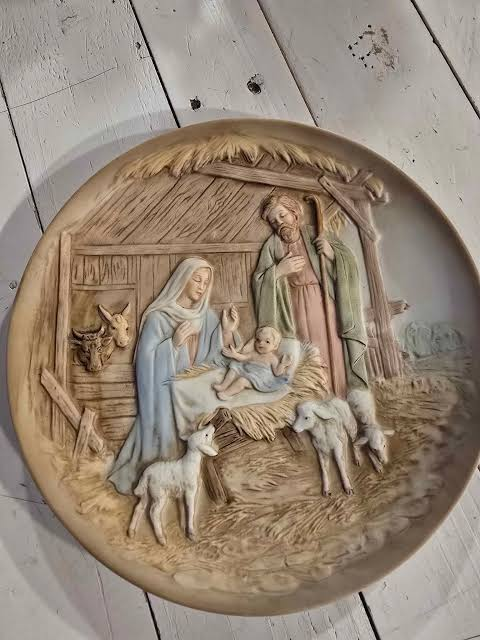
A scene to hang on the wall
Relief carving lets you create a full scene on a flat board—stable, star, figures and animals. Hang it on the wall or display it on a mantel easel. It is a good project for practicing depth and layering.
5. Star of Bethlehem Topper
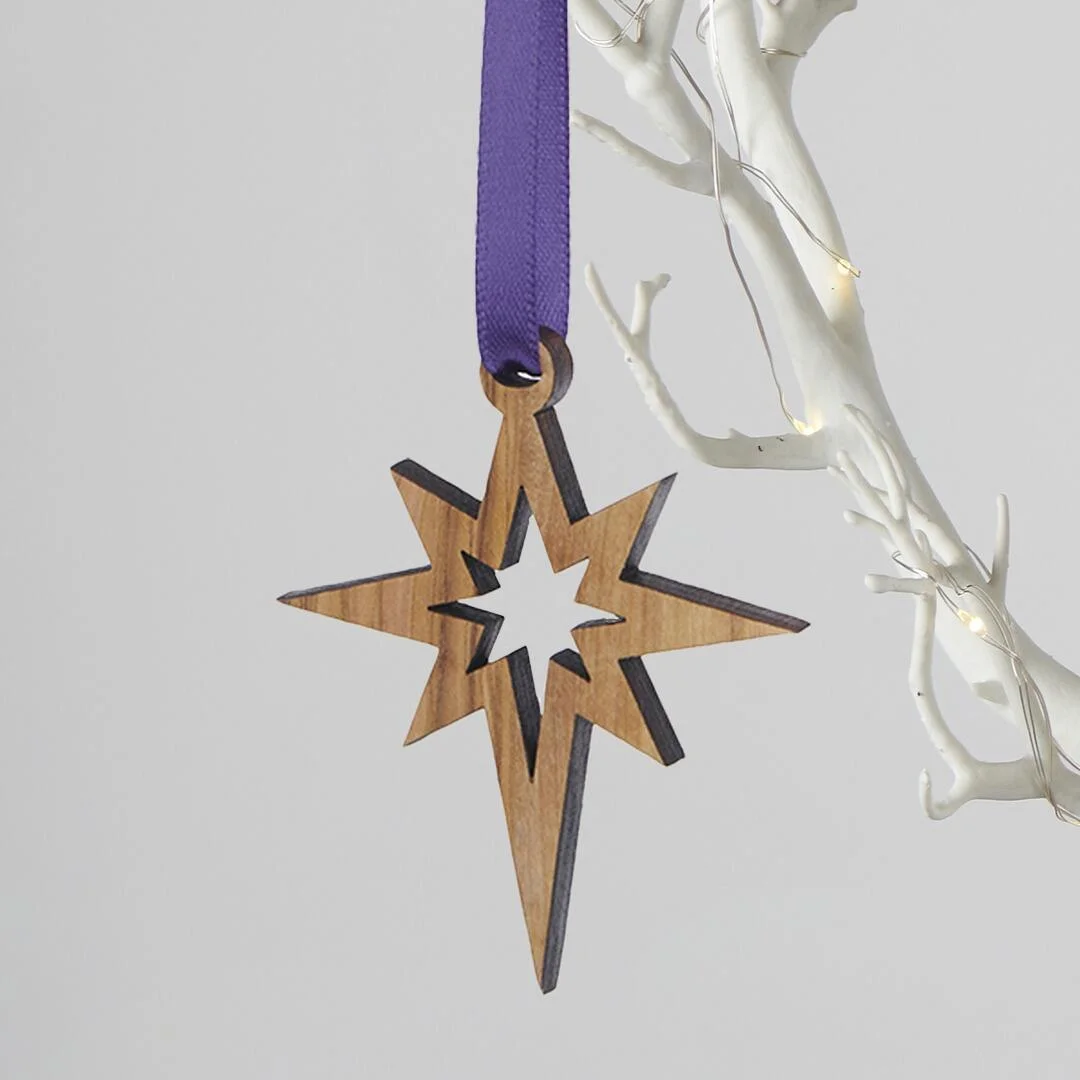
Guiding light above the stable
A carved Star of Bethlehem with a long tail sits above the stable or works as a standalone ornament. Simple straight cuts make it a great quick project for beginners.
6. Wooden Stable
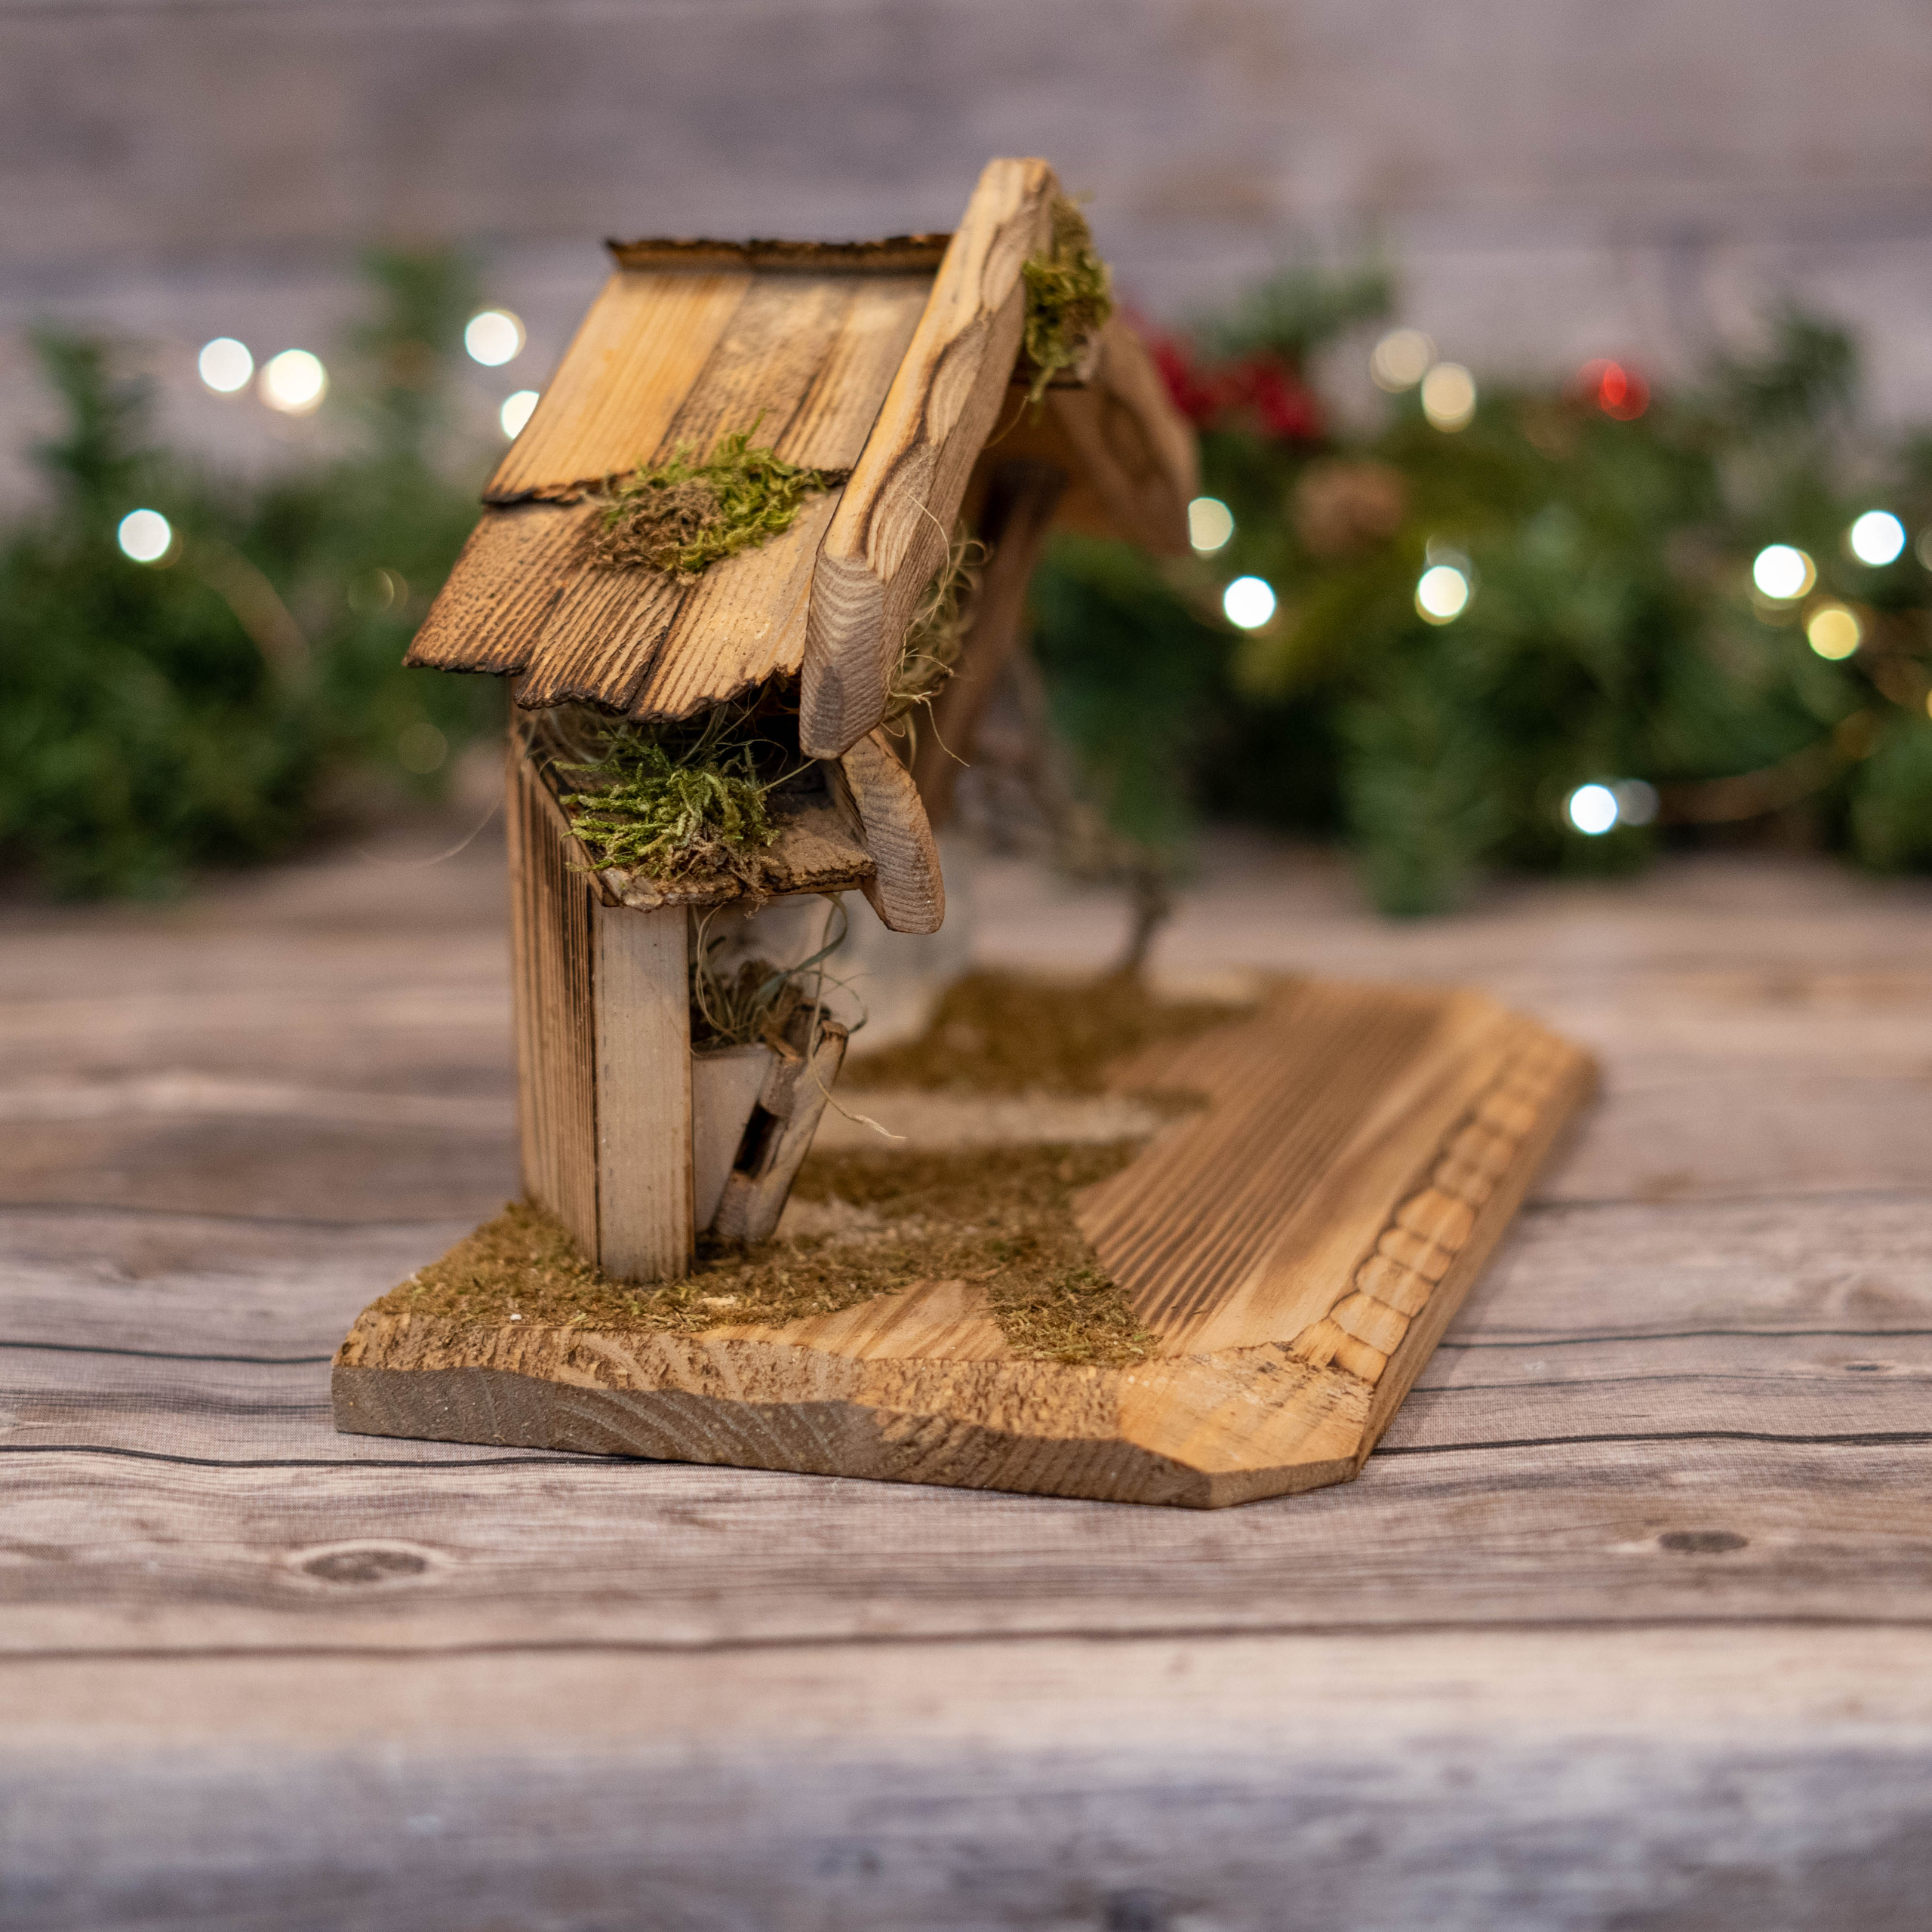
A rustic home for your figures
Build a simple stable from scrap boards, bark and twigs. A slanted roof and open front frame your figures perfectly. It does not need to be carved—rough, rustic wood looks most authentic.
7. Shepherds with Crooks
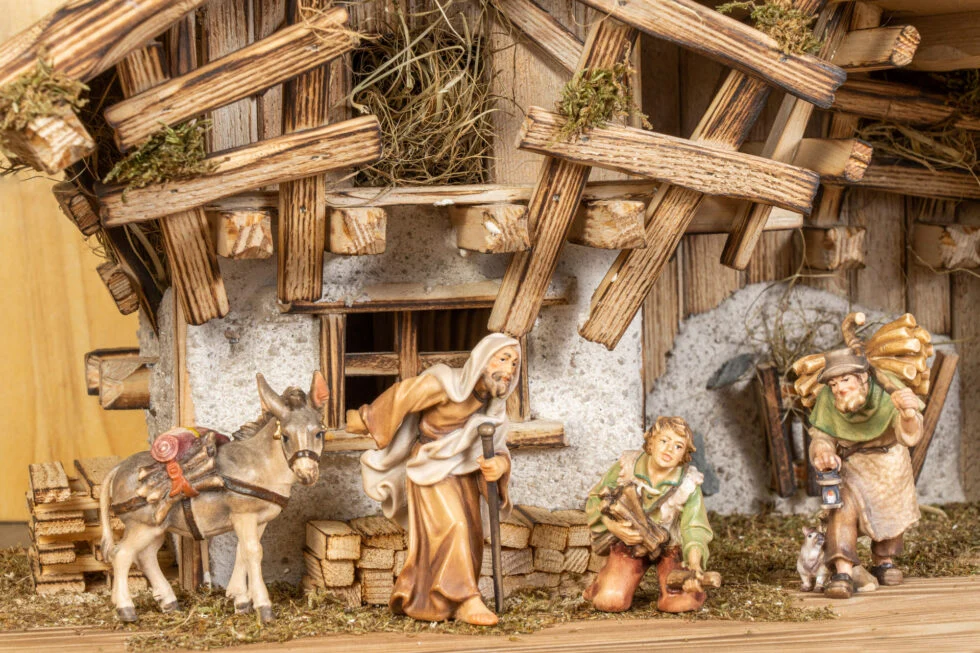
Humble figures with a simple charm
Shepherds are simple robed figures with head coverings and a crook. Carve the crook from a separate thin dowel or a small curved twig for easy detail.
8. Sheep and Lambs
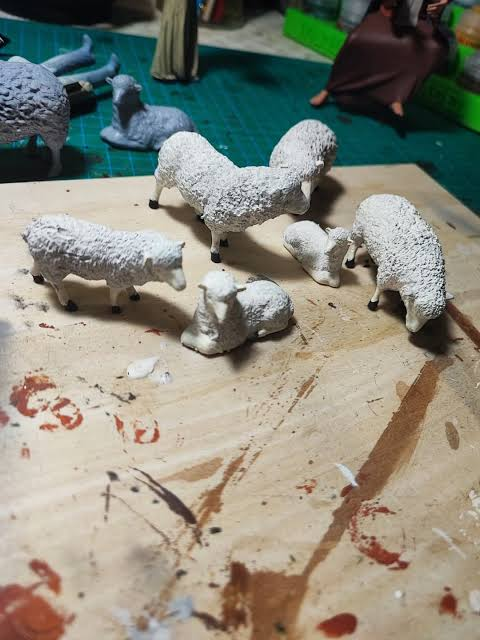
Fluffy texture, simple shapes
Sheep are some of the easiest animals to carve: a rounded body, a small head and short legs. Add texture with small gouge cuts to suggest wool, or carve them lying down for even simpler shapes.
9. Ox and Donkey
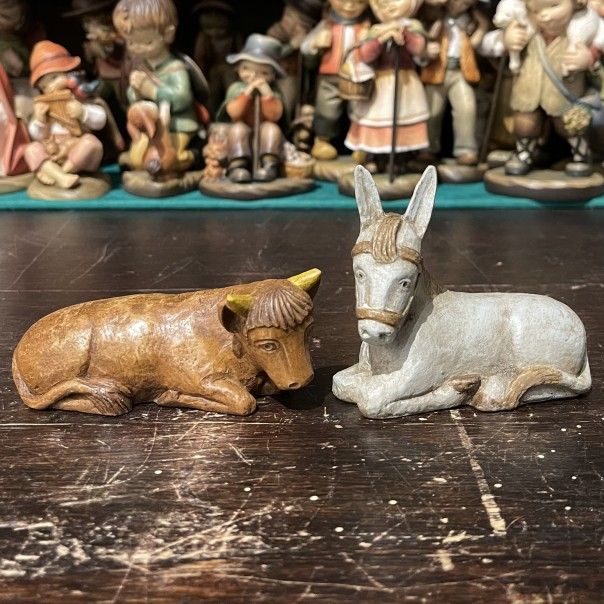
Gentle companions at the manger
The ox and donkey traditionally lie near the manger. Carve them lying down to avoid fragile legs, and keep ears and horns thick so they do not snap.
10. The Three Kings
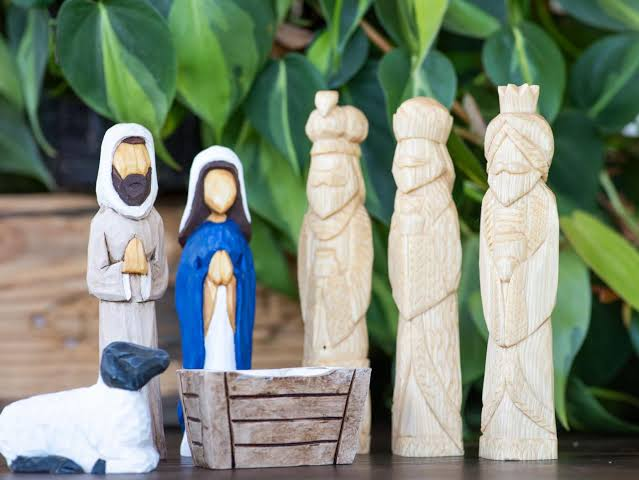
Crowns, robes and precious gifts
The three kings are taller robed figures with crowns and small gifts in their hands. Vary the crowns and gift shapes to tell them apart, and add a touch of gold paint for richness.
11. Angel Figure
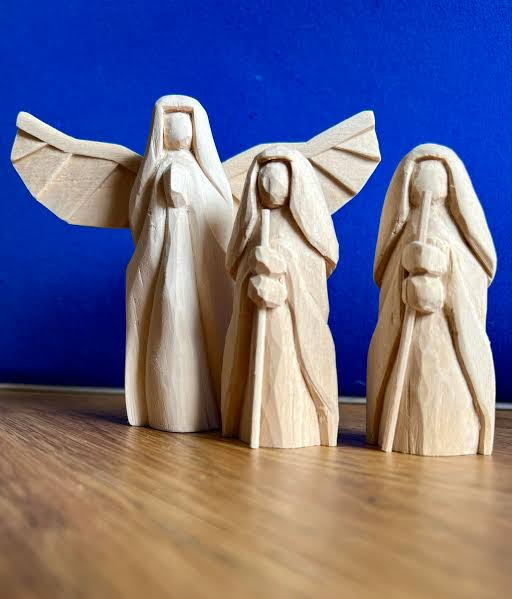
Wings that watch over the scene
An angel with folded wings can stand beside the stable or hang above it. Keep wings close to the body for strength, and carve feather lines with a V-tool.
12. Nativity Ornament Set
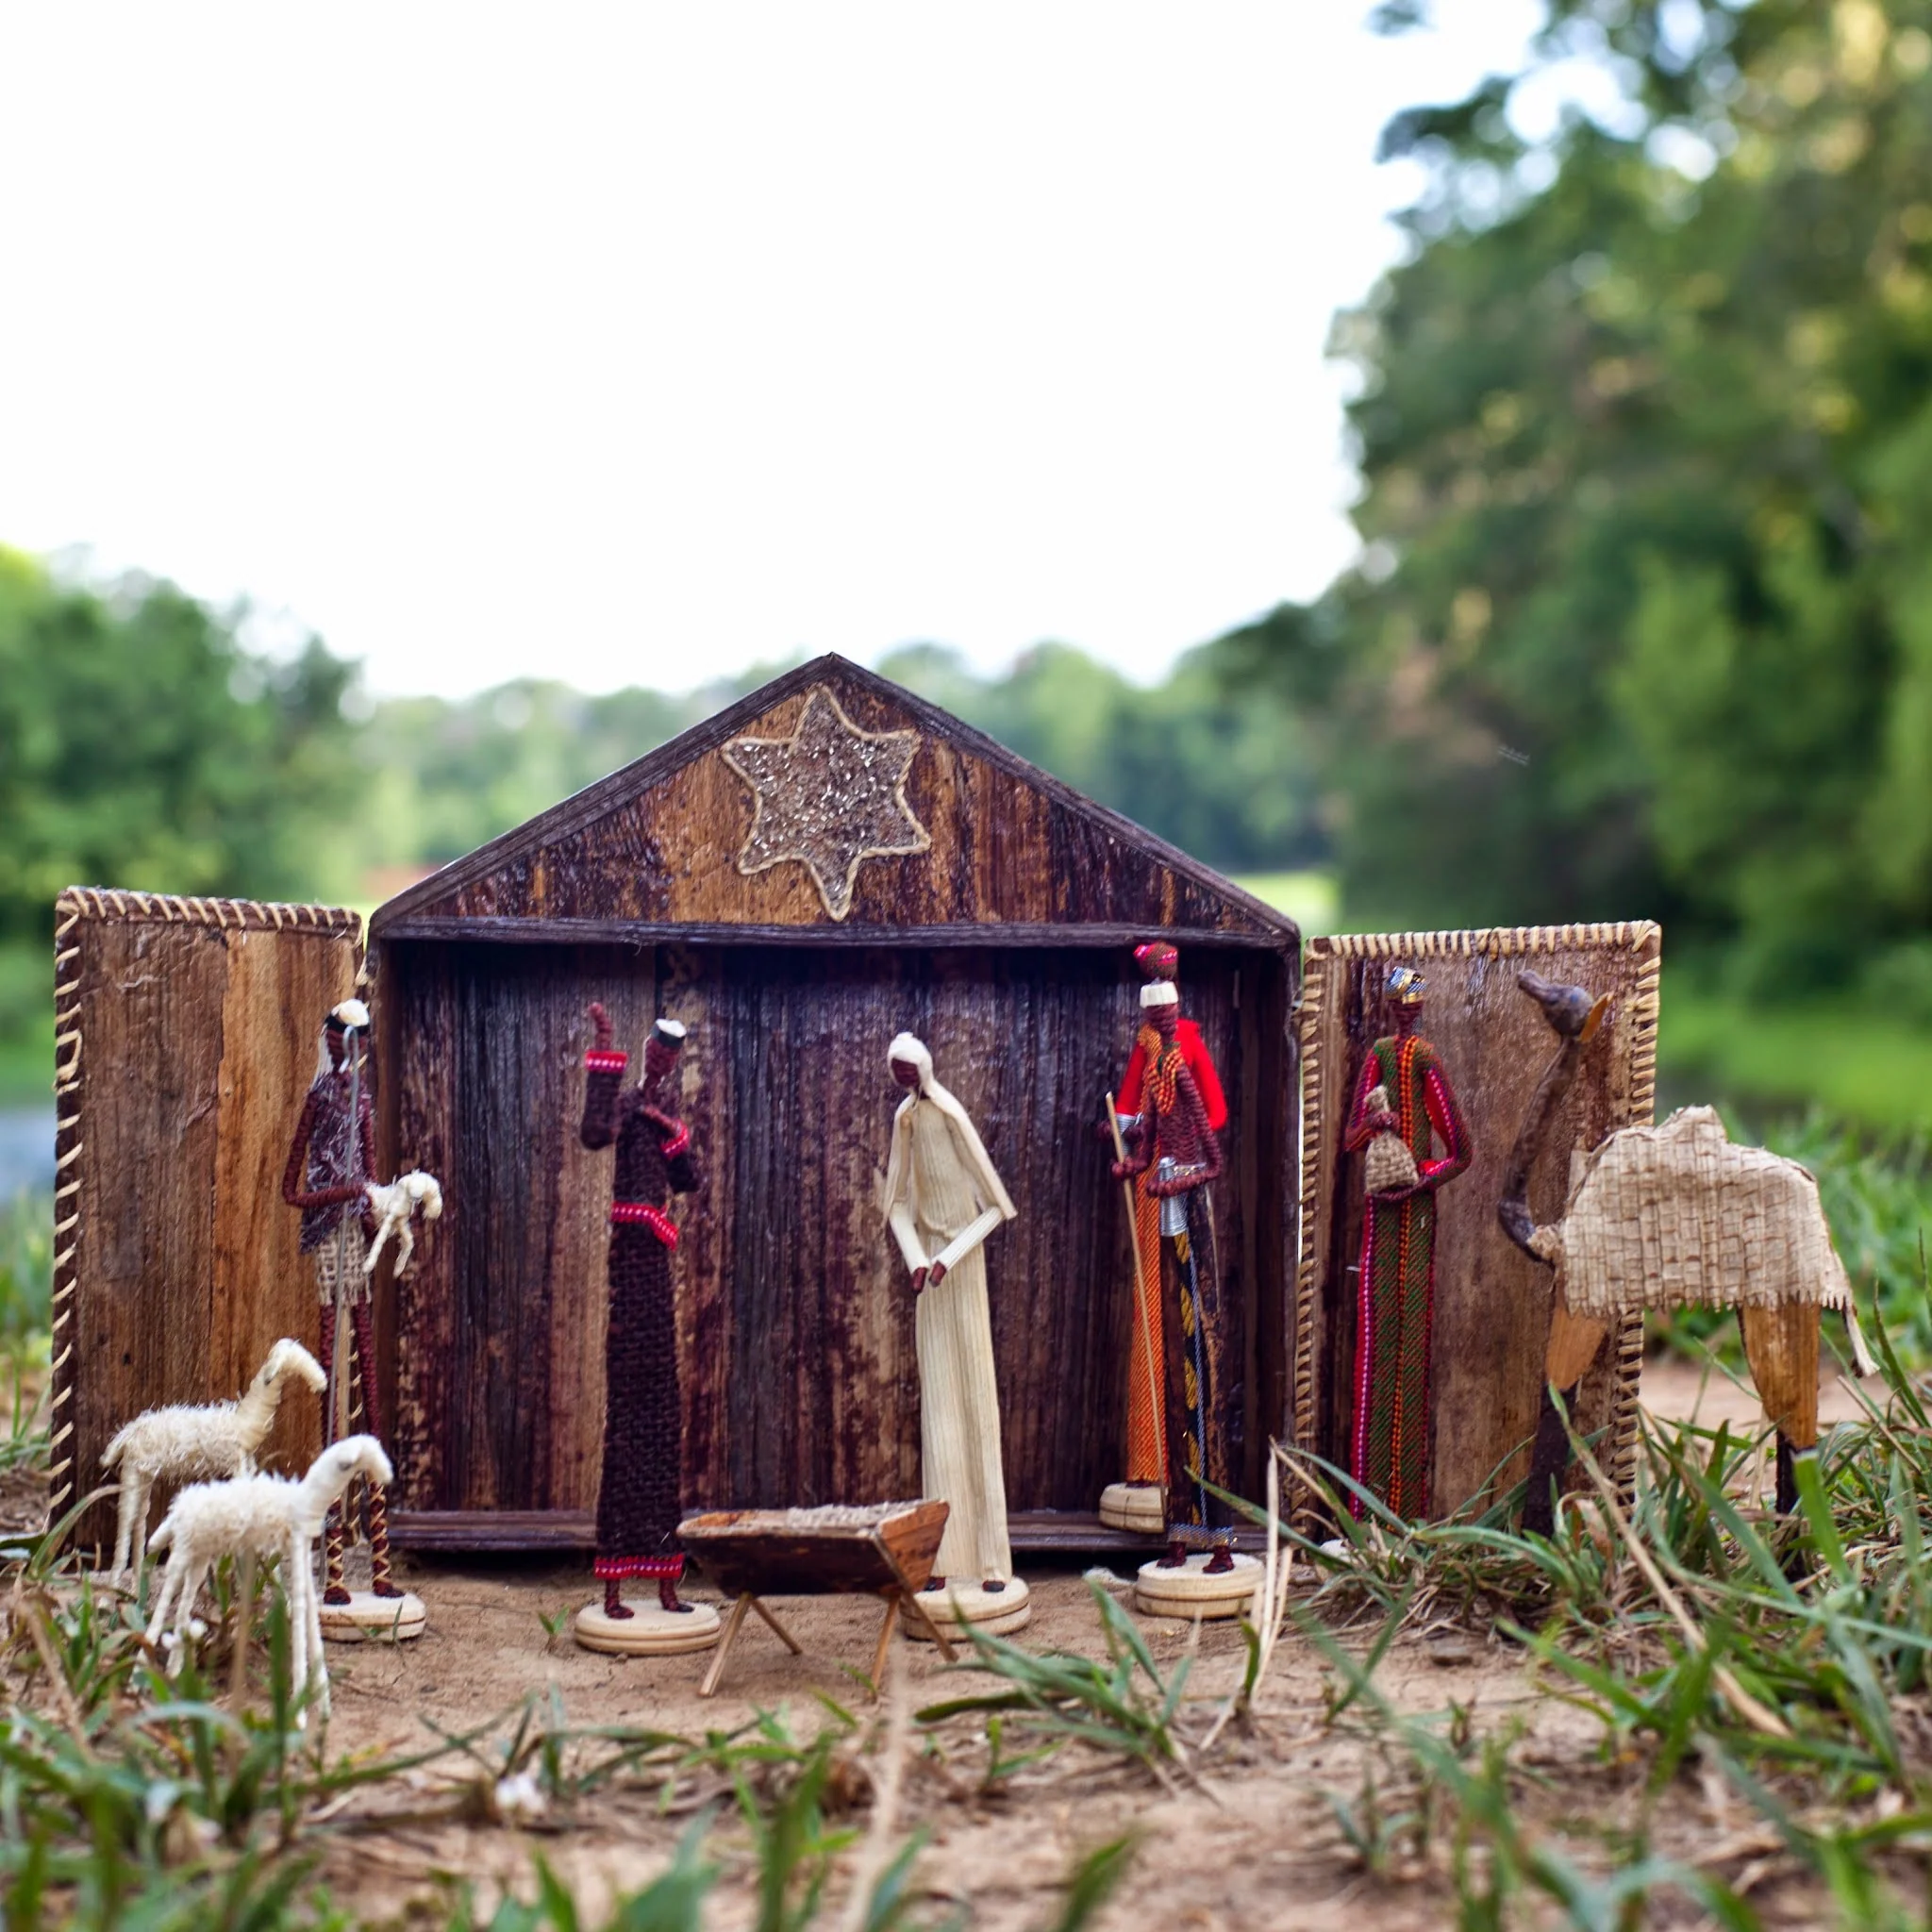
A story told across your tree
Carve small, flat versions of each figure and add hanging loops to turn your nativity into tree ornaments. Pair them with these Christmas tree wood carving ideas for a fully handmade tree.
13. Silhouette Nativity Candle Holder
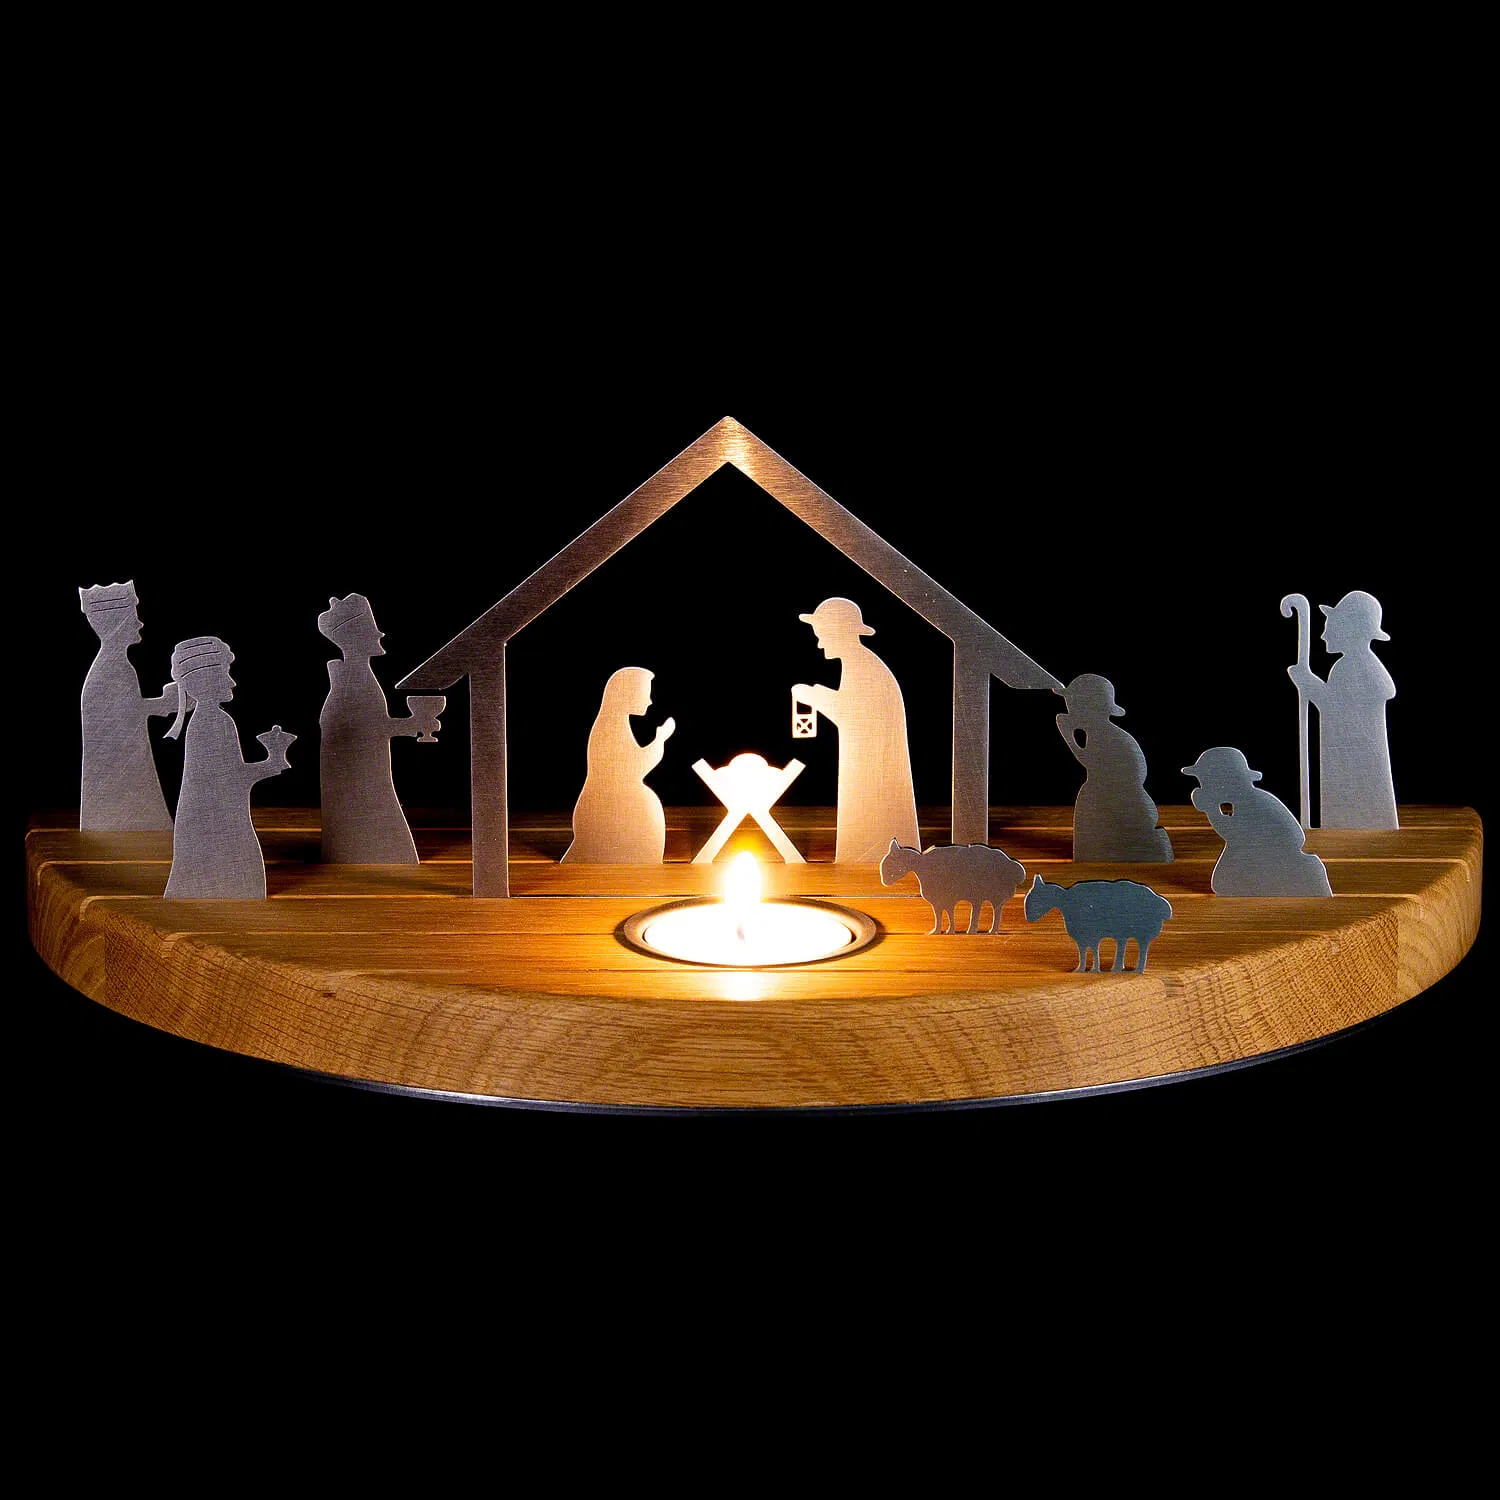
A soft glow on Christmas Eve
Cut a silhouette of the Holy Family and stable into a thin board and place a tea light behind it. The glowing outline creates a beautiful Christmas Eve display.
14. Chip-Carved Nativity Box
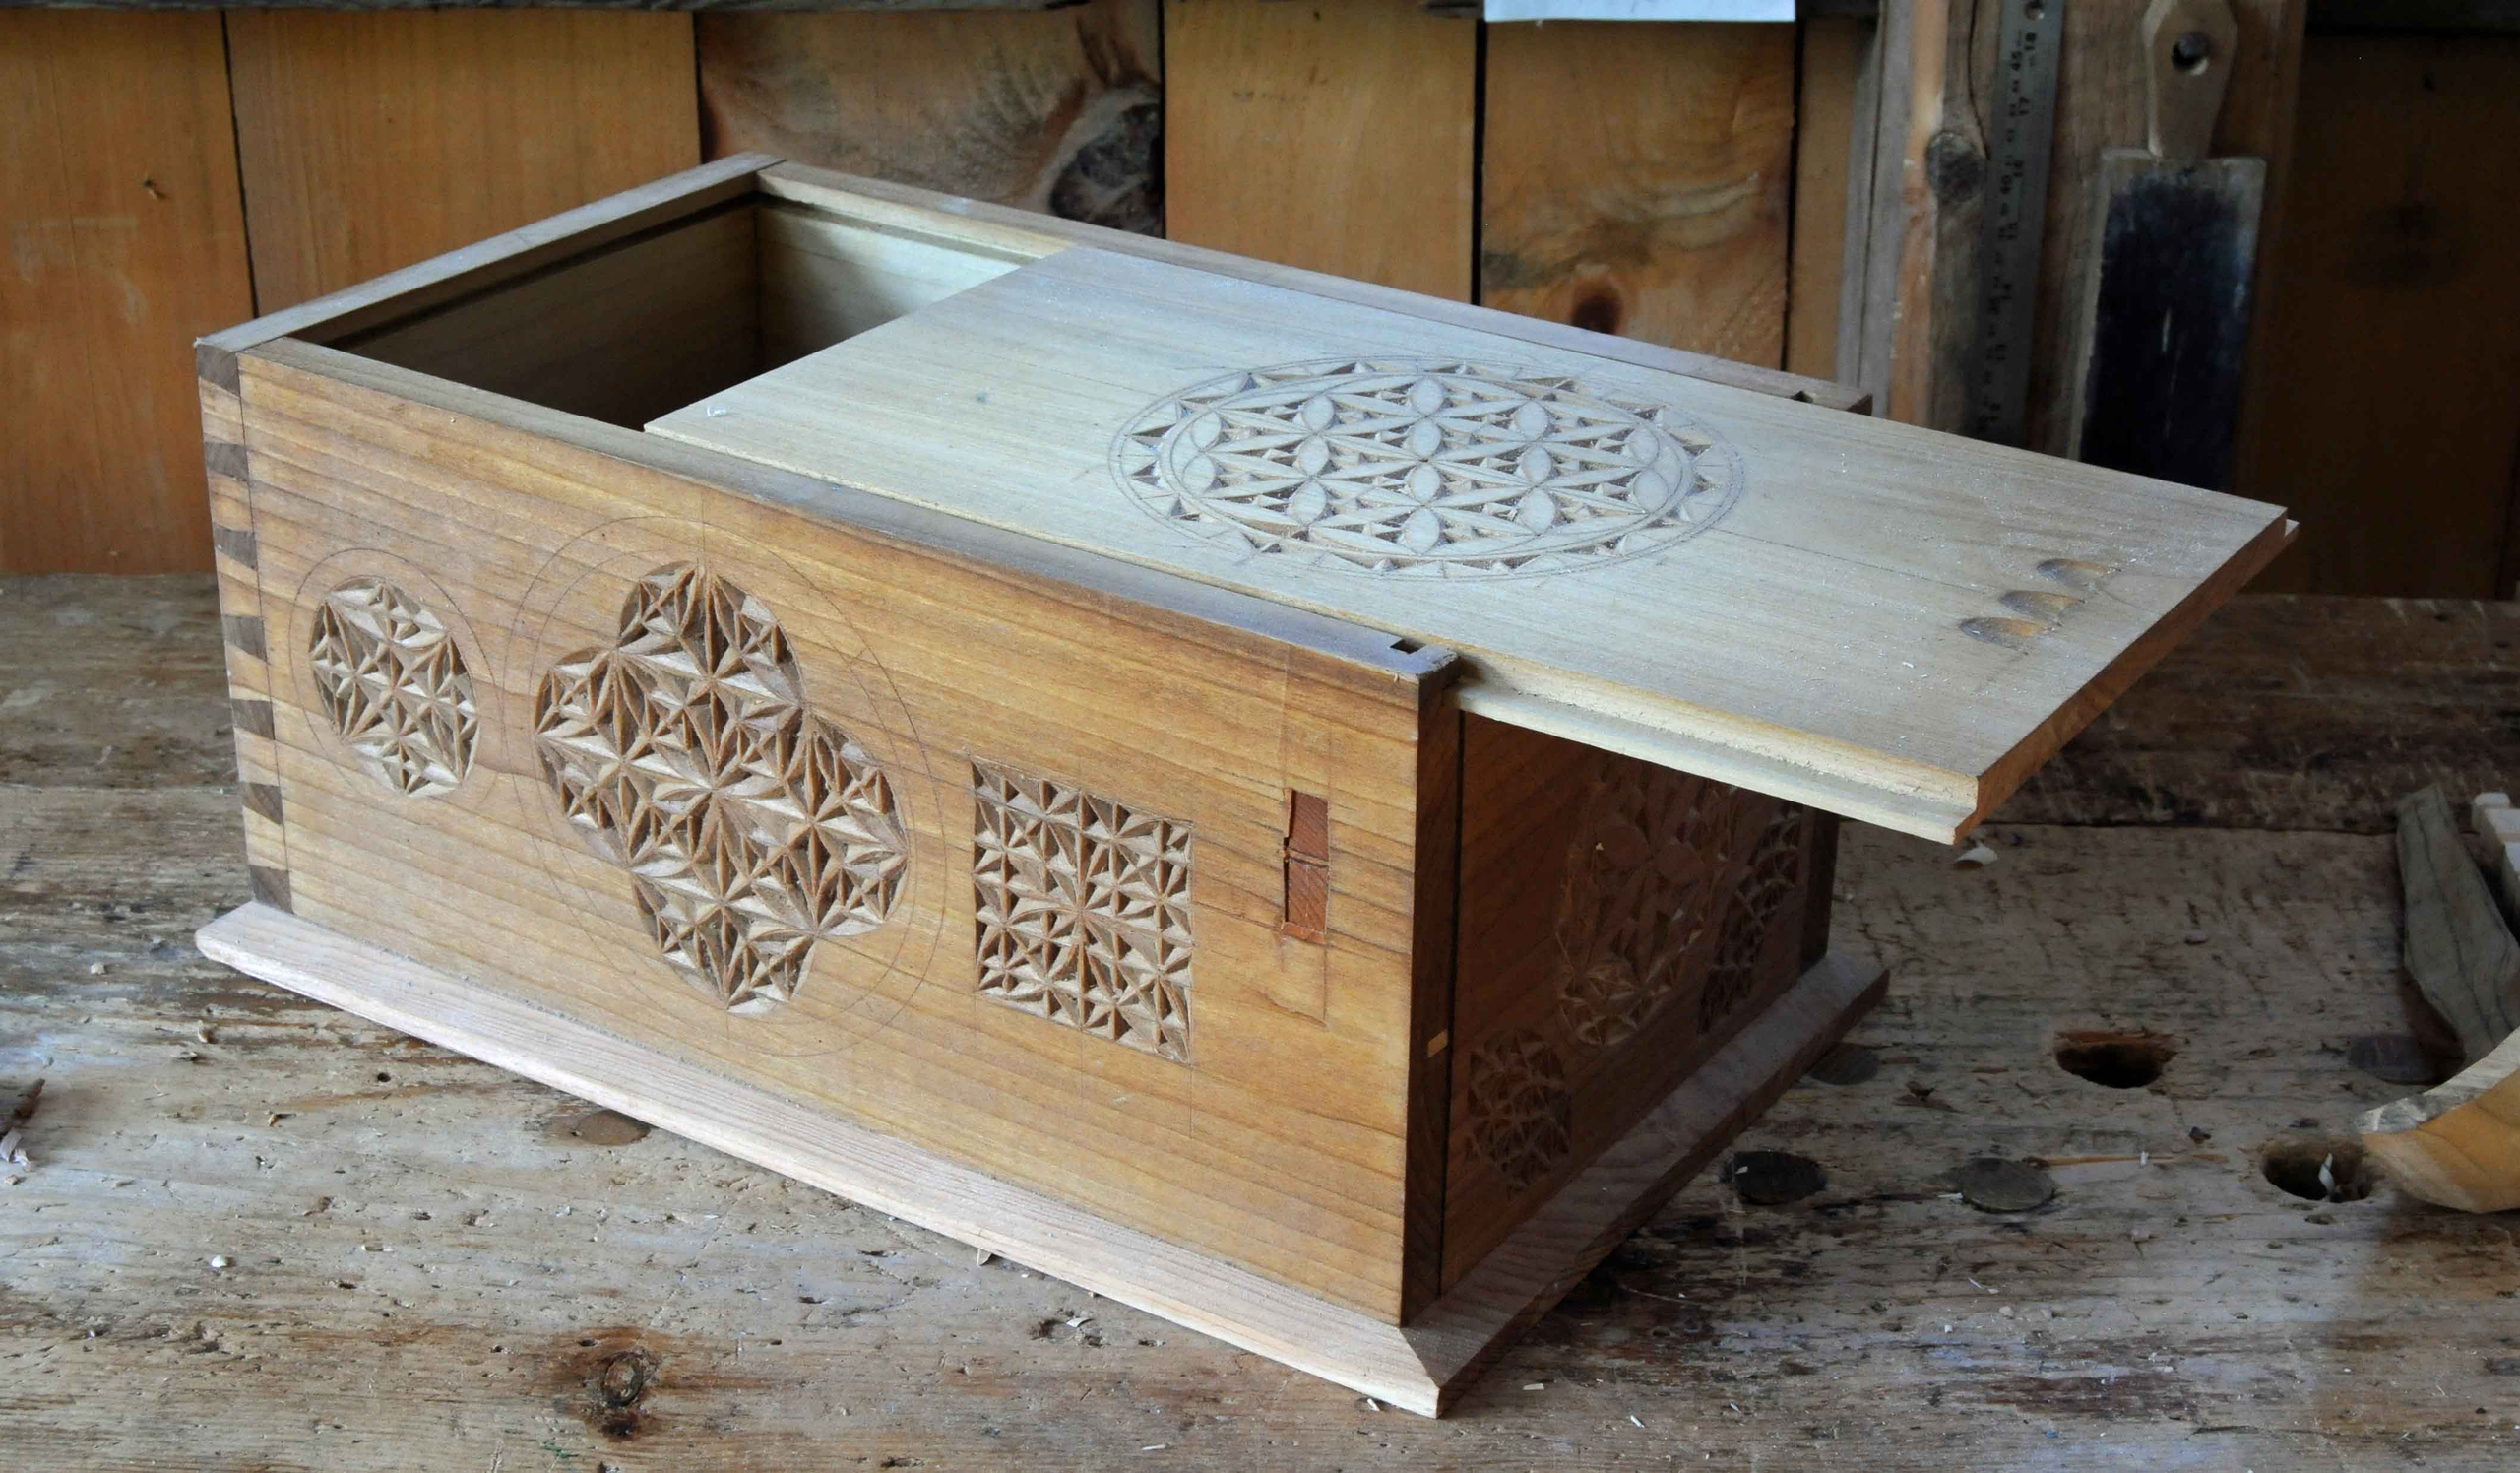
A keepsake home for your set
Chip carve a star or simple stable design on a wooden box lid and use it to store your nativity figures between seasons. It protects your carvings and becomes part of the tradition.
15. Whittled Pocket Nativity
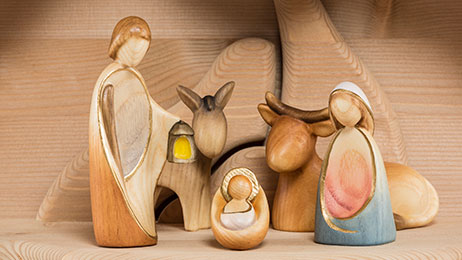
Tiny figures, big meaning
Whittle a tiny Holy Family small enough to fit in a walnut shell or matchbox. These miniature nativities make thoughtful stocking stuffers and gifts.
Beginner Tips for Nativity Carving
Use basswood—it is soft, carves cleanly and holds detail well. Keep faces simple; a few cuts for the nose and brow are enough. Carve robes with long, flowing cuts, and avoid thin protruding parts that can break. Start with the Holy Family, then add shepherds, animals and kings in later years. If you are new to carving, these easy wood carving projects for beginners are a great warm-up.
Finishing Your Nativity Set
Natural wood with a clear oil or wax finish gives a warm, traditional look. Soft acrylic washes in blue, brown and cream add color while letting the grain show through. A touch of gold paint on crowns, halos and the star adds a festive finish.
Final Thoughts
A hand-carved nativity is one of the most meaningful Christmas projects you can make. Whether you carve a single baby in a manger or a full set with kings and animals, it will become a treasured part of your family's Christmas for years to come. Round out your holiday display with these snowman wood carving ideas and these festive Santa carving designs. And when the season changes, these Easter wood carving ideas carry the tradition into spring.



Leave a Reply
You must be logged in to post a comment.