Whittling has always been about turning a simple block of wood into something meaningful, fun, or surprising. Few subjects capture the imagination of carvers like cats. Whether it’s a playful cartoonish figurine, a lifelike painted model, or a tiny pendant you can wear, cat carvings combine charm and skill in equal measure.
In this guide, you’ll find 50 whittling ideas inspired by cats—grouped into themes, illustrated with photos, and enriched with carving tips. Along the way, you’ll see how to move from beginner-friendly projects to advanced artistic pieces, while making the most of your tools and wood choices.
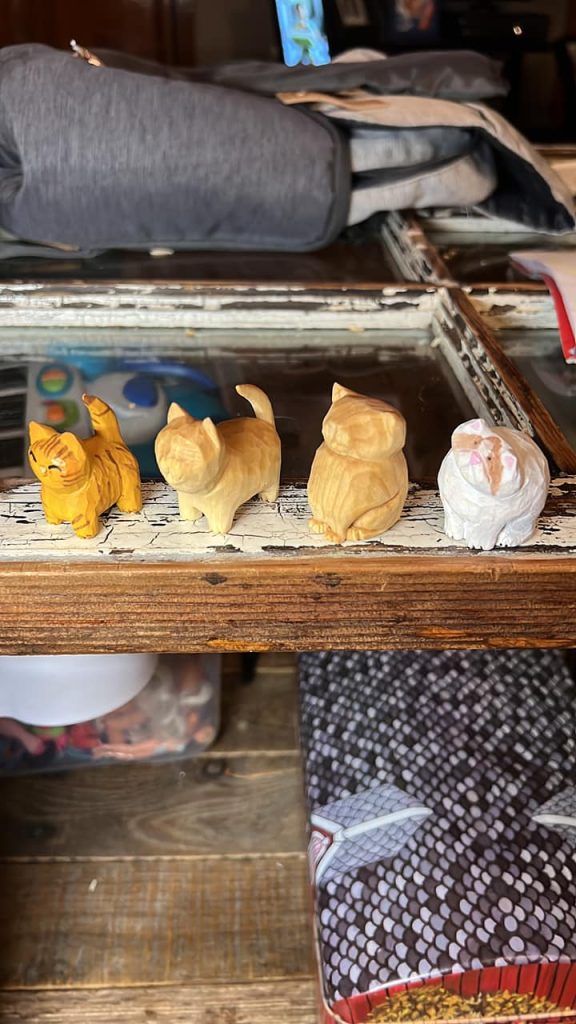
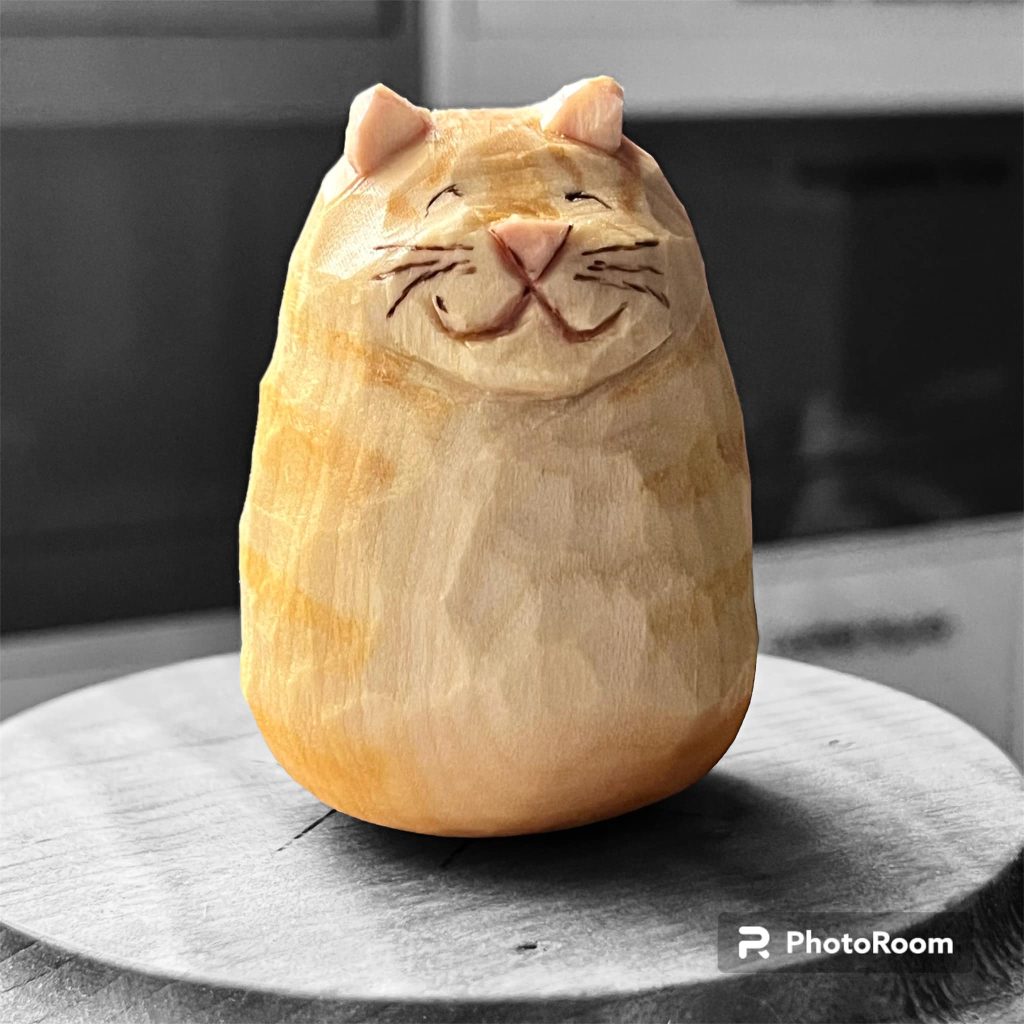
Whimsical & Playful Cats
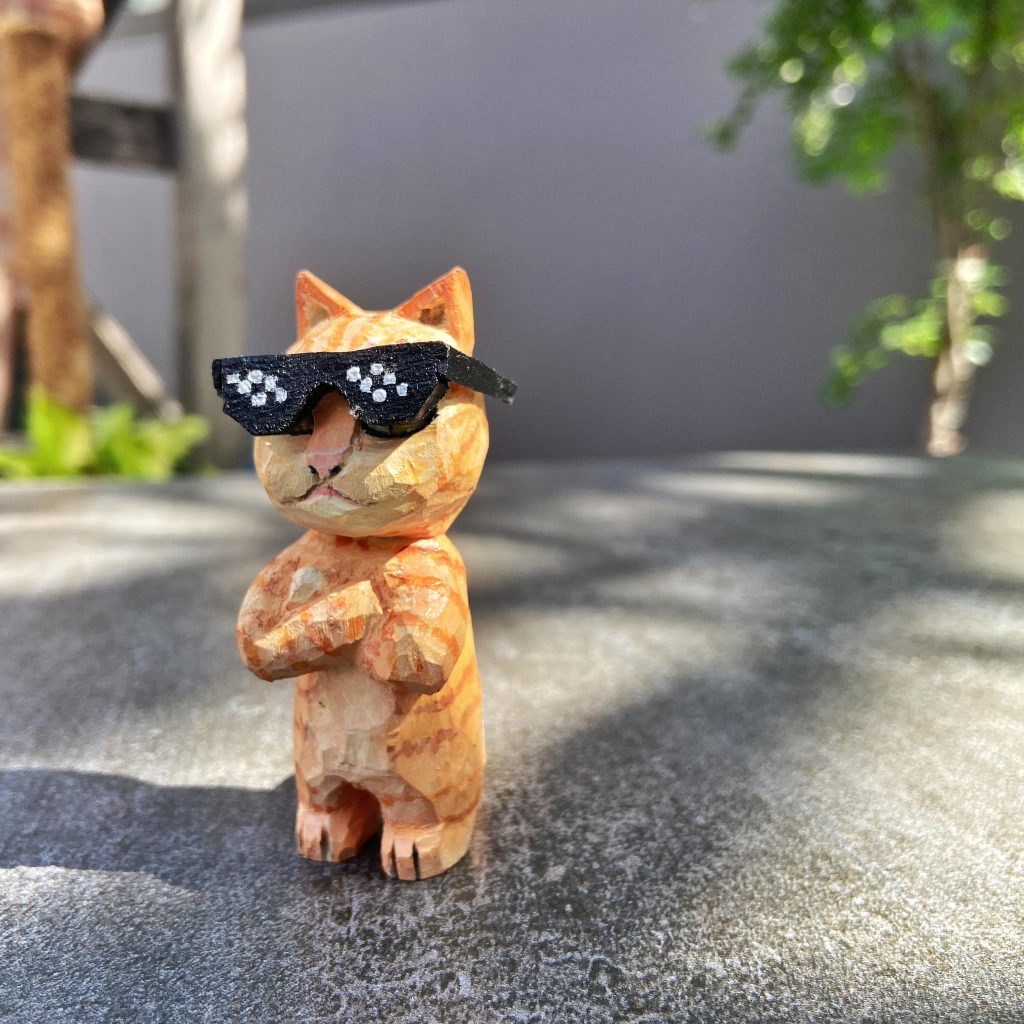
Whimsical cats are a great place to begin if you’re new to carving. These lighthearted designs don’t demand perfect realism—just bold shapes and a bit of imagination.
Projects like these have a lot in common with the easy starters you’ll find in 30 Small Carving Projects Perfect for Beginners.
Adding sunglasses or funny accessories can turn even a blocky carving into a fun character.
Rounded, chunky forms are perfect for practicing smooth cuts and symmetry.
Carving a set of similar figures helps train consistency in shape and size.
Sleeping & Relaxing Cats
Read Next
• 30 Easy Animal Carvings
• 30 Small Carving Projects Perfect for Beginners
• 60 Easy Wood Carving Projects for Beginners
• Beyond the Basics: 12 Creative Carving Ideas to Try Next
• Whittling Simple Human Figures: Beginner Tips and Inspiration
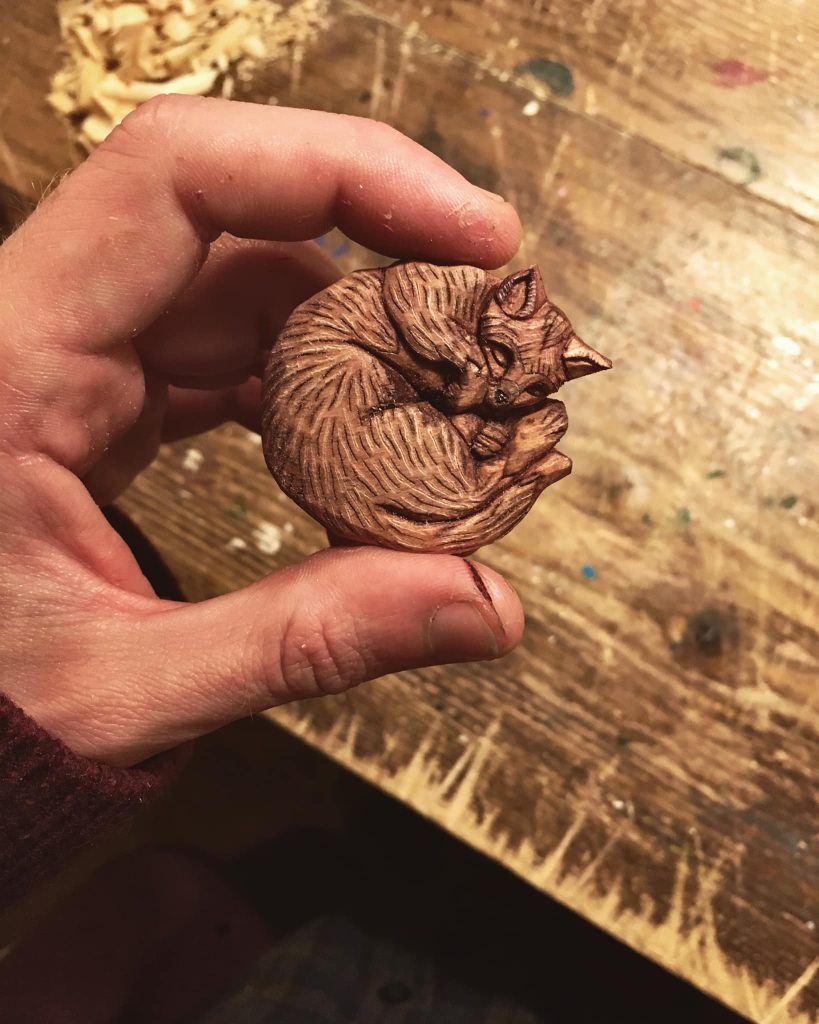
Few images capture comfort better than a sleeping cat. The curves of the back and tail make these projects forgiving yet elegant. They are also a gentle way to prepare for more complex animal carvings, much like the ones we explored in 30 Easy Animal Carvings.
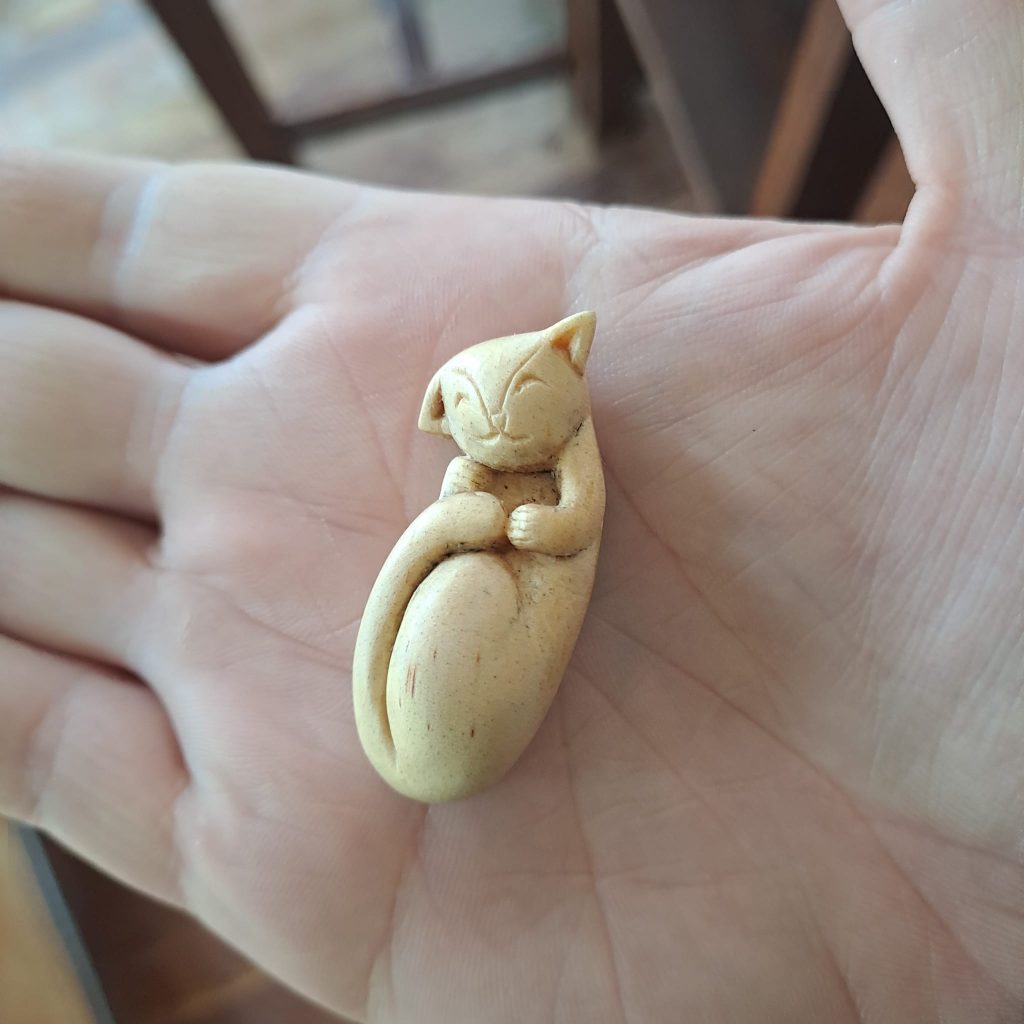
Even a pocket-sized cat conveys calm with just a few rounded cuts.
Simplified designs are ideal for pendants or keychains.
Adding fur texture and shading turns a simple shape into a lifelike miniature.
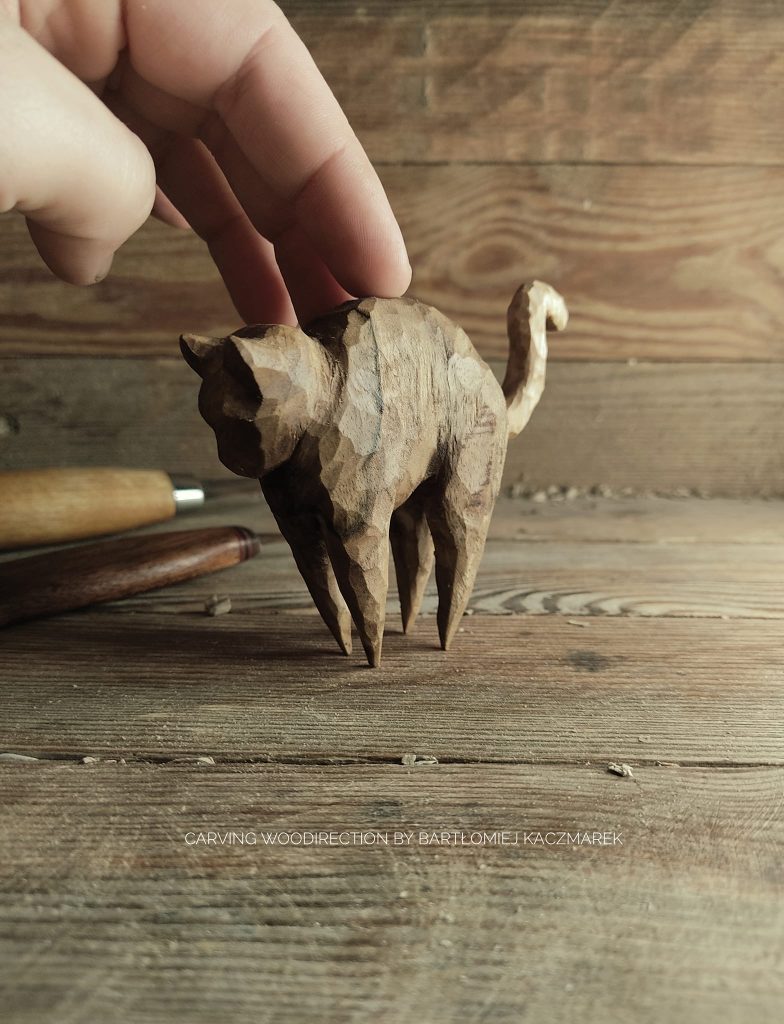
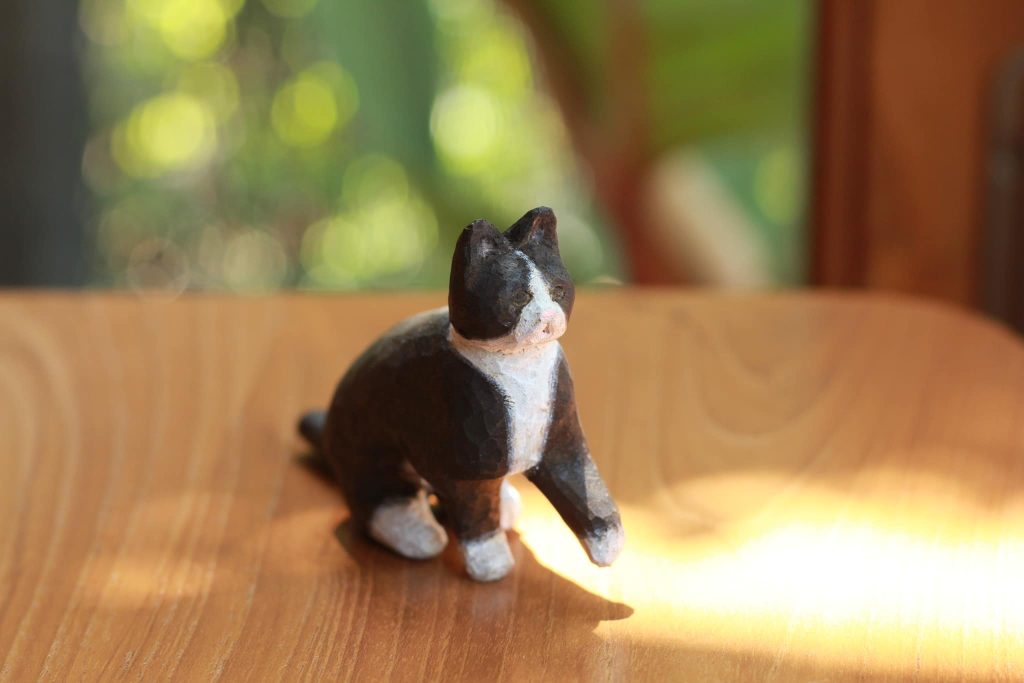
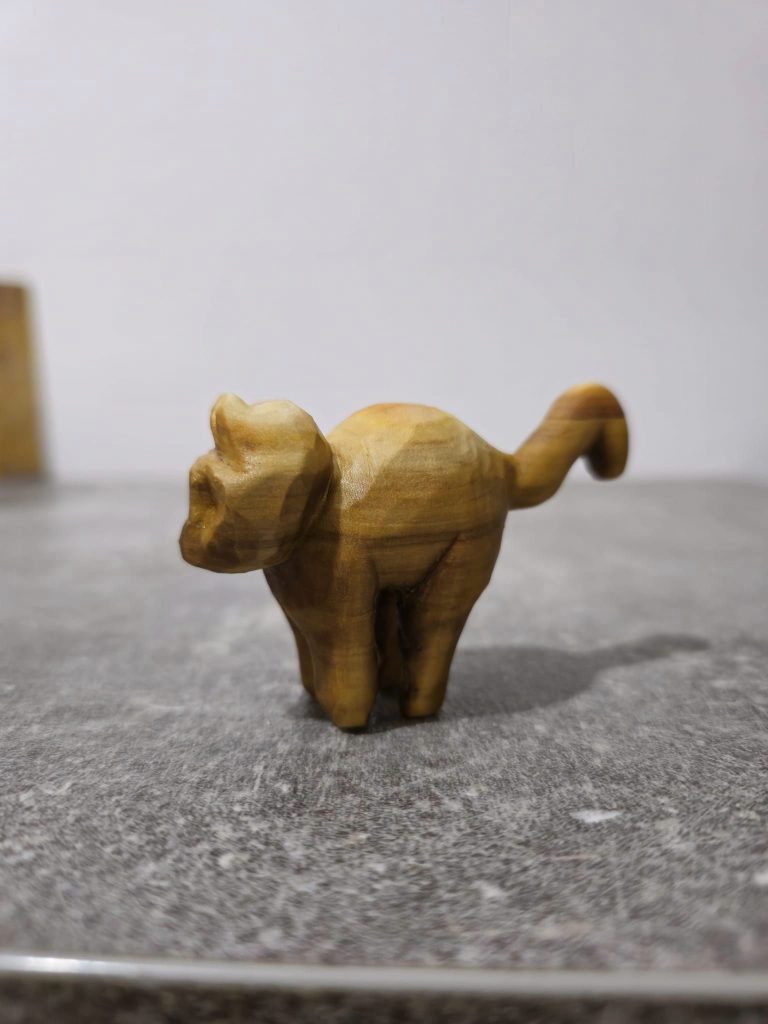
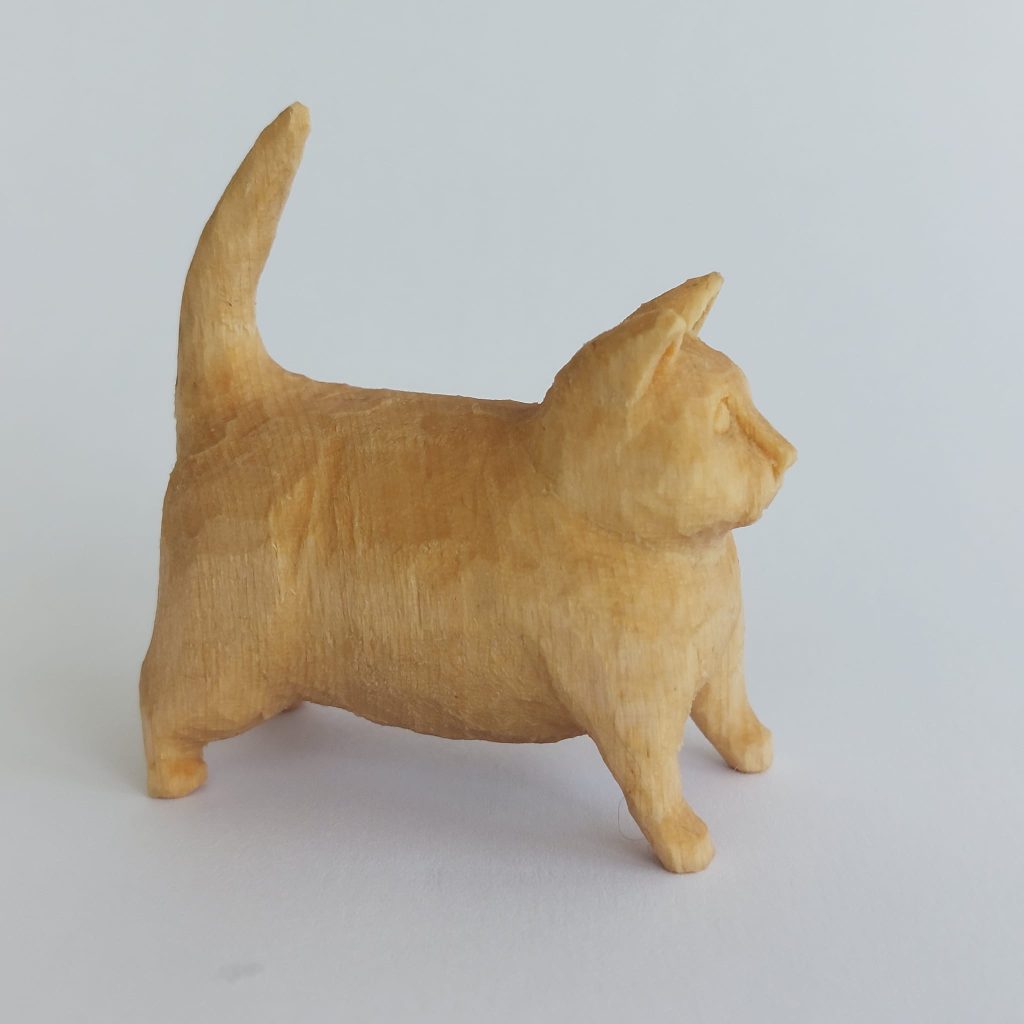
Naturalistic Cats
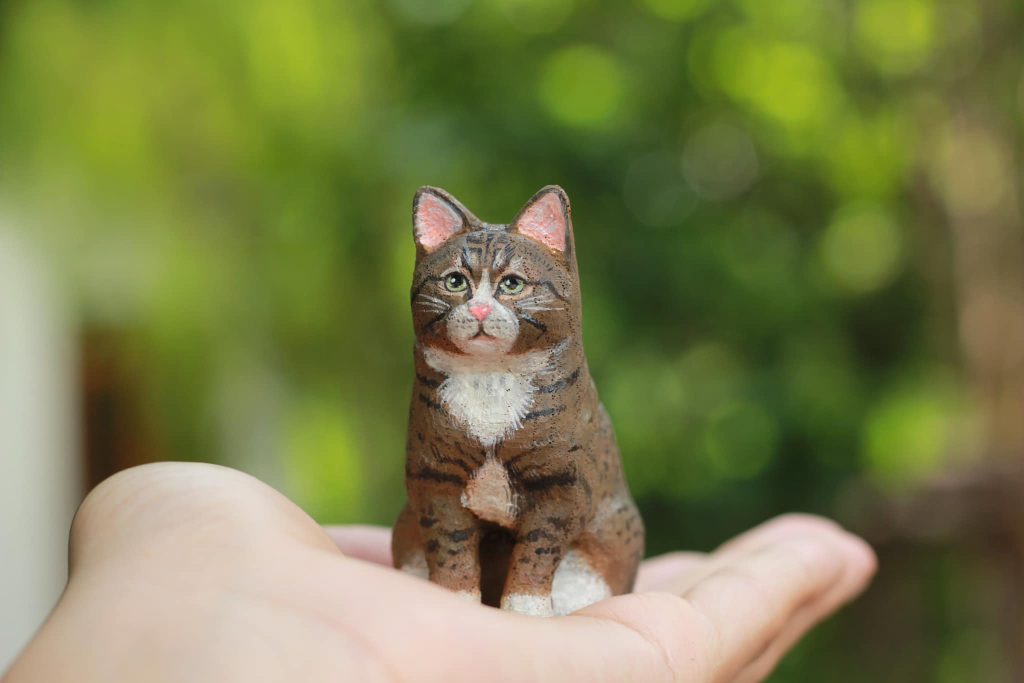
If you want to stretch your skills, try carving cats that feel lifelike. Naturalistic projects teach you how posture, ear tilt, and tail position convey mood. These challenges share techniques with more advanced animal projects such as those described in How to Carve a Rhinoceros Step by Step.
Adding paint allows you to capture markings and whiskers that knives alone cannot.
Careful brushwork makes this tabby look like it could step off your shelf.
When working without paint, shadow lines and sharp cuts bring out muscles and fur.
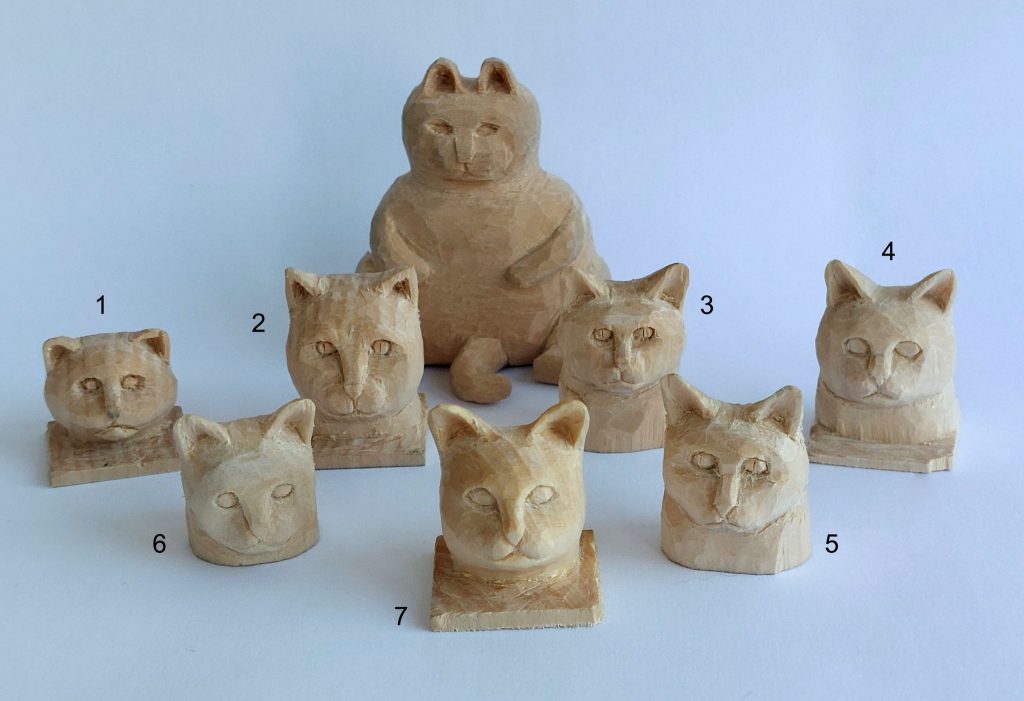
Miniature & Pocket Projects
Miniature carvings test precision, but they’re also some of the most rewarding pieces you can make. Tiny cats can be carried as charms, worn as pendants, or gifted as keepsakes. If you’re curious about more small-scale ideas, see our guide on 30 Weekend Whittling Projects.
Carving small forms from scrap wood is perfect practice without wasting material.
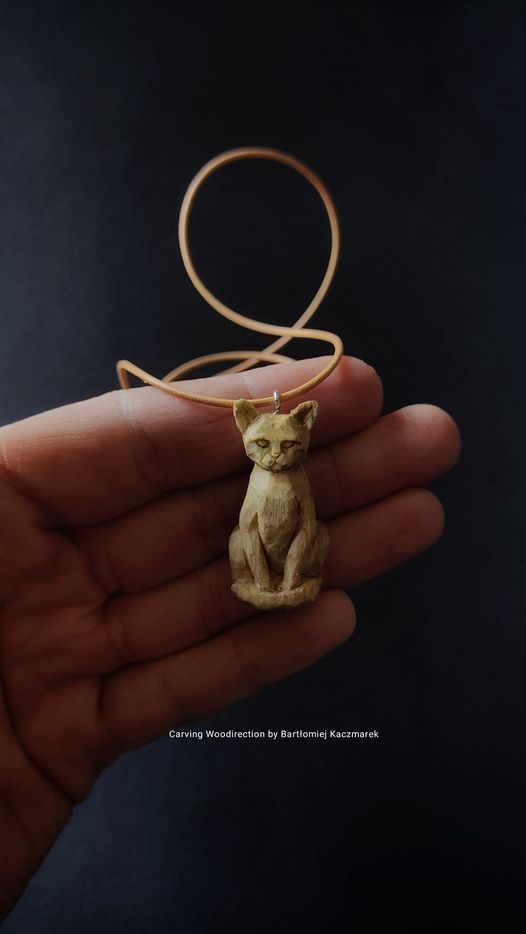
Pendants turn carving into wearable art—patience is key for these details.
Repeating heads in a series sharpens your sense of proportion and anatomy.
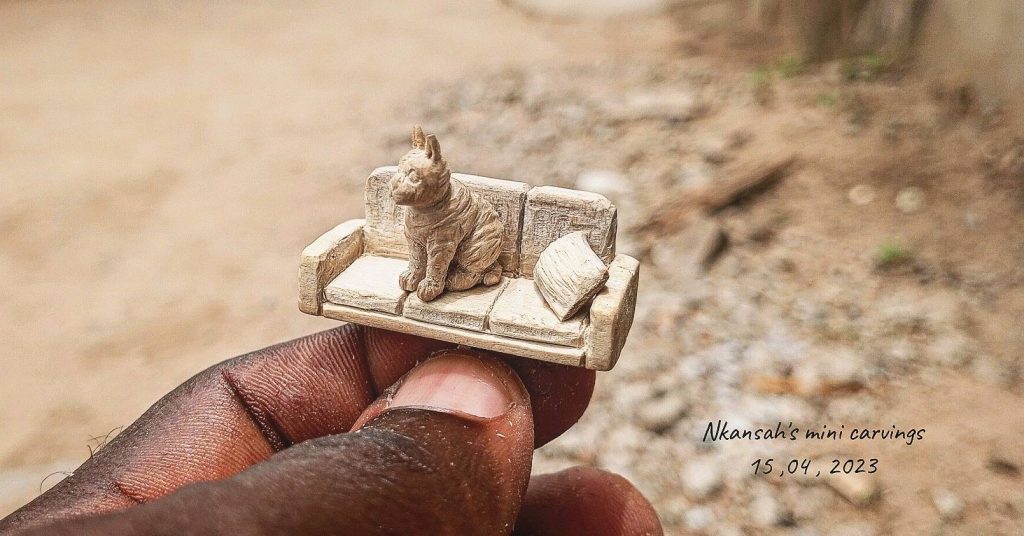
Decorative & Artistic Cats
Cats can also become decorative centerpieces. From pendants to painted figurines, these carvings go beyond practice pieces and into the realm of display art. For finishing ideas that make such projects shine, check out our guide on The Best Oil Finishes for Wood Carving.
A miniature scene tells a story and elevates the carving into art.
Detailed pendants make memorable handmade gifts.
Stylized stances are great for shelves, mantels, or bookends.
Tips for Better Cat Carvings
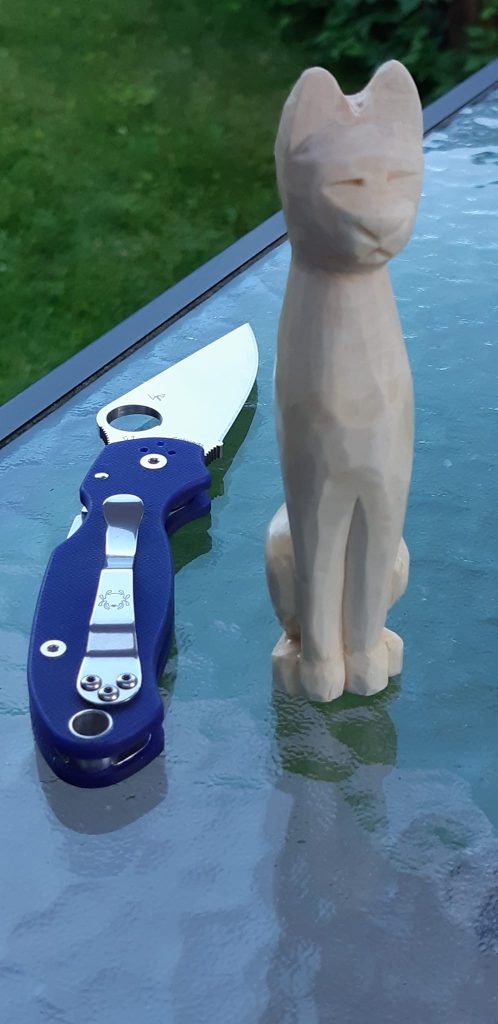
- Wood Choice: Basswood is easiest for detail, while cedar adds character through its grain. For more, see Best Wood for Carving.
- Tools: A sharp knife is essential. Beginners often start with the Best Carving Knife or small chip carving tools.
- Finishes: Oils and waxes bring out natural beauty. We’ve compared them in Best Finishes for Wood Carving.
- Protection: Small carvings split easily if not treated. Learn how to safeguard them in Protect Carving from Splitting.
Expanding Your Skills
Once you’ve tried your hand at cats, you can branch into animals, figures, or even furniture. For more inspiration:
- Learn proportions with Whittling Simple Human Figures.
- Explore more creative challenges in Beyond the Basics: 12 Creative Carving Ideas.
- Combine carving with woodworking in Combining Carving and Furniture Making.
Well, there you have it – 50 whittling ideas that are purrfectly cool, a little quirky, and full of cat charm! Whether you’re a seasoned whittler or just testing the waters, we hope these ideas have sparked some creative inspiration. So go ahead, make something that’ll have you grinning like the Cheshire Cat, and remember: when it comes to carving, the only limit is your imagination. Keep carving, keep creating, and stay cool!
How to Whittle a cat
Ready to create your very own wooden feline masterpiece? Follow these steps to whittle a cool cat with a little attitude. Grab your tools and let’s get started!
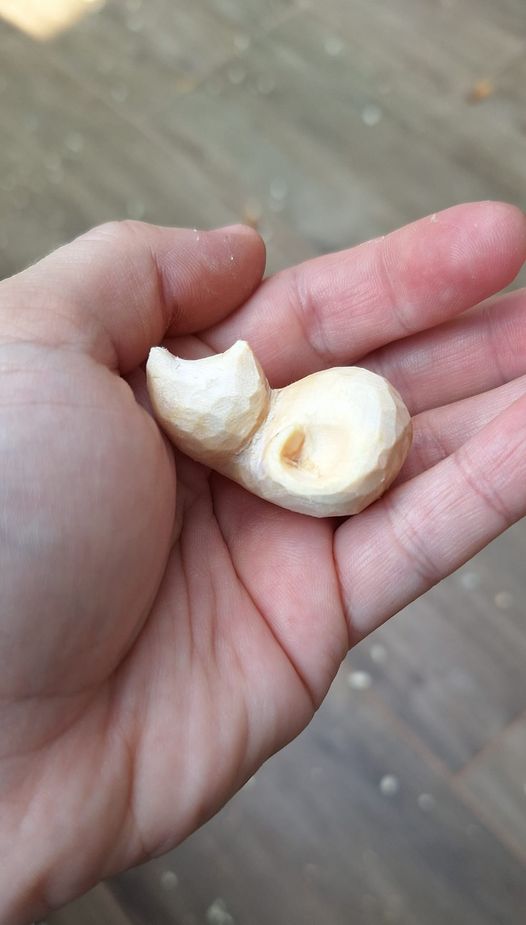
Step 1: Start with a Basic Block
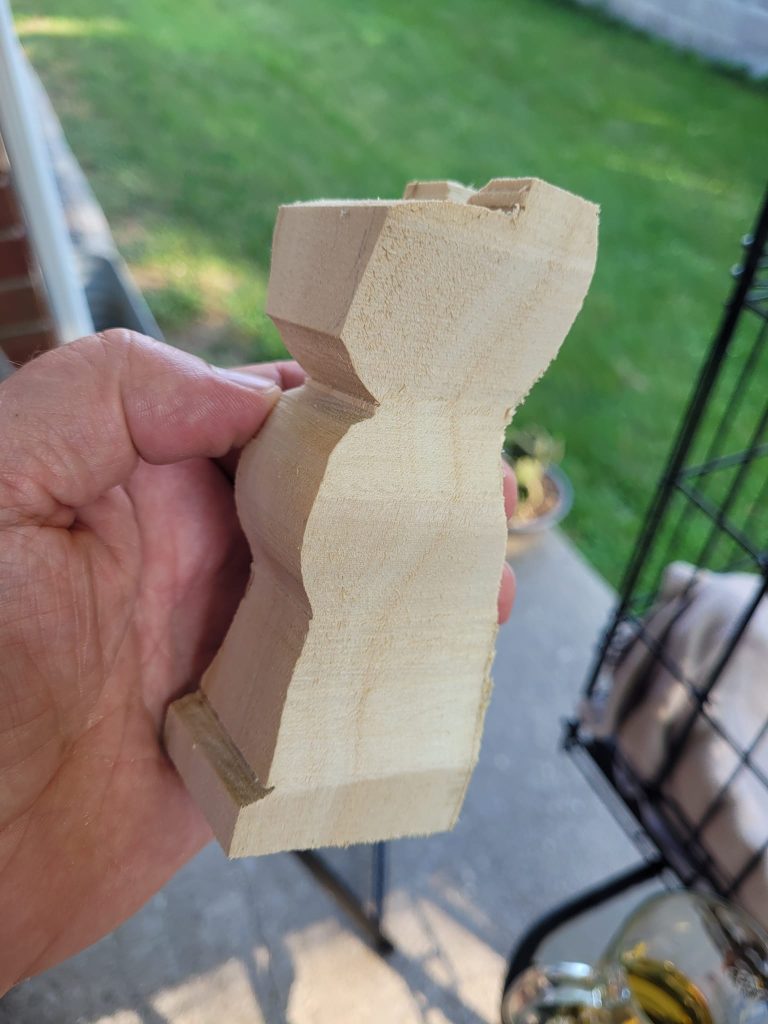
Grab a piece of basswood (or any soft wood for carving) and begin by roughly shaping it. Carve down the edges to create a basic silhouette of the cat, focusing on shaping the head, back, and base.
Step 2: Define the Body Shape
Once you have a basic outline, start adding more definition. Carve the cat’s back and haunches, gradually rounding out the body. Keep your strokes even to maintain a smooth, natural curve.
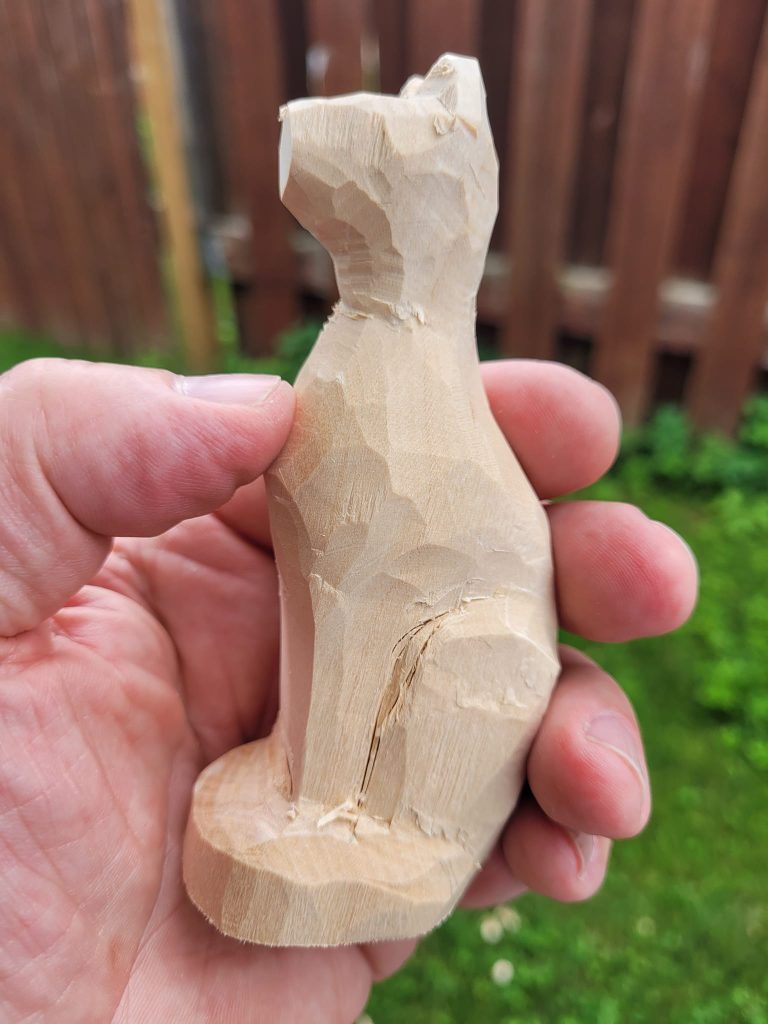
Step 3: Shape the Head and Ears
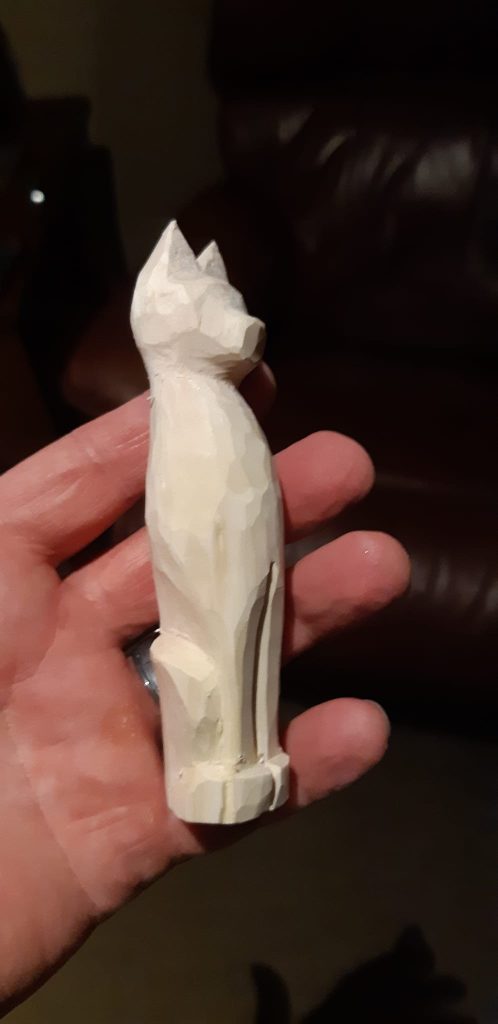
Next, it’s time to give your cat some personality! Carve out the head and ears, shaping them with careful cuts. For the ears, use shallow, angular cuts to make them pointy and alert. The face should be a bit more rounded.
Step 4: Add Facial Features
With the main shape complete, focus on the facial details. Start by carving a subtle nose, then add slanted lines to give the eyes a cool, laid-back look. Remember, less is more—keep the details minimal for that chic, minimalist cat vibe.
Step 5: Smooth and Refine
Time to polish things up! Use fine sandpaper to smooth out rough edges and refine your cat’s shape. Emphasize the curves in the back and tail, and ensure the face has a soft, smooth finish. This step gives your cat a polished, professional look.
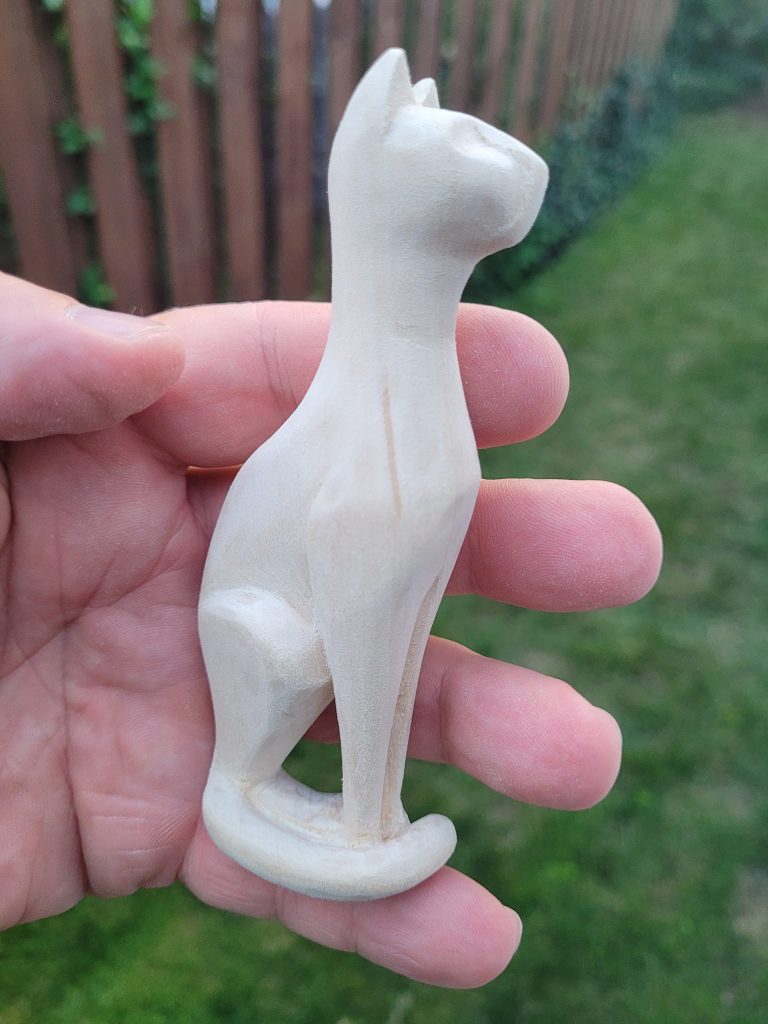
Step 6: Optional—Paint and Finish
If you want, add some color with paint or wood stain to bring your cool cat to life. A subtle wash of color can add depth without losing the natural wood texture.
Congratulations! You’ve just created a cat with purr-sonality. Give it a prominent place on your shelf, and let it show off its cool vibe. Keep practicing, and who knows? You might just become the next cat-whittling pro!