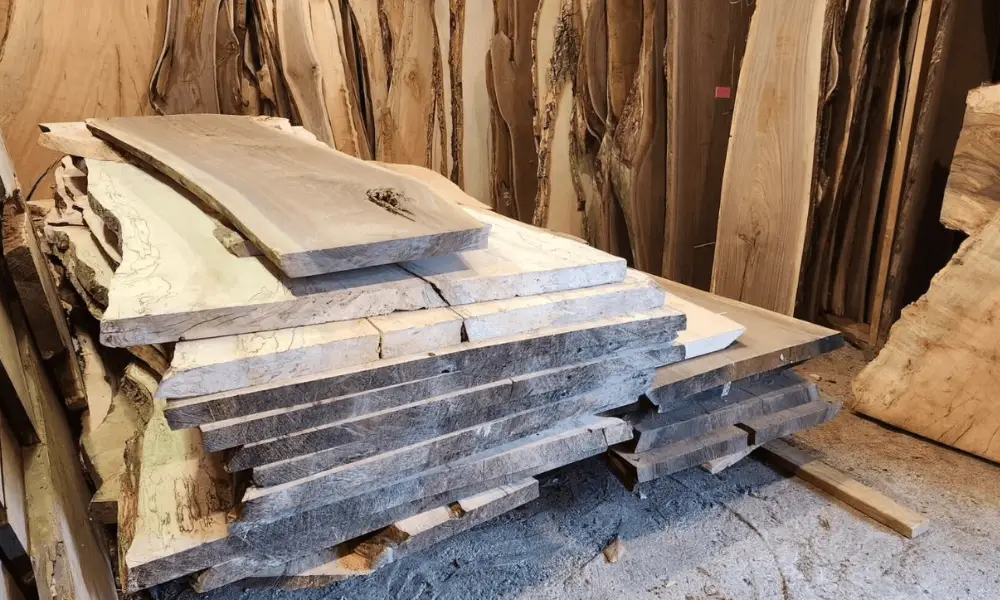
Plywood is a common fixture in most contemporary households and commercial buildings. This structural timber product is made up of thin layers of wood veneer. The layers are intricately cross-laid at a ninety degree angle to ensure close, strong bonds between them. What’s more, the veneers are bonded together using high quality resins and are passed under pressure and heat to create a formidable structural unit. Different plywood are made from different types of wood and different resins, which in turn affects their performance.
Case in point, sande plywood is among the most common plywood varieties in today’s market. It is prized not only for its aesthetic appeal, but also for its marine-grade capabilities. Herein, we will take a close look at this plywood variety and how it compares to other notable varieties in the market.
What is sande plywood?
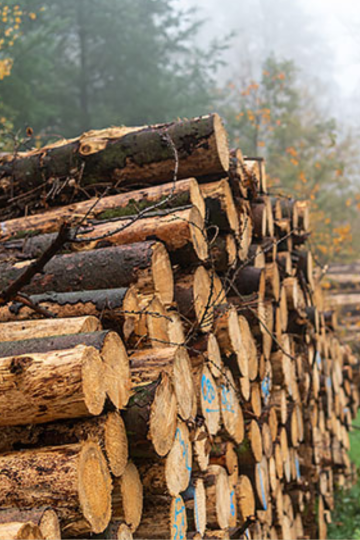
Sande plywood is a product of Sande tree, also referred to as cow tree, mulberry tree, or palo de vaca in South American dialect. This tree is native to parts of northern South America and southern Central America, particularly in Costa Rica, Columbia, Ecuador and Brazil, where it grows in rainforests. It is imported into the United States primarily for the production of veneers, paper, and plywood.
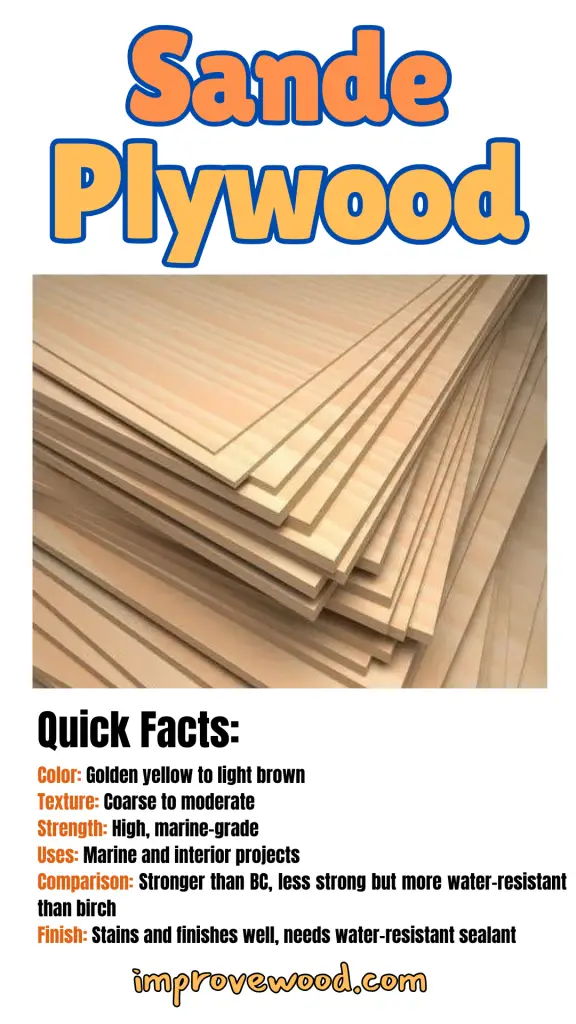
As is characteristic of the Sande tree, this plywood is greatly reputed for its aesthetic appearance. The tree’s heartwood and sapwood have a consistent color, ranging from a golden yellow to light brown hue. As such, unlike most plywood’s in the market, sande comes in a uniform color that lends well to staining.
It has straight grains and a coarse to moderate uniform texture. In some cases, the grain can be shallowly interlocked.
Among sande plywood’s primary attribute is its marine-grade capabilities. The veneers used for this plywood contain zero knots or voids in the inner core layers. Additionally, the adhesive used to bond these layers is fully water-proof. Consequently, the plywood does not let water seep through it, making it suitable for use in high water or moisture areas.
On the flipside, you will have to pay through the nose to enjoy these benefits. Compared to most plywood in the market, sande plywood is pricier.
Is sande plywood strong?
Yes. Although it is not the strongest plywood known to man, sande is still ranked among the stronger varieties in the present market.
Being a hardwood, sande offers this plywood a significant amount of strength. It has a sizable Janka hardness rating of 903 and a bending strength of 14,310 psi. What’s more, Sande’s density is commonly compared to that of red oak, which is hailed as a durable wood species. Combined, these attributes make sande plywood a strong variety capable of withstanding heavy impact.
Secondly, as a marine plywood, sande comprises multiple layers that are glued together using high quality adhesives. Therefore, the strong adhesive bonds add to the plywood’s strength.
Read Next
• https://improvewood.com/sande-plywood-an-overview/
• https://improvewood.com/how-to-treat-plywood-for-outdoor-use/
• https://improvewood.com/best-primer-for-plywood/
• https://improvewood.com/best-wood-for-shelves/
• https://improvewood.com/what-is-the-most-weather-resistant-wood/
What is sande plywood used for?
Sande plywood is majorly used for marine-based projects. It can be used for boating projects, decks, and other in-water applications.
However, the term ‘marine-grade’ is a misnomer that often confuses many. Contrary to popular belief, this term does not imply that sande plywood is only used for marine projects. It simply implies that it is able to withstand the elements for long periods.
With that in mind, this plywood can also be used for interior uses such as furniture, cabinets, and shelving. It is also an ideal choice for building fixtures to be used in high moisture rooms such as kitchen cabinets and bathroom shelves.
Given its water-resistance, sande plywood can also be used for wall paneling.
Sande plywood for cabinets
Sande plywood vs. birch
When it comes to cabinetry, birch plywood is very similar to sande plywood. Both plywood are highly aesthetic as they have a uniform yellow hue that stains well and is ideal for interior fixtures. Moreover, they are both easy to work with given their clean joinery and superior screw holding abilities.
However, birch has an upper hand over sande on account of its unique strength. Birch plywood is rated by the APA Engineered Wood Association as a Group 1 plywood panel, referring to its excellent stiffness and strength. Yellow birch has an impressive Janka hardness rating of 1,269 and a bending strength of 16,610 psi, which blows sande plywood out of the water, making it the stronger cabinet material between the two.
Inversely, sande plywood is superior when it comes to water-resistance. Birch plywood is only rated as an exposure variety while sande is a marine-grade variety, meaning the former can withstand the elements for a shorter period of time. As such, sande makes for a more viable option when making cabinets in moisture or water-filled rooms, such as the bathroom.
BC plywood vs. sande plywood
BC plywood also compares somewhat favorably to sande plywood. ‘BC’ implies that plywood has a B-rated face and a C-rated core. The B face has a smooth, sanded finish, while the C core and backside have some defects. As such, while BC plywood offers an exceptionally strong and easy to finish cabinetry material, it is incapable of withstanding the elements for long due to its defect-filled core and backside.
On the contrary, sande plywood is more able to withstand the elements for long periods, making it more ideal for moisture-filled environments.
Nonetheless, BC plywood is a stronger and sturdier cabinetry material than sande plywood.
Staining and Finishing Sande Plywood
Generally, sande plywood’s features lend themselves well to staining, finishing, and painting. As mentioned earlier, the wood has an intricate aesthetic color uniformity and has an exceptionally smooth surface. Combined, these features make this ply ideal for finishing and staining as stains will lend themselves consistently to the uniform color and even surface.
However, it is important to ensure that the products used are set up in a manner that complements the wood’s marine-grade utilities. It would be illogical to leave the finish or stain without water-resistance abilities, while the plywood is poised for moisture and water exposure. As such, incorporating a reliable sealer in the process is a fundamental tenet of finishing sande plywood.
In specific, it is recommended to follow these steps for proper sande ply staining results:
How to stain sande ply
Also read: How to Treat ply for outdoor
Lightly sand the plywood’s surface
Sanding is an important part of prepping your ply for staining as it helps eliminate any marks that might have come about during the manufacturing process. While some marks might be very subtle and invisible to the human eye, they will still be visible once the wood is stained. Therefore, sanding will help ensure your surface is free of any blemish. Moreover, sanding also closes up the plywood’s pores, guaranteeing an even stain spread.
Noteworthy, you should be very careful not to overdo the sanding, particularly around the edges where it is easier to sand through. Simply use a 180 grit sandpaper and gently scuff the surface to avoid going through the entire top layer. Alternatively, if you prefer using mechanical tools such as an orbital sander, ensure to use the slowest speed possible to avoid sanding through the layers.
Wipe down the surface
For staining purposes, you can use a dry, clean cloth to wipe away the saw dust. Unlike finish which sits on the wood’s surface, stain will penetrate the wood, meaning there is minimal risk of sawdust getting in the way of effective staining. For this reason, it is okay to use a dry cloth initially and wipe away the remnant debris as you stain.
However, for finish, you need to get rid of all debris on the surface for effective finishing. Therefore, use a damp, clean cloth to wipe off sawdust and other debris from the plywood’s surface. Once finished, let the ply sit for a few minutes to dry.
Condition the plywood
Sande plywood has varying textures, ranging from medium to coarse. The texture relies on the source tree. As such, just to be sure, it is prudent to apply pre-stain wood conditioner on your plywood. It will dilute the stain, ensuring the plywood absorbs it evenly despite its texture.
For a fine finish, ensure to apply the conditioner in the direction of the wood grain and let it sit for at least half an hour before wiping away the excess conditioner.
Apply the stain
Use a brush or clean rag to apply the stain over the plywood surface. It is important to apply in the direction of the grain to ensure the stain blends in accordingly.
Let the stain sit for around 15 minutes and wipe off the excess product, also in the direction of the grain. Wiping along the grain ensures that all swipe marks also blend in with the grain for a clean finish.
It is also important to note that letting the strain sit for longer before wiping will lead to a darker color. Similarly, wiping it off too early results in a light color. This decision hinges on your color stain preference.
Let the stain dry
Once you have fully wiped the excess stain, let the plywood sit for it to dry. Water-based stains will take as little as 2 hours to get dry enough for recoating and 3 hours to dry enough for top-coating. Inversely, oil-based stains will take longer; around 6 hours before recoating and 24 hours for top-coating with a finish.
Apply wood sealant
Given that sande plywood is a marine-grade plywood, it is important to ensure your stain and finish are also compatible with the material’s moisture and water-resistant. As such, applying a wood sealer ensures the stained surface is able to repel moisture effectively.
Edge Banding
As expected, the plywood’s edges will take the stain differently from the plywood’s surface. With the inner layers of the plywood exposed along the edges, the stain composition of this section is likely to contradict that of the surface stain.
Therefore, to resolve this issue and attain a consistent finish, consider edge banding. This process entails using pieces of thin, stainable veneers that can be ironed onto the plywood’s edges to conceal the stain difference. Watch this video for a more detailed visual presentation of this procedure.