If you’re working with wood, whether it’s a DIY project or professional work, you’re likely to come across significant gaps at some point. Various factors, such as natural drying, humidity, or improper joinery techniques, can cause these gaps. Filling these gaps can be daunting, but don’t worry—it’s not impossible! In this blog post, we’ll provide tips and tricks on successfully repairing large wood gaps, ensuring that your finished product looks seamless and professional. So let’s get started!
Using wood fillers combined with craft sticks and other methods is the most common and best way of filling large holes in wood. Wood fillers often comprise wood dust mixed with a binder that dries, a thinner, and sometimes a pigment.
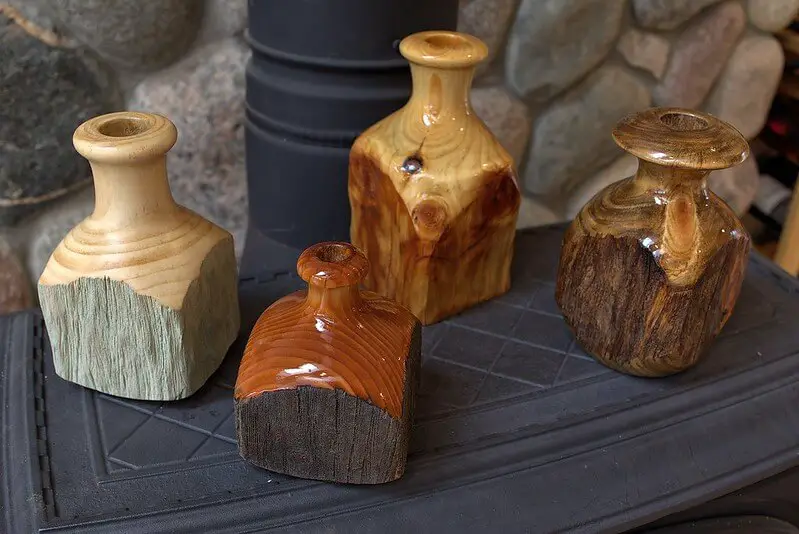
At other times, wood fillers can compose of synthetic materials that will often accept wood finishing products. Then, wood fillers will cover the holes and make the wood furniture or wall look as good as new.
Materials Needed
Repairing significant gaps in wood is relatively easy but requires suitable materials. Here are some of the materials that you will need to have on hand before beginning the process:
- Wood filler – Choose a high-quality wood filler that matches the colour and texture of the wood you are repairing. Make sure that the filler is specifically designed for large gaps.
- Putty knife – You will need a knife to apply the wood filler into the gap. Choose a putty knife at least 2 inches wide for best results.
- Sandpaper – Once the wood filler has dried, you must sand it down to create a smooth and even surface. Choose a fine-grit sandpaper for best results.
- Paint or stain – If necessary, paint or stain the repaired area to match the surrounding wood. Choose a colour or stain that matches the colour and finish of the existing wood.
- Optional: wood glue – If the gap is huge or the wood is split, you may also need wood glue to strengthen and stabilize the area. Choose a wood glue that is specifically designed for your type of wood.
- These materials will make the repair process much easier and ensure you achieve the best possible results.
Read Next
- Best Method for Joining Wood
- Does Wood Glue Work on Painted Wood?
- How to Plane Wood Without a Planer
- How to Keep Plywood Doors from Warping
- How to Buff Out Scratches in Polyurethane
Methods of Filling Large Holes In Any Piece of Wood
1. Using sawdust and wood glue.
This method works best for both small and large holes. It is one of the primary methods. It works by mixing sawdust and wood glue in equal parts, which produces a paste that you can use to fill in gaps.
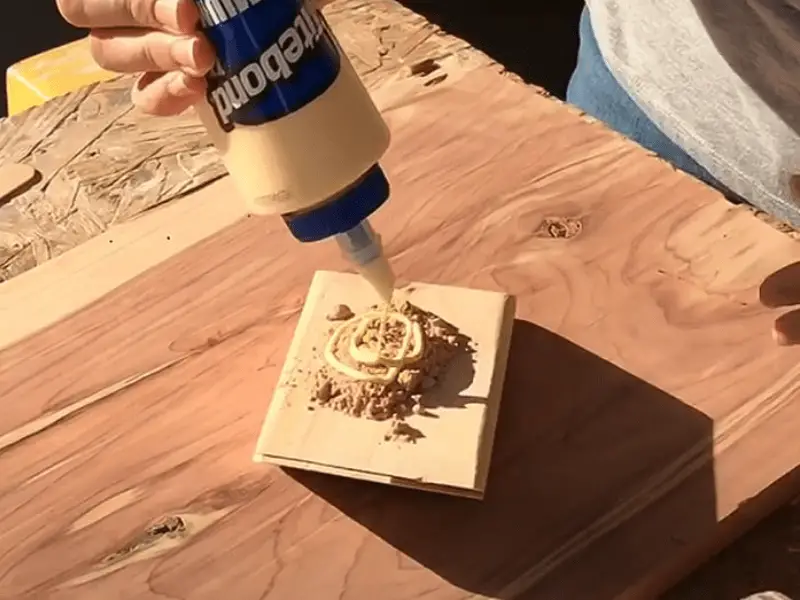
When you need wood filler that matches the colour of your project, get some fine sawdust from the bag on your electric sander and mix it with glue until it forms a paste, which you can then use to fill small gaps and cracks. Use sawdust from the same wood species as your project for the best results.
Alternatively, you can use this method by applying a thick layer of wood glue to the hole, filling it with sawdust then sealing it with a thick layer of wood glue on the top. This method is convenient because sawdust and wood glue can be sanded and painted once dry.
Steps by step way of filling the hole with sawdust and wood glue
- When the hole penetrates the wood, tape off the base using a thin piece of wood or cardboard.
- Mix the selected equal parts of sawdust with wood glue thoroughly.
- Fill the hole with the mixture, allow it to dry, and then sand and paint it.
2. Using dowels and wood glue.
Using wooden dowels and wood glue is one of the unique methods of filling large holes in wood. This method is efficient for large cylindrical holes, like if you created a too-big hole with a power drill or a drill press.
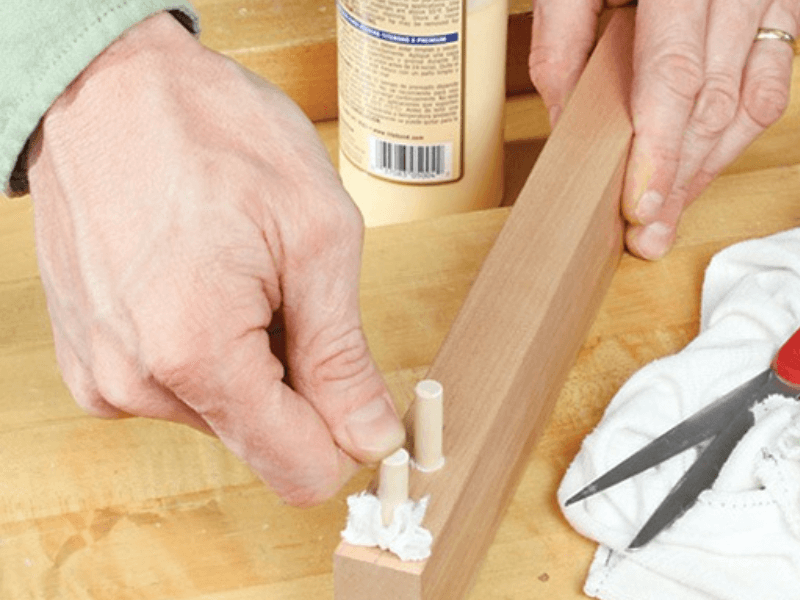
Dowels are typically employed to fill circular, generally deep, and slender holes. This technique involves trimming a dowel to the correct size, covering it in wood glue, inserting it into the hole, and then scoring it a few times to help the glue stick.
This procedure can also be applied to somewhat larger holes. To extend the overall circumference, glue or tie multiple dowels together.
Steps by step way of using dowels and wood glue
- If the hole penetrates through the wood, seal the backside off with tape.
- Cut down a wood dowel that is the same length as the hole.
- Score the dowel along its length severally to make the glue adhere, and then cover it in glue.
- Shove the dowel into the hole and rotate it a few times to let the glue spread; if necessary, fill in any remaining gaps with the wood glue.
- Allow it to dry before you sand and paint it.
3. Using Epoxy.
Epoxy is a wood filler for large holes. It is easy to use because it is pliant and easy to handle. It is commonly made from a polyester and wood pulp mixture.
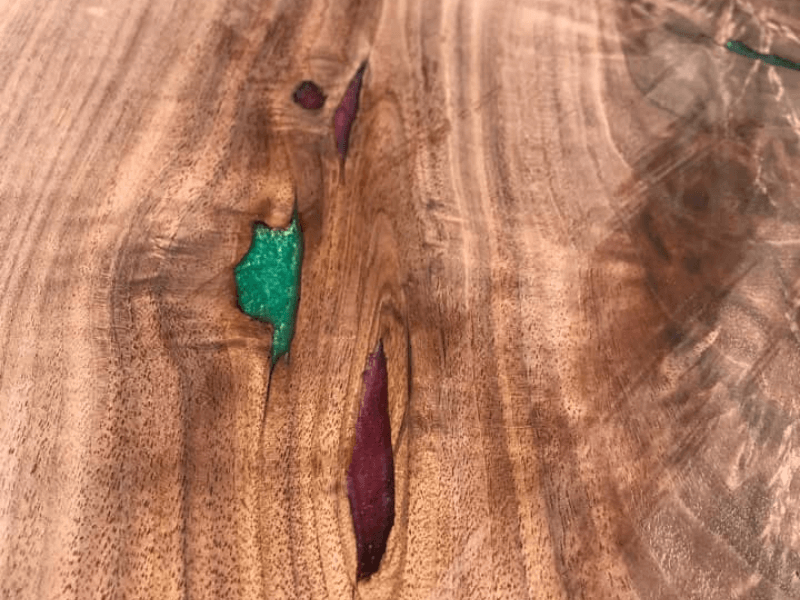
When using epoxy, you mix it like dough and mould it like clay even after drying it. Then, when it hardens, you can carve it just like any wood. Two-part epoxy is ideal for fixing door jambs, mouldings, baseboards, wood trim, and wood sills.
The best thing about epoxy is that you can drill or screw into it later if needed. Moreover, the benefit of using epoxy to fill large holes is that it creates a very tight bond and a strong seal, and it is temperature and weather-resistant and very permanent too.However, quality epoxy is expensive; therefore, if you require a lot of it, you will spend a lot of money. Also, it is impossible to sand and paint epoxy.
Steps by step way of using epoxy
- Mix two-part epoxy depending on the directions.
- Apply it on the hole as fast as possible and smooth it before it dries.
- Allow it to dry.
- It needs 24 hours to dry. You may try sanding it afterwards, though it won’t work well.
- When the hole is deep and wide, you can fill it with sawdust before applying a thin layer of epoxy over it. This will help you reduce the cost.
4. Using toothpicks and wood glue.
This method is similar to the one using dowels and wood glue. However, the difference is, toothpicks are much shorter than dowels, making them best for fewer deep holes. Although, if the gap is vast, you can glue the toothpicks together to increase their diameter.
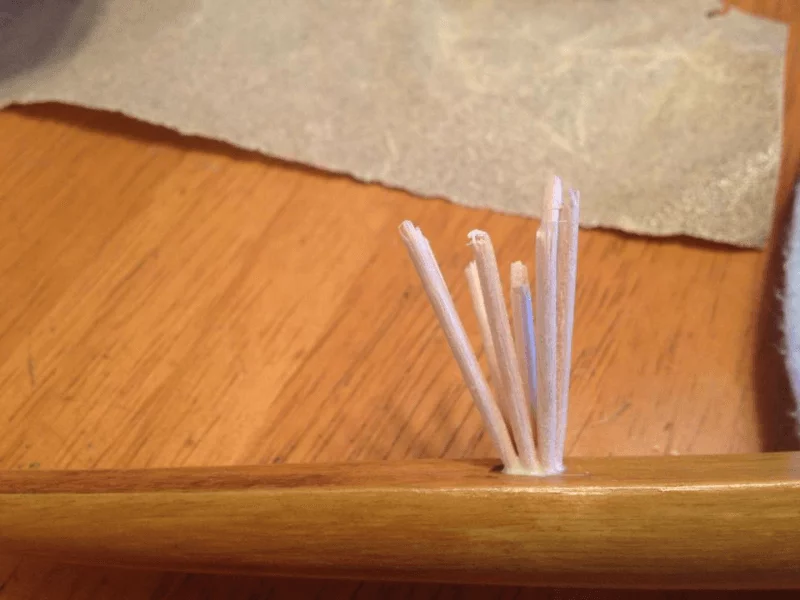
This method can be applied to both interior and exterior wood fixtures. The glue used is easy to sand and paint, dries fast, and is cost-effective.
Steps by steps of way of using toothpicks
- If the holes pass through the wood, tape off its base.
- Using glue, bunch several toothpicks together, depending on how wide the hole is.
- Put some wood glue in the spot, take the glue-covered toothpicks, and put them in the hole.
- Fill in any more gaps with more wood glue.
- Allow the glue to dry, sand it and paint it.
- Using Spackle.
This is a putty made of gypsum plaster consisting of glue and calcium sulfate. It is the best for fixing minor interior wood problems and filling small and large cracks and holes in drywall, baseboard, door jambs, and trims.
The reason why spackle is ideal for filling large holes is that it is thick. In addition to that, it comes in many colours, dries very hard, sands well, and can be painted.
However, its drawback is that it is not weather-resistant, not easy to apply stain, it might shrink, and you may be required to apply several coats.
On the other hand, it is very cost-effective.
Steps by steps ways of using spackle
- Prepare the area with light sanding and wipe it with a clean rag or cloth.
- Apply enough spackle to fill the hole and cover the area thoroughly.
- Shove the spackle into the hole with the putty knife and wipe off the excess.
- Allow it to dry completely, then sand it as required and clean it with a damp cloth.
5. Using Acrylic Caulking with Silicone.
This large-hole wood filler performs well with exterior wood due to its moisture resistance. This is an excellent external wood filler for large holes, cracks, gaps, and even medium-sized holes. It is ideal for exterior use since it is moisture-resistant and easy to apply using a caulking gun.
It is the ideal method for simple repairs when you are not required to sand or paint anything after. However, caulking is not affordable and could be better for filling huge holes.
Steps by steps ways of using acrylic caulking
- Clean the area.
- Apply the caulking.
- Allow it to dry.
- Using Polyester Paste.
This wood filler works like epoxy, but the application method varies. First, a wood hardener is applied with a brush to strengthen the wood, followed by a resin.
Typically, this wood filler needs at least two coats. However, it begins to harden in 15 minutes and is ideal for rotten, degraded wood.
Polyester paste requires a toxic hardener. You can paint and sand it, but it doesn’t allow stains.
Moreover, all the above methods will require you to have specific tools:
Tips to Note when filling the large holes
- Always overfill the holes to have a little bit of material to sand back and make it flush.
- If you are in doubt, use the most straightforward method that will get the job done.
- The main aim of filling large holes is to replace the missing material that had never left.
- Ensure that you get high-quality wood glue that will not disappoint you.
- Consider your finish because many of these methods are noticeable in the end.
Conclusion.
To sum up, note that, no matter the method you choose after you fill the hole, you will level the surface again. Therefore, ensure that you use a sanding block to drop your fill.
Levelling will help create a smooth and even surface where the hole has been filled. Nonetheless, follow the guidelines given by the manufacturer and seek professional assistance if need be.