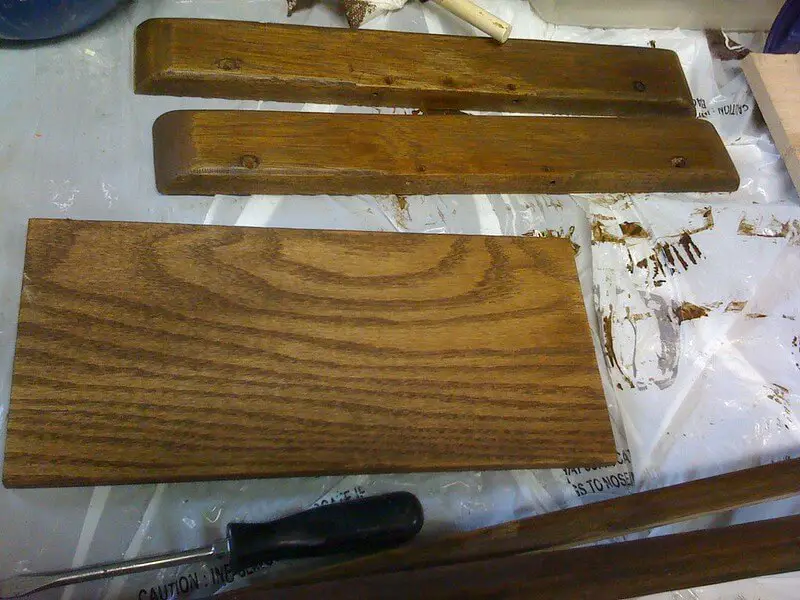
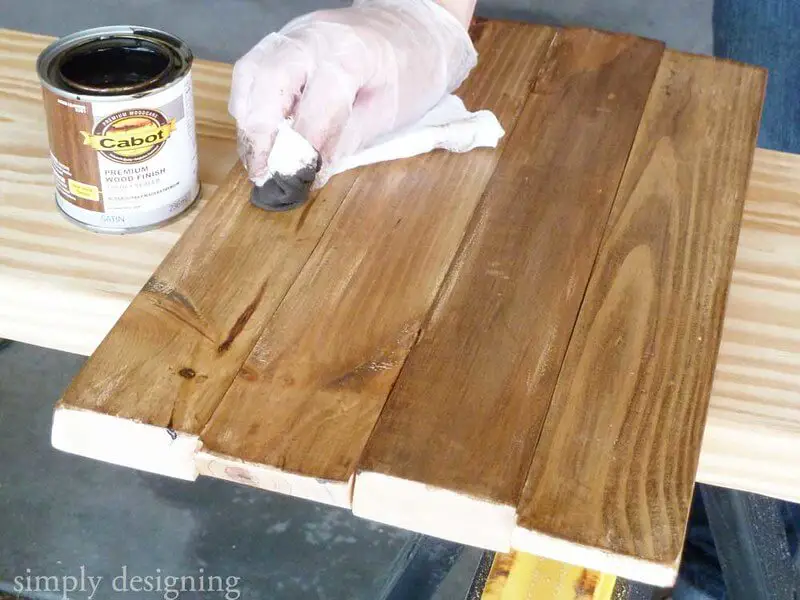
In this article, we look at adding stain over the old stain. Our focus question; Can you stain over stain? and if yes how do you do it?
Can you stain over stain?
If you have some old furniture with some stain that’s no longer as attractive then you may have considered staining it with a new tone or shade of stain.
Luckily staining over stains is possible and it can be done. However, there are a few things you need to know before even opening your stain can.
Staining is not a complex process but it is a delicate process. If staining is done wrong repairs don’t fall short of sanding. Remember we are avoiding the hustle of stripping the old stain.
Tools and Materials
For this job, there are a few supplies you have to get. The followings are the tools and materials that are needed.
- Stain
- pre-stain for easy application
- brush
- sandpaper
- top coat sealer
Do you have to remove the old stains before restaining?

It is not necessary to remove the old stain before staining. However, you will still have to sand your piece for a few reasons as discussed below.
Read Next
- Types of Wood Stains: Staining 101
- Can You Stain Over Linseed Oil? Staining Oil Finish
- Can You Stain Over Shellac? Wood Sealing Basics
- How to Paint Wood: Step-by-Step Guide
- Best Stain for Pine
Can you put stain over stain without sanding?
You can definitely stain over stain without sanding. But that is only possible if the surface had received good treatment and is as clean as it can be.
In such a scenario you will be applying a stain over a topcoat but not over the old stain unless the stained wood had not been sealed with a topcoat.
When glazing is considerate of the fact that the more layers of stain+sealer you apply the closer you get to obscuring the wood completely. This is more so true if the first stain (old stain) was reasonably dark.
So far we have discussed staining the stained wood to get a darker and probably different color. But sometimes the wood may be too dark and you would want to lighten it up with a lighter stain. If this is the case the next section will clear up on how to achieve this.
Why sanding may be necessary
In most cases, your stain will be under a seal of a topcoat, which could be shellac, lacquer, or some other type of varnish. Sanding this coat off will help expose the wood. Once the wood is exposed the wood can soak up the dye.
Sanding also helps to level out the surface. For best results, a smooth surface clear of any blemishes is needed. achieving such a surface will require sanding with fine-grit sandpaper. I recommend around 280 or higher.
It is also worth mentioning that we can still apply the stain over the coat. As elaborated on staining over poly and staining over varnish, staining over a finish is ok. Though you need to inspect the surface to see if light sanding is required most probably it will be.
This sanding however will not be focused on stripping the topcoat but rather on etching it for a better stain-topcoat bond.
How do you stain over existing stains?
Once you have all your material and tools ready the process of staining your stained wood can begin. Below we have spread out the process into a few easy steps to follow. If you are a newbie to using stains I recommend you check out an article on the type of wood stain.
Step one – Surface prep
Surface prep is a crucial step in any finished application. In this step, we prepare our wood to get it to a state that can efficiently accept the stain. Light sanding will help create a smooth even surface. If the stain is a pigment rather than a dye we recommend only a light sanding that does not strip off the topcoat.
You can still sand all the way through the topcoat exposing the stained wood. But should you choose to do this we recommend applying a pre-stain to avoid blotching in blotch-prone woods like pine?
Step two applying the stain

Choosing the right stain for the job is critical to getting satisfactory results. However, the way you will apply the stain can make a big difference. There are two ways that you could apply stain over the old stain.
- a). Apply the stain and leave it to cure
- b). Apply a wet coat of stain and wipe off the excess before it dries.
If you do not have spraying equipment then the second method is the best. The second method ensures that you get an even coloring on the wood as long as you had prepared it well as instructed in the first step and the wood isn’t naturally blotchy.
Once the stain is dry you can apply more coats of stain till you build the color or shade that you like. If the last coat of stain is as intended we can move on to the last step as soon as the stain has cured fully.
Step three – Seal your stain
The last step involves adding a layer of protection that will lock in your newly stained wood. Make sure that the stain is compatible with the final finish you intend to use. If you are unsure check out this resource on stain-finish compatibility.
Lightening up a stain using a stain
This process will need some sanding. But worry not with a cup of tea on your side then sanding is no more than just a time to reflect and meditate on the work process.
Once you have stripped off the topcoat it’s time to get to business. If you know the kind of stain in the wood then flooding appropriate thinner on the surface of the wood for several minutes should begin a process of shading away some of that color intensity.
If the dye was water-based use water but expect some grain raising.
In the next step use bleach to lighten the wood to an off-white. At this point, you can choose to finish the wood as it is or you can add a coat of the preferred stain before finishing the wood.
With bleach, you have three options. either use two-part bleach, chlorine bleach, or oxalic acid
Can you stain over the existing finish?
Staining over the existing finish is possible. In fact, as the professional finish expert Bob Flexer, puts it,
Almost every finishing product, including stain, filler, glaze, and finish, can be applied effectively over any other finishing product, with the exception of wax, as long as the previous finish is dry. This includes water-based treatments over oil stains and all finishes over boiled linseed oil. You may need to let the oil-based compound dry in a warm area for several days or a week, but once dry, every finish will bind perfectly.
Can you stain over stain – Conclusion?
Sometimes we may not like a stain on a certain wood or furniture piece. Luckily stains can go over almost any other finish including another stain. The only important condition is for the finish to be dry and fully cured.
However as noted in the article above, there are some precautionary steps that must be followed if our staining process ought to be successful.
we hope that we have covered everything to get you ready to stain. Happy renovating!
