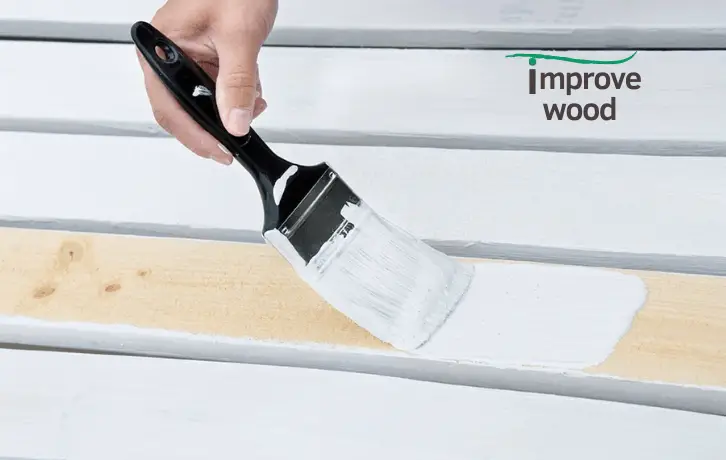
Applying an interior wood primer prep layer to the surface before painting your trim improves adhesion, prevents peeling, and reduces the number of coats needed to complete the task.
Although all primers include more polymers and less pigment than paint, the formula differs.
The environment determines the appropriate primer for the project you'll be working on and the final appearance.
Before spending your money on one, we recommend checking our list and guide on the Best wood primers.
Here are some of the Best Interior wood Primers in the current market.
Best Primers for Trim
| Primer Name | Suitable Surfaces | Coverage (per gallon/quart) | Drying Time | Stain-Blocking | Odor |
|---|---|---|---|---|---|
| Zinsser 02004 Qt Bullseye 1 2 3 | Wood, drywall, concrete, metal, glossy surfaces | 100 sq. ft. | <30 minutes | Yes | Low |
| KILZ Original Multi-Surface Primer/Sealer | Wood, drywall, plaster, masonry, metal, glossy surfaces | 300-400 sq. ft. | 1 hour | Yes | Strong |
| Rust-Oleum Painter's Touch Latex Primer | Wood, metal, plaster, brick, unglazed ceramics | 30 sq. ft. | 30 minutes | No | Low |
| Rust-Oleum Flat Gray Primer 1980502 | Bare or painted wood, metal, plaster, masonry, unglazed ceramic | 12 sq. ft. | 20 minutes | No | Low |
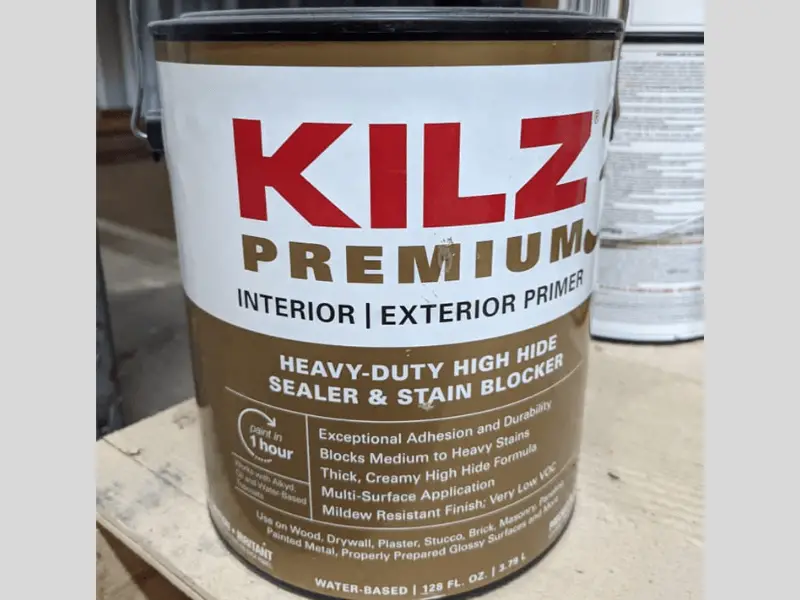
| KILZ Premium High-Hide Stain Blocking Interior/Exterior Latex Primer/Sealer | Wood, brick, drywall, masonry, painted metal, glossy surfaces | 300-400 sq. ft. | 30 minutes | Yes | Low |
Factors to consider when picking a trim primer:
- Surface Compatibility: Ensure that the primer is suitable for the specific surface you are working on, such as wood, drywall, metal, or masonry.
- Coverage: Consider the coverage area provided by the primer. This will help estimate the quantity needed for your project and avoid purchasing excessive amounts.
- Drying Time: Check the drying time of the primer to plan your painting schedule accordingly. Faster drying primers can speed up the overall project completion time.
- Stain-Blocking Capabilities: If you are dealing with stains like water, ink, tannins, or smoke, opt for a primer that offers effective stain-blocking properties.
- Odor: Take into account the odor emitted by the primer. If you are sensitive to strong odors, consider low odor or odorless options.
Read Next
- How to Paint Wood: Step-by-Step Guide
- How to Remove Acrylic Paint from Wood
- Satin or Semi-Gloss for Bathroom
- Will Polyurethane Protect Pine?
- How to Keep Plywood Doors from Warping
The Best Primer for Trim
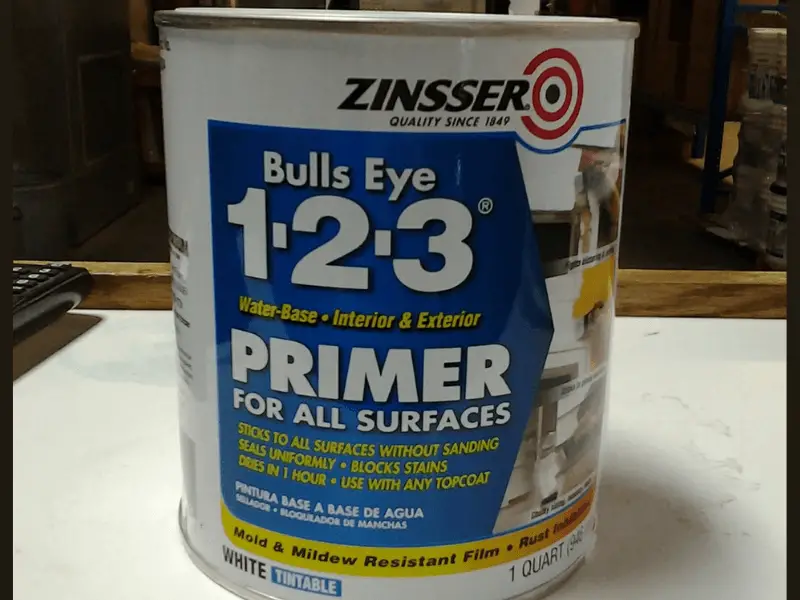
1. Zinsser 02004 Qt Bullseye
Zinsser 02004 Qt Bullseye 1 2 3 is an effective interior/exterior latex primer that sticks to various surfaces such as drywall, wood, concrete, masonry, metal, and glossy surfaces like tile. It is ideal for priming walls, furniture, and fences. This primer prevents mildew, peeling, and solvent-based stains, providing a stable bond between the primer and your surface. It works well with latex or oil-based topcoats and dries quickly.
What are its main features?
- Available in one-quart tins, covering approximately 100 square feet.
- Can be applied using a spray can for hard-to-reach spots.
- Comes in white and grey colors, ensuring excellent bonding with any paint.
- Dries to the touch in less than 30 minutes, allowing for faster painting.
- Suitable for various surfaces, including wood, glass, ceramic, tiles, and metal.
- No sanding is is required for a stable bond, but overnight drying is recommended.
What will I be able to accomplish with this primer?
- On darker-colored topcoats, the interior paint primer performs admirably.
- It is suitable for various surfaces, including wood, glass, ceramic, tiles, and metal.
- You do not need to sand the surface to achieve a stable, tight bond between the primer and your substance.
The best primer for dark wood trim
2. KILZ Original Multi-Surface Primer/Sealer
Overview: KILZ Original is an oil-based primer that blocks water-based stains and eliminates odors such as smoke. It works effectively on stain-prone surfaces like kitchen or bathroom cabinets and frequently used furniture. This primer can be used on drywall, plaster, masonry, brick, metal, and glossy surfaces. It covers 300-400 square feet per quart and dries in approximately one hour. However, the strong odor should be taken into consideration.
Features:
- Suitable for interior use, especially for painting new wood trim and baseboards.
- Performs well on wood surfaces.
- Provides better adhesion and long-lasting paintwork.
- Covers and blocks various stains, including smoke, water, tannins, pencil, ink, grease, and felt markers.
- Retains odors and can neutralize smoke and pet odors.
Best bonding primer for trim
3. Rust-Oleum Painter’s Touch Latex Primer
Overview: Rust-Oleum Painter's Touch Latex Primer creates a strong bond between the surface and the top coat. It is suitable for both indoor and outdoor surfaces, including wood, metal, plaster, brick, and unglazed ceramics.
Features:
- Water-based acrylic composition with a low odor.
- Chip-resistant and offers long-term protection.
- Covers up to 30 square feet.
- Dries to the touch in 30 minutes, providing ample working time.
- Easy to clean with soap and water without damaging the paint.
- Enhances the durability and adhesion of the topcoat.
Best primer for bare wood trim
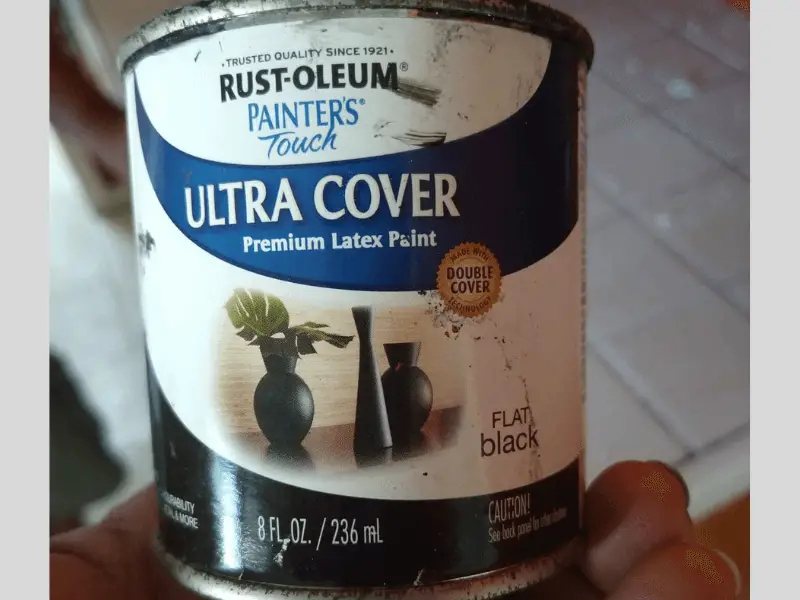
4. Rust-Oleum, Flat Gray Primer 1980502
Overview: Rust-Oleum Flat Gray Primer 1980502 helps hide blemishes, stains, and imperfections, creating a smooth and uniform surface. It can be used on bare or painted wood, metal, plaster, masonry, or unglazed ceramic. This water-based primer employs the Double Cover Technology found in Painter's Touch Paints, enhancing the adhesion and durability of the paint.

Features:
- Covers up to 12 square feet per can.
- Dries in approximately 20 minutes.
- Ideal for small projects and touch-ups.
- Suitable for indoor and outdoor use.
- Resistant to chipping and fading.
Things to consider when selecting a primer for your trim
- Surface Compatibility: Ensure that the primer is suitable for the specific surface you are working on, such as wood, drywall, metal, or masonry.
- Coverage: Consider the coverage area provided by the primer. This will help estimate the quantity needed for your project and avoid purchasing excessive amounts.
- Drying Time: Check the drying time of the primer to plan your painting schedule accordingly. Faster drying primers can speed up the overall project completion time.
- Stain-Blocking Capabilities: If you are dealing with stains like water, ink, tannins, or smoke, opt for a primer that offers effective stain-blocking properties.
- Odor: Take into account the odor emitted by the primer. If you are sensitive to strong odors, consider low odor or odorless options.
How do I select the primer?
Selecting the best primers for your project takes some consideration on your part. While all five primers in this review are high-quality materials, each has its unique set of properties designed for specific applications.
While all primers have more resins and less pigment than paint, the formulae differ from one to the next.
- The environment determines the best primer for the project you'll be working on, the surface you'll be painting, and your preferences for the job's timing and ultimate appearance.
Our buyer's guide will go through how primers operate, why you need one, and which product is ideal for your application.
Why is it necessary to apply primer?
- Skipping the first phase in the painting may result in a poor finish.
- It helps in the removal of stains and odors from your walls
- Reduces the amount of paint required to cover the area.
How does Primer Work?
The primer's ingredients enable it to adhere to surfaces better than paint, resulting in a strong bond between the substance and the color. As a result, the paint forms a stronger connection with the character, resulting in a longer paint job and consuming less color.
Is it necessary to clean the surfaces before applying primer?
You must clean your walls, ceilings, and floors before applying primer. While primer has excellent adhesive properties and can easily cling to various materials, unclean surfaces are not advised.
Make sure your surface is clean and ready to go before priming. Then, halfway fill a bucket with warm water and powdered sugar soap. We prefer the powder over the liquid for better cleaning results.
How to Clean the Surfaces
- Wipe down the walls properly using a wall mop or sponge duster.
- Allow the walls to dry overnight before priming the next day.
By cleaning the day before, you can get an early start on your priming task the next day, and if you start early enough, you may be able to finish painting by the end of the evening.
What happens if the surface you're applying to isn't adequately prepared?
- If you do not prepare your surface before painting, the paint will lift and split, causing your work to be damaged. Priming your surface helps the paint adhere better, resulting in a more robust connection that extends the paint's life.
Before painting it, you can prepare any material, including wood, plastics, and metal. On the other hand, the goals of each of the specialized primers in this review are different. Start by choosing a primer suited for your paint and application, and then get to work.
Are all primers odor and stain-resistant?
Cigarette smoke can stain your ceilings and walls, eventually causing your paintwork to deteriorate. Pet odors can also soak into your paint, producing an unpleasant smell in the space. Using a primer before painting helps avoid stains from showing up after completing your project.
Priming the ceiling or walls before painting will help to seal off any remaining pet odors. Unfortunately, not all primers are created equal when avoiding stains and removing odors. However, you can use specific odor and stain-blocking primers for your application.
These primers have a unique blend that covers stains and eliminates odors. Furthermore, the primer prevents "bleed-through" using a standard primer and paint.
Is the color of the primer important?
White, grey, black, and red oxide are the four options available from the manufacturers. Keep in mind that the color of your primer has minimal bearing on the overall quality of your painting.
The color of the primer is usually caused by the components employed in the formulation. The majority of ceiling and wall primers are white or grey. Metal primers are commonly red or black.
Using a black primer will not affect the final paint job, even if your walls are white. Therefore, color is a minor consideration when choosing a primer; instead, concentrate on the primer's functioning and application instructions.
How long does a primer take to dry
Most primers dry quickly; if necessary, you can add another layer once the first one has finished. Furthermore, most primers require only one coat unless you cover large stains.
You must wait at least 3 - 4 hours before adding a second layer or beginning to paint. However, this time range is simply a guideline; always consult the manufacturer's instructions for the actual drying time.
If you paint the surface immediately after priming, the adhesive capabilities of the primer may weaken, and the paint may lift or break within a few years. However, some primers dry in less than 30 minutes; therefore, read the directions for further information on the required drying time for your product.
How many coats of primer for wood trim?
The number of coats of primer for wood trim can vary depending on several factors, such as the condition of the trim, the type of primer being used, and personal preference. In general, it is recommended to apply at least one coat of primer on wood trim before painting.
However, if the wood trim has stains or discolorations, or if it has never been painted before, it may be beneficial to apply two coats of primer. The first coat helps seal the wood and provide a smooth base for the paint, while the second coat ensures better coverage and durability.
Additionally, if you are using a high-quality primer or dealing with a particularly challenging surface, such as bare wood or dark-colored trim, you may choose to apply an additional coat of primer for better adhesion and coverage.
Conclusion on best wood primers
Primers will seal the porous surfaces of your home's interior walls, ensuring that the paint you apply later will adhere evenly and last longer. It will also ensure stains are hidden, and the finish is smooth.
Rust-Oleum 2004 Zinsser Bulls Eye 1-2-3 Primer is the best overall, as it applies on any surface, indoor and outdoor.
KILZ Original Multi-Surface Primer/Sealer is another magnificent primer that helps in acting as a bonding agent between your surface and the topcoat.
One thing that makes Rust-Oleum 1980730 an essential primer is that it dries approximately 30 minutes after application. You, therefore, do not have to worry about spending much time waiting for the first coat to dry.
Rust-Oleum, Flat Gray Primer 1980502 Painters Touch Quart Latex is another viable option to help block stains and maintain the beauty of your project.