Stained wood can be difficult to paint over. However, depending on what the stain consists of and how the wood has been stained, you may have some luck painting over it. But proceed with caution! You need to consider several factors when painting over wood that has been stained before painting it to ensure that your paint job will look its best and last as long as possible.
Related Query: Can you stain over polyurethane
How to paint over stained wood
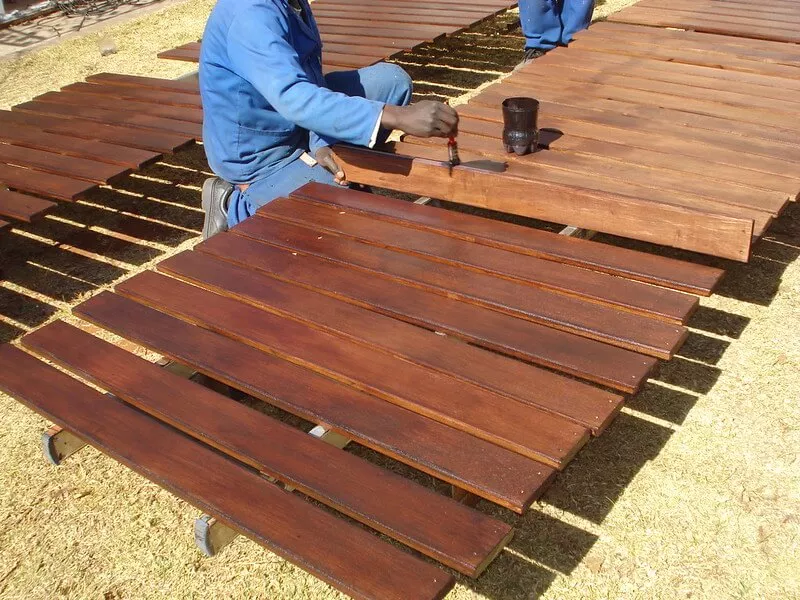
Once a wood surface has been stained its Natural color is altered. Luckily more color options are available thanks to paints. To paint a stained wood you will need to clean the surface, sand it, and apply a primer and your wood surface is ready for two coats of paint. The steps are explained below in more detail.
Recommended Reading
How to strip wooden deck
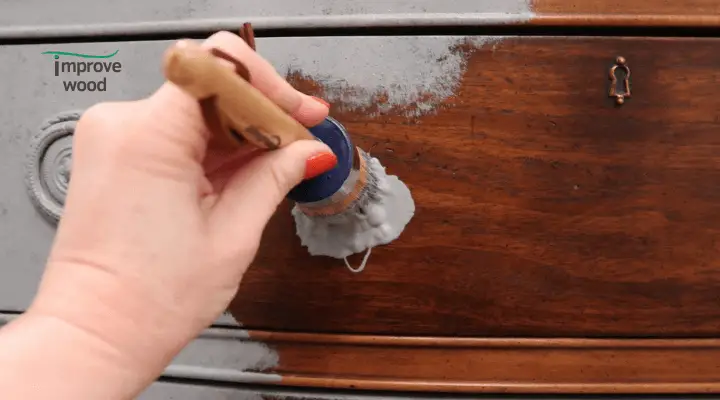
How to prep stained wood for paint
To achieve a smooth and flawless paint finish, it is essential to properly prepare the surface before applying any primer or paint. This involves cleaning the surface thoroughly both before and after sanding. By doing so, you can ensure that the surface is free from any dirt, debris, or other contaminants that could potentially interfere with the adhesion of the primer or paint.
Failing to clean the surface properly can result in unsightly paint bumps, which can ruin the entire paint job. Therefore, it is crucial to take the time to remove any dirt, dust, or grime that may have accumulated on the surface. This can be done using a soft cloth, mild soap, and warm water.
Read Next
- Can You Stain Over Stain?
- How to Paint Wood: Step-by-Step Guide
- How to Remove Oil Based Stains from Wood
- Best Primers for Wood Trim
- Will Polyurethane Protect Pine?
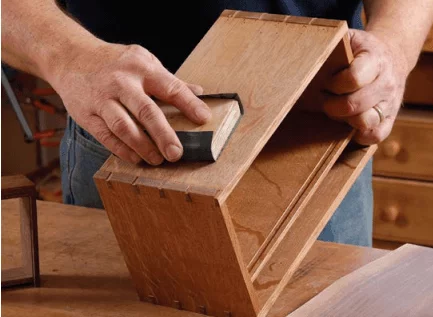
Can you paint over stained wood without sanding?
Sanding is a crucial step in the surface preparation process before priming and painting. It helps to eliminate any loose wood grain that could potentially conceal bubbles and lead to adhesion issues later on. However, it’s important to remember that over-sanding can cause the wood to lose its squareness and flatness, leading to an uneven surface.
can you paint over stained wood without priming?
While it is generally recommended to prime wood before painting, there are some situations where you can skip this step. For instance, if you’re working with dark colors, you may be able to paint directly on the sanded wood without priming. This approach can often produce satisfactory results, and the paint job may remain durable over time.
There are some projects where you can skip the priming step altogether, such as utility storage cabinets in your workshop. In these cases, the emphasis is on functionality rather than appearance, and a few imperfections in the paint job may not matter.
Painting stained Wood white.
If you plan to paint your stained wood white, it’s essential to use a primer before painting. Skipping this step may result in the wood grain showing through the white paint, which can be unsightly and detract from the overall appearance of the project. This is especially true when working with lighter colors, as they are less forgiving than darker hues.
Then why not use two paint coats instead of a primer?
Other than blocking the stain the special wood primer will help to seal the wood and prevent any stains or tannins from bleeding through the paint. Priming also helps to ensure the paint adheres properly to the surface, leading to a more durable and long-lasting finish.
FAQs
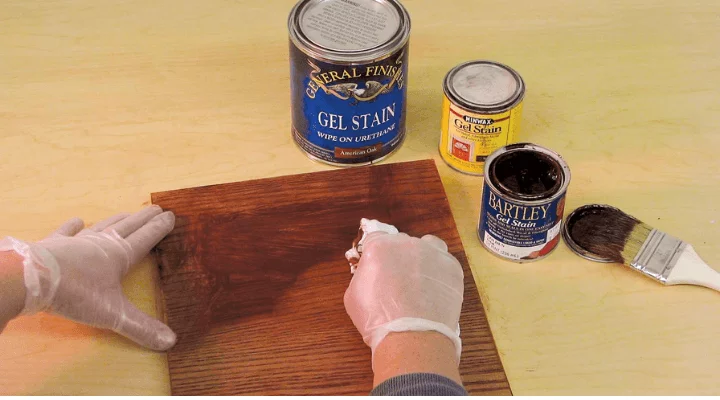
What type of paint to use over stained wood?
As discussed earlier, since the paint doesn’t go directly to the stained wood the most important factor is to get a primer specifically designed for wood. It is crucial to ensure that the primer and paint are compatible with each other for optimal adhesion and a smooth, long-lasting finish.
Can you spray paint over stained wood?
It is possible to spray paint over stained wood but remember to also spray the primer for optimal adhesion and a smooth finish.
Can I paint acrylic over the wood stain?
Yes, you can paint acrylic over the wood stain, but it’s recommended (yes all the time!) to prime the surface first to ensure proper adhesion and a smooth finish.
How many coats of primer are on stained wood?
In most cases, one coat of primer is sufficient. However, it’s important to keep in mind that every job is unique, and some projects may require a second coat of primer. This is especially true if the stain is not fully concealed after the first coat, as an additional coat can help to ensure stains are obscured completely.
Can you paint white over stained wood?
Once the wood is prepared by cleaning, sanding, and priming a stained wood can be painted white. It is very important to prime the wood especially when painting the wood white.
Can you paint over freshly stained wood?
Yes, you can paint over freshly stained wood, but it’s important to let the stain dry completely first and to prepare the surface properly by cleaning, sanding, and priming it before painting.
Related article: Can you stain over varnish
Key Takeaways
- Proper surface preparation (Sanding, cleaning, and priming) is crucial for achieving a smooth and flawless paint finish on stained wood.
- Use a primer specifically designed for wood and ensure that it is compatible with your paint for optimal adhesion and a long-lasting finish.
- When painting stained wood white, it is crucial to prime the surface first to ensure that the wood grain doesn’t show through the paint.
- One coat of primer is usually sufficient, but some projects may require a second coat for optimal results.
- Yes, you can paint over freshly stained wood, but make sure to let the stain dry completely and prepare the surface properly before painting.