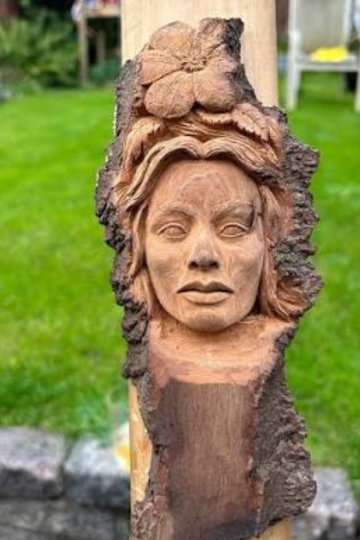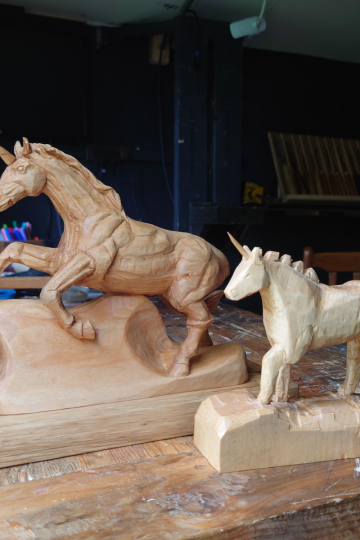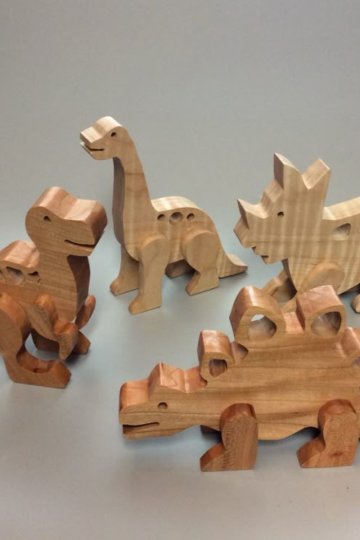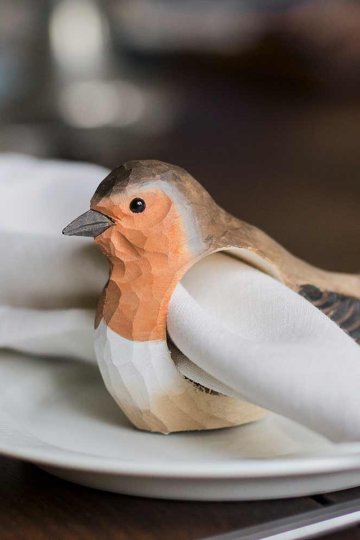
There is something deeply satisfying about taking a flat piece of wood and transforming it into a dimensional work of art. Relief carving, the art of carving figures and designs into a flat wooden panel, is one of the oldest and most respected forms of woodworking. The process of removing wood to reveal a design that seems to rise from the surface is both meditative and rewarding, offering a creative outlet that produces stunning, tangible results. For many, the idea of relief carving seems intimidating, reserved for master craftsmen with years of experience. However, the truth is that anyone can learn this beautiful craft, starting with simple, accessible patterns.
The appeal of relief carving patterns for beginners lies in their ability to teach fundamental skills while producing impressive results. Relief carving is essentially the art of creating a three-dimensional image in a flat piece of wood, with the subject appearing to be raised above the background. This technique has been used for centuries to decorate furniture, architectural elements, and decorative objects. For beginners, starting with simple patterns like leaves, basic geometric shapes, or stylized animals builds confidence and develops essential knife control. The craft is also remarkably accessible, requiring only a few basic tools and some practice to create pieces you will be proud to display.
In this guide, we will explore a variety of relief carving patterns that are perfect for beginners. We will break down the fundamental techniques, discuss the tools you need, and provide step-by-step guidance on how to approach your first projects. From simple leaf designs to charming animal motifs and geometric patterns, these projects will build your skills gradually and give you the confidence to tackle more complex carvings in the future. Whether you are looking for a relaxing hobby or a way to create beautiful decorative pieces, these relief carving patterns will get you started on the right path.
13 Relief Carving Patterns for Beginners
Here are fifteen relief carving patterns that are perfect for building essential skills and confidence.
1. Simple Leaf Pattern
A single leaf is one of the most accessible relief carving projects for beginners. The leaf shape is forgiving, and you can practice carving smooth curves and creating depth. Start with a simple oval leaf, then add a center vein and smaller side veins. The background is carved away, leaving the leaf raised. This pattern teaches you to work with the grain and control your carving depth.
2. Geometric Diamond Pattern
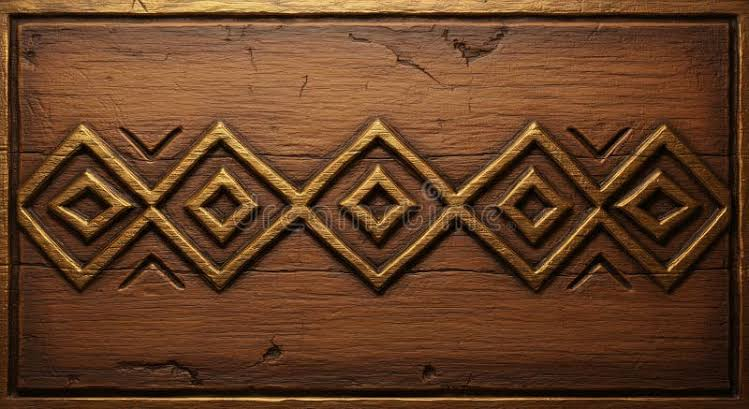
Geometric shapes are excellent for practicing precise cuts and clean lines. A diamond pattern involves carving deep stop cuts along the edges and removing the background. This project teaches you to create crisp, sharp lines and understand how to work with angles. It is a fantastic way to build confidence before moving on to more organic shapes.
3. Simple Flower Pattern
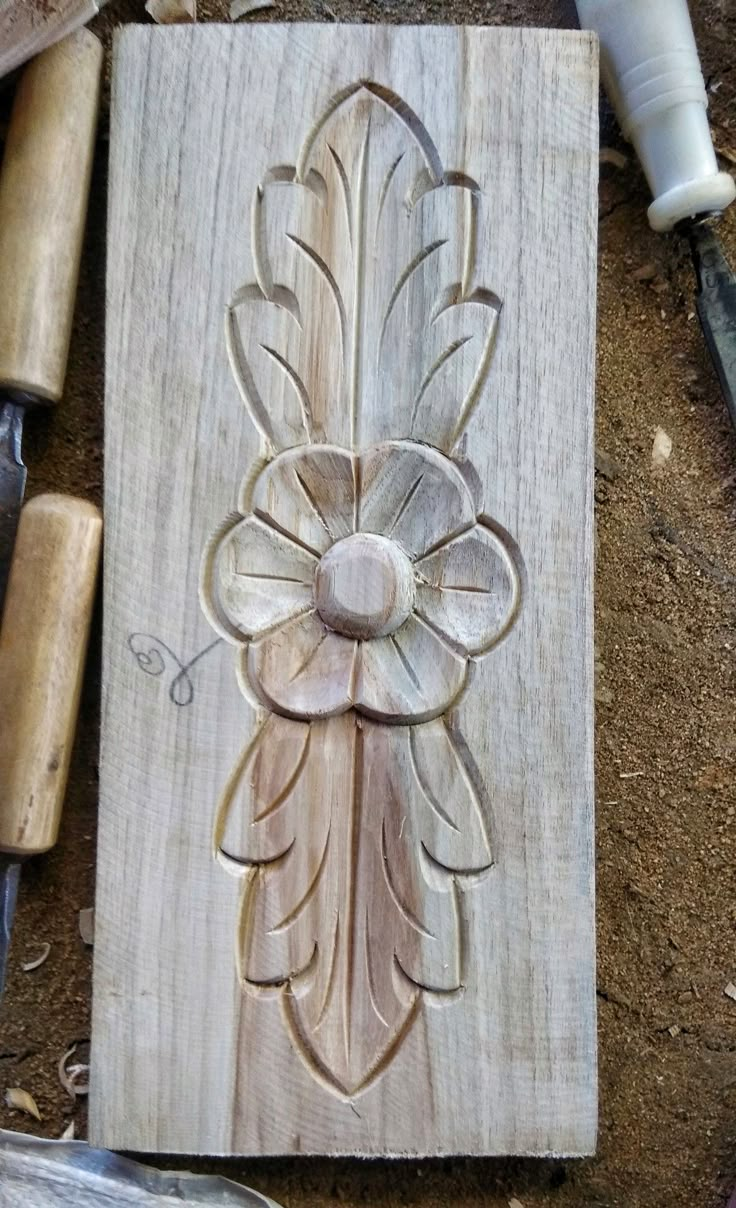
A stylized flower with five petals is a classic beginner project. The petals radiate from a central circle, and you carve away the background to make the flower stand out. This pattern teaches you to carve curves, create depth in the center, and work with symmetry. It is a beautiful and rewarding project for beginners.
4. Basic Star Pattern
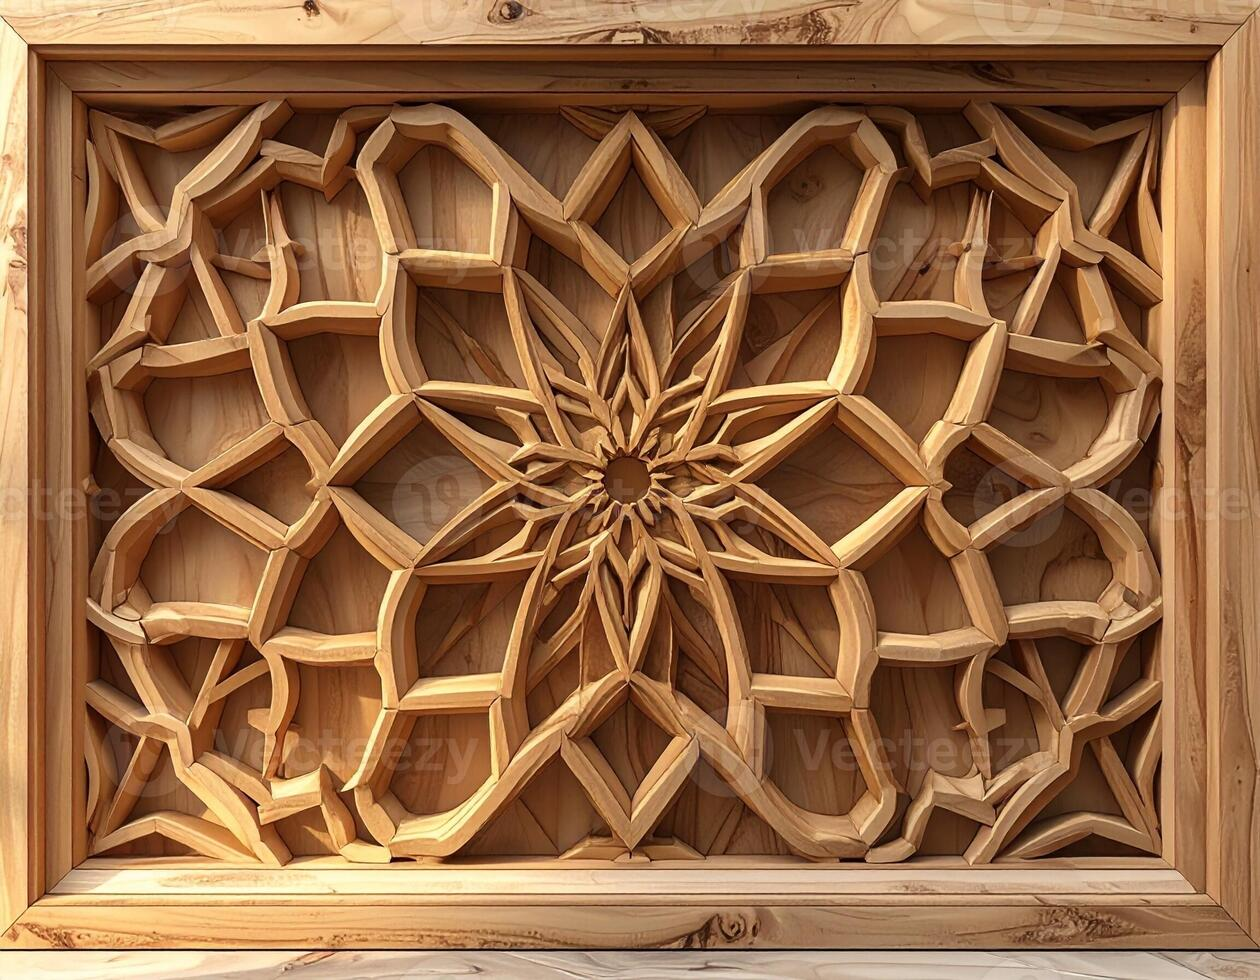
A five-pointed star is a simple yet striking relief carving. The sharp points and angles require precise cuts and careful background removal. This pattern teaches you to carve straight lines, manage intersections, and create a raised geometric shape. It is a great project for practicing your knife control.
5. Oak Leaf Pattern
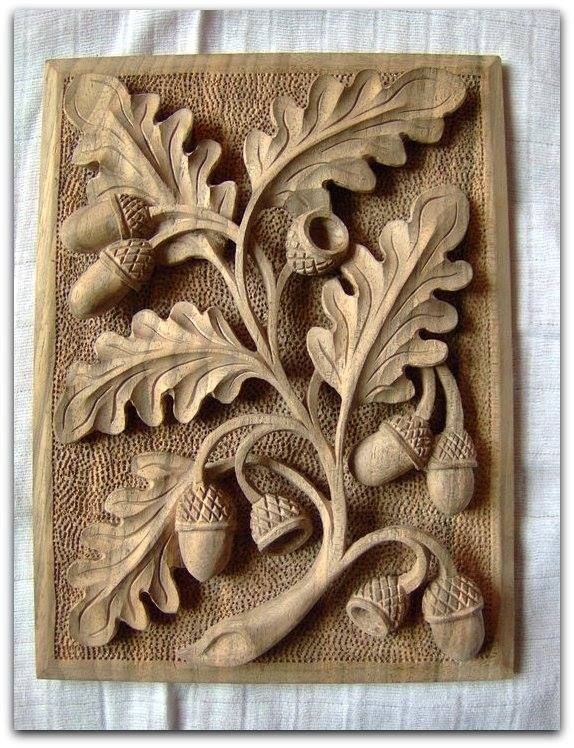
An oak leaf is slightly more complex than a simple leaf, with its distinctive lobed edges. This pattern teaches you to carve rounded lobes and create a natural, organic shape. The veins add detail and texture. This is an excellent next step after mastering a simple leaf.
6. Celtic Knot Pattern
A simple Celtic knot design, with its interlocking lines, is a wonderful way to practice carving continuous curves. This pattern teaches you to carve lines that intersect and weave, creating the illusion of an unbroken loop. It requires careful planning and precise cuts but produces a stunning result.
7. Pine Tree Pattern
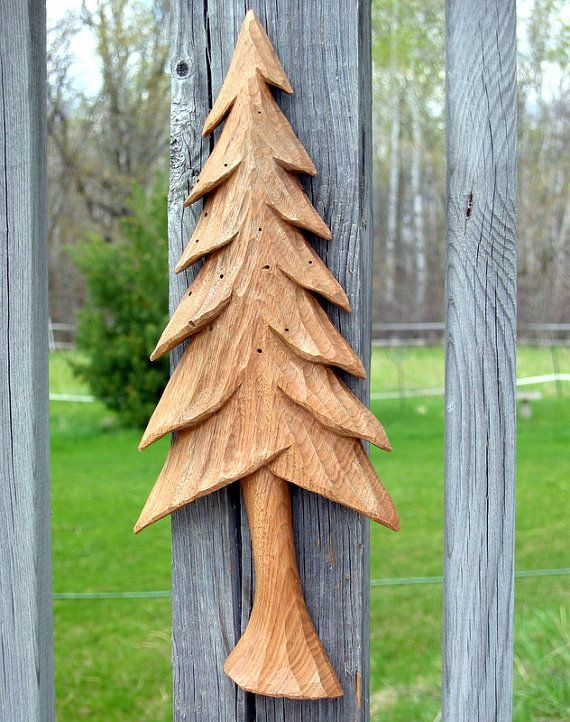
A stylized pine tree is a classic relief carving project. The triangular shape with layered branches teaches you to create depth through overlapping shapes. This pattern is forgiving and allows you to practice carving straight lines and creating texture in the branches.
8. Fish Pattern
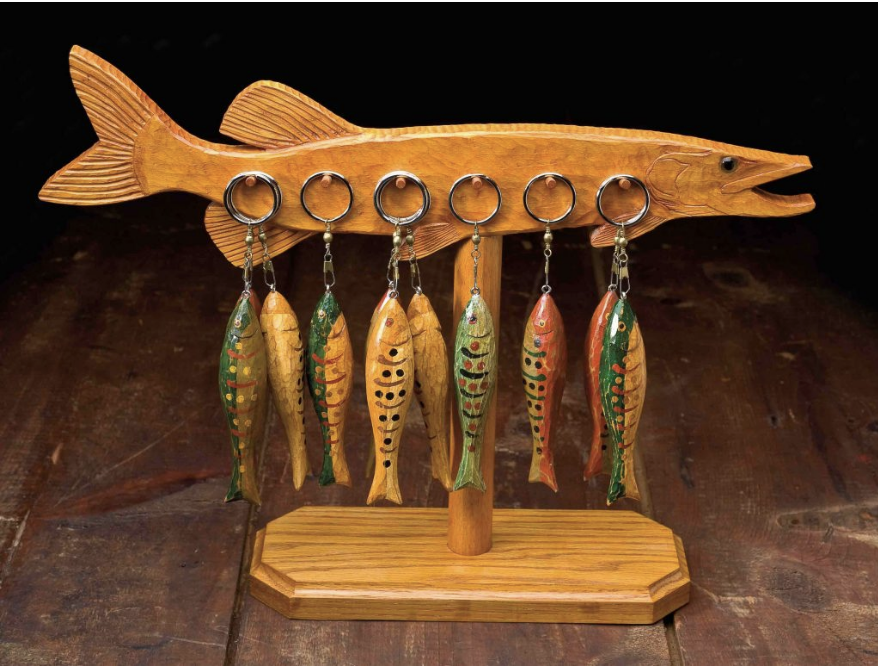
A simple fish shape is a charming and approachable project. The curved body, tail, and fins teach you to carve flowing lines and create a sense of movement. You can add scales by carving small overlapping curves. This pattern is fun and produces a delightful result.
9. Butterfly Pattern
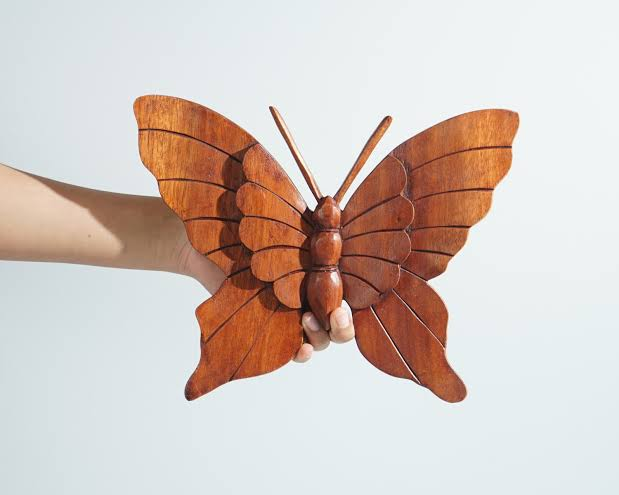
A butterfly with symmetrical wings is an excellent project for practicing balance and precision. The wings can be carved with simple lines and shapes to indicate the pattern. This project teaches you to carve symmetry and create a delicate, lightweight feel in the wood.
10. Heart Pattern
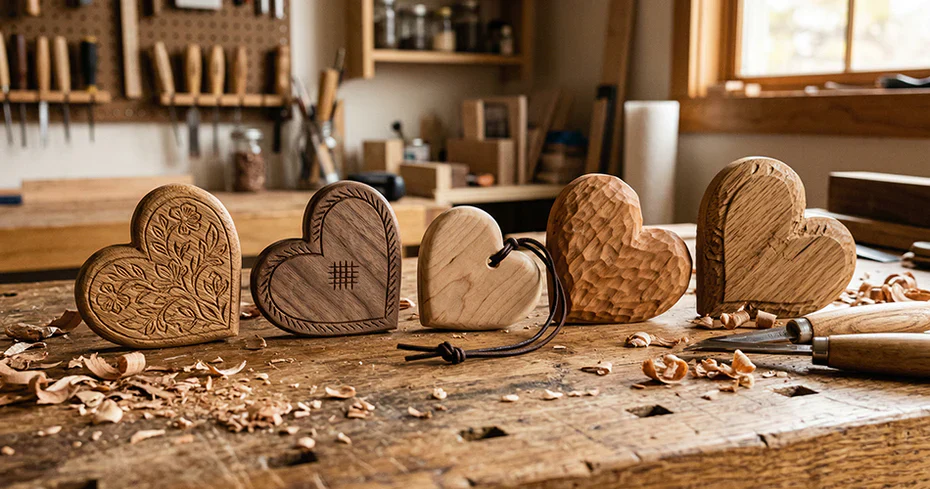
A heart shape is simple, meaningful, and perfect for beginners. The smooth curves teach you to carve flowing lines, and you can practice creating depth in the center. This pattern works beautifully as a standalone piece or as part of a larger design.
11. Acorn Pattern
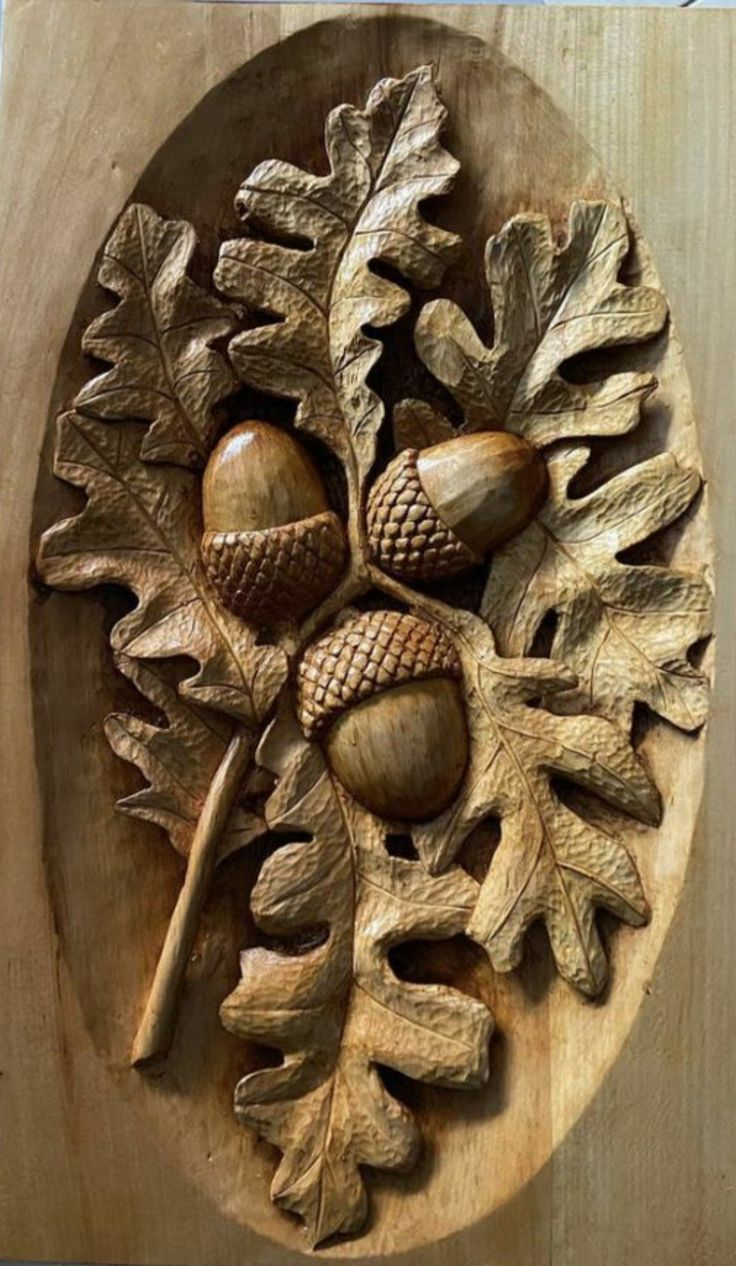
An acorn is a small, detailed project that teaches you to carve rounded forms. The cup at the top and the smooth acorn body require different carving techniques. This pattern is excellent for practicing texture and creating a three-dimensional feel.
12. Simple Bird Pattern
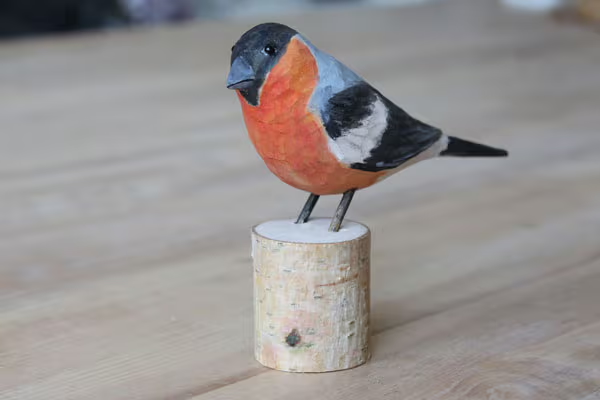
A stylized bird profile is a great way to practice carving animals. The head, beak, body, and tail are all distinct shapes that teach you to carve smooth transitions and create a recognizable silhouette. This pattern is a wonderful introduction to animal carving.
13. Feather Pattern
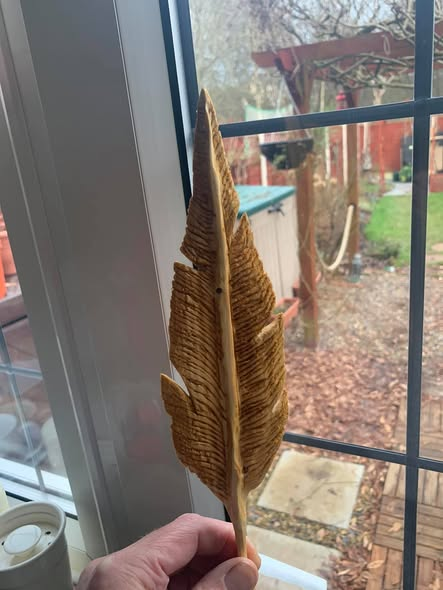
A feather is a delicate pattern that teaches you to carve fine lines and create texture. The central spine and radiating barbs require precise, light cuts. This project builds patience and control, essential skills for any carver.
Section: Essential Tools and Techniques for Relief Carving
Starting relief carving requires only a few essential tools. The most important is a good carving knife with a short, sharp blade. A set of chisels and gouges in various sizes will also be helpful as you progress. For beginners, a basic set with a straight chisel, a V-tool, and a few gouges will cover most projects. You will also need a wooden mallet for striking your chisels, a sharpening stone, and a strop to keep your tools sharp.
The basic technique of relief carving involves three main steps: outlining the pattern, removing the background, and shaping the raised areas. Begin by transferring your pattern onto the wood using carbon paper or by drawing it directly. Use your knife or V-tool to cut along the outlines of the design, creating stop cuts that will prevent the wood from splitting when you remove the background. Next, use a chisel or gouge to carefully remove the wood around the design, leaving the pattern raised. Finally, shape and smooth the raised areas, adding detail and texture to bring the design to life.
Frequently Asked Questions About Relief Carving for Beginners
What is relief carving?
Relief carving is the art of carving a design into a flat piece of wood so that the design appears to be raised above the background. The background is carved away, leaving the subject standing out.
What tools do I need to start relief carving?
To start relief carving, you will need a sharp carving knife, a set of chisels and gouges, a wooden mallet, and a sharpening stone. A basic set of tools is enough for most beginner projects.
What wood is best for relief carving?
Basswood is the best choice for beginners. It is soft, has a consistent grain, and is easy to carve. Butternut and pine are also good options. Avoid hardwoods like oak until you have more experience.
How do I transfer a pattern onto wood?
You can transfer a pattern using carbon paper, by drawing it freehand, or by using a transfer paper. Some carvers also print the pattern and glue it directly onto the wood.
How long does a beginner relief carving project take?
A simple project like a leaf or geometric shape might take 2 to 4 hours. More complex patterns like a bird or flower could take 6 to 8 hours. Start with simple projects and work your way up.
Conclusion
Relief carving is a beautiful and rewarding craft that anyone can learn with patience and practice. The patterns outlined in this guide provide a perfect starting point, allowing you to build essential skills while creating stunning decorative pieces. Remember to start simple, focus on your technique, and enjoy the process of bringing a design to life in wood. With each project, you will develop greater control and confidence, opening the door to more complex and intricate designs. Pick up your tools, choose a pattern, and discover the timeless art of relief carving.