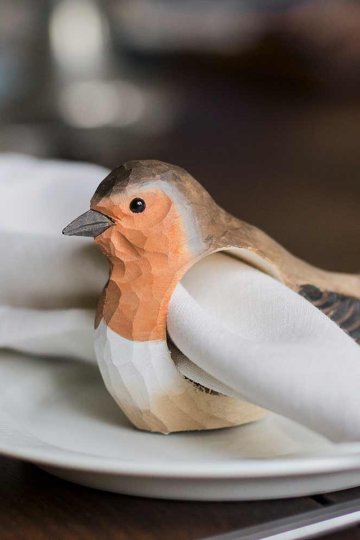
There is something universally soothing about holding a smooth, wooden object in your hands. The warmth of the wood, the gentle curves, and the weight of the piece create a sense of calm and connection that is deeply comforting. This is the essence of the comfort bird, a small, handheld wooden bird that is designed to be held and stroked, providing a tactile source of comfort and relaxation. The tradition of carving comfort birds is growing in popularity, offering woodworkers a meaningful project that also creates a gift of healing for others.
The process of learning how to carve a comfort bird is an excellent way for beginners to develop their carving skills while creating a beautiful, functional object. The bird's shape is organic and flowing, requiring you to work with the grain of the wood and create smooth, continuous curves. The project is forgiving, allowing you to focus on technique without the pressure of creating a highly detailed piece. A comfort bird is also a wonderful gift, carrying the care and intention of the maker to whoever holds it. Many carvers find the process of creating these birds to be as healing as the object itself.
In this guide, we will take you through the complete process of carving a comfort bird, from selecting your wood to applying the final finish. We will cover the essential tools you need, the techniques you will use, and provide step-by-step instructions that are accessible to beginners. Whether you are carving for yourself or to give as a gift, this project is a beautiful way to connect with the craft and create something meaningful.
Here is a detailed step-by-step guide to carving your own comfort bird.
Step 1: Selecting Your Wood
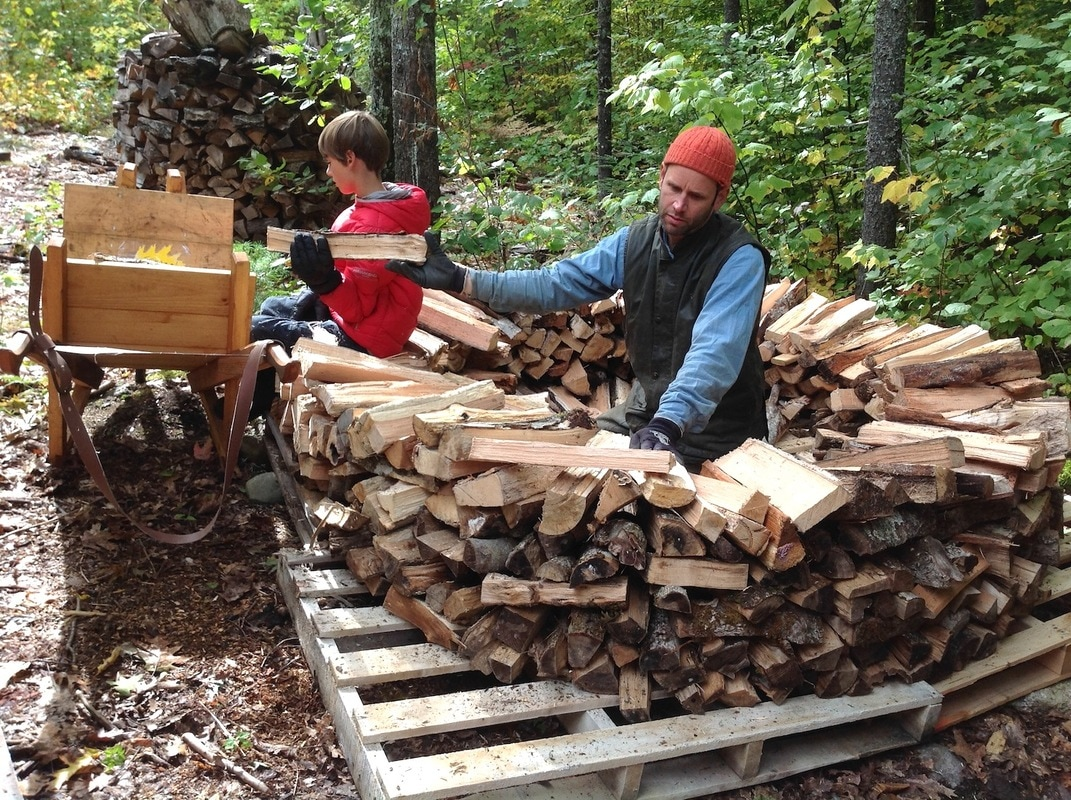
The first step in carving a comfort bird is selecting the right wood. Basswood is the best choice for beginners. It is soft, has a consistent grain, and is easy to carve with a sharp knife. Look for a piece that is about 2 inches wide, 4 inches long, and 1.5 inches thick. The wood should be free of knots and cracks. You can also use other softwoods like pine or cedar, but basswood is the most forgiving.
Step 2: Sketching the Profile
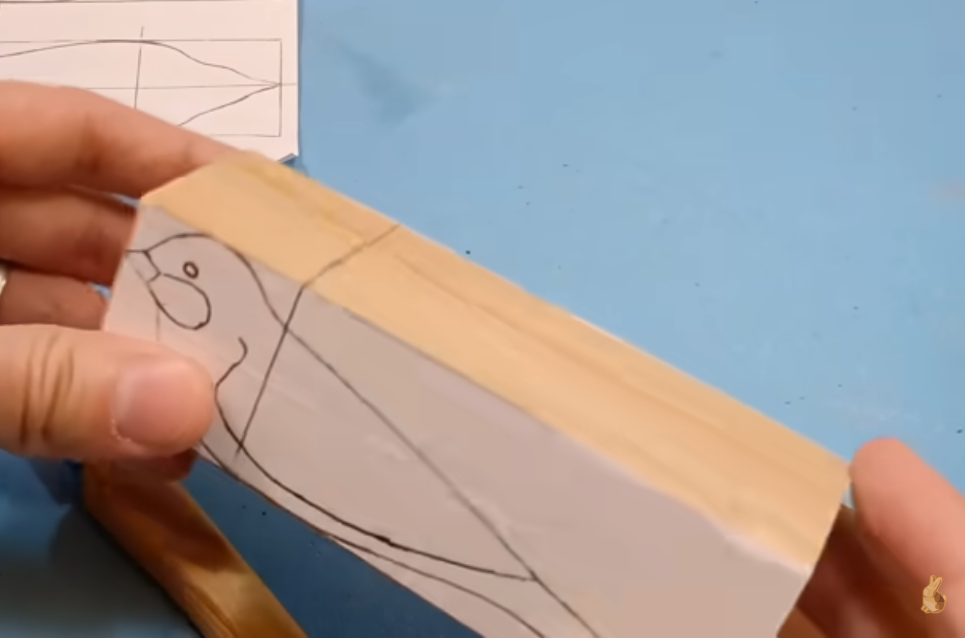
Begin by sketching the profile of your bird onto the wood. The comfort bird has a simple, streamlined shape that fits comfortably in the hand. The body is slightly curved, with a gentle slope from the head to the tail. The head is small and rounded, with a subtle beak. The tail is slightly tapered. Use a pencil to draw the outline, and do not worry about perfection, this is a guide to help you remove the bulk of the wood.
Step 3: Roughing Out the Shape
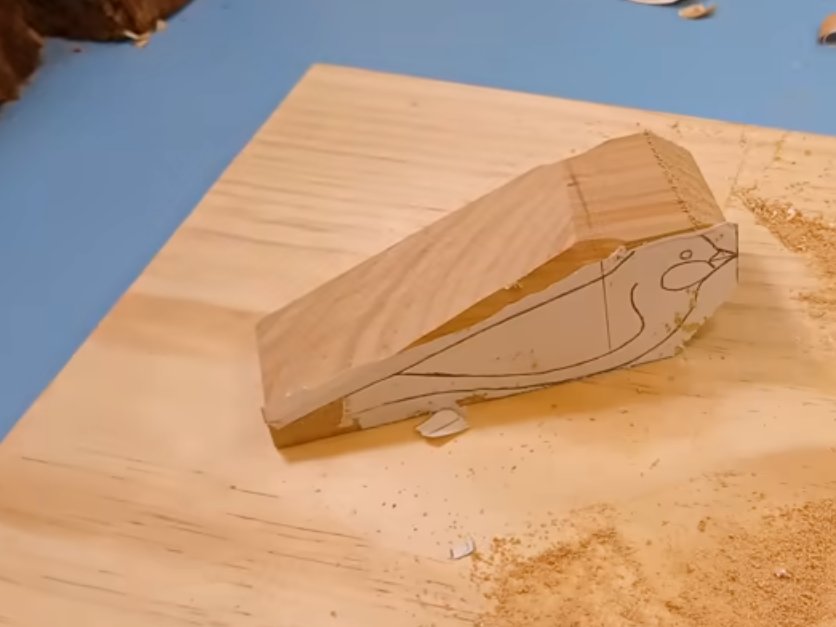
Using a carving knife or a small carving axe, begin removing the excess wood to create the rough shape of the bird. Work from the outside in, following your sketch. Focus on creating the basic silhouette: the rounded head, the curved back, and the tapered tail. Do not worry about detail at this stage. The goal is to remove the large chunks of wood and get a sense of the bird's overall form.
Step 4: Shaping the Body
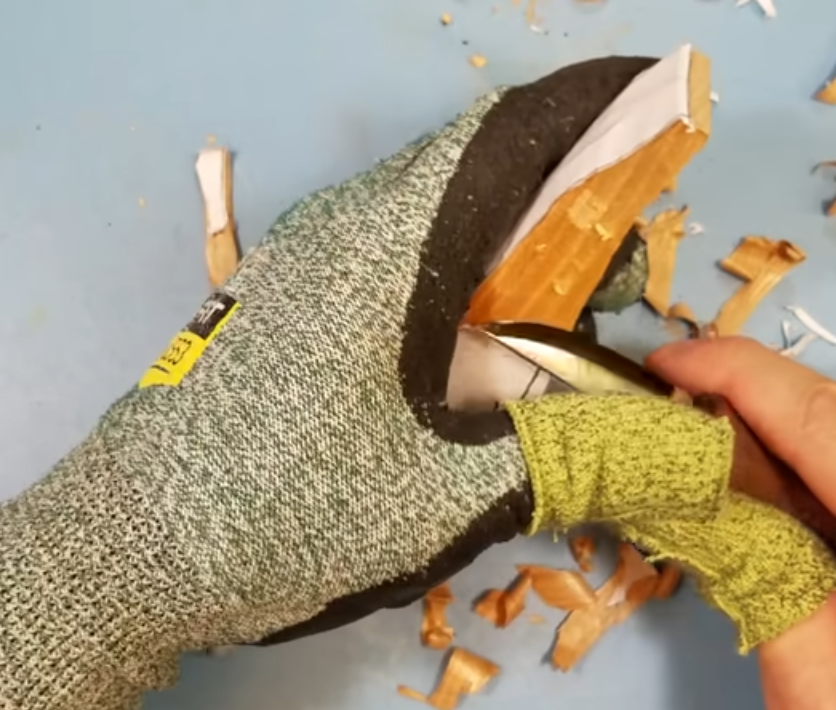
Once the rough shape is established, switch to a carving knife or a sloyd knife for more detailed shaping. Begin to round the body, creating smooth, flowing curves that feel comfortable in the hand. The body should have a gentle curve that follows the natural shape of the hand when held. The belly should be slightly convex, and the back should be smooth and rounded.
Step 5: Carving the Head
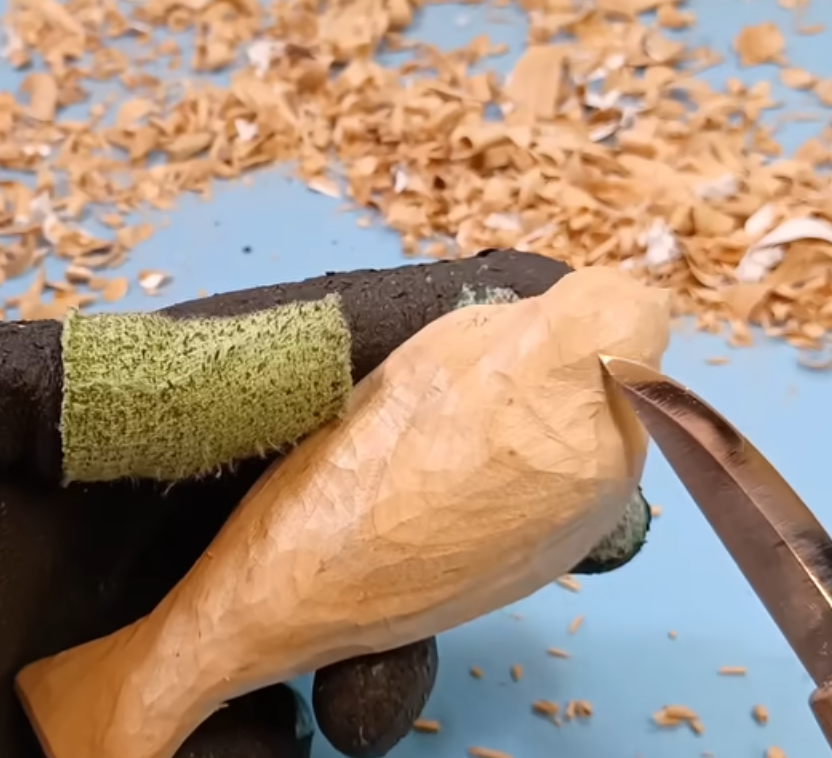
The head of the comfort bird is small and rounded. Carve a gentle transition from the head to the body, avoiding any sharp angles. The head should feel like a natural extension of the body. Shape the beak as a small, gentle protrusion. It should be subtle, not sharp or pointed.
Step 6: Carving the Tail
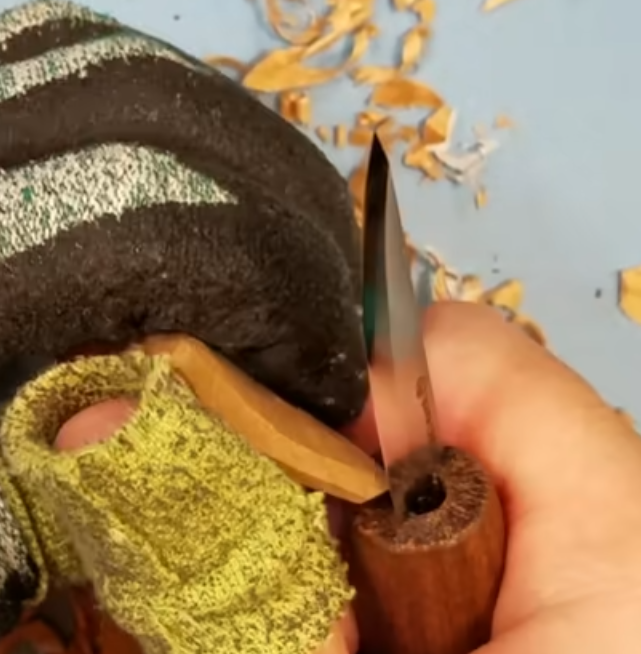
The tail is tapered and slightly pointed. It should be a smooth continuation of the body, creating a balanced silhouette. Take care not to make the tail too thin, as it can be fragile. The goal is to create a shape that is sturdy and comfortable to hold.
Step 7: Sanding the Bird
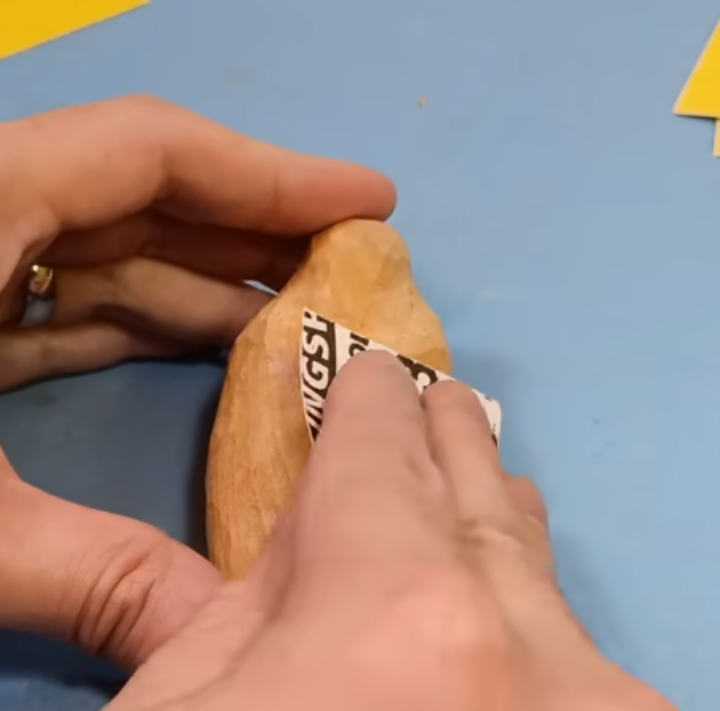
Sanding is a crucial step in creating a comfort bird. The goal is to achieve a perfectly smooth surface that feels wonderful to hold. Start with a medium-grit sandpaper, like 120 grit, to remove any tool marks. Progress to a finer grit, such as 220 grit, and finish with a very fine grit, like 320 or 400 grit. Sand with the grain of the wood to achieve a smooth, silky finish.
Step 8: Applying a Finish
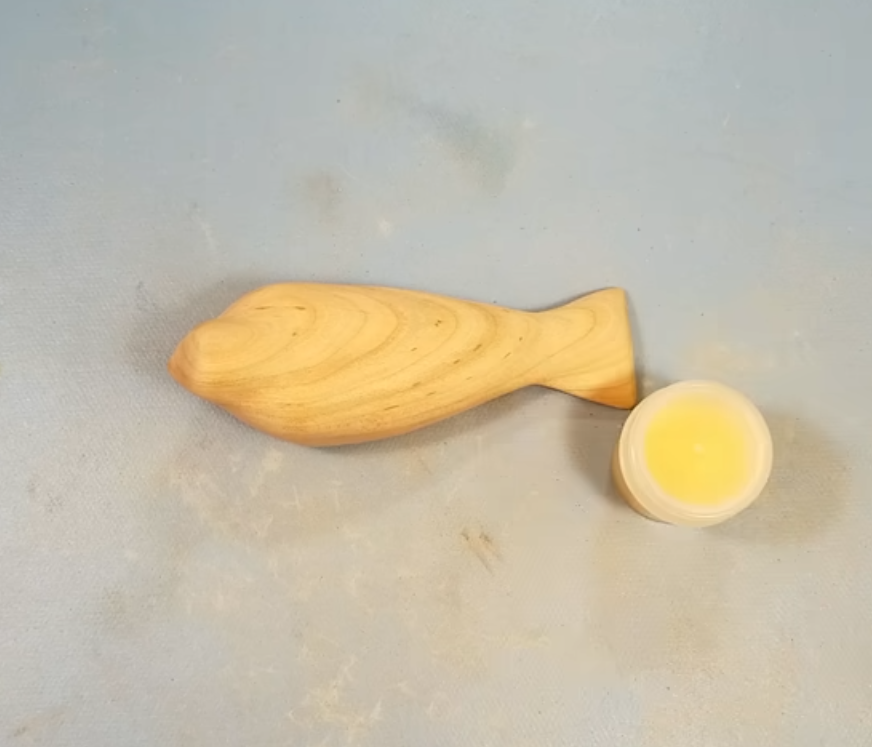
Applying a food-safe finish will protect your comfort bird and enhance its natural beauty. A food-safe mineral oil, walnut oil, or a beeswax and oil finish are excellent choices. Apply the oil with a clean cloth, rubbing it into the wood. Allow it to soak in, then wipe off any excess. The finish will deepen the color of the wood and give it a warm, natural sheen.
Step 9: Final Touches
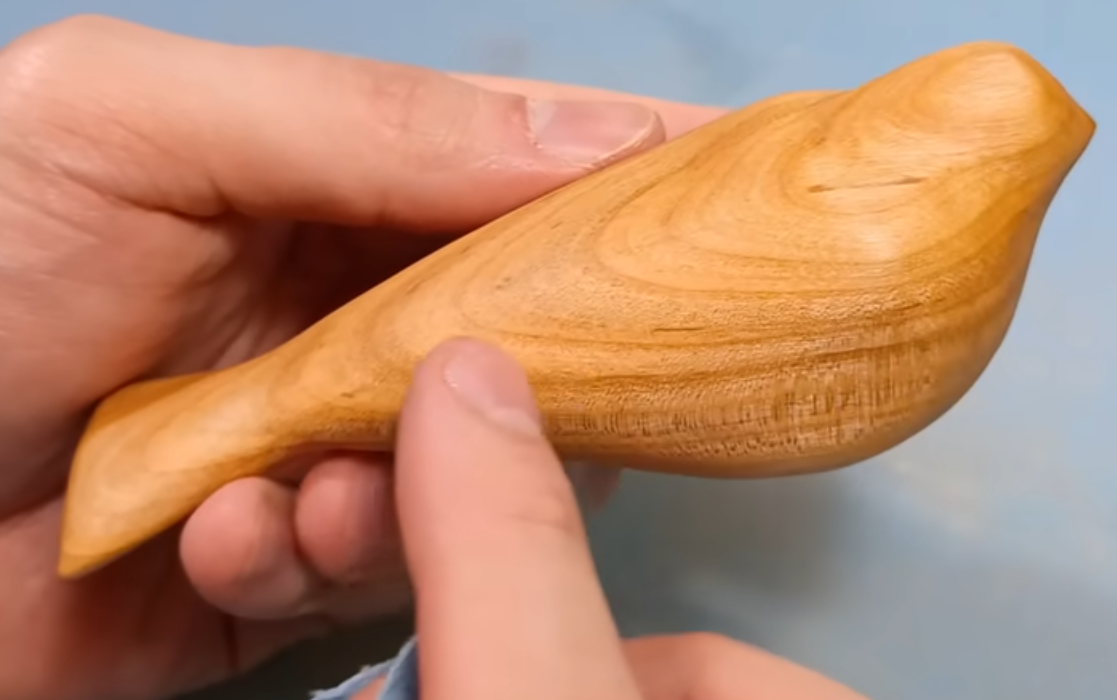
Once the finish has dried, buff the bird with a soft cloth to bring out the shine. The comfort bird is now complete. Hold it in your hand, feel the smooth curves, and appreciate the beauty of the wood. Your comfort bird is ready to provide comfort to you or to someone you care about.
Section: Essential Tips for Carving a Comfort Bird
Carving a comfort bird is a rewarding project, but there are a few tips that can make the process more enjoyable.
Use a sharp knife. A dull knife requires more force, making it more likely to slip and cause injury. Keep your knife sharp by stropping it regularly. Carve with the grain. Carving against the grain can cause the wood to splinter and make your cuts rough. Work in small, controlled cuts. Removing small amounts of wood at a time gives you more control and reduces the risk of mistakes. Embrace imperfections. Your first comfort bird may not be perfect, and that is okay. Each carving teaches you something new.
Frequently Asked Questions About Carving Comfort Birds
What is a comfort bird?
A comfort bird is a small, handheld wooden bird that is carved with smooth, flowing curves designed to fit comfortably in the hand. It is intended to be held and stroked as a source of comfort and relaxation.
What wood is best for carving a comfort bird?
Basswood is the best choice for beginners. It is soft, has a consistent grain, and is easy to carve. Other good options include pine, cedar, and butternut.
What tools do I need to carve a comfort bird?
You will need a carving knife or sloyd knife, a small gouge for the wing indentation, sandpaper in various grits, and a food-safe finish. A cut-resistant glove is also recommended for safety.
How long does it take to carve a comfort bird?
A comfort bird can take anywhere from 2 to 6 hours to carve, depending on your skill level and the level of detail you want to achieve. Sanding and finishing will add extra time.
Can I give a comfort bird as a gift?
Yes, comfort birds make wonderful gifts. They are meaningful, handmade objects that carry the care and intention of the carver. They are often given to people who are going through difficult times or need comfort.
Conclusion
Carving a comfort bird is a beautiful and meaningful project that is accessible to beginners. The process is meditative and rewarding, and the result is a handmade object that can provide comfort and joy to you or someone you care about. By following the steps outlined in this guide, you can create a smooth, flowing bird that fits perfectly in the hand. Remember to work with the grain, keep your knife sharp, and embrace the imperfections that make your bird unique. Pick up your knife, choose a piece of wood, and discover the healing art of carving a comfort bird.