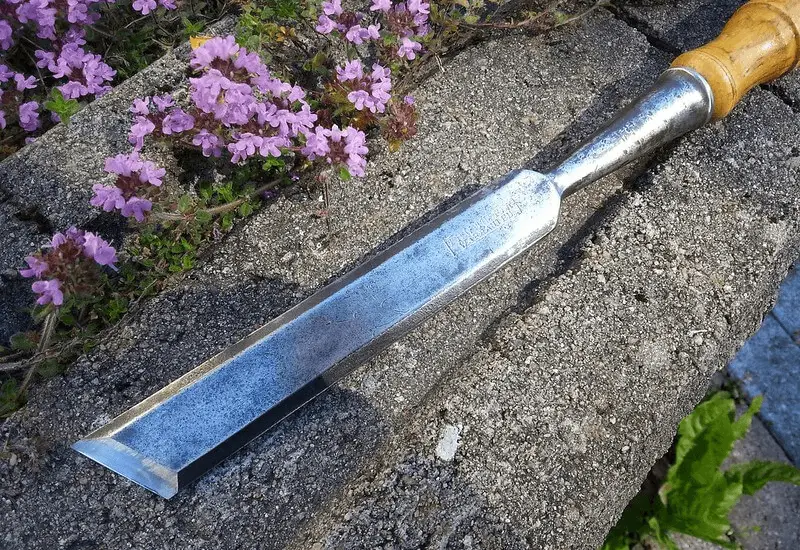
A Skew Chisel is one of the most useful and handy tools any carver should have. It is an indispensable tool a carver shouldn’t miss in his or her tool kit. Most cuts in wood carving are made by skew chisel whether in woodturning or carving. Nevertheless, there are reservations about the tool. Though the reservations depend on an individual carver, they are mainly centered on difficulties they encounter when it comes to using and sharpening. However, these difficulties can be overcome by learning the mechanics of the tool and frequent practice.
What Is a Skew Chisel?
The term skew refers to the angle of the cutting edges. The skew chisel therefore can be referred to as a woodcarving or woodturning tool having beveled edges and an angled blade. Apart from the hooked skew chisel, they are mostly used with the wood lathe to produce turned pieces hence they are sturdy with long shafts and large handles.
Types of Skew Chisels
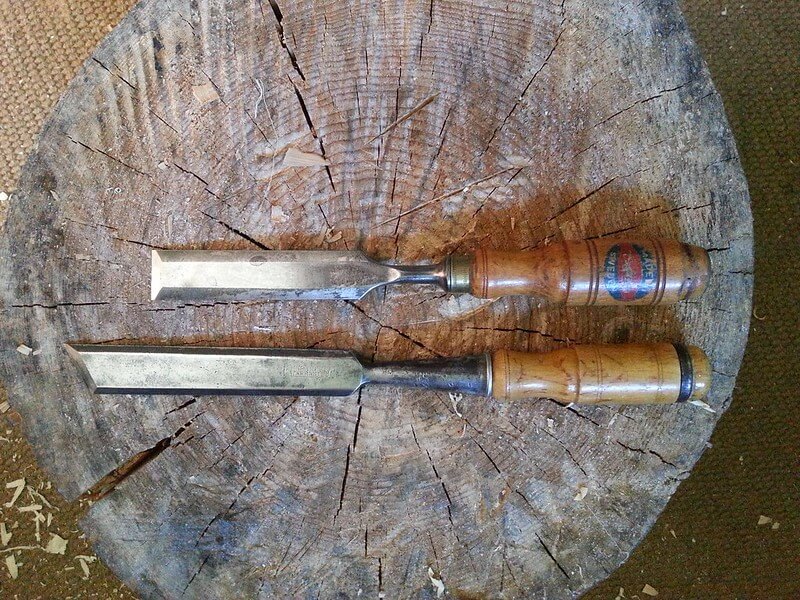
Generally speaking, we have four types of skewed chisels. We have the traditional rectangular skew chisel, oval skew chisel, radius skew chisel, and hooked skew chisel.
The Traditional Rectangular Skew Chisel
Traditional rectangular skew chisels originally had rectangular blades and shafts with square edges. These types of skew chisels are still in use. They are referred to as rectangular skew or flat skew.
Oval Skew Chisel
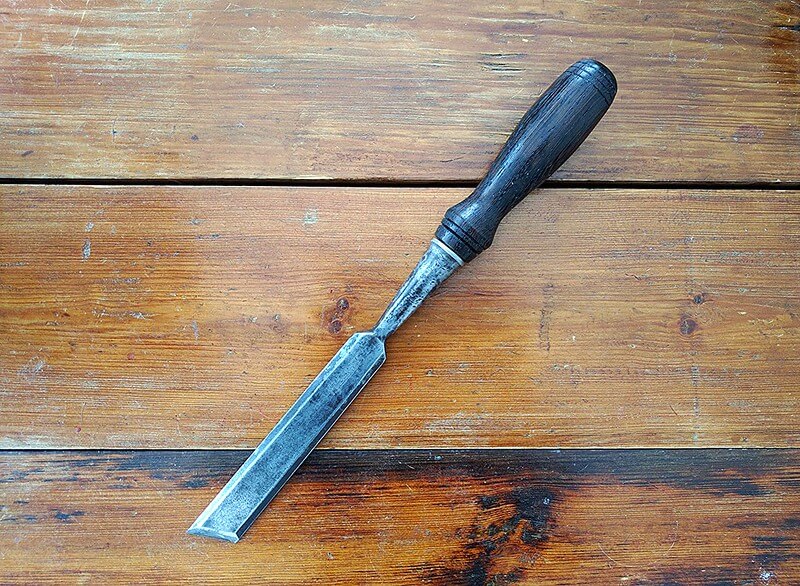
As its name suggests an oval skew chisel has an oval profile. The tool will cut precise smooth carvings, v grooves, beads, and pummels. Both carvers and wood turners find this tool crucial when it comes to smoothing cylinders, cleaning end grains, and cutting shallow curves and pummels.
Radius Skew Chisel
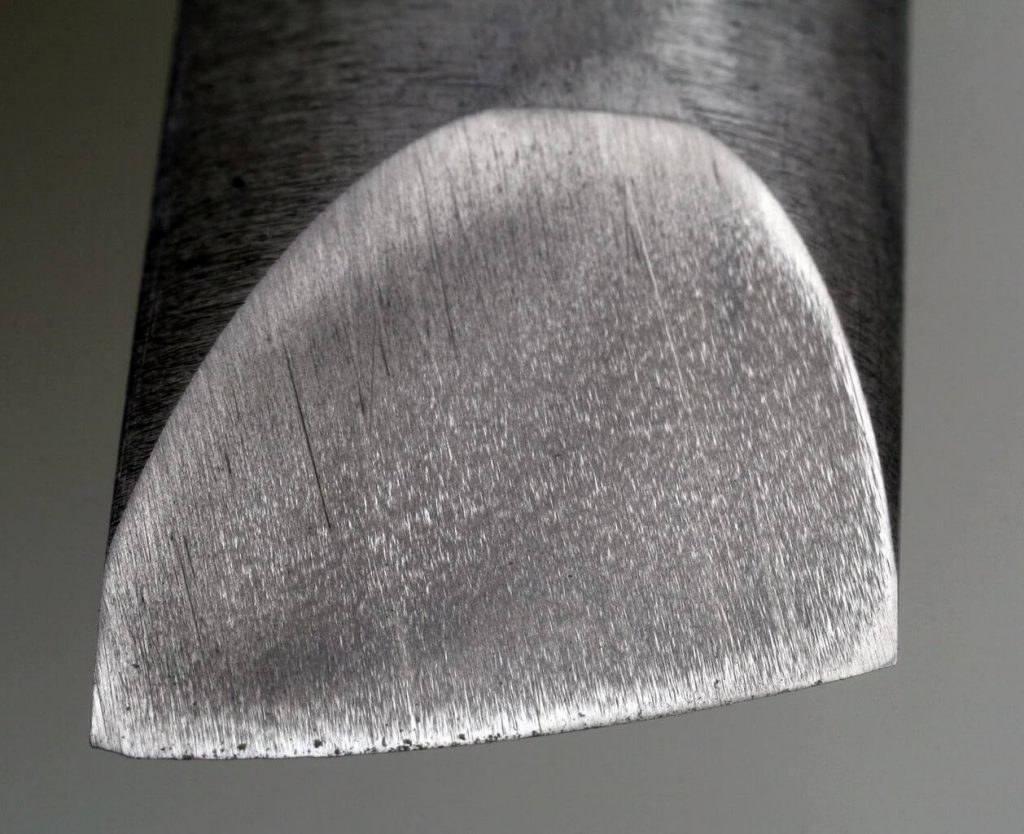
Its cutting edge and both of its beveled sides have a convex curve. Like other skews, its cutting edge is about 70 degrees. The length of the two beveled edges is one and a half times the thickness of the tool. A radius skew chisel is not different from other types of skews because it’s the same in all aspects, for instance, it’s held in the same way and makes the same cuts, and is used on the same projects.
Hooked skew chisel
The hooked skew chisel is more of a carving knife than a skew chisel. It’s often used to add depth and realism to chip carvings, relief carvings, or waterfowl sculptures like duck decoys. The tool’s handle gives you the option of holding it like a regular carving knife, like a pencil, or in the palm of your hand.
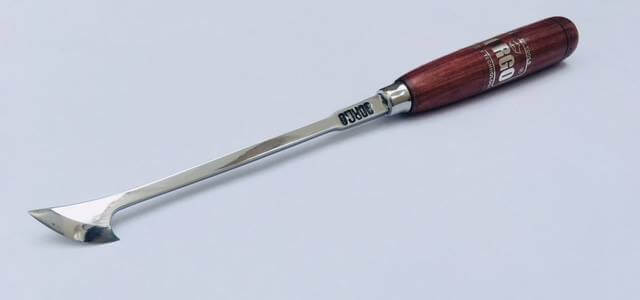
Differences between woodturning and wood carving skew chisels
Apart from the hooked skew chisel which is more of a carving knife than a chisel, there are hardly any differences between wood carving and woodturning skew chisels. As a matter of fact, they are generally used for lathing. They are sturdy tools with comparatively long shafts and large handles, a common feature with woodturning chisels.
Read Next
- Japanese Woodworking Hand Tools 101
- Beginners Guide to Woodturning
- Best Woodcarving Chisels
- Carving vs Whittling: Know the Difference
- How to Prepare Wood for Carving
Maintenance of skew chisels
Whatever type of work is involved, the quality of the finished product depends ultimately upon the ability of the craftsman to cut and shape his material quickly and accurately either by hand or machine. It’s also true to say that the ability of the skilled craftsman to do this depends to a very great extent upon the efficiency of the tools he uses.
Even a highly-skilled craftsman would have difficulty producing good items with inferior or badly maintained tools. To the beginner, the apprentice or the trainee such tools would produce nigh insuperable difficulties. In truth, the woodworker’s job is demanding and difficult enough with the handicap of poor tools and equipment.
In this respect, it’s not just advisable to buy only the finest quality tools available but to keep them sharp and in good order, and generally to look after them and see that they come to no harm in the strenuous conditions under which they are used.
The following illustrations through drawings, give an account of skew chisels sharpening step by step;
How to sharpen a skew chisel
In order to obtain a razor-sharp edge of skew chisels, it’s inevitable to follow the normal procedure of sharpening such as grinding, honing, and polishing respectively.
Grinding
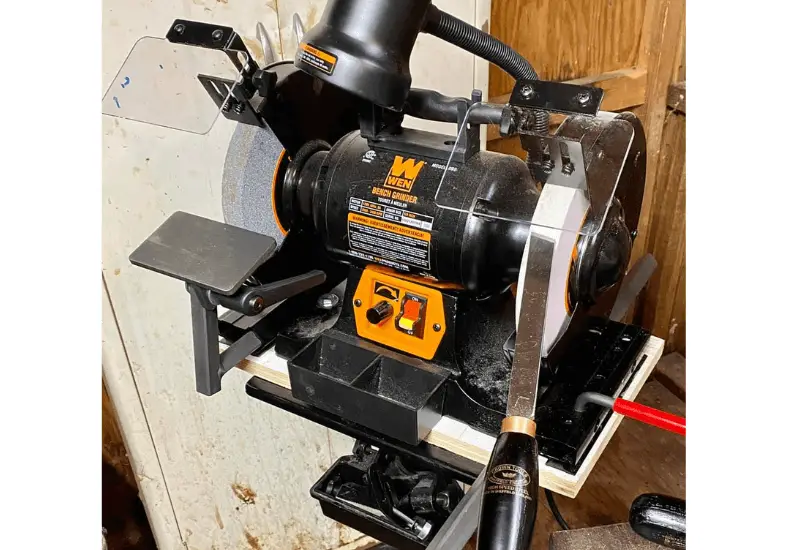
It’s advisable to start with a 1725 rpm grinder that has been installed with a 50-80 grit aluminum oxide wheel.
- lay the tool flat on the grinder
- ensure the tool shank is perpendicular to the face of the grinding wheel
- to avoid heat buildup grind slowly
- Stop periodically to check the bevel angle with a protractor or sliding bevel that should be between 25- 45 degrees.
Honing
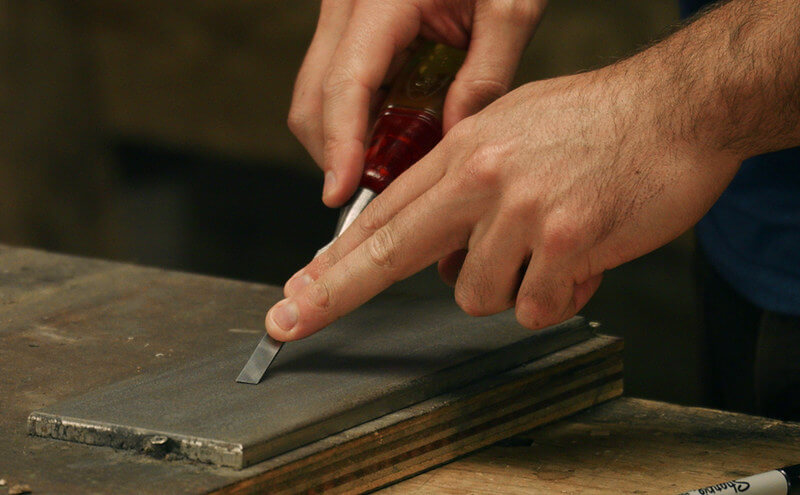
You can use a skew chisel right off the grinder, but a honed skew chisel cuts much better. It’s advisable to start honing with a 360 grit stone.
Procedure
- lubricate the stone with light oil
- with the back of the bevel in contact with the stone, slide the tool back and forth
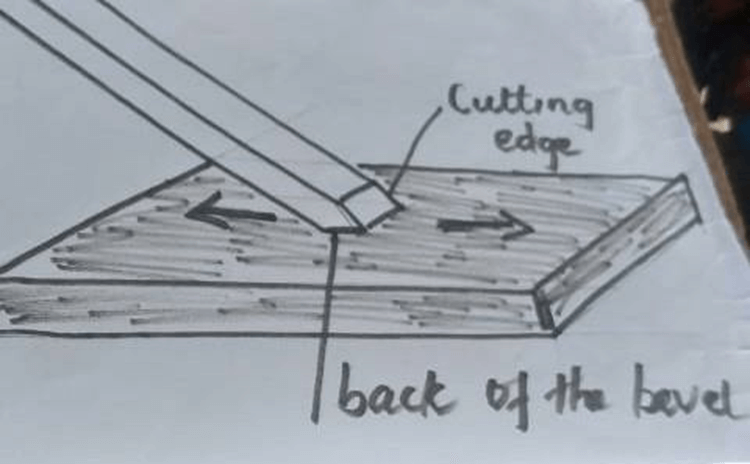
- While honing, ensure the back and the cutting edge which is a result of concave formed by grinding touches the stone.
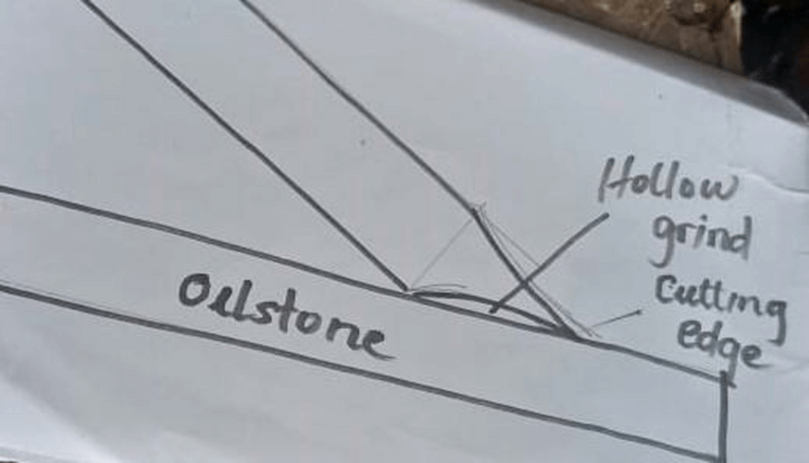
- hone both bevels until the edges are flat with an oval hollow left
- switch to 1000 grit stone and polish the flat edges
The hollow oval is removed after frequent re-honing. When this occurs the skew should undergo the sharpening process once more.
How to Use a Skew Chisel
- Step 1: Prioritize Safety Before you begin using a skew chisel for carving, familiarize yourself with safety precautions and guidelines for handling woodworking tools. It’s recommended to learn from a skilled carver who can demonstrate safe and productive techniques.
- Step 2: Seek Guidance Find an experienced carver who can teach you proper handling and usage of skew chisels. Learning from an expert will provide valuable insights and help you avoid common mistakes.
- Step 3: Practice Regularly To improve your skills, dedicate regular practice sessions to using a skew chisel. Remember, practice makes perfect, and with time, you’ll become an expert and develop your unique carving style.
- Step 4: Making Pommel Cuts Pommel cuts are a popular technique in carving. Follow these steps to create them effectively:
- Make V-cuts: Position the skew chisel at a 45-degree angle to the wood surface and push it across the grain to create a V-shaped cut.
- Cut left and right: Use a gentle back-and-forth motion, alternating between the left and right sides of the V-cut to shape your desired pattern.
- Remove waste material: Carefully pare away the waste material with the skew chisel, ensuring that the V-cut stands out prominently.
- Mark V-groove size: Before proceeding, mark the desired size and depth of the V-grooves for consistency in your carving.
- Adjust chisel angle: Incline the skew chisel at a 25-degree angle to achieve better control and precision.
- Continue cutting left and right: With the skew chisel at the desired angle, keep making left and right cuts within the marked V-grooves until you achieve the desired depth and shape.
- Step 5: Refining the Carved Design Once you’ve created the V-grooves, follow these steps to refine the carved design:
- Start with the V-grooves: Round off the sharp edges of the V-grooves using the skew chisel for a smoother, more polished appearance.
- Round off sharp V-edges: Gradually shape the sharp edges of the V-cuts into round beads. Roll the skew chisel along the edges using controlled movements to achieve a consistent and pleasing shape.
Mastering the use of a skew chisel takes time and practice. Embrace the learning process, seek guidance when needed, and enjoy the journey of creating beautiful carvings with your skew chisel.
Conclusion on Skew Chisels
The purpose of using any tool is to make your work become much easier. For your tools to be efficient, they ought to be well maintained. Never use blunt tools. Blunt tools are not only unsafe to use but will make work difficult and tedious, produce poor quality items, and in the worst-case scenario damage and waste materials. Skew chisels are no exception. They need to be well maintained and razor-sharp for them to be effective when curving with them.
Safety precautions are paramount when it comes to using skew chisels. Expert guidelines and practice are paramount too.
