
Learning how to prepare wood for carving is essential to ensure comfort when carving and also easy design transfer. Whether you're working with green wood freshly harvested from a tree or dried wood, following the right steps will make a significant difference in your carving experience. In this article, we will guide you through the process of preparing wood for carving, from selecting the right wood to shaping the wood blank. Let's get started!
Related reading: How to season wood for carving
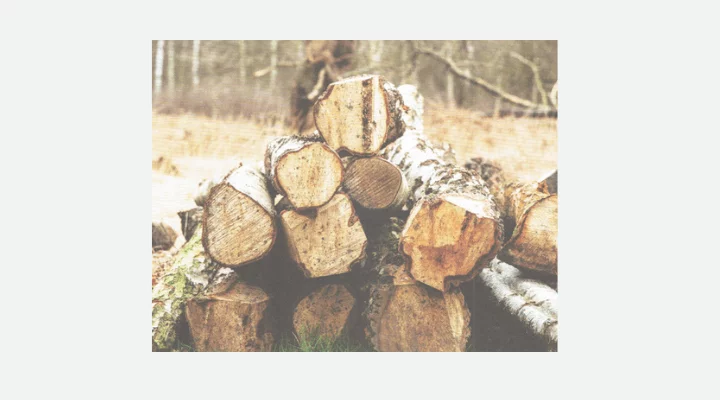
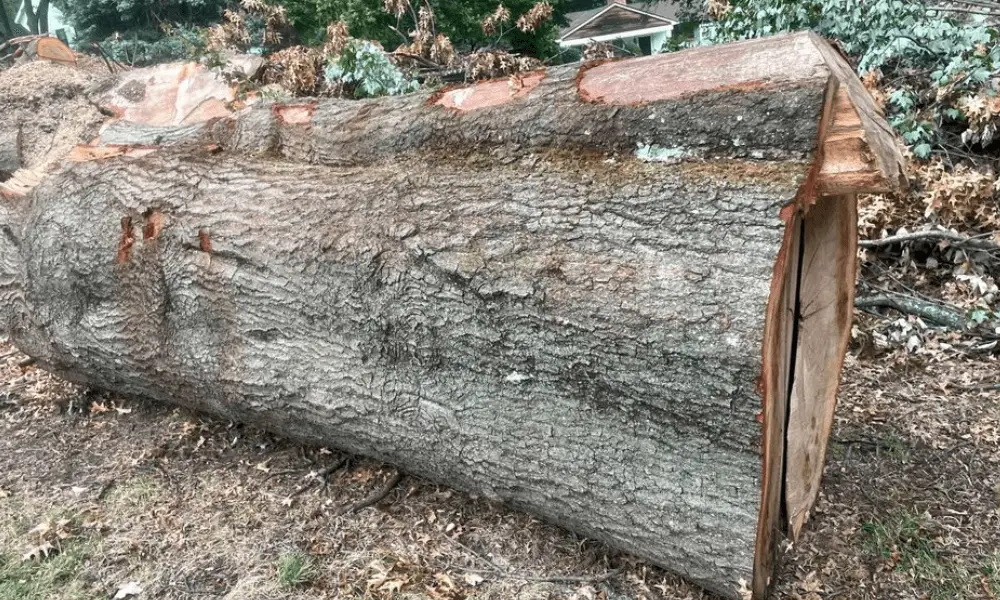
1. Selecting and Harvesting Wood
If you have the opportunity to harvest wood yourself, look for a suitable section of the tree trunk. Choose a knot-free area that is large enough for your carving project. Keep in mind that you will be splitting the trunk and working with one-half. It's a good idea to allow extra length in your measurements for ease of working.

2. Splitting the Log
To minimize the chances of splits and warping, split the log through the center of the pith. The pith is the dark central ring of the log that is typically removed for carving. By avoiding the pith, you reduce the tension caused by the inner growth rings as they dry, reducing the risk of wood splitting.
3. Evaluating the Wood Billets
After splitting the log, take a close look at both billets and evaluate their suitability for carving. Look for any irregularities, knots, or twists in the grain. Twisted grain is acceptable for spoon making, as spoons don't undergo the same physical stresses as other items like archery bows. Assess any soft spots caused by rotting or spalting, as they may affect the stability and durability of the wood.
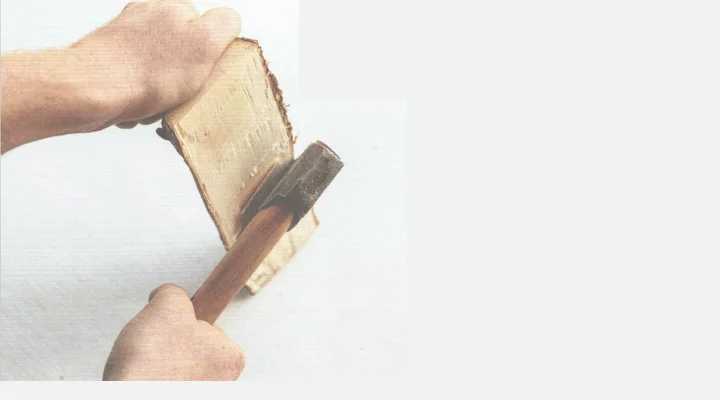
4. Shaping the Billet
Using an axe and knife, create flat surfaces on both the top and bottom of the billet. This will provide stable surfaces for drawing your template and carving. Be sure to remove any remaining bark from the wood. With these initial shaping steps, you will have a wood blank that is ready for the next phase of carving.
5. Drawing the Template
With your prepared wood blank, you can now draw the template for your carving project. Use a pencil or marker to outline the design directly on the wood surface. Take your time to ensure accuracy and precision, as this will serve as your guide throughout the carving process.
6. Carving Preparation
Before diving into the detailed carving work, it's important to ensure your carving tools are sharp and in good condition. Sharpen any dull tools and make sure you have a variety of chisels, gouges, and carving knives to suit your project's needs. Additionally, set up a secure and comfortable carving station with a stable workbench or vise to hold the wood firmly during carving.
Read Next
- How To Soften Wood For Carving: 10 Best Ways
- How to Season Wood for Carving
- Greenwood vs Dry Wood for Carving Explained
- Protect Carving from Splitting
- Wood Carving Tips for Beginners
- The Best Wood for Carving
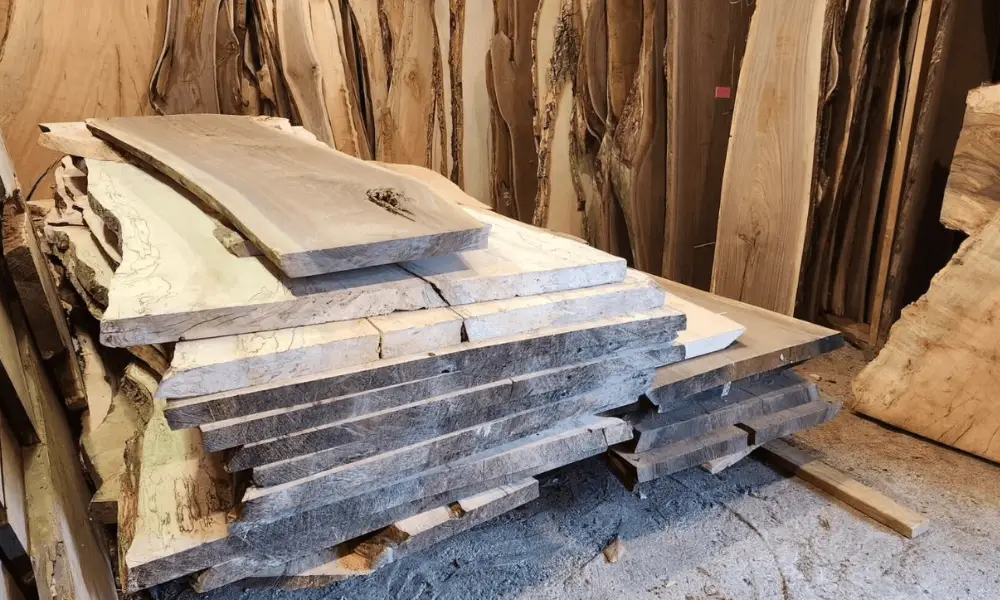
Proper Storage of Wood Blanks for Future Carving
To preserve the quality of your wood blanks and protect them from damage, it's important to store them correctly. Follow these guidelines for proper storage:
- Dry the Wood: Before storing wood blanks, ensure they are properly dried to prevent warping, cracking, and fungal growth. Air dry or kiln dry the wood until it reaches the desired moisture content.
- Protect from Moisture: Store wood blanks in a dry environment with low humidity. Keep them away from direct sunlight, water sources, and damp areas to avoid moisture absorption, which can lead to swelling, mold growth, and decay.
- Proper Stacking or Racking: Stack or rack wood blanks to allow for proper air circulation. Avoid tightly packing them together to promote ventilation. Use spacers or stickers between the blanks to prevent sticking and allow airflow.
- Elevate from the Ground: Elevate wood blanks from the ground to prevent contact with moisture and pests. Place them on pallets, racks, or blocks to create a gap between the wood and the floor, reducing the risk of moisture transfer and insect infestation.
- Protection from Vermin: Seal openings or gaps in the storage area to prevent rodents or insects from accessing the wood blanks. Consider using pest repellents or deterrents, if necessary, to protect the wood from vermin damage.
- Avoid Extreme Temperatures: Store wood blanks in an area with stable temperature conditions. Avoid exposing them to extreme heat, cold, or rapid temperature changes, as these can cause wood to expand and contract, leading to warping or splitting.
- Regular Inspection: Periodically inspect stored wood blanks to identify any signs of decay, insect activity, or moisture-related issues. Address any problems promptly to prevent further damage.
- Proper Labeling: Label each wood blank with relevant details such as wood species and dimensions before storing. This will help you easily identify and select the appropriate piece for future carving projects.
Conclusion: How to Prepare Wood for Carving
By following these steps, you'll be well-prepared to embark on your wood carving journey. Remember to choose the right wood, split it carefully, evaluate its suitability, shape the billet, and draw your template before starting the carving process. Proper wood preparation sets the foundation for a successful and enjoyable carving experience, allowing you to create beautiful wooden pieces with precision and ease. Storage and seasoning of stocks is also important and should not be overlooked. Happy carving!

Jorge says
Muy util. Gracias
Mego says
Bienvenida estamos encantados de compartir con nuestras lectoras.