Woodturning, the art of carving wood into items such as bowls and other decorative pieces, can be intimidating to beginners. However, turning wood can be simple and require you to spend hundreds of dollars on expensive tools.
This beginner's guide to Woodturning will teach you everything you need to know about turning wood into a beautiful and functional art form. From choosing the right tools and materials to finding the best wood types and turning them into something useful, we'll walk you through it all step by step!
Safety guidelines for woodturning
Before you start Woodturning, it's essential to understand the safety concerns. Woodturning involves sharp tools and fast-moving machinery, so there's a risk of injury if you're not careful. Here are some safety tips to keep in mind
- Always unplug the lathe before making any adjustments or repairs.
- Avoid operating equipment while under the influence of drugs or alcohol.
- Make sure that the lathe is properly grounded.
- Never touch or move the belt while the lathe is running; never run the lathe without the belt cover.
- Always wear the appropriate safety equipment: Wear gloves to protect your hands; ensure your clothing is thick enough that no skin is exposed.
- An emergency plan includes turning off the power and calling for necessary help.
- Always follow the manufacturer's instructions for maintenance and care.
- Remember to check for any defect in the wood you are planning to turn.
- Be aware of the location of your hands at all times. Keep them away from the spinning wood and the sharp tools.
- Always work with sharp tools.
Safety Equipment for woodturning
Safety Gear for Woodturning
Safety gear is essential for woodturning. It helps to keep you safe and makes turning more enjoyable. Here are the three most important pieces of safety gear you should have:
- Eye protection: Always wear eye protection when using woodturning tools. This will protect your eyes from flying debris and dust. A pair of shatterproof eyeglasses with side shields is the minimum. You should also wear a full-face guard for certain types of work, such as turning wood with the bark still on it or working with highly splintery material.
- Protective clothing: Invest in good-quality protective clothing before you start woodturning. This includes sturdy shoes, long pants, ear defenders, and gloves. Faceplate turners should also wear protective footwear.
- Ventilation and dust collection: Working with wood produces a lot of dust, which can be harmful to your health if you breathe it in. That's why it's essential to have good ventilation in your workshop and to use a dust mask or respirator when working. A dust collector will also help to keep your workspace clean.
Here are some additional safety tips for woodturning:
- Tie back long hair and loose clothing.
- Make sure your work area is well-lit.
- Keep your tools sharp and in good condition.
- Be aware of your surroundings and always use the correct tools for the job.
Read Next
- The Best Mini Wood Lathe for Small Projects
- Best Wood Lathe Under $500
- Wood Lathe for Turning Large Bowls
- Beginners Guide to Skew Chisels
- Best Woods for Turning
How to Choose and Operate a Lathe for the First Time
How to select a woodturning lathe
When it comes to Woodturning, you need a few essential tools. A lathe is one of the most critical pieces of equipment, as it's what you'll use to shape your wood. However, as you look into what's out there, you'll quickly notice confusion in the selection of models with wildly varying specifications and costs, and you start to lose track of exactly what you need.
If this applies to you, take a look at the following standard features to help you decide what to look for when buying your first lathe.
Size Variation
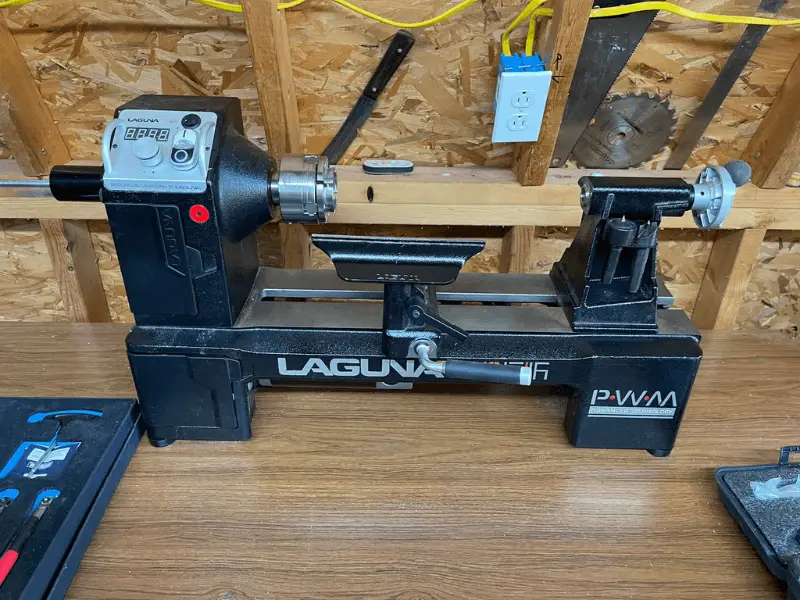
The names of the lathes are based on their relative sizes to one another, which vary in size. The largest lathes are the most typical and likely to be found in many workshops. They are built to support their weight, so they don't need to be set on a bench or any other support.
The medium-sized lathes, which fall between the large and mini lathes, are the next step down. They can be positioned on a bench or other types of support because they are generally not free-standing.
Mini lathes are the most little lathes designed to handle small woodturning projects. They are better suited for smaller projects like pen turning rather than larger ones like turning bowl blanks.
Capacity and swing
When you are buying a lathe, there are two capacities you need to consider.
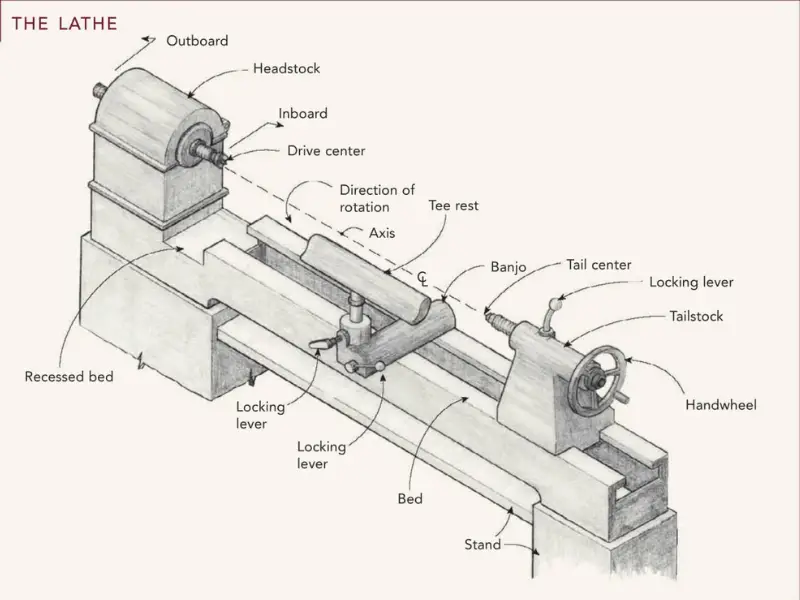
- The distance between centres is the distance between the headstock and the tailstock, commonly known as capacity.
The longest workpiece you can turn depends on the distance between centres. You will require a length of at least 30 inches and ideally 36 inches for general work.
- The distance between the headstock spindle and the bed is the swing.
Unless the head rotates around, the swing determines the maximum diameter of work you can turn. A swing of at least 9in (230mm) is considered necessary for anything resembling severe labour, but in practice, the larger, the better.
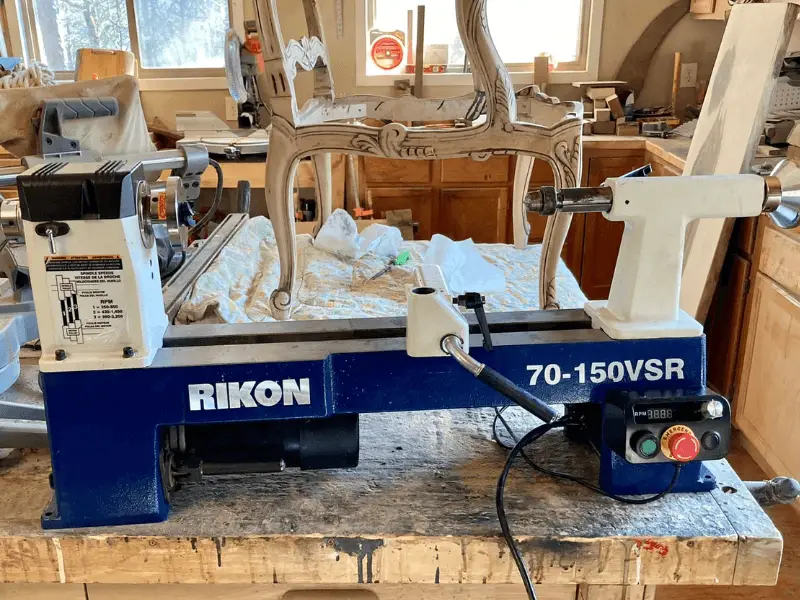
The weight of the lathe
When choosing a lathe, consider picking one that is a bit heavy because the heavier and more powerful the machine, the better. A more severe lathe will be more stable and controllable. The heavier it is, the fewer vibrations there are, which are the turner's worst enemy, especially if the workpiece is long or unbalanced. It will, however, be more challenging to move around.
As a result, purchasing a cast lathe rather than a fabricated lathe is preferable, though this is often more expensive. However, remember that, unlike many other machines, you will frequently spend hours working on the lathe. As a result, it must run as smoothly and quietly as possible, so consider the quality care and buy the best you can afford.
We also considered putting together a separate article on the Best wood Lathe under $500 that you should check out after looking into the many features we need to grasp before purchasing our first lathe.
How to Get Started with a Wooden Lathe
If you're new to Woodturning, the lathe can be a daunting tool. But with a bit of practice, you'll be able to use it like a pro! Here's a quick guide on how to get started
- Make sure that your tools are sharp and in good condition.
- Adjust the height of your workbench and place your lathe at about waist height.
- Please turn on the motor and ensure it runs smoothly before turning anything.
- Put something down to collect any chips falling out of your workpiece. I recommend using a small bucket or trashcan.
Let's turn our first piece now that everything is in place!
Turning Techniques
You can use many different techniques to turn wood, producing different results. You'll need to learn these other turning techniques to achieve the desired effect. Today we will take a look at two basic turning techniques-
Spindle turning
In spindle turning, the grain of the wood being turned runs parallel to the lathe's axis between the centre of the lathe. The workpiece revolves clockwise, and you usually remove material from the spinning wood with a gouge. With this technique, you can make chair legs, flower holders, and even lamp bodies.
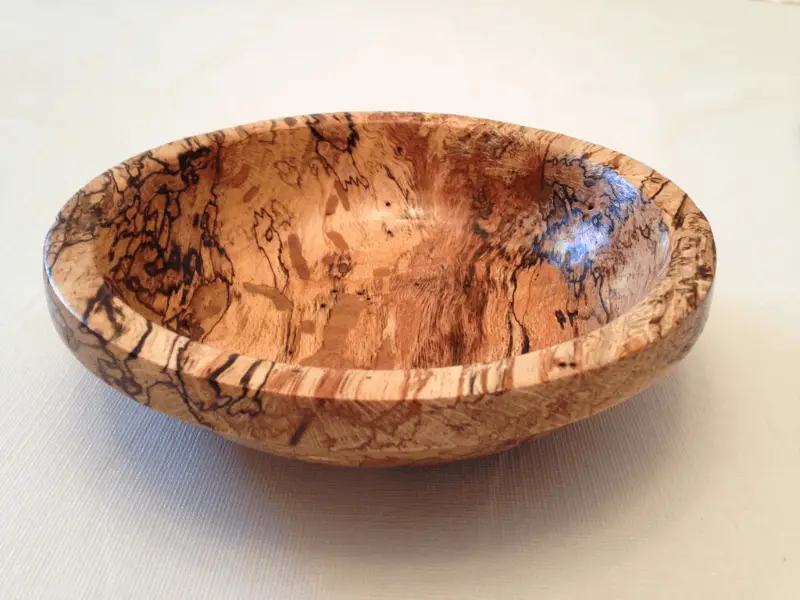
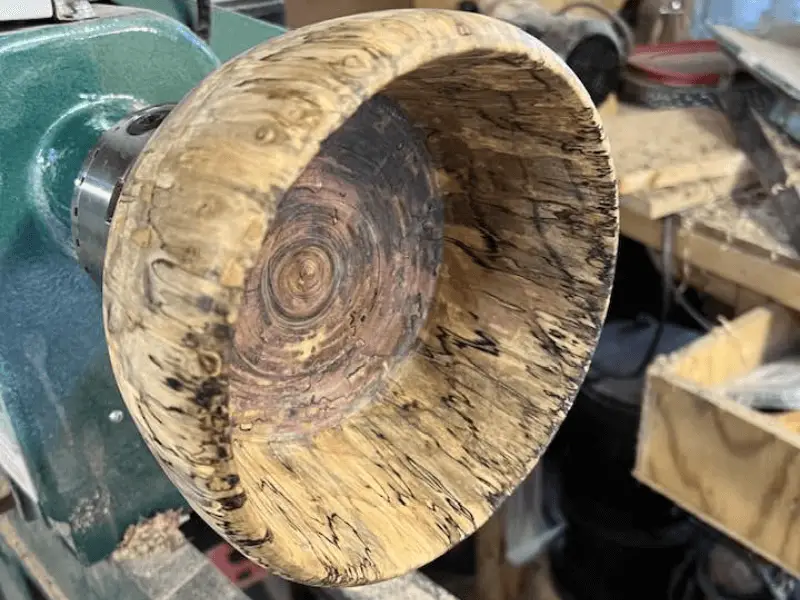
faceplate turning
Faceplate turning is a type of Woodturning where the tool is attached to the lathe's faceplate. In faceplate turning, the grain of the wood being turned runs at right angles to the lathe's axis. This approach is frequently employed for larger objects or when the workpiece must be rotated along its axis, like when manufacturing bowls or vases. First, to attach the workpiece to the faceplate, drill a hole in the centre. Then, use a screw to secure the workpiece to the faceplate.
These techniques can all be applied with either chisels or gouges. A chisel has a straight edge that you sharpen on one side, while a gouge has a curved blade on both sides and is pointed like scissors.
What Is the Best Wood for Woodturning?
When it comes to Woodturning, there are a few things you need to consider before you start. The wood you use is essential, as different woods have different properties that can affect your project.
For example, softer woods are easier to carve but may not hold up well over time. Harder woods are more difficult to work with but will last longer. Ultimately, the best wood for Woodturning is the kind that best suits your needs and abilities.
Check out this article for a more thorough analysis of the wood to use for Woodturning: Best Woods for Turning.
Here are some guidelines for choosing the suitable wood:
- - If you're new to turning, softwoods like pine or cedar might be better choices. They are best for general turning projects.
- - Hardwoods are heavy and come from deciduous trees such as oak, Ipe, maple, cherry, or mahogany. They are best for furniture projects that require strength and durability.
- Choose hardwood to add a natural colour or grain pattern to your piece.
- Softwood is the way to go if you want something lighter with more delicate patterns. Softwoods are typically easier to work with than hardwoods because they have fewer knots and pores and turn smoother.
- You'll also find that softwoods tend to be less expensive than hardwoods.
When buying wood from lumberyards, look for straight-grained boards without any defects. When choosing an appropriate board, measure its width and thickness to ensure it fits into your machine correctly.
I recommend using White Pine for most beginners because it is inexpensive and turns quickly. Plus, many YouTube videos show how to work with this type of wood if you need to familiarize yourself with the process.
How To Prepare Wood For Woodturning
- I recommend applying a wood sealer to the open ends of the wood after identifying the type of wood to use. This finish will keep the wood from drying out. It will help if you avoid Paraffin because it can stain your wood and cause cracks and breaks. The purpose of using a sealer is to prevent checking.
- Keep your wood dry and away from excess heat or moisture!
- Additionally, avoid removing the tree's bark because this lowers the chances of checking and acts as a mechanism to prevent excessive water loss.
Examples of Simple Woodturning Projects
If you're just getting started in Woodturning, or are looking for some easy beginner woodturning projects, here are a few ideas to get you started:
- Start with softwood projects like a candlestick holder or a vase.
- Once the basic techniques are down, you can move on to more challenging projects like turning bowls or making a lidded box.
Practice makes perfect, so keep going even if your first few attempts aren't perfect. Ask an experienced woodturner for advice if you get stuck. Have fun and be creative!
Which Woodturning Tools Should You Have?
To get started Woodturning, you will need a few tools.
- First, you will need a lathe. A lathe is a machine that turns your wood piece for you while you shape it with other tools.
- Second, you will need chisels. Chisels come in many different shapes and sizes and are used to create different textures and designs on your wood piece. The most commonly used is the skew chisel.
- Third, you will need a gouge. Gouges are shaped like the letter U and are made of metal or plastic. They are also used to cut into the wood, but not a chisel would typically go.
- Finally, you will need sandpaper. You can use this to smooth out the rough edges of your wood piece after shaping it with all these tools. Knowing how to care for your devices is important so they last longer.
Visit our article, A Guide to Wood Turning Tools, for a more thorough analysis of woodturning tools.
Always clean them off before and after every turn because bits of wood could get stuck in them, making it harder to work with them. After turning, allow your tools to cool down before you put them away. To keep from rusting, store your tools where they won't be exposed to moisture, such as next to a sink or outdoors in direct sunlight.
Things To Consider When Choosing A Wood Turning Tool:
There are many tools, from chisels and gouges to scrapers and skew chisels. Your choice of instrument depends on what you're making and how skilled you are at Woodturning, so it's good to do some research beforehand.
Make sure it has a sharp edge, no matter your chosen tool. Dull blades won't cut through the wood very well and can leave deep scratches in your piece, which will be very noticeable once the work is finished.
Always choose sharp blades when they arrive because it takes a lot of skill to sharpen dull blades without cutting yourself. Finally, remember safety! Woodturning is inherently dangerous, so wear gloves and goggles while using power tools.
Filing & Finishing Techniques
When it comes to Woodturning, there are a few essential techniques that every beginner should know. Filing and finishing are two of the most important.
Filing ensures your piece is smooth and even, while finishing protects it from wear and tear.
Here's a quick guide to both techniques -
- Filing - A metal file best shapes wood and ensures an even surface. Use a light touch when filing so you don't remove too much material. You can also use sandpaper on larger pieces or rough edges where you want more aggressive shaping.
- Finishing - To protect your finished work, we recommend using boiled linseed oil as a final coat before applying a protective finish such as varnish or wax. This simple technique will protect and preserve your wood in its original state.
How to Improve Your Woodturning Skills
- Practice as often as possible- The more you work with the lathe and different woods, the better you'll use them.
- Read books and watch videos on woodturning techniques. This research will give you a better understanding of how to use the lathe and what tools to use for different projects.
- Attend workshops or take classes from experienced woodturners. They can help you by answering questions about techniques, improving your skills, and providing feedback on assignments.
- Get outside and make friends with other people who enjoy turning. They'll be able to offer new ideas for turning that you might not have thought of before.
- Subscribe to woodturning magazines. These magazines can provide valuable information about trends in the industry and which products are popular now.
- Join online communities where you can post photos of your recent projects and discuss them with other members.
Conclusions
Though it may initially seem daunting, Woodturning is a fun and rewarding hobby. With the right tools and a little practice, anyone can create beautiful pieces of art from wood. In this guide, we've covered everything you need to know to start Woodturning. We hope you enjoy your new hobby!