Carving spoons from dry wood may seem challenging at first, but with the right techniques and tools, it is entirely possible to create beautiful and functional wooden spoons. In this comprehensive guide, we will explore the process of carving spoons from dry wood, highlighting the advantages, providing step-by-step instructions, and offering essential tips for success.
Advantages of Carving Spoons from Dry Wood:
- Enhanced stability: Dry wood, having lost much of its moisture content, is less prone to shrinking and warping compared to greenwood. This makes it a more stable material choice for carving spoons, ensuring that the finished product maintains its shape and structure over time.
- Greater accessibility: Dry wood is more readily available compared to greenwood, which can be harder to find or require special preparation. This accessibility allows carvers to easily obtain the wood they need for their projects, making the carving process more convenient.
- Increased durability: Carving spoons from dry wood can result in a final product that is more durable and long-lasting. The reduced moisture content in dry wood helps to prevent decay and insect infestation, ensuring that the spoons can withstand regular use and maintain their quality for extended periods.
- Improved ease of carving: Dry wood tends to be harder and more solid than greenwood, which can make the carving process easier and more manageable. The denser nature of dry wood allows for cleaner cuts and smoother carving, enabling carvers to achieve finer details and intricate designs.
- Versatile finishing options: Dry wood offers versatility in terms of finishing options. It readily accepts stains, paints, and finishes, allowing carvers to customize the appearance of their wooden spoons according to their preferences. This versatility opens up creative possibilities and the ability to create unique and personalized designs.
- Reduced risk of cracking: Dry wood is less prone to cracking during the carving process compared to greenwood. The lower moisture content in dry wood minimizes the likelihood of the wood splitting or forming cracks, providing a more reliable and enjoyable carving experience.
- Efficient storage: Once carved, spoons made from dry wood are easier to store since they do not retain moisture. Dry wood is less susceptible to rotting or developing mold, allowing carvers to confidently store their finished spoons without the need for special storage conditions.
- Eco-friendly choice: Carving spoons from dry wood promotes sustainability by utilizing wood that has already undergone a natural drying process. By repurposing dry wood, carvers contribute to reducing waste and making environmentally conscious choices in their woodworking endeavors.
Read Next
- What Knives Do I Need to Carve a Spoon
- Wood Carving Tips for Beginners
- Carve a Ladle Step by Step
- Best Carving Knife for Every Skill Level
- Beginner’s Guide to Woodcarving Gouges
- How to Prepare Wood for Carving
Disadvantages
While carving spoons from dry wood offers several advantages, it's important to acknowledge the potential disadvantages as well. These include:
- Hardness and difficulty in carving: Dry wood is typically harder than greenwood, which can make it more challenging to carve. The denser nature of dry wood requires greater effort and precision when using carving tools, especially for intricate designs or fine details. Beginners or those without much experience may find it more difficult to work with dry wood compared to softer greenwood.
- Increased risk of splintering: Dry wood can be more prone to splintering or chipping during the carving process, especially if the wood is brittle or has imperfections. Carvers need to exercise caution and use sharp, well-maintained tools to minimize the risk of splintering. Proper technique and handling are crucial to avoid injury and ensure a smooth carving experience.
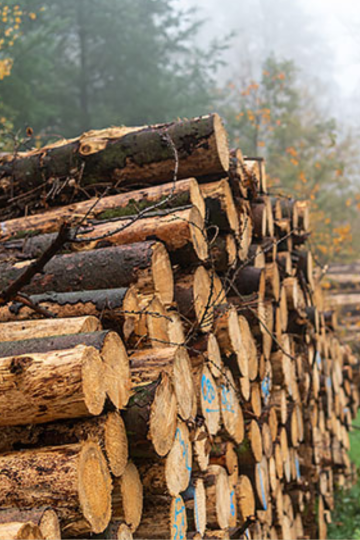
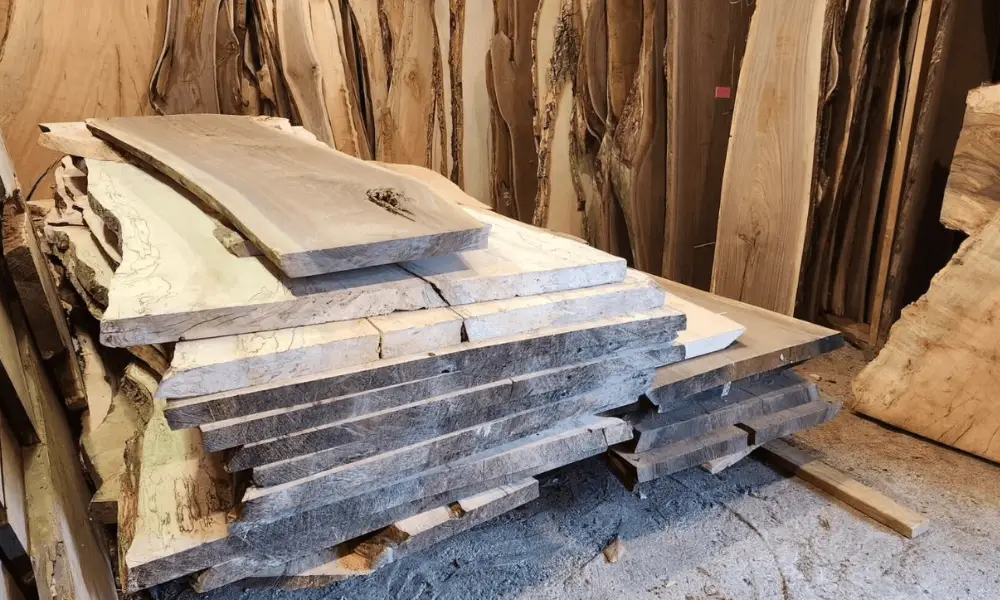
- Limited availability of suitable dry wood: Finding suitable dry wood for carving can sometimes be a challenge. Depending on the region or local resources, it may be more difficult to source dry wood compared to greenwood. Carvers may need to search for specific types of dry wood or take additional steps to properly dry the wood themselves before beginning the carving process.
- Potential for warping or cracking after carving: Although dry wood is less prone to warping and cracking compared to greenwood, it is not entirely immune to these issues. Improper drying or storage conditions can still lead to warping or cracking of the finished spoons over time. Carvers need to ensure proper drying and storage techniques to minimize the risk of these structural problems.
- Limited flexibility in shaping: Dry wood, due to its reduced moisture content and increased hardness, may be less flexible and less forgiving when it comes to shaping and making adjustments during the carving process. Carvers need to carefully plan and execute their designs, as making significant changes or modifications after carving the initial shape may be more challenging with dry wood.
Tools for Carving Spoons from Dry Wood
To carve spoons from dry wood, you'll need a set of essential tools that are specifically designed for this craft. These tools ensure precision and efficiency throughout the carving process. Here are the key tools commonly used for carving spoons from dry wood:

- Carving knife: A carving knife is the backbone of any spoon carving project. It has a sharp, pointed blade and a comfortable handle that allows for controlled and intricate cuts. The carving knife is used for shaping the general form of the spoon and refining its details.
- Hook knife: A hook knife, also known as a spoon knife or crook knife, is essential for hollowing out the bowl of the spoon. It has a curved blade that allows you to scoop out the concave shape with ease and precision. The hook knife is specifically designed for creating the characteristic hollow of a spoon bowl.
- Gouge: A gouge is a versatile tool with a curved cutting edge. It is used to shape the spoon's bowl and make decorative cuts. Gouges come in different sizes and sweeps, allowing you to create various contours and designs on the spoon's surface.
- Chisel: Chisels are handy for creating straight edges, refining shapes, and removing larger areas of wood. They come in various widths and can be used to clean up the spoon's sides and create crisp lines. Chisels are especially useful for achieving clean and precise cuts in the early stages of carving.
- Drawknife: A drawknife is a long, flat-bladed tool with handles on both ends. It is primarily used for rough shaping and removing larger amounts of wood quickly. With a drawknife, you can efficiently shape the handle of the spoon and work on the initial contours of the bowl.
Techniques for Carving Spoons from Dry Wood
Carving a spoon from dry wood requires a systematic approach and specific techniques to achieve the desired shape and finish. Here is a step-by-step guide to carving a spoon using hand tools:
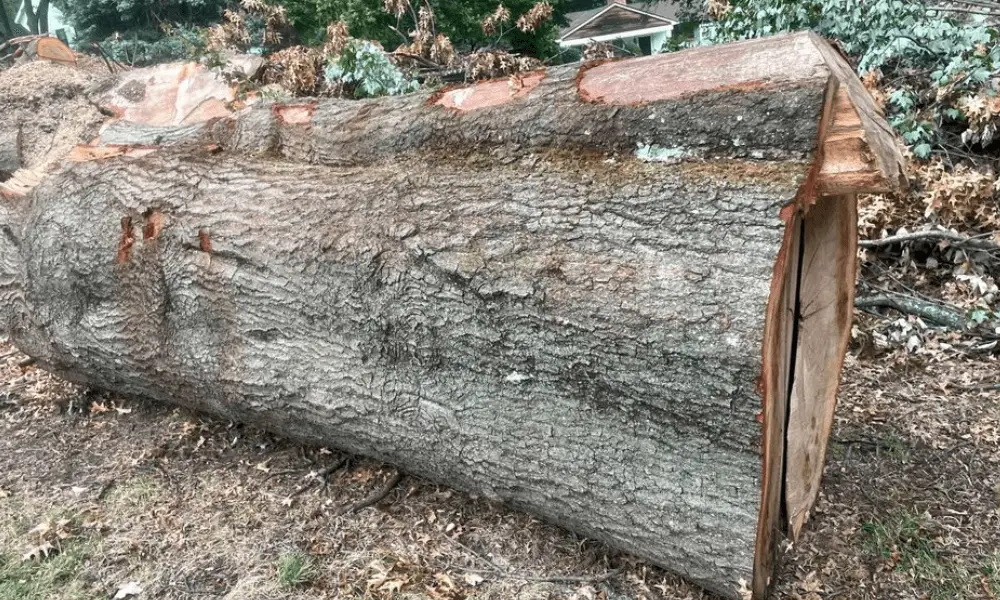
- Splitting the wood: Begin by splitting a suitable piece of dry wood using a spoon carving axe or a splitting tool. This process creates a fresh surface to work with and allows you to control the size and shape of the spoon.
- Sketching the spoon design: Use a pencil or marker to sketch the outline of the spoon on the freshly split wood. This will serve as a guide for shaping the spoon and ensuring symmetry.
- Cutting the outline: Use a hand saw or coping saw to carefully cut along the sketched outline of the spoon. Take your time to make precise cuts, following the curvature of the design.
Carving the bowl and handle:

- Carving the bowl and handle: Use a combination of the hook knife, gouge, and carving knife to hollow out the bowl of the spoon and shape the handle. Take small, controlled cuts, gradually removing wood to achieve the desired depth and shape.
- Finalizing the spoon shape: Refine the overall shape of the spoon using the carving knife and other tools as needed. Pay attention to details such as the transition between the handle and the bowl, ensuring a smooth and aesthetically pleasing form.
- Smoothing the edges and bowl: Use sandpaper or a fine-grit abrasive to smooth the edges of the spoon and the interior of the bowl. Work through progressively finer grits to achieve a polished and splinter-free surface.
Applying finishes:
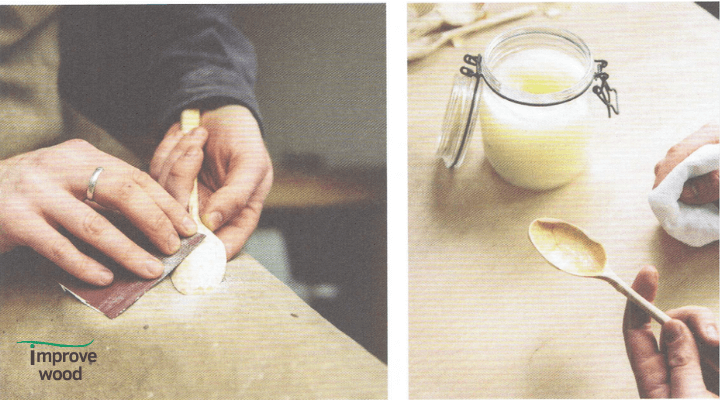
- Applying finishes: Depending on personal preference, you may choose to leave the spoon natural or apply a food-safe finish. Common finishes include food-grade oils or waxes that enhance the wood's appearance and provide protection.
How long should I let the wood dry before working on my project?
Though it takes two weeks for most trees to become suitable for carving, you should leave the wood to dry completely before starting any carving work. Different types of wood have different drying durations, but that doesn't matter. Leave them outside to dry.
Can you soak wood to make it easier to carve?
Soaking hardwoods such as oak and ash in water for a day or two makes them more flexible and easier to carve. The process also loosens fibers, which can be removed using traditional carving tools. This information is beneficial for beginners interested in carving wooden utensils.
Bottom line
It is not easy to carve using dry wood, but there is no harm in trying. Dry wood produces excellent results and helps create perfect and unique wooden spoons that can last long enough to inherit your daughters and granddaughters.
Carve your wooden spoons out of dry wood if you have the opportunity. It may take a few tries, but trust me when I say that you will finish up with something to be proud of.
Carving spoons from dry wood sounds like an oxymoron, but it's entirely possible if you know how to do it right! Wood that's green or fresh and soft can easily be carved into spoons, so long as you take the proper precautions to ensure that the wood stays dry throughout the process.