Here’s a quick guide to the best woods for carving, depending on your skill level, project type and desired result. I also include my top picks based on what you often cover on your site.
The process of painting and staining wood can be tricky, but it’s much easier when you understand the basics of how to prepare basswood wood carving for painting and staining. Before you can paint your basswood wood carving, you’ll need to clean it well and let it dry completely before proceeding with staining or painting; otherwise, you risk ruining your piece of art! With this in mind, here are some tips on how to prepare basswood wood carving for painting and staining so that your project will turn out beautifully and last through the years to come.
Tools that may be required
- An electric sander (optional)
- Sandpaper of varying coarseness:
- 80-grit sandpaper (medium-coarse)
- 220-grit sandpaper (fine)
- Leather gloves (optional)
- Safety goggles
- A respirator
- A dust mask
- Mineral spirits or paint thinner
- A paintbrush
- Latex gloves
- Masking tape
- Primer for wood carving
- Paint colors that match your design idea(s)
- Elmer’s glue mixed at half strength to prime basswood before painting
- Waterproof wood filler
- Lightly oiled basswood carving board
- A bucket of water with a few drops of liquid soap (such as dish detergent) is added to it.
- An artist’s brush
- A dust-free environment
Note Better: Using one or all of these tools is entirely optional. You can simply paint over your basswood wood carving if you do not want any kind of design carved into it.
Preparing Basswood for Painting/Staining
To ensure a successful painting or staining project on basswood, proper preparation is crucial. Follow these steps for optimal results:
- Priming: Choose an oil-based primer specifically designed for wood surfaces. Apply the primer evenly, paying attention to gaps in wood grain, cracks, knots, and other irregularities. It's important to create a barrier that prevents the wood from absorbing too much paint or stain. If possible, use an airbrush for a smoother application, but if not, spray from a distance to avoid spattering. Use painter's tape to protect areas that should not come into contact with paint or stain.
- Sanding: Before proceeding with color coats or finish coatings, sand the primed surface gently with medium-grit sandpaper. This step helps smooth out any roughness and prepares the wood for optimal paint adherence. Avoid using fine-grit sandpaper to prevent small scratches from appearing through the layers of paint or stain.
- Filling: If necessary, apply wood filler to fill in any larger holes or splits in the wood. Allow each coat of filler to dry completely before applying additional coats. Sand lightly after each coat to achieve a smooth surface.
- Cleaning: Ensure the basswood carving is clean before proceeding. Use a soft cloth or your hand to remove any dust or debris. A clean surface promotes better adhesion of paint or stain.
Read Next
- How to Seal Basswood for a Long-Lasting Painting Surface
- How to Paint Basswood: A Beginner's Guide
- The Ultimate Guide on Finishing Wooden Kitchen Utensils
- Wood Carving Tips for Beginners
- Best Woods for Carving Using a Dremel
Painting/Staining
Choose artist-grade acrylic paints or compatible wood stains for best results. Apply multiple light coats rather than one heavy coat to prevent underpainting from showing through the finished piece. Allow sufficient drying time between coats. Consider applying a final clear coat to protect the piece from moisture and surface abrasion.
Best Paints for basswood carving
When it comes to selecting the best paints for basswood carving, there are a few key factors to consider. Here are some top paint options that work exceptionally well with basswood:
- Acrylic Paints: Acrylic paints are highly versatile and widely available, making them a popular choice for basswood carving. They offer vibrant colors, excellent coverage, and a quick drying time. Look for artist-grade acrylic paints that provide smooth application and a wide range of color options.
- Oil Paints: Oil paints are known for their rich, deep colors and smooth blending capabilities. They offer a longer drying time, allowing for more extended workability and the ability to achieve subtle color transitions. Keep in mind that oil paints require additional drying time and proper ventilation due to their solvent-based nature.
- Watercolor Paints: Watercolor paints can create beautiful translucent effects on basswood. They offer a more delicate and transparent appearance, ideal for achieving soft and subtle color variations. Watercolors are best applied in thin layers to allow the wood grain to show through.
When choosing paints for your basswood carving, consider the specific effect you want to achieve, your preferred application method, and the level of transparency or coverage required. It's always a good idea to test the paints on a small section of the wood to ensure they meet your desired outcome before proceeding with the entire carving.
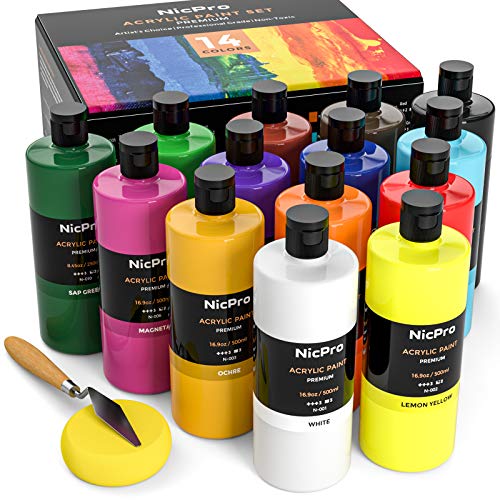
Introducing the Nicpro Rich Paint Set, a must-have for artists of all levels. This comprehensive set offers 14 vibrant colors in large volume (500ml/16.9 fl oz. each), ensuring you have ample paint for your creative projects.
The top qualities of this set include:
- Great for woodcarvers
- Color Wheel: Great tool for beginners
- High Quality and Vibrant Pigments
- Quick drying time
- Safe and Easy to Clean
4. Sealing: prepare basswood wood carving for painting and staining
Sealing is a crucial step in preparing basswood wood carving for painting and staining. Applying a sealer not only protects the wood but also ensures a smoother and more even application of paint or stain.
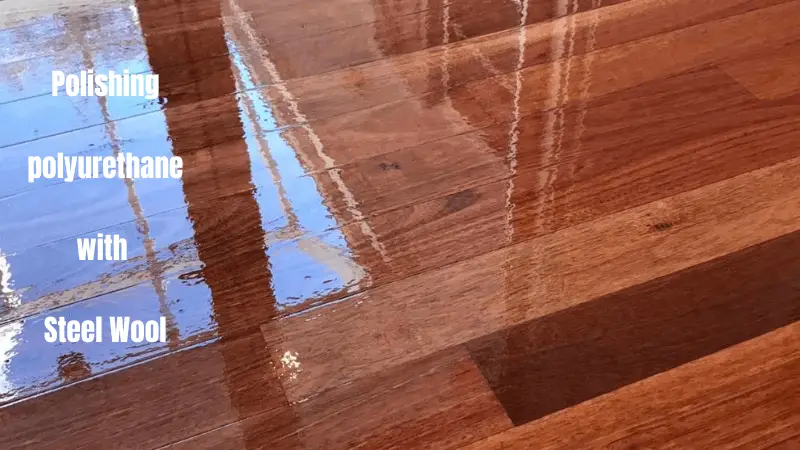
We’ve had good results with Minwax Polycrylic.
To begin, make sure the wood carving is clean and free from dust and debris. Sand the surface gently using fine-grit sandpaper to smooth out any rough areas or imperfections.
Next, choose an appropriate sealer for basswood, such as a clear wood sealer or a sanding sealer. Apply the sealer evenly to the entire surface of the wood carving using a brush or a cloth. Make sure to follow the manufacturer's instructions regarding application and drying time.
Allow the sealer to dry completely. This may take a few hours or longer, depending on the specific product and environmental conditions. Once the sealer is dry, lightly sand the surface again with fine-grit sandpaper to ensure smoothness.
Conclusions How to prepare to paint/stain Basswood
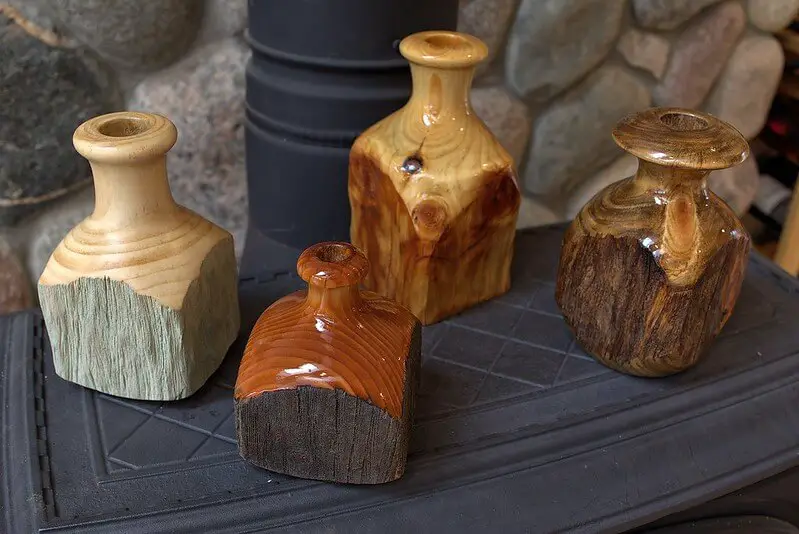
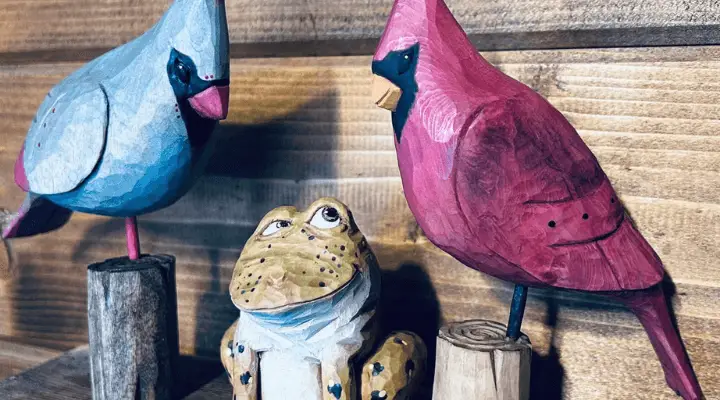
Basswood wood carving projects are some of the most popular with novice and experienced woodcarvers alike, and it’s not hard to see why. Basswood is soft enough to carve, but also tough enough to hold up over time. The grain of basswood can be straight or curly, which adds interest to your final project. Whether you’re working on your first-ever wood carving project or you’re an experienced carver and you have other questions about wood-carving preparation and finishing, leave them in the comments below!