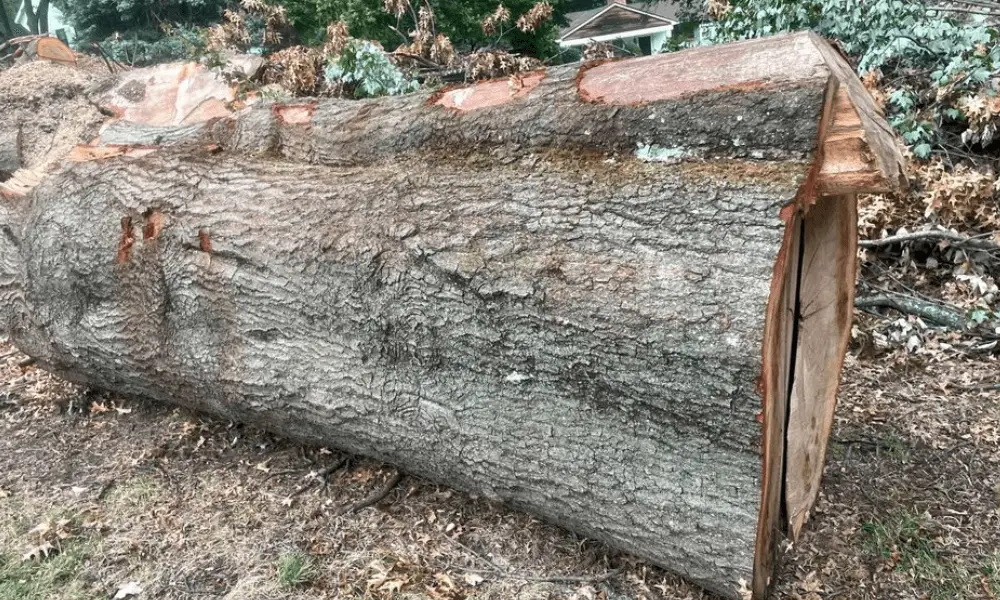
If you're a beginner starting out in woodworking, you might be interested in using found wood. Found wood is great because it's free, but there's a catch—it's not seasoned yet.
If you've been carving dry wood, you may wonder if it's possible to carve green wood and what the differences are between the two.
The short answer: There are some variations when it comes to carving dry wood versus green wood. First, green wood is less stable, so it requires special care when carving.
But that's not the only difference. Let's explore the main variations between carving with green wood and carving with dry wood, so you can make the best choice for your woodworking practice.
Greenwood vs dry wood for carving
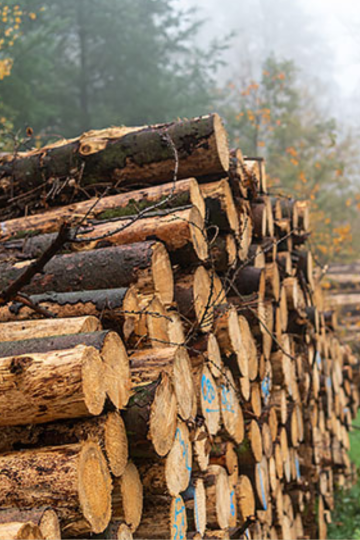
Greenwood here refers to wet wood. Wet wood is unseasoned wood that has a high moisture content, yet to achieve EMC. On the other hand, dry wood refers to seasoned wood. Your blocks for whittling bought on Amazon are seasoned.
What is greenwood carving?
Greenwood carving is a carving technique in its own right. This technique involves carving an entire project with green unseasoned wood.
This craft is closely related to green woodworking which also implies the use of wet lumber in its projects. Note that greenwood workers are highly informed on wood movement and can make adjustments to their designs hence it's not a big inconvenience sometimes it's even an advantage.
Wood is an unstable material and to work on it will green require a great deal of understanding of wood.
Wood seasoning is the process of drying wood to stabilize it. This is important due to the structure and builds between the growth rings. The structure is such that if the wood loses moisture too quickly internal stresses make the softer fibers crash hence the wood shrinking or splitting.
If greenwood is so unstable can it be carved?
Can you carve Greenwood?
Yes, you can carve greenwood. Carving green wood is indeed possible and can be a viable option, especially when working with hardwood that has a tough Janka rating. It allows for easier whittling.
However, carving green wood does come with some challenges. One significant issue is the higher likelihood of the wood developing splits as it dries. To mitigate this, there are several tricks and tips that can be employed, which will be explained in detail below.
How is green wood different than dry wood?
Both green and dry wood can be carved, but there are some distinct differences.
- For one, carving dry wood requires more planning. The cuts you make have to go all the way through or else they’ll just snap off.
- With green wood, you have a little more leeway. You can cut into it for depth before making your final cuts, so you don’t have to take so many passes with your knife. This reduces chipping and tearing on your project. It also means that you may not need a fine tool as you would with dry wood.
Sharp tools are vital
As we discussed above, carving green wood is very different than carving dry wood.
- A detail blade might not give as crisp of an edge as some other knives might do—this will help protect those delicate fibers from snapping off at their ends—and you may even want to consider hand tools like gouges or skewers.
- If you’re going for a rougher look, then a small rasp can really be a boon when it comes to getting in-depth cuts with a lot of control. This is especially true for a beginner who hasn’t yet mastered control over his cuts with a knife.
Bevel angle when carving greenwood
The bevel angle is something to consider while carving greenwood. Since the wood is soft a good practice is to use a lower bevel angle that accommodates a very sharp cutting edge. Be careful when carving green apart from stropping your edge regularly ensure you clean dry after use to avoid damage from rust, especially for low-quality blades.
How do I carve dry wood?
While softer woods are simpler to work with during their initial stages, harder species typically require curing before they can be used in real carving. As a result, experienced carvers usually prefer carved pieces made from hardwoods because these offer far more detail and often include unique grains that add visual depth to a piece.
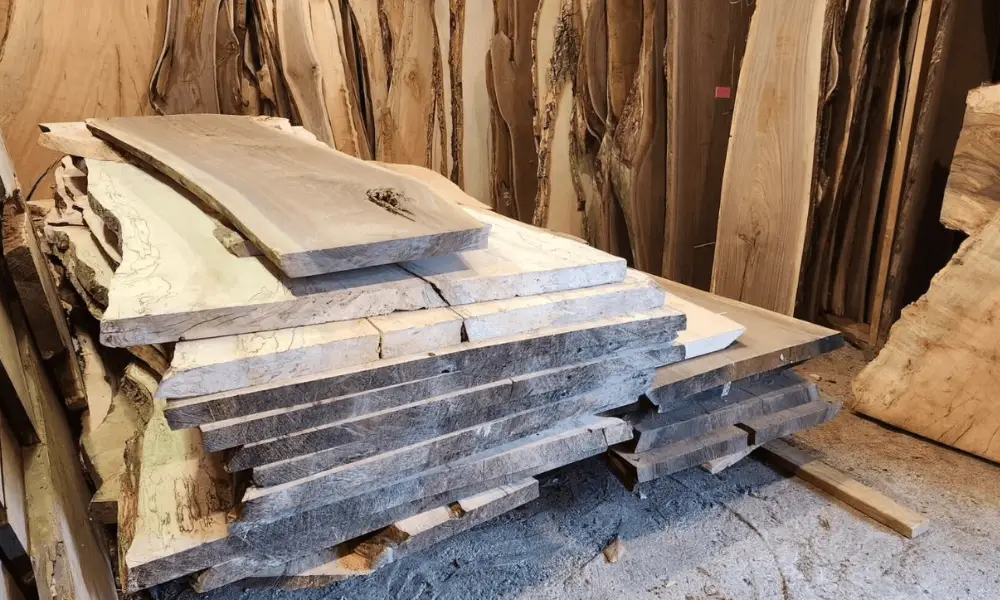
How to dry wood for carving
There are various methods to prepare dried wood for finishing, including:
- Kiln-drying: This involves using a specialized kiln to remove moisture from the wood quickly and efficiently.
- Steam treatment: Wood can be subjected to steam to help accelerate the drying process and reduce the likelihood of warping.
- Air drying: Allowing the wood to naturally dry in a well-ventilated area over a period of time.
- Burning: In some cases, burning the wood can help remove excess moisture, but this method requires caution and expertise.
When purchasing timber specifically for carving, it is crucial to ensure that it is completely free of moisture. This is particularly important for expensive and high-quality woods like mahogany, as any remaining moisture can lead to warping later on when exposed to changes in temperature and humidity. Such warping can ruin the final product.
While some types of wood require minimal preparation, it is generally recommended to work with properly seasoned wood for carving projects. When working with bark-on boards, opt for sturdier roots such as olive, tanoak, and tupelo, as they are less likely to crumble even when cold. However, regardless of the wood type, it should be adequately seasoned before being used for any project.
To determine if the wood has properly cured, you can simply use a moisture meter to assess its moisture content. Purchasing milled wood from reputable craft stores is an ideal option, as you can be confident that it has been properly aged. It is advisable to avoid using unprocessed or green wood unless you have the necessary experience and confidence to work with them immediately. Otherwise, it is best to wait until your logs have been fully cured and are ready for use before starting a new project.
If you would prefer an alternative why not try dry-seasoning your carving wood.
Read Next
- How to Prepare Wood for Carving
- How To Soften Wood For Carving: 10 Best Ways
- How to Season Wood for Carving
- Protect Carving from Splitting
- Wood Carving Tips for Beginners
- The Best Wood for Carving
What tools should I use on Drywood?
A dry wood carving requires only a few basic carving tools that you can find at your local art store. There is nothing more than a set of chisels, gouges, and sandpaper. For more intricate carvings, you will need to purchase some detail knives or power tools.
You may also want to invest in an electric palm sander if you want to work with dry wood jewelry making. Electric palm sanders work very well for smoothing out your woodblock before you carve into it. Always protect your hands by wearing safety gloves when working with chisels or other sharp-cutting tools.
Pros and cons of dry wood
Both green and dry wood is great for carving. There are some advantages to working with each type of wood, however.
Pros of dry wood
- Dry wood is less likely to splinter, which means it’s easier to work with for beginners.
- It’s also more stable, so your carvings will last longer than they would on greenwood—just make sure you store them out of direct sunlight!
- Dry wood works well with a wood finish
Cons of dry wood for carving
- Drying takes time; you may have to pause on starting a project just to wait for the wood to dry
- carving dry wood is hard. Some woods are too hard and once seasoned they may be too slow to carve
- working with dry wood requires care: Using too much force while cutting or carving can splinter dried-out material and could damage fine tools
To avoid these potential pitfalls, studying the grain direction that helps a lot. Keep your edged tools sharp and keen this is a bonus tip for both conditions of wood when carving.
What can I carve greenwood?
If you’re a beginner at wood carving, greenwood is probably your best bet. It’s easier to work with and generally won’t take as long as carving hardwood would. This means you can make your first carvings much sooner than if you had chosen dry wood.
You can even carve softwoods like balsa without any pre-drying. You should be able to use rasps, files, and other tools on them just fine, but it’s worth noting that they’ll wear down faster than you might expect (especially rasps). For example, 30 minutes of filing might smooth out an inch of softwood; you should plan accordingly!
Greenwood also bends nicely; learning how to make curves or arc cuttings is easier when using fresh sticks. Keep in mind that not all trees will hold up to wet conditions over time. Softer varieties such as cottonwood, pine, and spruce are perfectly acceptable for beginners who want to experiment with woodcarving. But oak, maple, and ash are better choices for your first few projects since they tend to stay rigid after drying. Your local lumberyard will have many different kinds of lumber available, so take some time to look around before choosing your project.
Pros and Cons of Carving Green Wood
Although it may be good to go with green wood at first glance, there are some cons and pros when choosing which type of wood to use for your project.
Pros of greenwood
- If you are looking for a more rustic look for your project, it is highly recommended to use greenwood.
- There is also less risk of warping or cracking with green wood which can make projects safer to use.
- Greenwood can be hard to work with because of wetness; once it is dried out, it will become easier to shape and carve.
- Its water content actually makes it easier to shape into objects by hand—if you can see what you are doing! That’s why experienced carvers often recommend newbies practice their skills on green logs rather than dry ones.
- It’s relatively easy to work with green logs even though they contain water. As long as portions stay moist during shaping, splits will remain minor if they develop at all.
- And, unlike dry wood, you won’t need to bother with treating or sealing them to protect against rot
Cons of greenwood
- One big downside about working with green wood is that oftentimes you will need to wait until your piece dries out before finishing it; doing so will require patients if you have deadlines by which you must complete your project.
- it doesn’t always take finishes very well depending on what kind of finish you would like to apply.
- Staining sometimes comes out blotchy on greenwood compared to finished wood where staining looks much smoother.
- On top of all of these things, there is even a difference in price between dry wood and greenwood. Most people buy dry wood because it is usually cheaper than green material. This means you get a better bang for your buck because money isn’t wasted on buying unusable materials that can not be used due to being too damp.
- Many beginners will shy away from carving green wood due to its lack of defined edges and varying textures
Greenwood vs dry wood: A summary
When looking at greenwood vs dry wood, there is a clear discrepancy with green wood it's generally good to prepare for splits. The tips above should help you carve greenwood without the fear of splits. Whether carving green wood or dry wood always ensure your carving tools are sharp and keen.