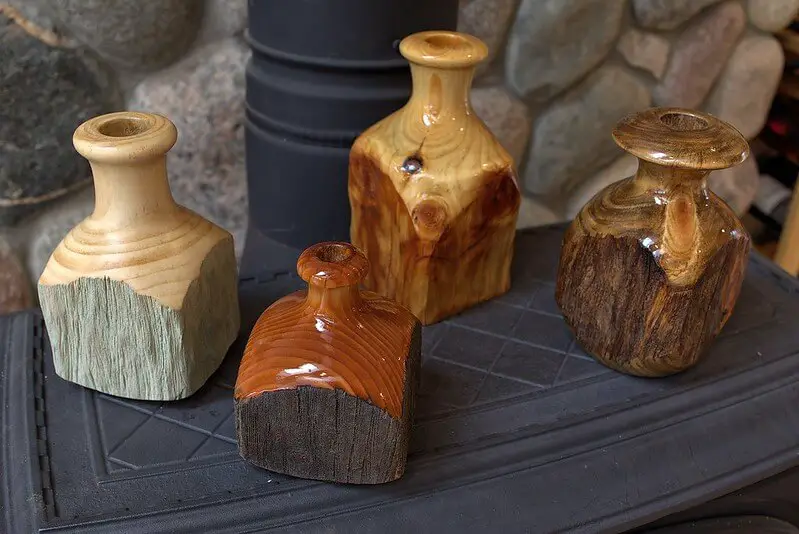
Pine is the wood of choice for amateur and artistic woodworkers. It is relatively cheap, easy to cut or shape, and widely available.
On the flip side, pine is also one of the most difficult woods to finish. It is an unevenly porous wood, making it difficult to absorb finishes evenly. The finish usually soaks much deeper into the larger earlywood pores than in the dense and smaller latewood pores, causing the former to be darker than the latter.
Due to this uneven distribution, painting is regarded as the most effective means of treating pine. Alternatively, you can apply several coats of polyurethane. Good old poly will allow the grain to shine through it, maintaining the wood’s natural aesthetic. You could also opt for tinted poly if you wish to make the wood’s shade more vibrant. This would need a stain and a sealant. Here is how to treat pine for outdoor use.
Can you use pine outside?
Yes, pine can be used outside, but it's important to note that pine is a softwood and is more susceptible to weathering and decay compared to some other hardwoods. When using pine outdoors, it's crucial to take appropriate measures to protect the wood and extend its lifespan.
If you plan to use pine wood for ground contact applications, such as for fence posts, retaining walls, or deck supports, it is highly recommended to use pressure-treated pine. Pressure-treated pine undergoes a specialized treatment process that involves applying preservatives under high pressure. This treatment significantly enhances the wood's resistance to decay, rot, and insect damage, making it more suitable for prolonged exposure to soil and moisture.
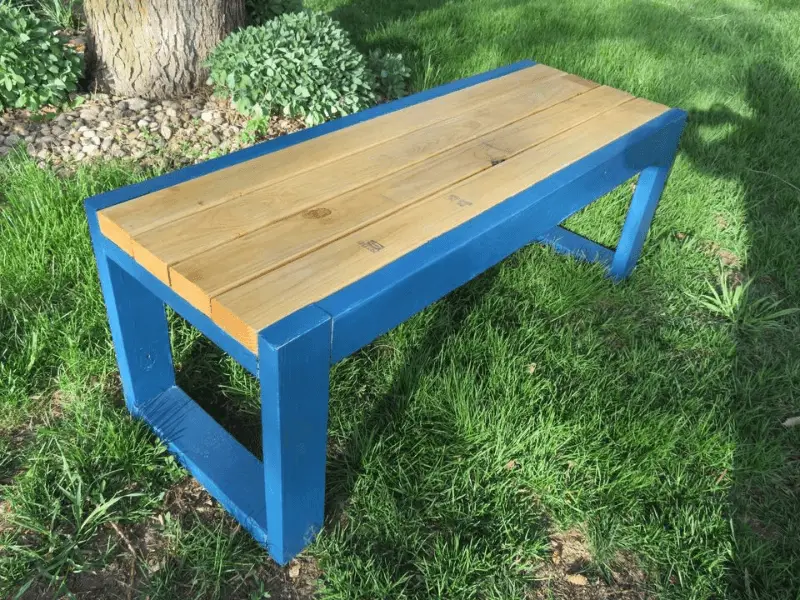
How to Treat Pine by Painting
Paint forms an impervious layer that retards moisture movement out or into the wood and offers significant protection against contamination. Also, painting is particularly advantageous in pine because paint color balances the wood’s uneven grain staining.
Read Next
• https://improvewood.com/how-to-treat-pine-for-outdoor-use/
• https://improvewood.com/how-to-treat-wood-for-outdoor-use/
• https://improvewood.com/how-to-treat-pine-logs-for-outdoor-use/
• https://improvewood.com/what-is-the-most-weather-resistant-wood/
• https://improvewood.com/best-outdoor-oil-finishes/
• https://improvewood.com/how-long-does-pressure-treated-wood-last/
Applying Paint
The first step is to choose your paint. Apart from color, you should also choose between oil-based and latex paint. Woodworkers with pressure-treated pine should go for latex paint, while those with untreated pine should choose oil-based paint due to its enhanced moisture-resistance capability.
Enhance and protect your outdoor wood with the remarkable Wolman Outdoor Furniture Paint. Designed specifically for outdoor use, this exceptional paint offers an unparalleled level of protection that will keep your furniture looking pristine for years to come.
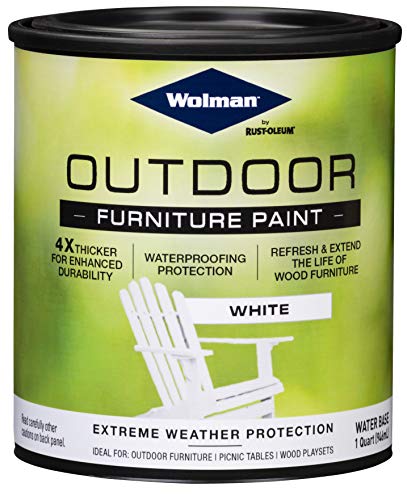
Next, use fine-grit sandpaper to gently sand down the wood’s surface. Rub the wood in circular patterns to achieve a smooth surface and pay particular attention to uneven regions. Use a wet, soft cloth to wipe off wood shavings. Afterward, apply thin, even layers of primer on the entire surface and let the wood sit for at least one hour (I recommend using a Shellac primer) Once the primer is dry, apply three coats of paint at intervals of one to two hours for each coat to dry. Complete this process by evenly spraying paint sealant for an impermeable yet glossy finish.
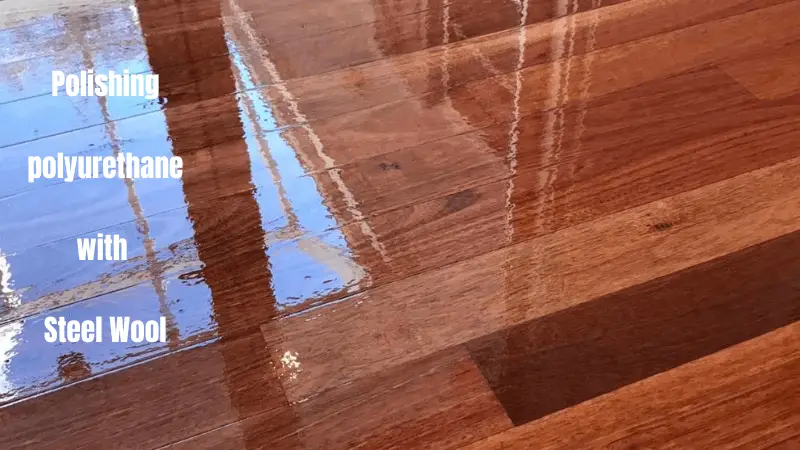
How to Treat pine using polyurethane
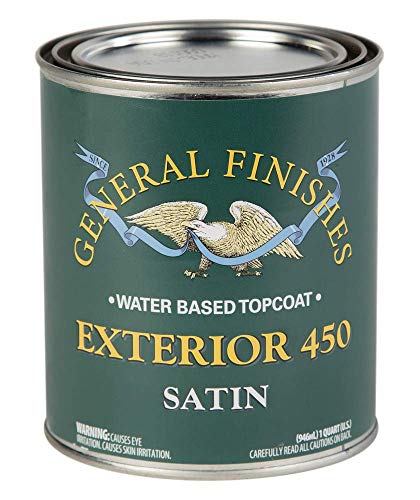
As we mentioned in our outdoor wood treatment guide, poly is the best finish for exterior lumber because of its superior pore-sealing capability. It is an ideal treatment agent for pine, although you will need to take specific measures to minimize the uneven staining problem.
General Finishes Exterior 450 Water-Based Topcoat is the ultimate solution for durable and water-based polyurethane finishes. Specifically designed for outdoor projects, this exceptional clear coat provides unparalleled protection against moisture damage, including warping, swelling, and rot. With its mold-resistant properties, it defends against the growth of mold and mildew caused by moisture. The incorporation of UV absorbers ensures that your outdoor wood retains its vibrant color and resists fading from sun exposure. Choose General Finishes Exterior 450 Water-Based Topcoat for reliable and long-lasting protection, making your outdoor projects stand the test of time.
Top Qualities
- Durable
- Low odor
- Fast drying
- UV absorbers
Applying Polyurethane on pine
1: Preparation and Considerations
- Arrange your workspace for better visibility
- Decide whether to dewhisker the wood before applying the finish
- Strain the finish if necessary
2: Brushing or Spraying Techniques
- Choosing the appropriate application method
- Tips for brushing or spraying water-based finishes
- Importance of keeping coats thin
3: Curing and Sanding
- Allowing the finish to cure
- Sanding the finish smooth
- Addressing raised grain and using stearated sandpaper
4: Dust Removal and Second Coat
- Removing dust after sanding
- Applying a second thin coat of finish
- Preventing foam formation and achieving a smooth finish
5: Additional Coats and Optional Sanding
- Applying additional coats if desired
- Sanding between coats for dust nibs or flaws
- Guidelines for the number of coats needed
6: Finishing Touches
- Finalizing the thickness of the film
- Options for refining the finish using sandpaper or rubbing compounds
- References to Chapter 16: "Finishing the Finish" for more guidance
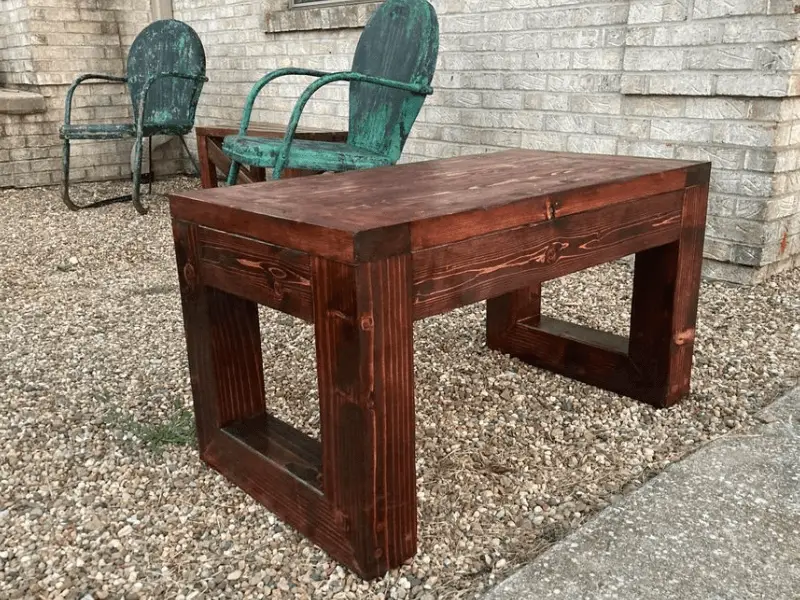
Stain and seal pine for outdoor use
What you will need
If you plan to stain your pine wood and want to control blotching, it is recommended to invest in a pre-stain sealer/conditioner. These products are specifically designed to minimize blotching and ensure a more even stain application. Additionally, you will need the stain itself and a sealer to protect the wood after staining.
Alternatively, if you prefer the convenience of a stain and sealer combined into one product, you can purchase an all-in-one stain and sealer. This eliminates the need for separate staining and sealing steps.
Regardless of the approach you choose, you will also require sandpaper for sanding the wood surface. Use regular sandpaper for initial sanding and use stearated sandpaper for sanding between coats of finish. This helps to create a smooth surface and promotes adhesion between coats.
Ready Seal Exterior Stain and Sealer is the go-to choice for achieving a stunning finish on your exterior wood surfaces. With its exceptional features and "goof proof" application, it takes the hassle out of staining and sealing, giving you professional results without the need for primers or complicated techniques.

How to stain and seal pine for outdoor use
To stain and seal pine wood for outdoor use, you can follow these steps:
- Prepare the wood: Ensure the pine wood is clean and dry. Remove any dirt, dust, or previous coatings by sanding the surface lightly.
- Choose an outdoor stain: Select an exterior-grade stain suitable for outdoor use. Look for products that provide UV protection and are designed to resist moisture and weathering. You will be safe to use decking stains, even for furniture, as these stains are generally more durable.
- Apply the stain: Using a brush, roller, or sprayer, apply the stain evenly, and once your pine is soaked wipe off the excess. To avoid blotching you can use a pre-stain or wood conditioner.
- Allow for proper drying: Give the stain sufficient time to dry according to the manufacturer's recommendations. This typically ranges from a few hours to a day, depending on the specific product and weather conditions. Sand the stain to knock off any raised grain or surface imperfection. if you need to darken the tone you can apply a second coat and then lightly sand after words.
- Apply a sealer: Apply a clear outdoor wood sealer on top to provide an extra layer of protection. The sealer helps to seal the wood and protect it from moisture, UV rays, and other elements.
- Follow drying and curing instructions: Allow the sealer to dry and cure according to the manufacturer's instructions. This may involve several days or more, depending on the product.
- Maintenance and reapplication: Regularly inspect the stained and sealed pine wood for any signs of wear or damage. As needed, clean the surface and reapply additional coats of stain and sealer to maintain its protective properties.
FAQ
Can pine be used outside if painted?
Yes, pine can be used outside if it is properly painted and protected. Painting pine wood can provide an additional layer of defense against moisture, UV rays, and general wear and tear, helping to extend its lifespan and maintain its appearance.
How to waterproof pine wood for outdoor use?
To waterproof pine wood for outdoor use, follow these steps:
- Clean the wood to remove dirt and debris.
- Sand the wood to create a smooth surface.
- Apply a waterproofing sealer or stain specifically designed for outdoor use.
- Use a brush or roller to evenly coat the wood with the waterproofing product.
- Allow the product to dry completely according to the manufacturer's instructions.
- Apply additional coats if desired for added protection.
- Regularly inspect and reapply the waterproofing product as needed
Conclusion: Outdoor wood finish for pine
In sum, pine’s uneven pore distribution is a major inconvenience for woodworkers intending to use this wood for outdoor purposes. This feature prevents the wood from evenly absorbing finishes and staining accordingly. Painting offers a good solution to this predicament as paint color balances the uneven sheen. Another viable option is applying polyurethane as it provides the wood with an additional protective coating without concealing its grains and patterns.