In this article, we are gonna look at ways you can treat wood for outdoor use. Outdoor lumber is at a higher risk of damage from the elements than indoor lumber. As such it needs special treatment to cope with its harsh environment.
To understand how you can best protect wood that will be used outdoors in projects like fencing and decking, it's important to understand how different types of wood finishes work. This will boost your overall confidence while DIYing. We also recommend our article for treating ground contact lumber.
Now that that's out of the way, let's check out some of the options we have for outdoor lumber.
Easy Methods for Treating Wood for Outdoor Use
- Paint
- Good old poly
- Varnishes
- Pressure treatment
- Combinations of stains and sealers
1. Paint
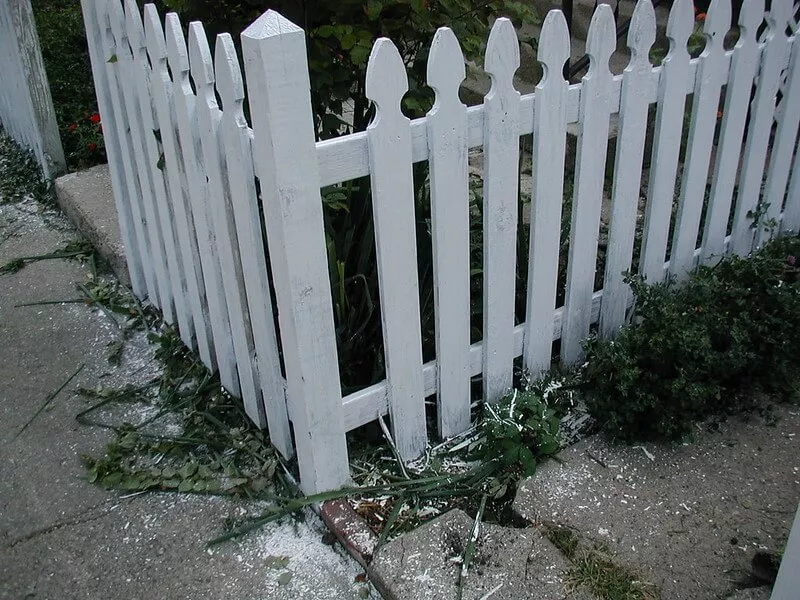
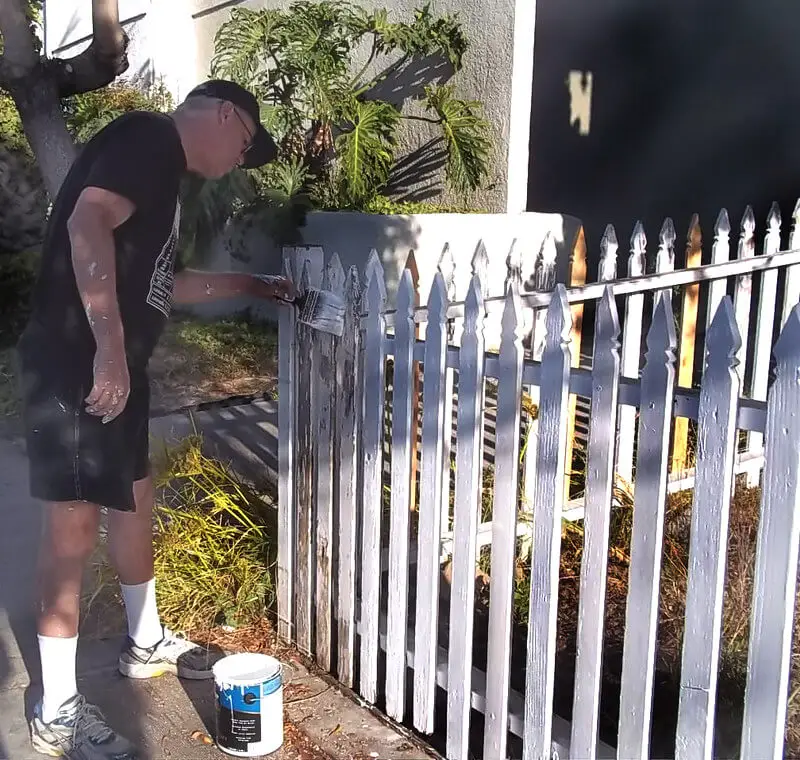
Paint finish is amazing. It's crazy that most of the time we don't think of paint as a "protective finish" but it actually is. Paint prevents moisture exchange between the wood and the environment, therefore, reducing the chances of the wood splitting, warping, or checking. Paint also protects the wood against UV deterioration.
Paint is amazing, especially for wood projects like fences and wooden sculptures. Paint is also the easiest to apply and it does remarkably well to obscure blemishes on the lumber.
The main issue with paint is it obscures the wood and for people that want the wood qualities like grain and figure to show paint may not be a good option.
But for people that don't mind that inconvenience, paint will offer a wide range of colors giving you options. Just make sure you go for exterior paint. If you would like to refresh on painting wood here is a resource.
Paint can be used with other finishes as well. For instance to add the waterproof ability you can add a layer of poly to your painted wood. This ensures the paint doesn't get damaged.
Read Next
- Best Outdoor Oil Finishes: Protect Your Wood with the Best Options
- How to Treat Cedar for Outdoor Use
- How to Treat Plywood for Outdoor Use
- Best Below-Ground Wood Preservative UK
- How Long Does Pressure-Treated Wood Last?
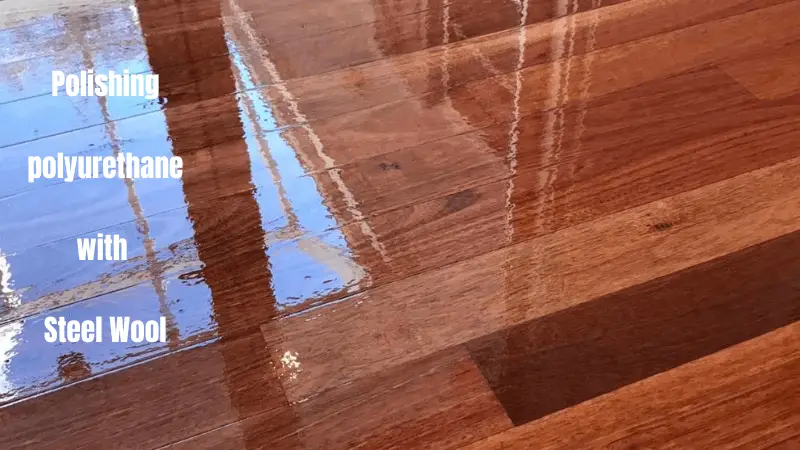
2. Poly
If paint finish is not for you then Polyurethane or simply poly might be. Poly is hands down the best finish for outdoor wood. the only reason we did not suggest first is that it's a bit harder to apply than paint. But worry not the following video will show you how to do it easily.
Poly When applied as suggested in the video above, forms a layer sealing coating the wood and blocking its pores. Hence the wood can not pass moisture. This is a very effective finish for outdoor pieces.
Poly can also be used together with stain as we shall see later. When used with stain it becomes the ultimate protection not only from moisture but UV as well.
Poly is perfect for decks, floors, sculptures, and fences. To navigate the hardships of application you can check the options for spraying poly.
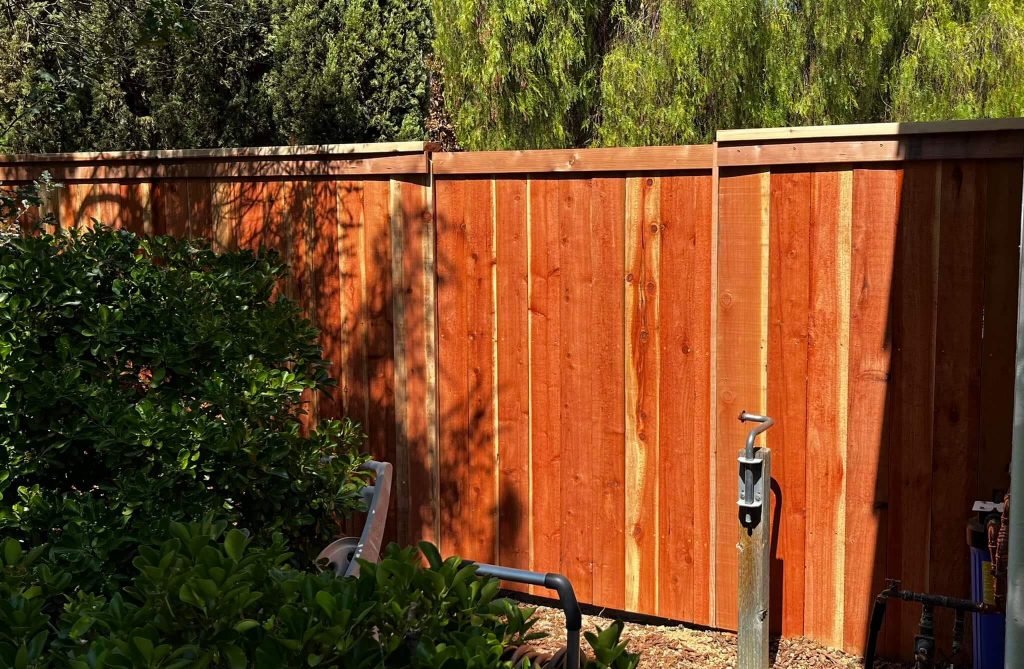
3. Treating outdoor wood with a sealant
This method is one of the simplest for treating your wood. The use of sealer guarantees that the wood is both durable and impermeable.
As a result, the wood will not be altered by changes in weather, nor will it absorb any moisture it comes into contact with, preventing decomposition. Additionally, utilizing a sealer provides your furniture with a more clear surface.
Step-by-step Instructions for Applying Sealant
- Prepare the wood by sanding the surface: This preparation lets you deal with any defects and remove previous treatment from the wood's surface. First, make sure the surface is smooth and clean it to eliminate any residue.
- Select the sealer you want for your wood: Numerous brands are available at varying rates. It is important to note that its quality determines the cost of the sealant. The sealant you select is also defined by the surface to which it is applied. Because your target surface is outdoor wood, you should use marine wood sealant in this circumstance.
- Apply the first coat of sealer: This is done with a paintbrush or a sprayer. The solution is supposed to be applied evenly and neatly to all areas.
- Allow the solution to dry for about ten hours after applying it.
- Sand the wood before applying the second coat. This improves the second coat's adhesion.
- While sanding the initial coat, use fine sandpaper to smooth the surface and a clean, dry rag to clean it. Your wood is now ready for the second layer of varnish.
- After applying the second coat, let it dry for some hours. Because each coat takes longer to dry than the previous one, don't be surprised if the second coat is still wet after ten hours.
- After that, sand the area again, add a third coat, and let it dry. Your wood has now been treated. Therefore, please do not use it straight away; allow it to dry for about four days before using it.
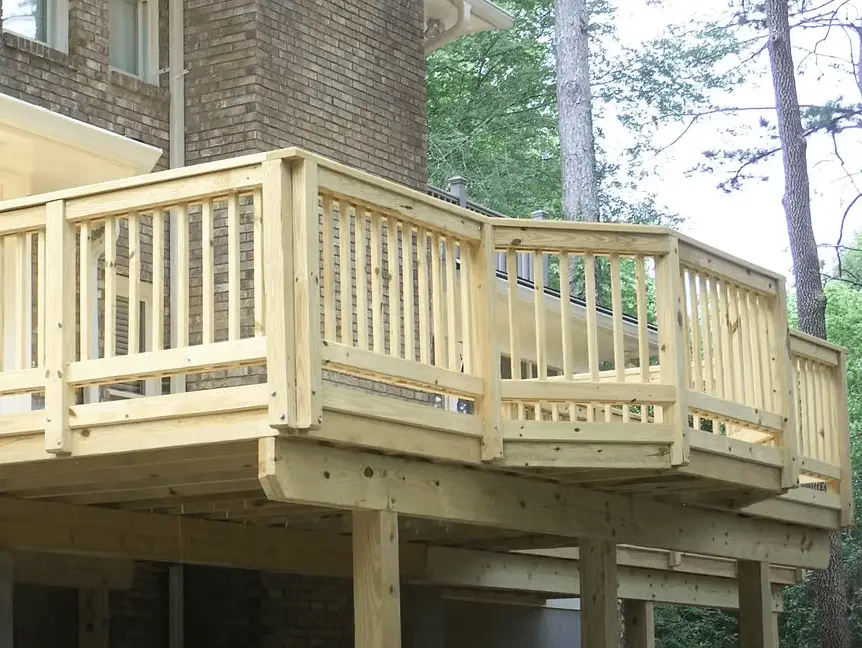
4. Treating outdoor wood using a pressure treatment
This process involves using hot water, various preservatives, and pressure. The hot water is mixed with the preserving agents and then forced into the wood's grains using pressure to prevent the internal part of the wood from rotting.
In this case, the most commonly used preservatives include alkaline copper quaternary, copper azole, or other compounds contacting copper. As chemistry has shown us, copper is resistant to weathering and thus helps preserve the wood.
Also read: How long does pressure-treated wood last
If you do not intend to treat the wood yourself, you can purchase treated timber. Although treated wood may appear wet at times, don't be frightened; the water will soon evaporate, leaving the preservatives behind. However, wood treated with these preservatives may not be pleasant. After sanding the wood, it should be fixed with a single coat of varnish.
Recommended Reading
How to repair rot in wood
4. Treating outdoor wood using varnishes
Varnishes are similar to sealants in that they are often made of polyurethane. However, numerous exterior oil varnishes are available; What distinguishes a varnish from an oil finish is how it works.
Unlike the majority of the other options, varnishes are not intended to penetrate the wood. Instead, varnish creates a waterproof covering with built-in layers to create a rugged exterior layer. This covering acts as a protective shell, keeping moisture out and absorbing pressure without causing damage to the wood.
Essentially, the varnish is paint that has been stripped of its color. Polyurethane-based resins make up most of these, which are solvent-based (similar to oil paints). Acrylic varnishes are becoming increasingly popular because of their environmental and health benefits, even water-based. There are three basic varnish types, including varnish oils, resin, and thinner.
Varnishes, like paints, are available in satin/silk, high gloss, and clear or colored finishes. The combination ratio of oils to resin will affect the look, but flatting chemicals are frequently required to eliminate the sheen.
Most varnishes are clear, and if color is desired, a stain is placed before the varnish. Varnishes with added color are widely used to improve the appearance of wood or even add color rather than staining and then varnishing in a two-step technique, which is more time-consuming. Complex and time-consuming.
How to Apply Varnish on Wood
- Vacuum the area before beginning work to remove dust and debris. For example, use a slightly moist mop to remove sanding dust from the floor's surface.
- Select a day that is not very hot or humid. Varnish may dry more slowly in wet or cold conditions, and dust and dirt are more likely to accumulate on your object before it dries, producing an uneven surface.
- Set the thermostat between 20 and 25 degrees Celsius if working indoors. If the weather is hot, the varnish will dry too fast, resulting in a mass of bubbles.
- Remove any existing varnish or finish using an appropriate paint and varnish remover/stripper.
- Sand the wood to eliminate surface defects, wipe away dirt with a moist cloth, and dry.
- Although many current water-based varnishes do not require it, the initial coat can be diluted if necessary. Allow it to dry for 24 hours before sanding with fine sandpaper and cleaning with a damp cloth or vacuum.
- Apply the first coat of pure varnish to the surface, and allow it to dry thoroughly. Next, you can create a key by sanding the surface gently with fine sandpaper.
- Apply as many coatings as possible, but often 2 to 3 coats. Although more coats can be used for a deeper finish by lightly sanding in between each application, sand your last coat only once or twice for a super-smooth finish, and go with the grain for the previous coat.
5. Treating outdoor wood with a Stain-Sealer combo
If you can't decide between a stain and a sealer, you can simultaneously use several different manufacturers on the market to mix stain and sealer in a single package. If you were going to do both of these things anyway, engaging them both at the same time would be more economical.
When a dye and a polyurethane-based sealer are combined, you get a product that colors and seals. This kind of treatment looks particularly good on light-colored wood. On the other hand, polyurethane-based coatings are prone to yellowing and fading with time, making the wood appear older than it is.
Using a stain/sealer combination, you may ensure that your wood is dark enough to hide any yellowing of the plastic finish that may emerge. Not only that, but these devices can precisely dye your wood. The color of the completed product is determined by the amount of pigment added to the polyurethane.
Using a stain/sealer mix, use the same processes with a wood sealer product. Combo products are applied similarly, although they are likely to take longer to dry between applications. They may also require additional steps to prepare the surface.
Therefore, read the label carefully and follow the instructions before using this method to treat your outdoor wood.
How to Apply a Sealer on Wood
- Using a clean brush, apply the sealer evenly and fast, following the grain of the wood. Check for equal coverage on all surfaces, paying particular attention to any end grain. Unsealed end grain absorbs stains and finishes more thoroughly than the rest of the wood in a piece.
- Allow two hours for thinned white shellac to cure fully and one hour for industrial sanding sealer.
- After that, softly sand the surface with fine-grit sandpaper, grade 7/0. The wood must be incredibly smooth, but the sanding should not go through the sealant.
- Using a tack cloth, remove any sanding debris.
If you're painting a finish over sanded wood, you might need more than one layer of sealer to close the pores properly.
Allow for thorough drying of the first sealer application before applying a second layer. Multiple coatings of sealant are required for porous timbers.
Wooden furniture is stained to improve its look and cover minor flaws. Though prepping your item for staining may be time-consuming, it will be worth it once you see the finished product.
Importance of Treating outdoor wood
Treatment of wood is necessary for a variety of reasons, including:
- Longer life expectancy- Treated wood has a substantially longer lifespan than untreated wood due to preservatives throughout the manufacturing process. As a result, its usable time is extended. In this scenario, timber decay treatment is beneficial because it stops rot from developing in the first place.
- Resistant to insects and fungus, certain preservatives are used to repel insects and prevent fungus from rotting the wood when it is treated. In this case, timber rot treatment is quite successful.
- Safeguarding-Most people stain wood on the outside to protect it from the elements. However, treated wood already has barriers in place to prevent this.
- You will need to take action to keep this protection in place over time. Timber treated with a fire retardant treatment can also help keep a fire at bay.
- Longevity- Wood treated for rot has good durability and can tolerate wear.
- Immersion in water over an extended period: Plywood, for example, is adapted to resist seawater erosion and may be used to construct ships.
- Security-Because of its strength and weather resilience, plywood is excellent for blocking building entrances. But, again, you can achieve this after the wood has been treated.
- Fire-resistant- Some forms of treated wood are flame retardant, which means they take longer to burn and take longer to burn. For houses and restaurants, fire retardant wood treatment is highly vital.
- Adaptability- Treated wood is a versatile material that is utilized in a variety of building projects. However, fire retardant timber treatment should also be used in building projects for safety reasons.
When to Use Which Method to Treat Outdoor Wood
Oil Finishes
An exterior oil finish is the most straightforward and quickest way to treat an outside project. On the other hand, it will only protect you from the hardships of outdoor areas for about a year. Oil finishes do not provide a protective layer that sits on top of the wood, unlike varnish.
Instead, the oil soaks into the wood fibers and dries. Exterior oils generally contain trans-oxide pigments for UV protection and mold and mildew resistance. There are several colors to choose from, ranging from dark brown to light amber.
How to Apply Oil Finishes
- A garden sprayer and a cloth are all that is required for application.
- To begin, coat the entire surface of your project with oil. Then, you can use a low-cost garden sprayer with a hand pump. It's quick and easy.
- Allow the oil to absorb as directed by the manufacturer before wiping it away.
- Depending on local conditions, you'll have to renew once a year. The built-in UV protection should keep your wood looking natural for many years, but only if you reapply the oil periodically.
Sealant and Varnish
Natural wood has a lovely appearance, but you must protect it with a coating to maintain it that way. This protection is because wood is porous and absorbs water quickly, causing irreversible damage if left unattended.
Furthermore, humidity and rain damage your wood, causing it to twist, swell, and eventually rot. As a result, using the best water sealant on your fence, deck, or other outdoor furniture will help it last longer by saving you from having to repair or replace it after a wet winter or humid summer.
It is possible to make ancient wood look as good as new. When treating your wood, use a combination of sealer and outdoor stain. If you do not use a mix, preserve your wood before staining or painting it to prolong its life.
Pressure treatment
In most circumstances, pressure treatment is used when it is certain that the wood will come into close contact with anything that could provide moisture.
This contact refers to poles that come into contact with or are buried underground, but it also refers to any wood that comes into contact with concrete blocks since it is permeable and absorbs water like a sponge.
Pressure-treating should be done as long as there's a danger that moisture may get to the wood. According to the International Building Code, this danger is why pressure-treated siding and structural timber must be used for the last six inches of a structure above ground. To see in detail how pressure treatment works, check out this video.
Frequently asked questions related to treating wood for outdoor use.
Can you treat untreated wood?
Untreated wood can be treated as treated wood can be treated. Since untreated wood has not been treated with a chemical to extend its durability, it may deteriorate quickly in a harsh environment.
However, there are several ways to treat untreated wood to help it last longer, even if it is left outside. A wood sealer is the best way to treat it. Wood sealers work by penetrating the pores in the wood and preventing rot caused by water and other substances.
What is the best treatment for exterior wood?
You can employ two methods for long-life protection of your exterior wood against rot, wear, and decay.
- Using oil-based products that are absorbed into the surface of the wood- The oil-based products can penetrate and dry inside the wood, hardening the grains and making the wood durable, rugged, and weather-resistant while retaining its texture of the wood.
- Products that make up a wood protective layer: surface finish offers more durable protection. Surface finishing. They're a better option for exterior wood that will be subjected to much wear. The formation of a protective coating prevents your exterior wood from cracking, peeling, and flaking. Shellac and varnish are better choices because they dry quickly on the wood to form a protective coating.
Can I treat wood for outdoor use?
It is highly recommended that you treat your outdoor wood to make it durable since exterior wood is exposed to elements that deteriorate your wood quickly.
How do you protect timber outside?
Oil-based products are the easiest and best way to protect your outside timber, as they will protect your wood from harsh weather and make it durable. Other methods are :
- Treating the wood with a sealant
- Pressure treatment
- Varnishes
- Combinations of stains and sealers
Also, read; Best wood finishes for outdoor furniture.
Conclusion
To summarize, there are numerous ways of treating wood for outdoor use.
For example, if your outdoor furniture is not correctly handled and is subjected to rainy seasons, hot summers, and frigid winters, it will rot and deteriorate. However, if you treat your wood as recommended above, your furniture will last longer.