Woodcarving is an immensely fulfilling hobby that can yield beautiful and intricate works of art. However, to fully appreciate and excel in this craft, it is essential to have the right tools and a solid understanding of the materials you work with, especially wood. This involves learning about the properties of different types of wood, how to properly prepare them, and how to achieve a satisfactory finish. In this article, we will delve into the topic of seasoning wood for carving at home, covering everything from the basics to more advanced techniques.
Related: How to prepare wood for carving
Why season wood?
Seasoned or dried wood has numerous advantages over green or wet wood. Firstly, seasoned wood is lighter in weight and harder than wet wood, making it easier to work with and yielding better results. Additionally, it is more resistant to infections and woodworm, making it a more durable option. Seasoned wood has also reached a balance of internal stress, resulting in greater stability and a predictable size, which is particularly useful for projects where precision is essential. In other words, seasoned wood is a superior choice for carving due to its strength, stability, and resistance to damage. You don't get that with green wood though it does have its advantages as we saw in carving green vs dry wood.
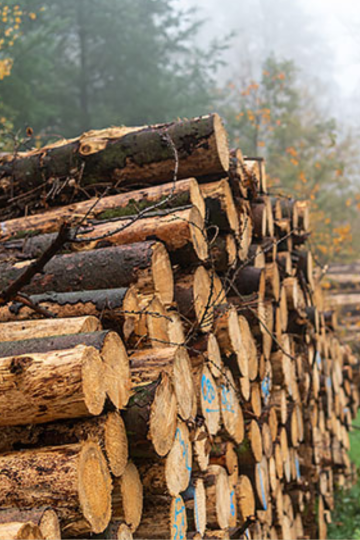
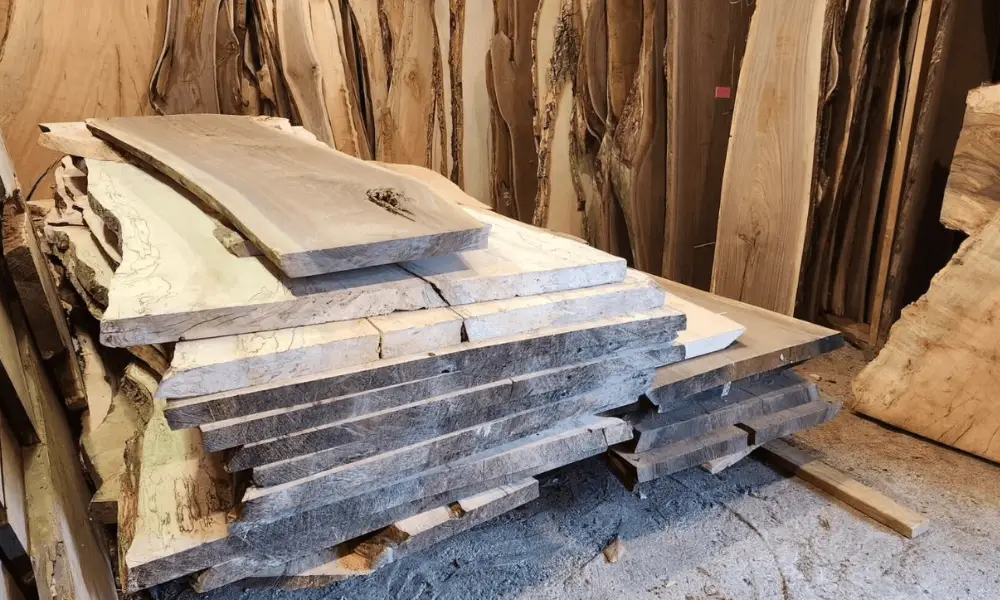
Dry seasoning lumber
Your wood should be dried outdoors whenever possible. It's important to use spacers if you plan to stack the wood, as this allows for proper air circulation. During wet seasons, you may consider covering the wood with a polythene bag, but be sure to leave the sides open to allow for adequate ventilation.
Cut the wood into small sizes
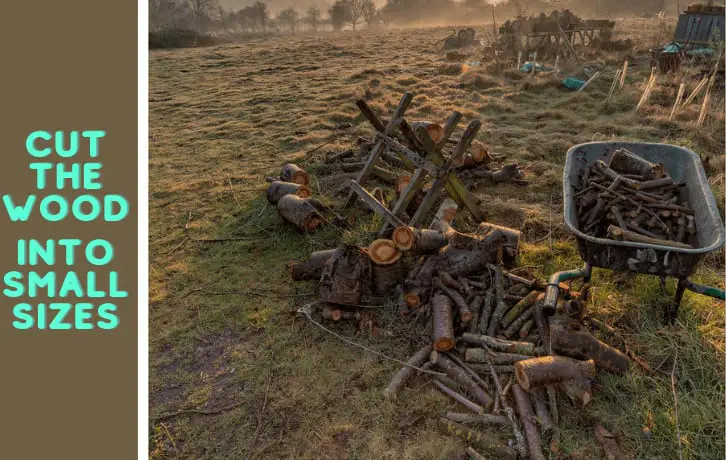
Smaller sizes of wood tend to have more uniform moisture loss, which makes them less likely to develop cracks or checks during the drying process. If you're planning to carve a specific size or shape from a larger piece of wood, it can be helpful to cut the board down to a more manageable size. This can be done by dividing the board using an average size that matches the dimensions of your project.
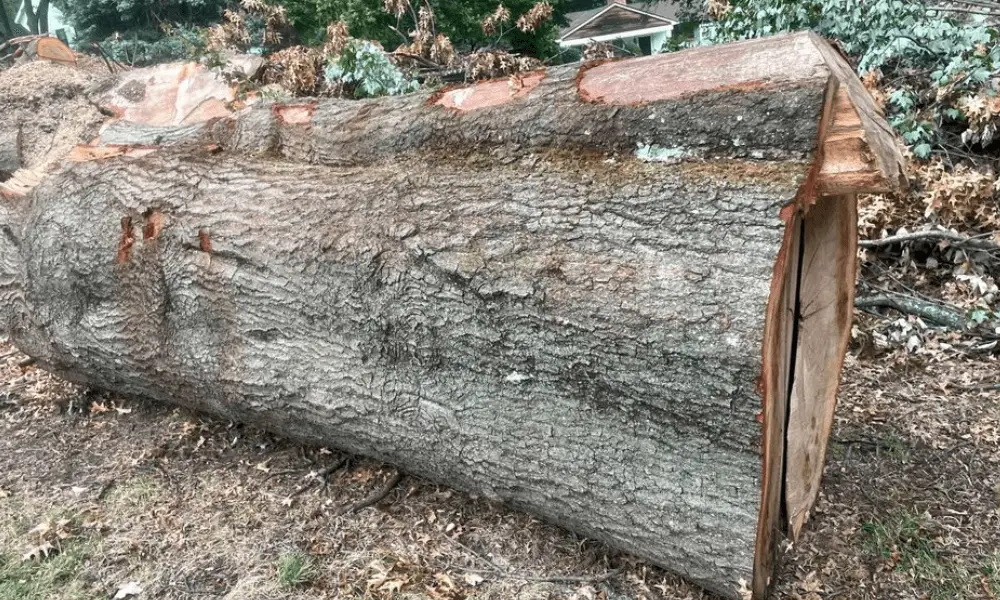
Preserving logs for carving
To dry logs for small projects like spoons, halve them down the center of the pith to release internal stress and prevent checks during drying. For smaller projects carved from a quarter of a log, you can also slip the halves into quarters.
If you're drying logs for bigger sculptures and can't split the log, follow these steps to dry logs correctly.
Read Next
- How to Prepare Wood for Carving
- Carving Green Wood vs. Dry Wood
- Wood Carving Tips for Beginners
- Protect Carving from Splitting
- The Best Wood for Carving
- How to Soften Wood for Carving
Handling the Bark
Certain types of wood such as Birch and bird cherry tend to become tainted and begin to rot if their bark is not partially removed. Conversely, Willow can be left with its bark intact for a period of 2-3 years without rotting, but it won't dry out as much during that time.
Painting end grain of lumber to avoid end splits
Paint the end grain as soon as possible after cutting the stock. During spring and summer end checking can happen in a matter of minutes. To seal the end grain use water-based paint or even yellow or white glue. But if you prefer there are commercial sealers for this specific purpose.
How long wood should be dried outdoors will depend on a number of factors.
How long to wait for the wood to dry
The length of time that wood should be dried outdoors will depend on several factors, including the species of wood, its thickness, and the amount of bark left on the wood. The average humidity during the drying period also plays an important role. For instance, thin, debarked wood may only need a few weeks to dry, while thick timbers and logs may require several years.
It's worth noting that improper drying can lead to problems like warping, splitting, and mold growth. Therefore, it's important to take the time to properly dry the wood before using it for woodworking projects. To determine if the wood is dry enough for use, a moisture meter can be used to measure its moisture content. A reading of 10-15% is generally considered suitable for carving.
Season wood for carving: Key takeaways
- Seasoned wood is essential for woodcarving as it is lighter, harder, and more resistant to damage.
- Wood should be dried outdoors using spacers to allow for proper air circulation. During wet seasons, consider covering the wood with a polythene bag, leaving the sides open for ventilation.
- Cutting the wood into smaller sizes results in more uniform moisture loss, reducing the risk of cracks and checks.
- Certain types of wood require partial removal of bark to prevent rotting.
- Painting the end grain of lumber with water-based paint or glue can prevent end splits.
- The length of time that wood should be dried outdoors will depend on several factors, including the species of wood, its thickness, and the amount of bark left on the wood.
- Proper drying is important to prevent problems like warping, splitting, and mold growth. Use a moisture meter to measure moisture content.