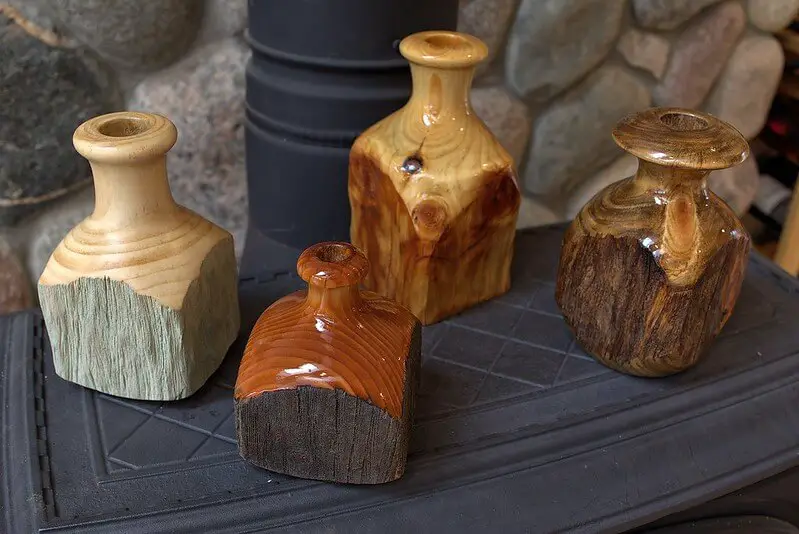
Basswood is one of the most common types of wood used in carving because it's so easy to work with and readily available. However, you can't paint basswood like you would any other type of wood, or your project will chip or crack when it dries. In this guide on how to paint basswood, we'll show you exactly how to prep your project and apply the primer coat so that you can get the best results possible when painting the basswood using this process and material combination.
Here are some suggestions;
How to paint basswood from a beginner's perspective.
There are so many different kinds of paint that you can use – oil-based, acrylics, watercolors – how do you know which ones to pick?
1. Seal the Basswood
Painting basswood is a great way to quickly and easily add dimension, detail, and colour to an otherwise bland piece. However, because basswood is porous, painting it might be difficult, especially for a beginner. As a result, before we begin selecting paint to stain it, we must first prepare the wood with a sealer so that it is ready to accept paint.
We can seal the basswood using shellac, boiled linseed oil, and other products that we have highlighted and reviewed in detail. Therefore, if you want your basswood to have a durable painting surface, you might consider going over this article on how to seal basswood. Proper sealing is the only way that will determine the outcome of your final appearance.
And to ensure you end up with a professional-looking finish, always wear protective clothing (like these painter's pants) and ensure that your workspace is well-ventilated.
Tools and materials needed.
- A pack of oil-based paintbrushes
- Enough 8oz or 16oz cans of paint (1 per board)
- Paint thinner/brush cleaner
- Extra newspaper
- A ruler or tape measure
- Painter's tape or masking tape
- A bucket for mixing paint, water, and rinsing brushes.
- (Bonus points if you use a mason jar!) Old shirts and old pants that you don't mind getting paint on.
Read Next
- How to Prepare Basswood Carving for Painting
- Wood Carving Tips for Beginners
- Best Finish for Wood Carving
- Can You Stain Over Shellac? Wood Sealing Basics
- What Knives Do I Need to Carve a Spoon
- Spoon Carving Kit for Beginners
2. Creating The Base Coat
Before painting your basswood model, it's preferable to apply a base coat once it has been properly sealed. You want your base coat to be thin but opaque, which may require multiple layers (for dark colours, use darker shades of primer). The base coat will protect the paint and act as a canvas for subsequent painting.
Always let each coat dry completely before adding another. After two or three layers of primer, move on to the main colour scheme of your basswood model.
Do not apply too much pressure when applying paint; instead, dab at it gently with your brush or foam applicator. It's better to go over an area multiple times than get too much colour on your brush and risk running into parts that haven't been painted yet.
Make sure you don't touch any unpainted areas while handling painted ones! The oils from your hands can cause ugly streaks that ruin an otherwise perfect piece. If something happens, rub some alcohol onto a cotton swab and wipe off the spots. While some stains are water-soluble, most paints aren't—so if something spills onto your masterpiece, do not clean it up immediately! Let it sit overnight or until you return from wherever you were headed so you can address it in peace.
3. Adding the Shadows
Once you've painted your basswood, it's time to add shadows and make it look more like a real tree.
Shadows give depth and perspective to your painting—without them, it may look flat and lifeless. To create a convincing shadow effect, you'll want your shading medium (usually watercolour) to be heavily diluted.
If you dip your brush in too much paint, wipe most of it off on a paper towel before applying; that way, what remains will still be thin enough to allow for some variation in hues and tones. Just take care not to over-wet your paper as too much water can cause warped or uneven drying, which may wreck all of your hard work up until now!
When adding shadows, start at one edge of your scene and work toward another, blending colours where they meet with long smooth strokes. After you're done with one colour area, lightly wet that section with clean water so that fresh stains can be added without mixing paints or moving around previously applied washes. Repeat for each new shade. Keep adding washes until you have covered every part of your composition except for the lights and highlights; once finished, let everything dry completely before continuing to light.
4. Touch up
Always be sure to look over your painting once it's dry, as these touch-ups will help you perfect your work. Once your piece is dry, use a fine detail brush or an eraser to clean up any remaining lines on your basswood. This can take some time, but being thorough and getting into all of those nooks and crannies is essential for a well-painted project. Slowly touching up should help save wear and tear on your hands and arms.
5. Finally, it's time for the topcoat!
Once you've let your paint dry, it's time for a topcoat.
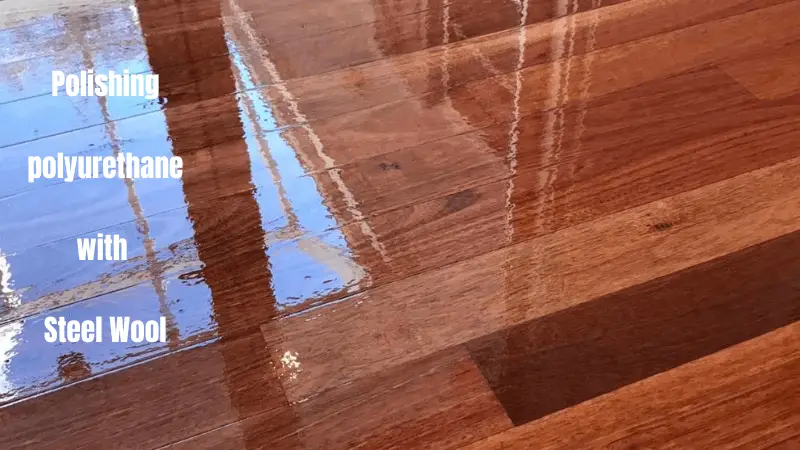
Use a foam brush and apply three thin coats of sealer. If you have large areas to cover, use a roller for faster application (make sure you don't leave any brush strokes). This will help protect your project from water damage, dust, and dirt inevitable in everyday life.
When finished, apply one last light sanding; smooth everything with a hand block or fine-grit sandpaper. Finally, add another layer of clear gloss and allow it to dry overnight before using.
The Final Product!: All done? Congrats! Now all that's left is to relax and enjoy your new creation.
6. Finishing Up
Once you've sanded your basswood down, give it one more coat of paint. Let that dry, and you're all done! Now you can proudly show off your masterpiece in your home. The best part is that you now have a blank canvas for any artistic project you want! This wood can be used for posters, craft projects, sculptures, or furniture. If you enjoy painting with watercolours, consider using them to create gorgeous artwork. Your only limit is your imagination!
The best types of paint to use on basswood
- You can paint basswood with oil-based or latex paint.
-Since you will probably only use a small amount of each colour, though, it might be more convenient to stick with either all-purpose oil-based or all-purpose latex paints.
- -Latex has a few advantages: It cleans up quickly and is eco-friendly.
-However, if you go with oil-based paint and need more than one tube of any colour, mixing them (called tinting) may save money. Mix carefully; oil-based paint and latex paint cannot be mixed in equal parts because they react chemically. They can also cause clumping when added to watercolours, so try not to add too much water at once.
-If you need pure pigments for your painting project that are compatible with both types of paint, look for mixable oils or universal tints on your local art supply store's shelves. On another note, transparent colors such as yellows and blues don't mix well with other colors. If possible, avoid these colours and opt for opaque shades like reds or greens instead.
- If you're using watercolours, mix a drop or two of water into your paint. This will allow more control over your brushstroke, but it also helps keep your colour from getting too thick and gloppy.
You can add more drops as needed while you're painting to keep your mixture right where you want it. If you notice that some of your brushstrokes are sticking together, add a little water and mix again until they loosen up.
Be careful, though—too much water and your colors may start running together! Keep an eye on how things look after each addition. The goal is not to create perfectly diluted paints every time (since we all know that would take FOREVER), but rather to get your paint as thinned out as possible without having significant color changes in your final work. However, avoid adding so much water at once because it could disrupt other elements of your piece, such as its consistency and color scheme.
Oil-based vs water-based paints
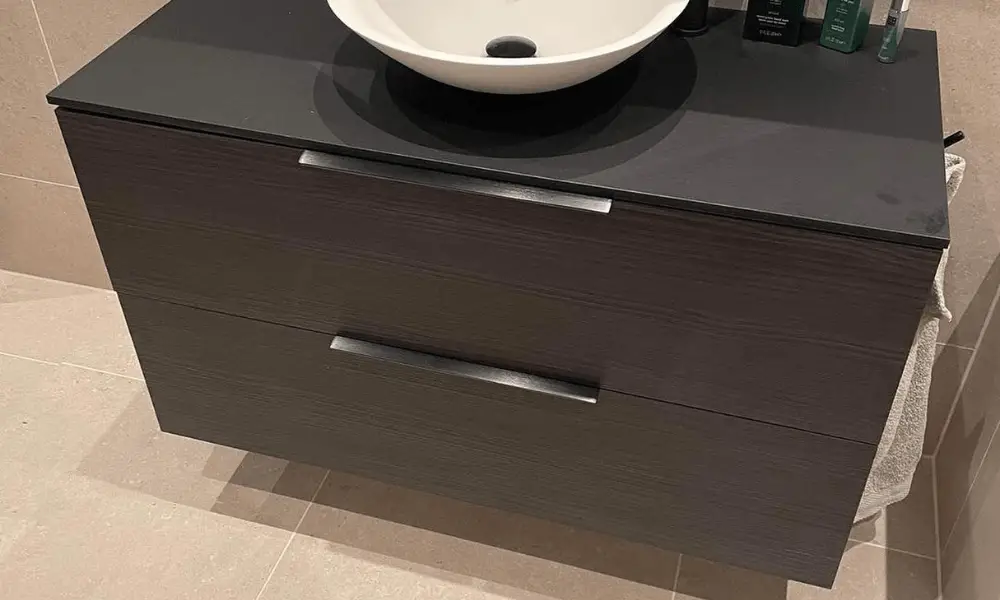
The one time you might choose oil-based paint over water-based paint is when you're painting something that will be exposed to a lot of moisture, such as a table for your bathroom or kitchen.
- Oil-based paints are more resistant to mould and mildew than their water-based counterparts.
If you want something that looks more like a piece of furniture and less like it came from a furniture retail company, opt for oil-based paint.
- It also has better wear resistance (meaning its color won't fade).
Note: Don't use an oil-based primer under a latex topcoat; it won't cure properly.
Painting basswood with acrylics
Acrylic paints are excellent choices for painting basswood, as they soak deep into the wood and create a brilliant, durable finish. Prepare your basswood using fine-grit sandpaper to remove any old finish and smooth out blemishes for the best results. If your basswood has been exposed to moisture, or you notice blotchy patches of dark colour on your basswood, you may want to sand again with medium-grit sandpaper before painting.
Apply at least two coats of paint, allowing each coat to dry completely between applications. Once finished, apply one more coat with a foam roller to give your basswood piece that glossy look.
Basswood care and maintenance during drying periods
Once your basswood dries, it may crack or chip, especially if you are going to be painting it with a glossy finish
-You can prevent cracking and chipping by protecting your wood with a coat of varnish, shellac or Minwax spray lacquer.
It is best not to allow the paint to get on wet wood since it will be challenging (if not impossible) to remove once it dries.
- If you're storing dry wood indoors until you're ready to use it, wrapping each piece individually in plastic wrap works well; make sure to seal all edges well so no moisture can escape from one element into another.
-For pieces that won't be painted for a while (because they aren't part of a project), wrapping them securely in plastic wrap for storage is your best bet—this keeps moisture from collecting inside wrapped portions and helps them stay clean longer.
- If you need to store more than one piece of dried basswood at a time, buy large sheets of craft paper and wrap up individual pieces in it; tie off bundles with rubber bands or twine, too.
Then throw these bundles into boxes or bags—anything goes! Just don't keep any sets of dried sheets touching at all times; otherwise, mould can build up between them and ruin your hard work as they sit idle.
factors to consider before choosing a paint for basswood
While basswood is naturally durable, it is still susceptible to scratches and nicks. To keep your basswood furniture in good condition, you must choose quality paint for your project. There are several things you should consider before making your choice—such as
- Appearance: Alder, basswood, and oak are often used in cabinetry because they are tough and durable. They're also known for their light colour and smooth texture. Some pieces of basswood furniture can be painted right over their original finishes without any special preparation. Just make sure you choose a paint that will stick well to your basswood piece. If you're looking for a deep, vibrant finish, you must choose a paint colour with plenty of pigment. When applying your basecoat, using high-quality brushes and rollers is also essential. You don't want any visible brush strokes or roller marks, as these will not allow your finish to look as smooth as possible.
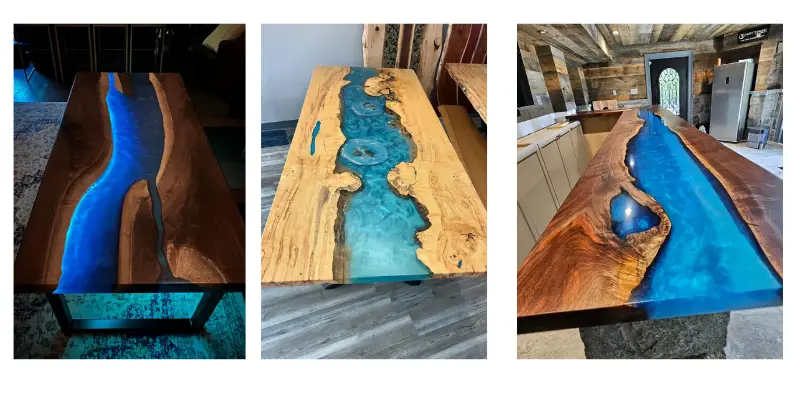
- Durability: Because basswood has very little resiliency, it is incredibly fragile and prone to cracking. Basswood tends to swell when exposed to water. So, if you're thinking about staining your basswood craft project, know that most stains won't stick very well. Instead of using stain on a basswood piece (unless you are using an oil-based stain), consider painting it with acrylic paint and polyurethane. This combination will provide good durability without sacrificing quality.
Complementary colours
Complementary colours (colours directly opposite each other on a colour wheel) are often complementary in their colour intensity, which means they're great for brightening up a room and adding contrast. Because of their dynamic brightness, they're also excellent choices for adding punch to an exterior paint job.
When choosing complementary colours, it's best to use them side by side on your project. Here is how you can pick complementary colours:
- Identify two primary base colours that will be used throughout your project. Usually, one will be lighter than the other, but not always.

- See what typical hues exist between those two; these are your secondaries.
- Pick out one of those secondaries as an accent colour. This shade will typically provide additional accenting but won't be used as a primary base colour throughout your project.
- Determine whether you want a brighter or more muted accent; it's usually easier to make something darker, so if you want bolder tones to go with more contrasting options.
- Determine which complementary combination will work best for your home based on the desired vibrancy and if any tone-on-tone effects are needed.
- For example, do you prefer blue accented with orange or green accented with purple? Refer to your first two selected primary base colors and see if any tone-on-tone effects are possible.
- If so, see what would happen when these accent colors were used together in an area (i.e., living room walls). If either looks too much like its base color, try combining all three shades instead.
- Combine your chosen accent color (s) and plan where they should be applied once you move forward with your painting project.
- Typically, smaller objects require brighter accents, while larger areas need more muted tones.
- Go through everything in your house/apartment and pair it with a coordinating color from your palette.
- If you've only got one item that needs painting, opt to make multiples of whatever product or piece of furniture it is since everything should coordinate well together!
- For items requiring multiple coats, repeat Step 3 until everything has been painted.
Check out
How to paint basswood Conclusion and Extra Advice
That's it for a beginner's guide to basswood! I hope you found it helpful and educational. Painting is a fantastic way to create any artwork, so I would highly recommend picking up a cheap set of brushes and experimenting. It's easy, fast, and super fun, especially when you see your first finished piece. If there's one thing I want you to take away from reading this, it's that there are no rules when it comes to painting.