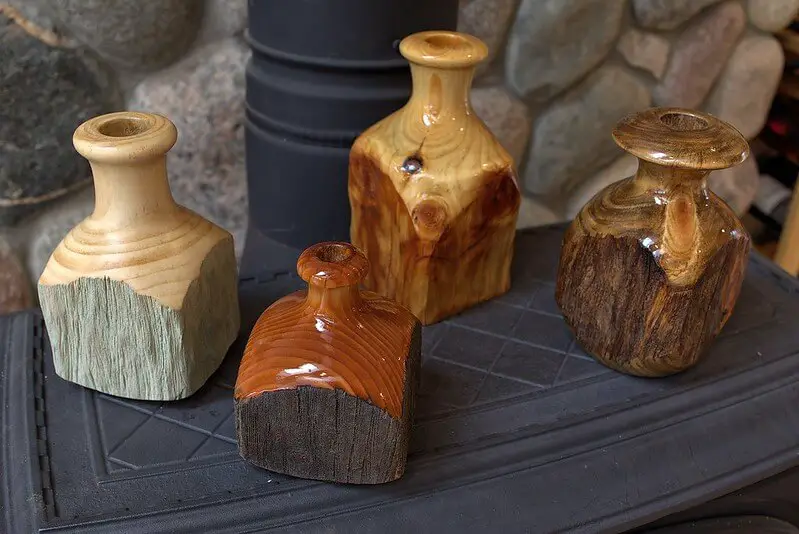
Whether you intend to paint basswood furniture or carve basswood figurines, it is critical to protect the wood with an additional layer of sealant before applying your brush. Because basswood is delicate and porous, its surface can rapidly become worn and damaged if not properly treated. This sealing is especially necessary if you plan to paint or stain your wood carving.
How to get your basswood ready for painting
1. Properly prepare basswood
Use the following methods to prepare your basswood
- Properly sand your basswood
Try sanding it smooth with an electric sander or by hand. If you plan on applying multiple coats, start with a rough, thick piece of sandpaper and then switch to fine-grit paper towards your last coat. As you proceed through each coat, you'll be able to focus on smaller areas.
Sanding is an important step in making sure your painting surface is smooth, even, and durable. Be careful not to remove too much wood! Once your sanding is complete, wash away any dust with water.
- Wipe away the dust from sanding
Wipe away dust with Lint removing dust. Wiping away dust is crucial before painting your basswood tree.
- Fill cracks with wood filler
For an extra durable coating, consider using two thin coats of sealer instead of one thick coat. It would be best if you let your sealer cure for 24 hours before applying another layer or painting over it with color. This will reduce the chances of warping that can happen from trapped moisture beneath sealer layers.
- Wash your basswood
You may have heard of using soap or detergent when washing wood, but that's not recommended for basswood. Instead, use warm water alone for washing without any soap or detergent added. Afterward, let your pieces dry completely before moving on to adding sealant.
Once all surfaces are dry, apply a sealant to each piece individually. You should be ready to start painting after allowing the sealant to sit for several hours (no more than 24)! If you're working with multiple pieces, you can stack them vertically as they dry, so they don't take up much space at all!
2. Seal the Basswood
Because basswood is both soft and porous, it absorbs paint like a sponge. Because of this absorption, paint accumulates in well-coated places while remaining unaffected in other areas, resulting in an uneven painting surface. That is why sealing basswood before painting is critical.
How to seal basswood before painting
1. Using Acrylic Primer
Here's a list of materials you'll need
- Acrylic primer (the lighter color, not tinted),
- sponges, and disposable gloves
- Dish soap and water
- Have a paintbrush. Be sure to clean it thoroughly before using it.
After gathering your supplies, it's time to prime your basswood canvas. There are two major types of primer you can use: acrylic or oil-based.
- It comes down to personal preference. Acrylic is easier to work with and will dry faster; however, its drying process may leave brush strokes on your surface.
- Oil-based primers are more forgiving but take longer to dry and cure completely.
-If applying an oil-based primer, wait until each coat has dried thoroughly before applying another layer. Be sure to give each coat plenty of time before adding another one. Also, note that you should never apply an oil-based primer directly over any other type of paint as it will mix into a bubbly mess.
-If using an acrylic primer, several light coats will produce the best results. To achieve a deep, rich color, add a few drops of dye to some solvent-based shellac thinner (also called sealer). Then dip your applicator pad into the mixture and apply to small areas at once instead of rubbing evenly across large sections of paint—this way, you can control how much pigment ends up where.
Read Next
- How to Prepare Basswood Carving for Painting
- How to Paint Basswood: A Beginner's Guide
- Best Finishes for Wood Carving
- Carve Spoons from Dry Wood
- Best Woods for Carving Using a Dremel
2. Using mineral spirits and polyurethane varnish mixed 50:50
You can also seal your basswood carving using a mixture of polyurethane varnish and mineral spirits. In this step, you must combine equal parts polyurethane vanish and mineral spirit.
- To apply the mixture to your carving, you can use a brush to coat the carving and wait for 24 to 48 hours for the thinned varnish to dry.
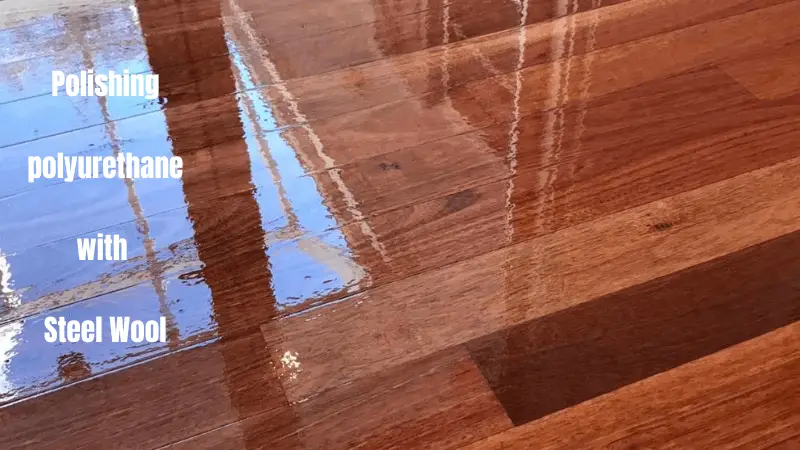
- Before applying the second coat, you must wait for the first coat to dry completely. However, if there is any dirt-related unevenness on the wood's surface, remove it with 0000 steel wool, clean the area with a tack cloth, and then apply a second coat.
- Allow for another 24 to 48 hours for the thinned varnish to properly cure before staining the carvings with gel stain.
3. Using shellac
Using shellac to seal your basswood before painting is an additional option. The good thing about shellac is that it dries quite quickly, is simple to work with, and goes well with almost any kind of paint. It's a fantastic product and has consistently been a well-liked sealer for all types of woodworking.
To use shellac, first dilute it with denatured alcohol, which is required for dissolving shellac flakes and thinning liquid shellac to decrease brush marks and orange peel. All shellac flakes are dissolved in 95% denatured alcohol.
If you use shellac without first thinning it, it will likely over-seal the surface, preventing stains from coloring the wood appropriately. However, using thinner shellac allows the wood to absorb more of the stain, resulting in an excellent surface finish.
4. Using Boiled Linseed Oil
Another effective method of sealing basswood is using boiled linseed oil because it penetrates deeply into the wood fibers and the inner core of smaller pieces of wood, giving it overall strength. Using a diluted linseed oil penetrates deeper into the wood than an undiluted one and once the thinner has evaporated, there is less oil left in the wood. Boiled linseed oil offers a good surface for painting without a lot of color spilling.
You can use a paintbrush to apply the linseed oil to your wood and then allow it to dry overnight.
Reasons for sealing basswood before painting
There are several reasons why you would seal basswood before painting. For one thing, sealing is an important part of any wood finishing project.
1. Sealing protects your work from moisture and also helps with durability.
Since basswood tends to show its grain pattern more prominently than other woods, it usually needs a solid base coat to look its best when painted. That's not all, though; since basswood can be hard to stain even after it's been sealed, using a sealer can make it easier.
2. Sealing can help create a nice uniform surface for your wood.
When you paint with traditional oil paints, you don't want your base surface to absorb too much of it—the idea is that as each layer dries, it seals off what was previously painted. Therefore, you need to seal your basswood before painting so that excess oil doesn't soak into its fibers.
3. Sealing Prevents the blotchy appearance
If you don't seal basswood well before painting, It will cause problems later on, including buckling (warping) and cracking in areas where excess oil has soaked in or where there isn't an even coat of paint.
4. Sealing ensures there is a uniform stain penetration
The porous nature of basswood would absorb more paint in one area than another therefore proper sealing ensures that the is uniformity.
painting Basswood
Like every other surface in your home, Painting Basswood is an effective way to refresh and update its look. A paint job is also necessary when you're ready to change colors.
Tips For Applying The Paint
When you're ready to paint:
- Apply two coats of sealer with a natural-bristle brush.
- Don't forget to use gloves when applying these first coats; the chemicals can irritate if they contact unprotected skin. Allow one hour of drying time between coats and remove any dust with an air compressor before painting.
- When your piece is finished, let it cure for 24 hours before handling it or hanging it in your home.
Note: The longer drying time only applies to oil-based primers; water-based primers should dry in about half the time. However, do not skip sealing altogether; unfinished wood will degrade faster than protected wood over time.
Your sealer will protect both your investment and your environmental footprint by protecting against future cracks, peeling, and fading. A good-quality sealer could last up to 10 years! That's worth pausing to think twice before applying a coat—or three—of topcoat directly to your beautiful basswood without protection. After you've sealed your wood, consider adding a finish layer, such as high-gloss polyurethane, for extra smoothness and long-lasting durability.
Related: How to paint basswood carving
Conclusion
Like all woods, basswood can be very porous and sealed before painting. Before you start, make sure your piece is clean, as any dirt will prevent the adhesion of paint.