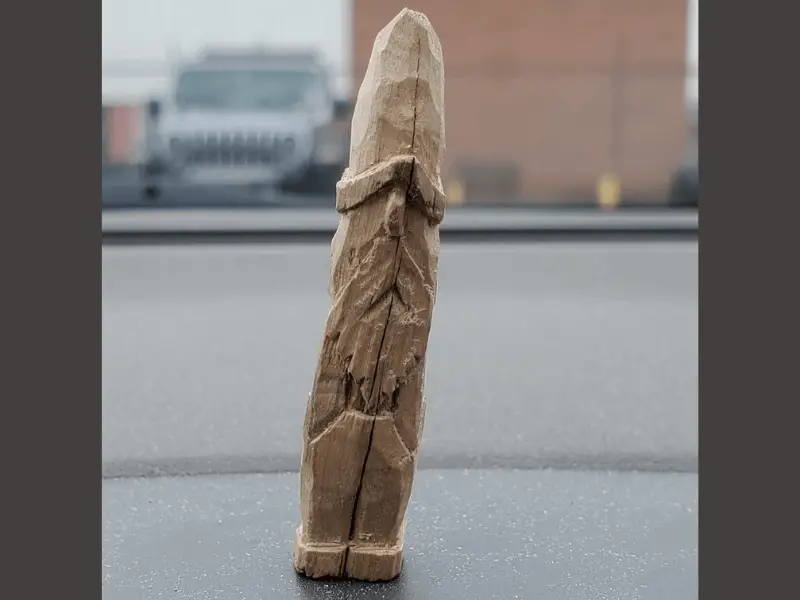
Cracks in wood carvings can happen to anyone, no matter how long you've been carving. Fortunately, fixing cracked wood carvings isn't as difficult as you might think—as long as you follow these eight tips. Fixing Cracked Wood Carvings can be time-consuming, but it's essential to do it right first so your carving doesn't develop more problems. Don't try to mask cracks with filler; that usually worsens the situation and can even attract insects!
Figure Out What's Causing the Cracking
Changes in temperature and humidity have likely caused any cracks in your carving, so you should begin your repair process by determining exactly what has changed to force them. Start with the obvious culprits—is there a crack along an exposed edge? Does it run from top to bottom? Is it diagonal? Once you've identified what's causing the crack, find out why.
Are these changes related to something specific, or are they more gradual? Has anything else that might have contributed to cracking (like a move or change in furniture) happened? Taking steps to remedy whatever contributes to breaking will be vital to fixing existing damage and preventing further cracking.
Depending on what caused your wood carving to crack, you'll want to treat it differently. If humidity is causing your wooden carving to break, then all you have to do is ensure enough ventilation in your workshop. The opposite also holds—if it's dryer than usual, fix any leaks in windows or seal cracks in walls around your workshop.
Fixing Cracks on Woodcarving: How to repair cracks in a carving
1. Figure out how deep the crack is
If you're dealing with a hairline crack, don't bother to fix it. No matter what you do, it won't be noticeable if it's shallow.
On the other hand, deep cracks need a more permanent solution. Once you know how far down your crack goes, you can decide how best to fix it.
How to repair a crack in the wood
Depending on the size of the cracks, there are several techniques for fixing them in wood. However, wood filler, or epoxy, is the most widely used method for basic crack repair.
You always start by using fine-grit sandpaper to sand the area surrounding any minor cracks. After that, use ordinary PVA wood glue to close the gap. Fill the crack with glue by continuing to squeeze it in. Use a clamp to force the wood back together to ensure the adhesive is entirely squeezed into the wood. Wipe off any extra wood glue before allowing it to dry in a clamped position for 24 to 48 hours. To stop future cracks, apply a fresh coat of paint or urethane sealant to the exterior after it has dried.
2. Sand it
Nothing works as well as a bit of sandpaper when it comes to Fixing Cracked Wood Carvings. The trick is to get into those little nooks and crannies so that no dust or grit remains.
Use wide-grit sandpaper that matches your carving. It's best to start with a coarser grit (60–80) and move to finer grits (120–150).
Rub lightly back and forth over any areas where there are cracks. You may have to reapply several times, but keep going until you see bare wood appear through the gap. Be careful not to rub too hard because that can cause more damage than repair!
3. Putty over the crack
If your carving's crack is minor, it can be repaired with wood putty and sandpaper. Start by smoothing out any rough patches, damages, or edges around the crack in question with sandpaper.
Puttying requires more finesse than patching, so consider replacing damaged areas instead of trying to fix them if you aren't experienced in woodworking. When applying wood putty, cover everything but the intended area; you want to avoid adding extra putty inside the crack that will be difficult to remove later.
Run your finger along the area where you applied the putty and adjacent surfaces. If there are still visible ridges or lines indicating a seam, apply another layer of putty over those lines until they become uniform with surrounding areas.
Allow each coat of putty to dry thoroughly before applying another one. You might need several coats of putty to eliminate all imperfections left behind by chipped pieces and seam lines. Once you're satisfied with your putty work, sand down its edges using fine-grit sandpaper—this will blend it into what surrounds it more smoothly. When done carefully, even severely cracked carvings can be saved!
Read Next
- Wood Carving Tips for Beginners
- Protect Carving from Splitting
- How to Repair Termite Damage in Wood
- Best Woods for Carving Using a Dremel
- Best Chip Carving Knives for Detailed Work
- How to Repair Cracked Furniture and Wood Pieces
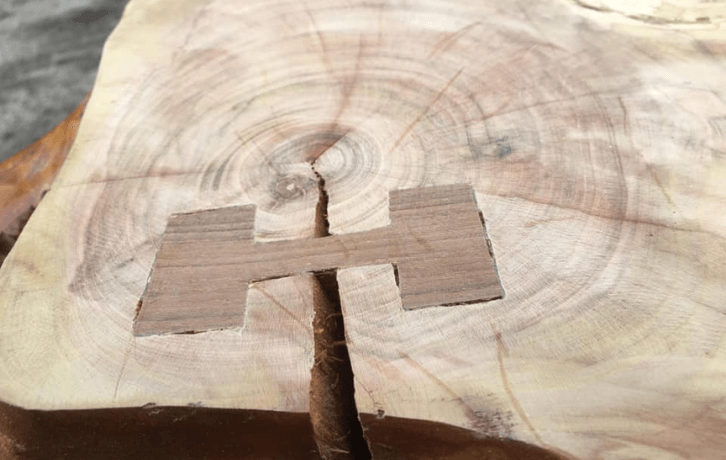
4) Glue pieces together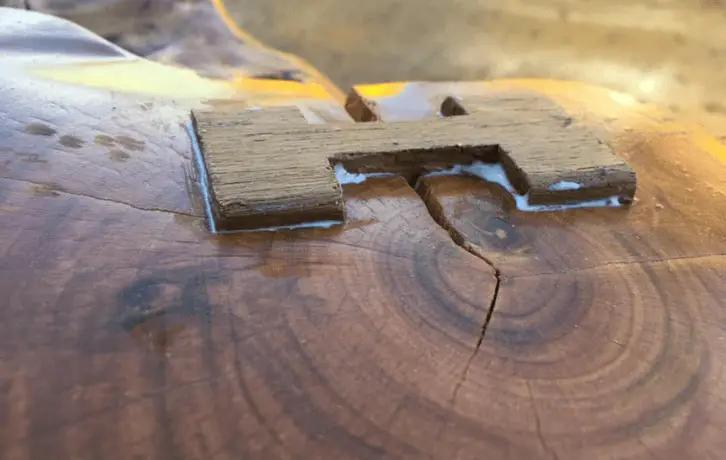
If one of your carving pieces cracks, glue it back together. Mix a batch of carpenter's or Elmer's glue, apply it to both sides of your carving, and hold it until dry. Just ensure you work on a disposable surface that won't be ruined by excess glue. And let your sculpture sit overnight before using it.
This method might not work if one side of your piece is cracked through too deeply—you may have to discard any parts with deep splits—but if you have fractured an edge, not gone all the way through, don't throw away those broken pieces! They might still come in handy.
5) Sand away excess putty
Remove excess putty from cracks in wood carvings by carefully rubbing it off with fine sandpaper. Then, wipe away any traces of sanding dust using a cloth dampened with mineral spirits. You can buy mineral spirits at most hardware stores. Sanded areas will look dull when you're done; don't worry—this is normal, and you'll fix that next.
6. Use stain to cover up imperfections.
If you're looking for a quick way to cover up unsightly cracks in wood carvings, consider using an oil-based stain. These stains provide more coverage than paint and blend seamlessly into your project.
You need some paintbrushes and a few hours to apply an oil-based stain. You should be able to conceal most cracks with two coats of stain. For areas that can't be reached by brush—such as deep grooves—fill a syringe with stain, insert it directly into each crack, and inject it quickly.
Now let that sit overnight, and then clean off any excess staining fluid with nail polish remover or alcohol before finishing it with one final coat of water-based polyurethane. That's all there is to it! Remember: oil-based stains smell pretty awful when they dry, so always set up fans in case fumes get out of hand. I usually put mine outside on my patio so neighbours don't get grossed out!
Just remember that staining can also darken/change your carving and may not be a great option to preserve its condition or colour.
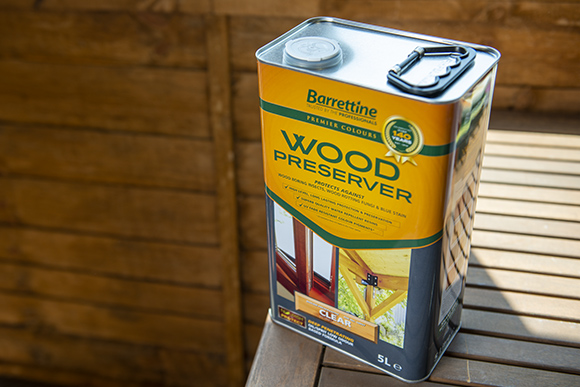
7. Seal your new statue with a protective coating.
Many pieces of wooden artwork have cracks due to temperature and humidity changes. To seal your carving, brush on several layers of lacquer. This thin coating will help keep moisture out of your carving and preserve it for years.
Make sure you sand lightly between coats for a smooth finish! If you don't have lacquer, try using polyurethane or shellac instead. Depending on where you live, these options may be more flexible than lacquer. Whatever product you choose, ensure it has good durability (and isn't water-soluble!) before applying.
Here are some materials that would work well:
- Rust-Oleum Ultimate Wood Stain is durable and weather resistant.
- Shellac from Minwax is highly rated and available at most hardware stores.
- Polyurethane from Minwax is also highly rated and available at most hardware stores.
- A fourth option might be tung oil. However, it won't protect against rainwater, and its natural ingredients would breathe easier into your carving than chemical-laden commercial products like varnish or lacquer.
8. Be sure to make it level again.
Gently sand off some of your carvings if they have become uneven. Then, check for levelness by placing a carpenter's level across your carving. This will ensure that it is straight and level. Be sure to use fine-grain sandpaper when levelling your wood carving.
Finally, apply two or three thin coats of furniture wax after levelling your wood carving. This will help protect your woodcarving from cracking again in warm temperatures. Consider adding metal pins and nails to your carving, which can add extra support. Check with any local craft supply store about these materials. Most stores can sell supporting items like these at reasonable prices.
Conclusions
Most cracks occur because of changes in temperature and humidity. Because wood expands and contracts with moisture, changing seasons may cause cracking. The good news is that you can do a few things to help.
- Keep your wood indoors when possible;
- Please keep it in a storage area or closet during extreme heat or cold so it doesn't experience large fluctuations.
- Keep carving out of direct sunlight, which could cause bleaching, warping, and cracking.
But if all else fails, always remember: You have options! You don't have to toss a beloved family heirloom just because it has small cracks running through it.