Welcome! Are you ready to embark on a journey of learning a new skill? Allow me to introduce you to the captivating world of relief carving for beginners. Whether you’re seeking a means of self-expression, a delightful hobby, or even a potential profession, relief carving has something to offer to everyone, regardless of their experience level.
You might be pleasantly surprised to discover that this skill is not as daunting as it may initially seem. In fact, it embraces beginners and experts alike, allowing individuals at all stages to explore their creative potential and have an interesting discovery path in this art.
What’s even better is that relief carving starter tool sets won’t break the bank. With just a few hundred dollars, you can assemble a wholesome set of tools that will get you well on your way to mastering the art of relief carving. Remember, investing in quality tools ensures they will last and become an extension of your artistic expression.
Now, if I may, let me make a modest demonstration of how with just a budget of $300 at most, and dedicating the next couple of weekends this year, you can acquire and hone this new skill. Ladies and gentlemen, I present you an escape—or should I say, a RELIEF? Let’s dive in and uncover the incredible world of relief carving together!
Wanna turn things up a notch? See: Best wood carving books for beginners
The toolset: Relief carving tools

When it comes to relief carving, having the right tools is essential. Just like any other craft, getting your first tool right is half the battle. Believe me, brothers and sisters, I’ve learned the hard way. I made the mistake of buying some cheap generic tools, and it cost me dearly. I ended up spending way too much time compensating for the errors in those tools while learning to carve.
You see, all knives are meant to cut, but each knife requires different handling to achieve the desired cuts. As you spend more time using a particular knife, you gradually learn how to cut with it more effectively. This is the learning curve we all go through. That’s why I strongly advise you to invest in tools that can perform all the special cuts needed in relief carving.
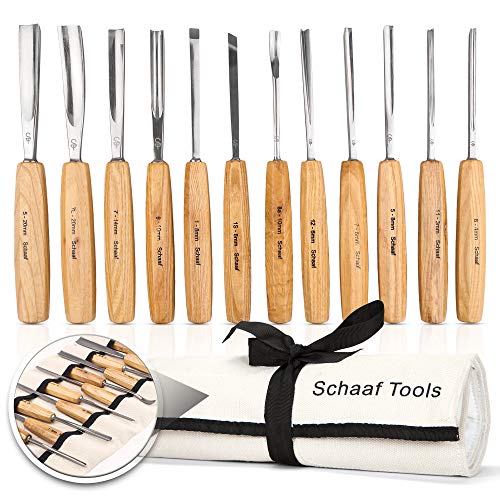
The Schaaf 12-Piece Wood Carving Set is a high-quality set of carving chisels designed for intricate relief carving, Bowls and Spoons carving, and the carving of Faces, Busts, and Wood Spirits. The set includes 12 super sharp chisels made of Rockwell C60 hardened high-quality chromium-vanadium alloy steel, ensuring long-lasting sharpness and easy re-sharpening. The chisels have comfortable European-style octagonal ash wooden handles that provide a firm grip and prevent rolling off your workspace. Get started with the free eBook on sharpening and enjoy peace of mind with a money-back guarantee and replacements available for any tool that doesn't meet your expectations.
Top Qualities:
- High-quality Rockwell C60 hardened chromium-vanadium alloy steel.
- Comfortable European-style octagonal ash wooden handles prevent rolling.
- Free eBook included on sharpening.
- Money-back guarantee and replacements for unsatisfactory tools.
Don’t worry if you’re not familiar with the specific cuts just yet. We will delve into relief carving techniques and cuts in detail later on. For now, focus on obtaining the right tools that will set you up for success in your relief carving journey. Trust me, having the proper tools from the start will make a world of difference!
Read Next
- Wood Carving for Beginners
- Whittle Away: 30 Super Easy Carving Projects
- Carving vs Whittling: Understanding the Difference
- Top 10 Simple Wood Carving Projects Using a Dremel
- Best Wood for Carving
The Techniques and Types of Relief Carving
You know how they say, “If your only tool is a hammer, then all your problems must seem like nails”? Well, that’s exactly how it’s going to feel when you first get your hands on your wood carving tools! You’ll be itching to dive right in and start carving away. But hey, that’s not a bad thing at all!
The excitement and enthusiasm are part of the journey. The key is to start by learning some key techniques that will set you up for success.
In the world of relief carving, there are a few different types that you’ll come across. Let me explain each one briefly:
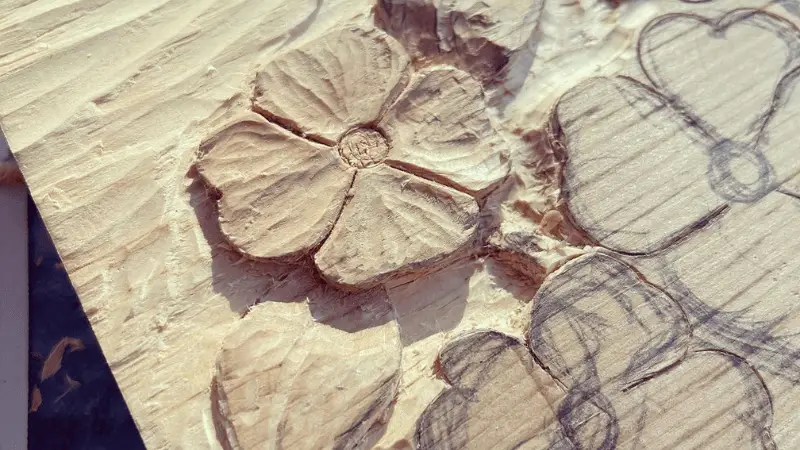
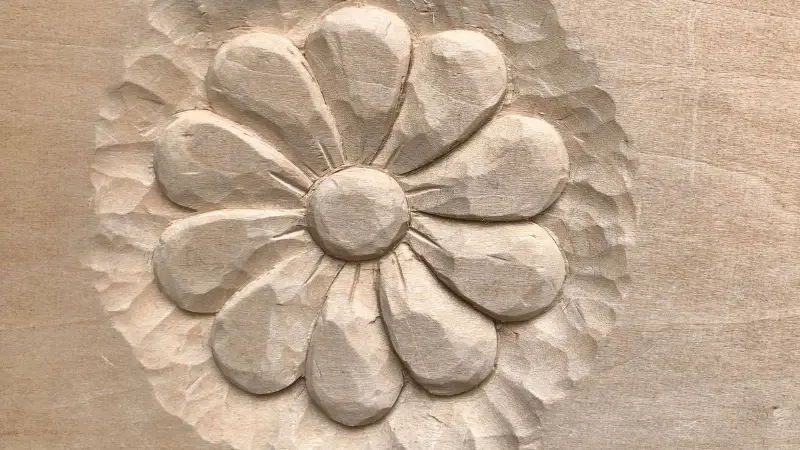
Low-Relief Carving (Bas-Relief)
Low-relief carvings are perfect for beginners as they involve carving shallow designs with minimal shadowing. The depth of the carving typically remains less than half an inch. This style allows for a subtle sense of depth and dimension, creating visually pleasing and delicate artwork. Low-relief carvings are a great starting point to develop carving skills and gain familiarity with the tools and materials.
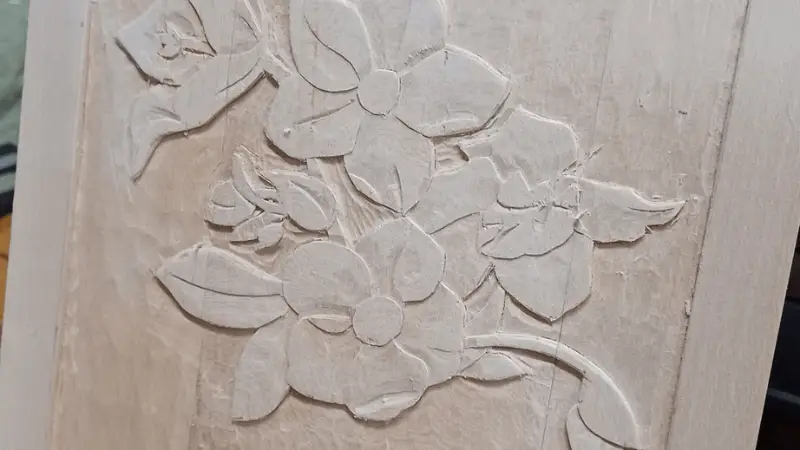
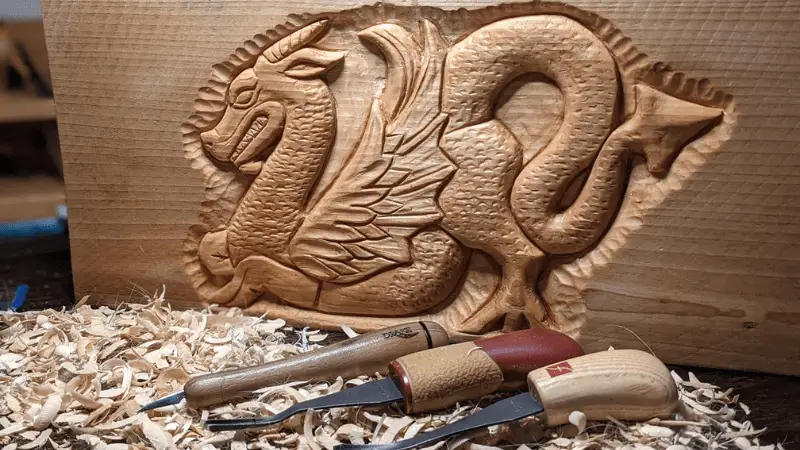
High-Relief Carving
High-relief carvings take it up a notch by featuring greater depth, ranging from half an inch to two inches. The deeper cuts in high-relief carvings allow for significant shadowing, resulting in more pronounced three-dimensional effects. This style often involves adding extra layers to the design and incorporating intricate details. While it requires more precision and skill, high-relief carvings can truly bring your artwork to life with their impressive depth and striking visual impact.
Deep Relief Carving
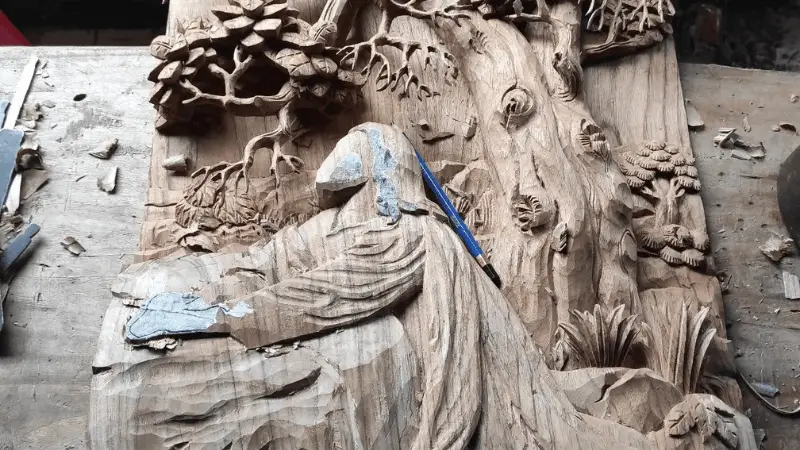
Deep relief carving is the most challenging and intricate type, but it’s also incredibly rewarding. In deep relief carvings, the depth reaches beyond two inches, showcasing levels of shadowing and multiple layers of the design. This style demands advanced carving techniques, as well as a keen eye for detail and craftsmanship. Deep relief carvings create stunning, highly textured artwork with captivating depth that draws the viewer’s gaze into the intricacies of the design.
Best Wood for Relief Carving
Wood, the holy grail of all carving! Without it, our creative escape would not be complete. As beginners, it’s perfectly alright to be picky because we want to ensure a smooth and quick learning process. Personally, I believe it’s better to spend time carving rather than constantly interrupting the flow with regular sharpening. However, let me clarify that sharpening your tools is still an essential part of the carving journey. It’s like taking a breather, sipping tea, and reflecting on your progress.
Now, let’s talk about the types of wood that will reward your efforts and make your carving experience even more enjoyable. Softwoods, in particular, are great for beginners as they are easy to carve and respond well to different cuts. Here are a few softwoods that you should consider:
Basswood:
Basswood is a popular choice among relief carvers. It has a fine and even texture, making it easy to carve intricate details. Basswood is known for its softness and workability, allowing beginners to practice various cuts and techniques without much difficulty.
White Pine:
White pine is another excellent softwood option for relief carving. It has a straight grain and relatively soft density, making it easy to work with. White pine offers a smooth carving experience and is suitable for both intricate details and larger projects.
Butternut:
Butternut, also known as white walnut, is a softer hardwood that carves beautifully. It has a warm, rich color and a straight grain with occasional swirls, adding visual interest to your carvings. Butternut is a forgiving wood that allows for both delicate and bold carving styles.
Remember, wood selection plays a significant role in the outcome of your relief carving. Starting with softer woods like basswood, white pine, or butternut will allow you to quickly develop your carving skills and gain confidence in handling different cuts. So grab your tools, choose your preferred wood, and let the carving adventure begin! Enjoy the process and unleash your creativity. Happy carving!
Tips for beginners starting their fast relief carving
- Dive into low-relief projects: Start with a low-relief design that allows you to ease into the carving process. As you gain confidence, you can level up to more intricate designs with greater depth. Remember, the deeper the relief, the more adventurous the carving becomes!
- Transfer like a pro: Take your time to transfer your design onto the carving panel. Make those lines pop and ensure your design stands out. Get ready to bring your vision to life!
- Outline with style: Grab a V-shaped gouge and outline your project like a carving pro. This initial step not only removes background material but also serves as a guide for your carving journey. Let those outlines be your carving compass!
- Stop, collaborate, and carve: Protect your design by creating stop cuts around the outline. Use good chisels for those straight lines and gouges for those curvy details. Safeguard your masterpiece from accidental slips and slides.
- Carve in 3D: Let your imagination soar as you carve. Visualize your design in three dimensions, considering shadowed areas and hidden depths. This is where your carving comes to life, with texture and realism that will leave others in awe!
- Embrace the oopsie: Mistakes are a part of the creative process, and guess what? They’re also opportunities to innovate! Don’t fear them; embrace them. If you goof up, just tweak the slope or curve of your carving, and voila! Turn those mistakes into marvelous moments.
Wrapping up: Relief carving for beginners
Now, grab your tools, put on some carving tunes, and let the chips fly! Remember, the journey of fast relief carving is meant to be exciting, playful, and full of discovery. So, carve with confidence, let your creativity flow, and have a blast on this artistic adventure!
If you would love to try out relief carving using some power tools we suggest that you check out our awesome guide on the best power tools for wood carving. See you on the other side.