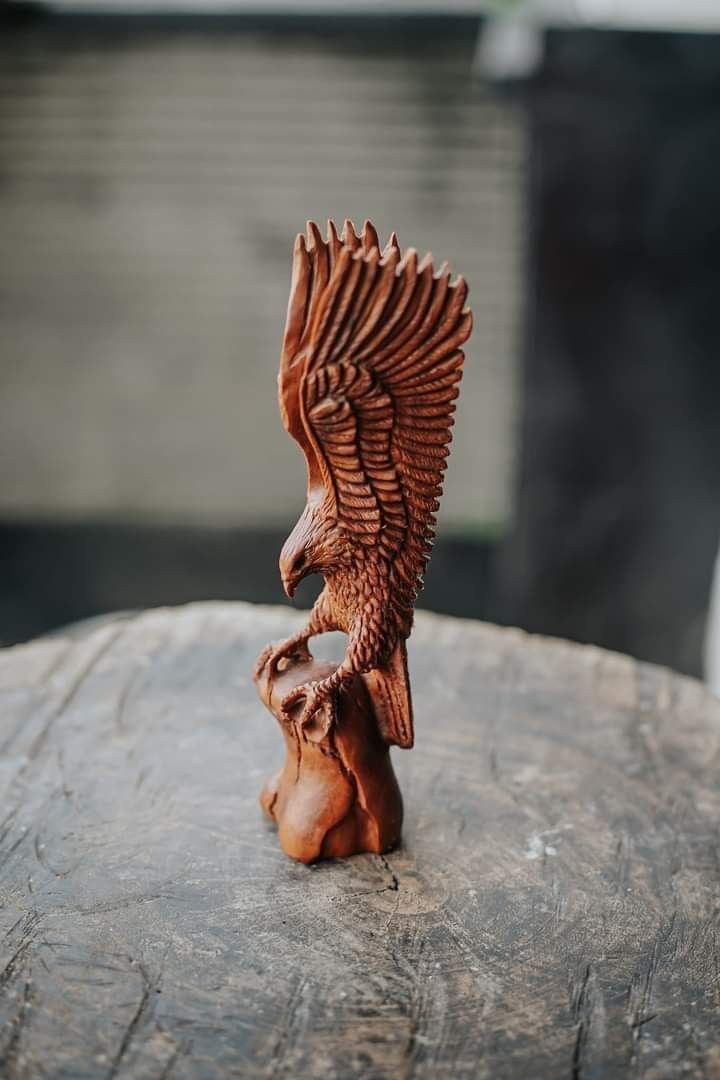
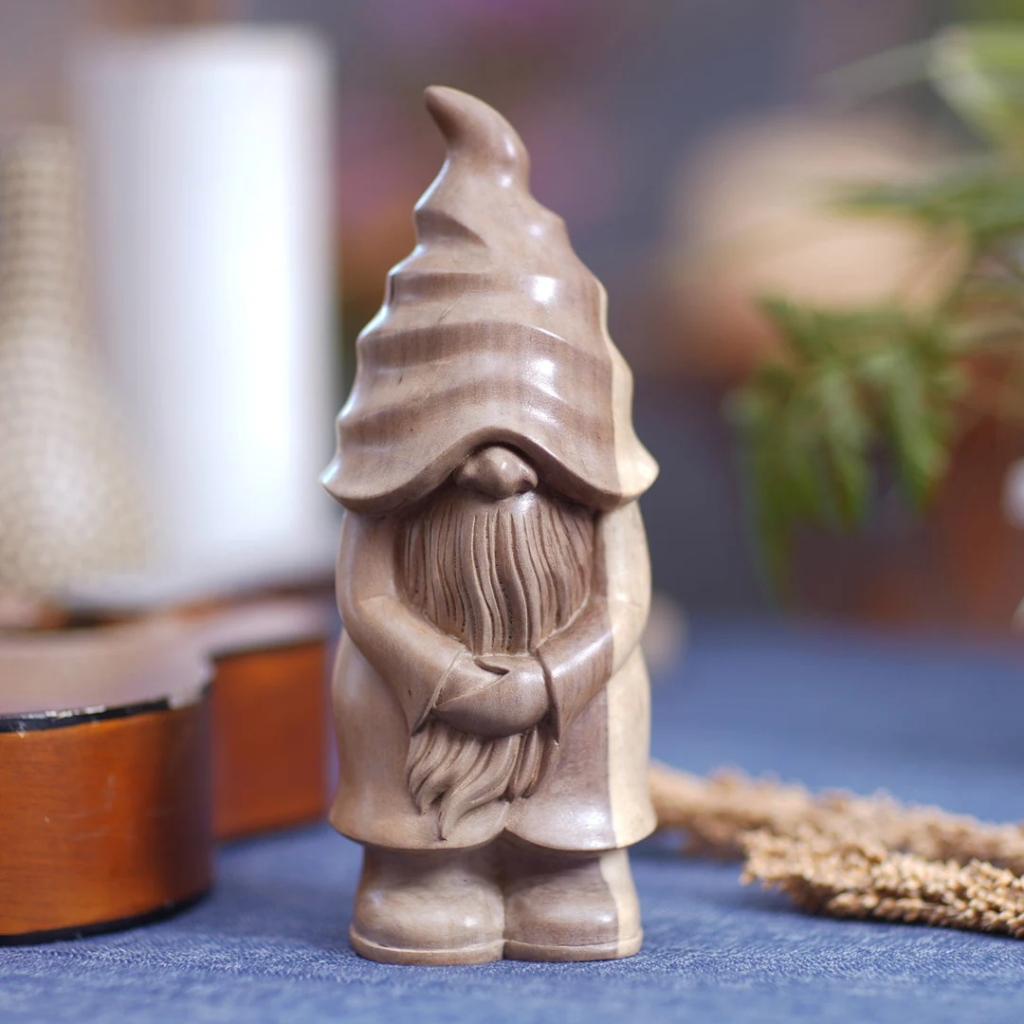
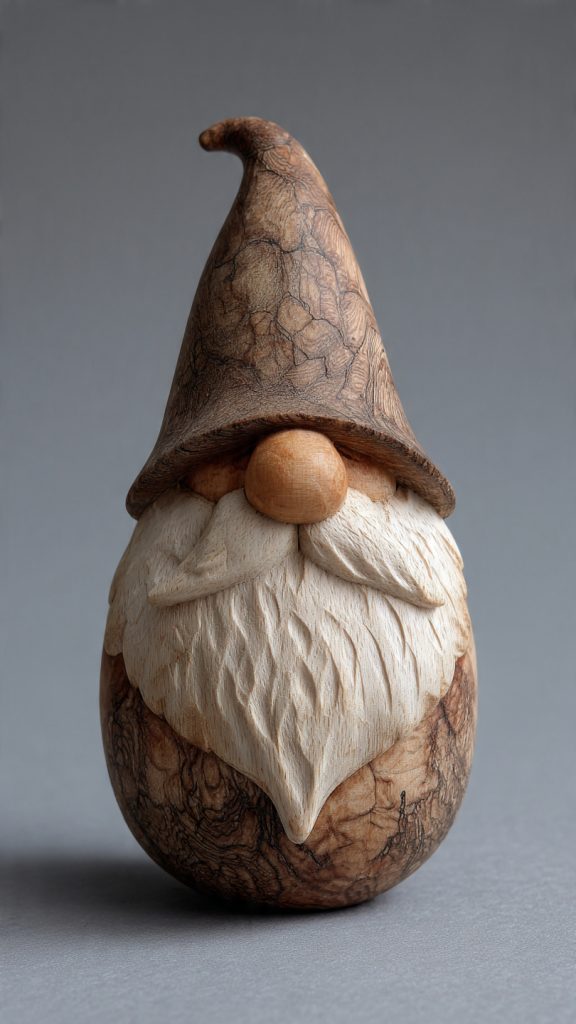
If wood spirits feel like folklore carved into bark, gnomes feel like folklore you can hold in your hand. They are beginner-friendly because the “rules” are simple. A gnome is basically a hat, a nose, and a beard. You can keep the body as a smooth cone, skip tricky hands, and still end up with a character that looks finished.
If you want a smooth learning path, start with the simplest shapes first, then level up with details like texture, props, and cleaner transitions. And if you are building a connected ImproveWood carving cluster, you can naturally guide readers from gnomes into your existing carving content like wood carving for beginners, this new post on 8 simple wood spirit face carving ideas, and your bigger inspiration roundups like 30 whittling ideas to spark your creativity or 60 easy wood carving projects for beginners.
Below are eight gnome carving ideas designed for beginners, with notes on what makes each one easy, what to focus on, and how to make it look clean even if your knife work is still improving.
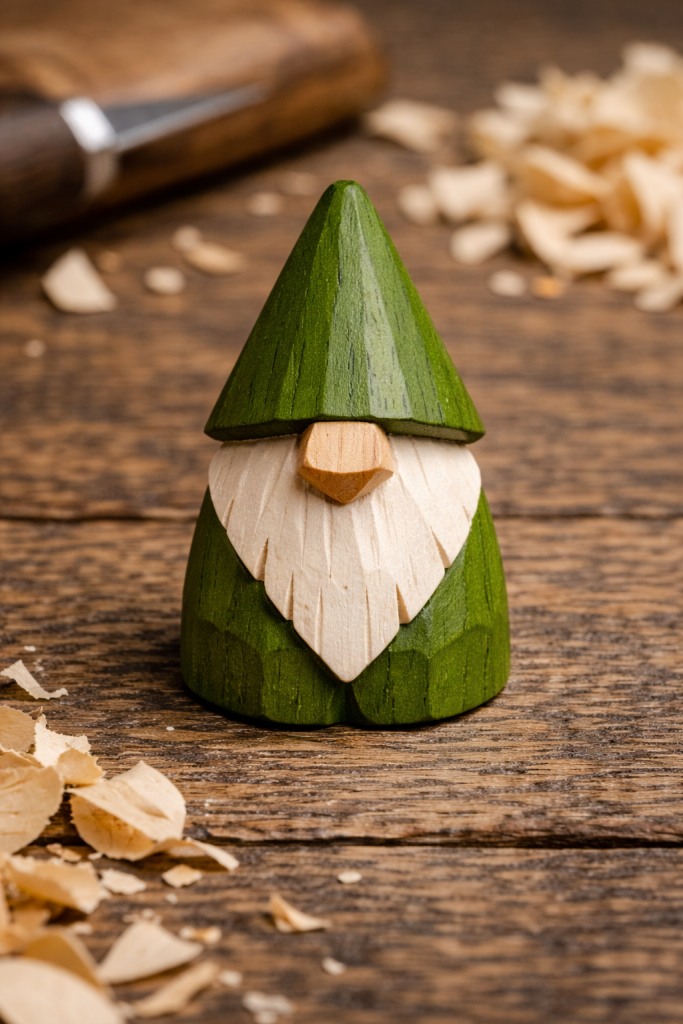
1. The Classic Cone Gnome (Hat + Nose + Beard)
This is the best first gnome because the silhouette does the heavy lifting. The hat is one clean cone, the beard is a simple triangle shape, and the nose is a rounded bump pushed forward from the face area.
Keep the body as one piece with the hat, or separate the hat visually using a shallow “hat brim” cut around the head area. For texture, you can lightly carve beard grooves or leave the beard smooth and rely on paint or a light wash later. If you want a refresher on control cuts and safe knife angles, point readers to wood carving tips for beginners.

2. The Sleepy Gnome (No Eyes, Just a Nose)
A sleepy gnome is perfect for beginners because you remove the hardest facial feature. No eyes. No expression. The design looks intentional because the hat comes down low and covers the upper face.
Make the hat brim low, push a rounded nose out from under it, and let a soft beard fill the lower half. This one looks especially good when the hat is oversized and slightly slouched to one side.
3. The Slouch Hat Gnome (Instant Personality)
A tall hat that bends at the tip adds personality without adding difficulty. You are still carving the same cone shape, but you thin the top and gently curve it.
The trick is to keep the bottom of the hat wide and stable, and let only the last third of the hat bend. It creates a playful look even if the details are simple. If you are building a strong internal flow, a natural next-click is your article on carving vs whittling since many readers wonder which path gnome projects fall under.
4. The Stumpy “Pocket Gnome” (Small, Fast, Cute)
This is a tiny gnome designed to be finished in one sitting. Think of it as a thumb-sized character you can make from scrap wood.
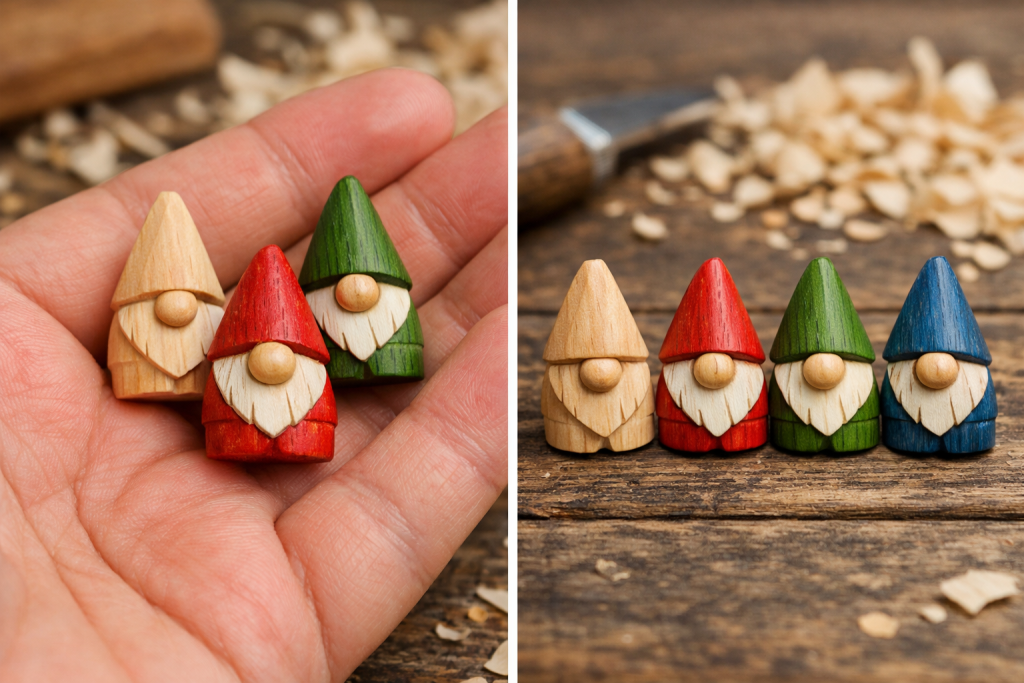
The hat can be a short cone, the beard can be a simple V shape, and the nose can be a small bump. These are perfect for gift bowls, desk decor, or even turning into keychain ornaments after sealing. For finishing options, you can link naturally to the best oil finishes for wood carving or best finishes for wood carving.
5. The “Mushroom Hat” Gnome (Easy Hat, Big Visual Payoff)
Instead of a cone, carve a mushroom cap hat. This is beginner-friendly because you can keep the cap smooth and rounded, and the brim gives your gnome a bold outline.

Start with a cylinder or squat blank, round the top into a dome, then undercut slightly to form a brim. Add the nose and beard underneath, and you instantly have a character that looks like it belongs in a fairy garden. This is also a great project for people who prefer rotary carving. If that is your audience, a natural internal link is amazing Dremel project ideas or top 10 simple wood carving projects using a Dremel.
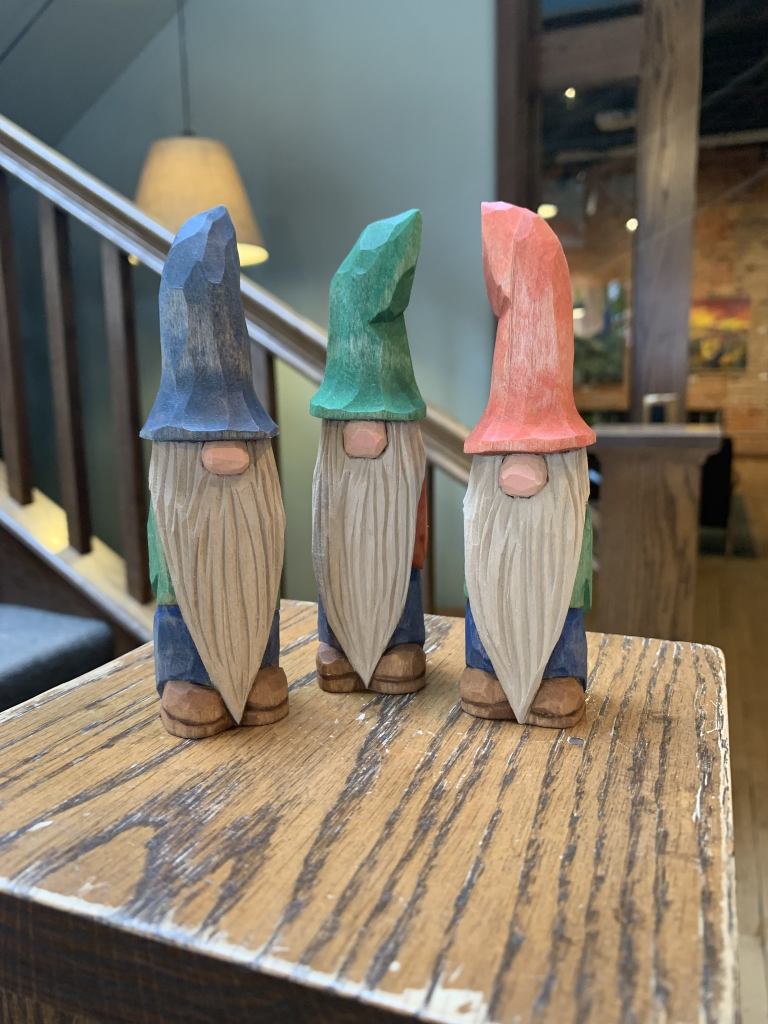
6. The Santa-Style Holiday Gnome (Seasonal and Beginner-Safe)
A holiday gnome is basically a gnome plus a pom-pom hat tip. You can carve the hat end into a rounded ball or glue on a small wooden bead for the pom-pom effect.

This is beginner-friendly because people expect cute, not perfect. If you want to connect it to seasonal traffic, the internal linking is easy: point readers to your Santa carving designs and even your broad roundup of 30 weekend whittling projects.
7. The Nordic “Block Gnome” (Minimalist, Modern Look)
This gnome keeps everything geometric. A simple wedge nose, flat beard planes, and a hat that is more of a pyramid than a cone.
It is beginner-friendly because it is forgiving. You do not need smooth curves. Clean flat cuts look intentional. If you want to tie this into a Scandinavian carving pathway, link to 30 Scandinavian flat plane carving.
8. The Gnome Head Ornament (No Body Needed)
If carving a full figure feels like a lot, carve just the head. A gnome head ornament is a small round or egg shape with a hat and beard. You can drill a small hole at the top for hanging.
This is ideal for beginners because you learn face placement without committing to legs, arms, or balance. If you want to pull readers deeper into face carving, a strong internal link is the ultimate beginners guide to carving a face in 14 simple steps.
Beginner Tips That Make Any Gnome Look Better
Use sharp tools and take thinner cuts than you think you need. Gnomes are small, and small projects punish force. If you are unsure what knife style suits this kind of carving, link readers to your guide on the best carving knife and a safety post like do you need gloves for whittling or the product-focused guide on best wood carving gloves.
Pick beginner-friendly wood. Basswood is the easiest, but if your readers keep asking about pine, you can connect this to your post on is pinewood good for carving and your general guide to the best wood for carving.
Finally, seal and finish in a way that matches the vibe. A light oil finish keeps it rustic. Paint makes it playful. If the reader wants paint, guide them to how to paint basswood or how to prepare basswood carving for painting.