Every piece of wood requires a little touch every few years to ensure it retains its beauty. Some of the wood furniture might look old, but it’s in perfect condition. As such, there is no need to get rid of it. Instead, you can refurbish your furniture by painting it.
Refurbishing old furniture is a common thing in most American households. Some opt to use wood stain instead of using thick paint to ensure the wood surface remains antique. Nonetheless, applying a little paint also brings out the beauty in your wood. If you feel like refurbishing your old furniture using paint, here are the steps you should follow.
How to Paint Wood – Planning Your Project
Before you begin, you plan your project by deciding on the painting technique you will use and the tools needed. It is worth noting that the tool you choose to use will determine the materials needed.
Deciding on the type of paint to use
For instance, if you choose between using oil-based and water-based products, you have to choose primer, paint, and sealant compatible with the technique you choose. This means that if you choose to use the water-based technique, you will have to use water-based primer, sealant, and paint. You should not mix up water-based and oil-based products also know exterior vs interior paints.
Before you choose the technique to use, you should know the primary advantages and disadvantages of each. For instance, the oil-based technique is essential as its results last longer, but it requires special attention, including enough ventilation.
Furthermore, you will need to use paint thinner and mineral spirits to clean your tools after use. The water-based procedure does not need much hustle, such as ventilation, since water-based products do not produce an odor. Furthermore, you only need water to clean your tools after using them.
You also have to be careful when performing the whole procedure because you are using chemicals that may be harmful to you, the people nearby, and the area you are working in. It is advisable not to prolong your work after beginning. If you have to prolong the work, ensure the time between priming and painting is not more than one week.
Read Next
- How Long Primer Takes to Dry & How to Improve
- Best Primers for Wood Trim
- Can You Paint Over Stain – A Closer Look at Stains and Paints
- Gloss vs Semi-Gloss vs Satin: Understanding Sheen Levels
- Satin or Semi-Gloss for Bathroom
Step-by-Step Guide on Painting Wood
1. Prepare Your Tools
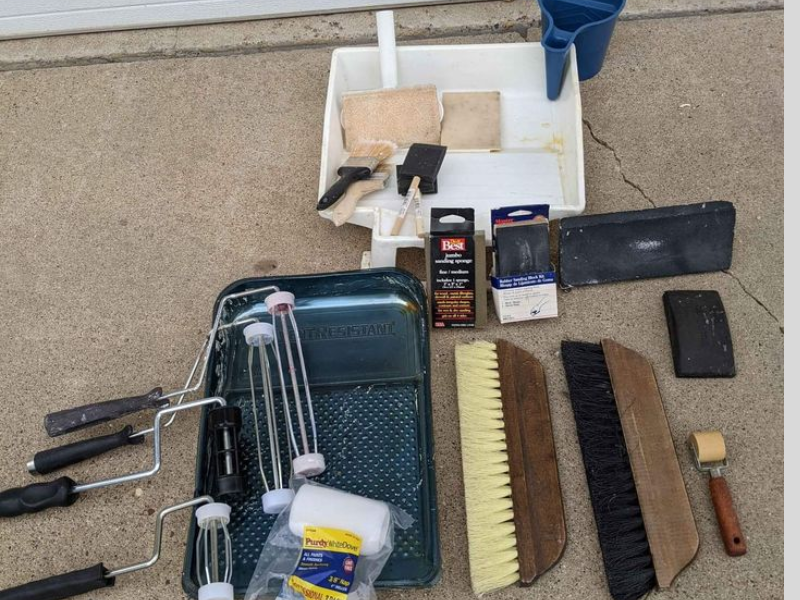
The initial step before painting your furniture is to ensure you have all the right tools. Some of the tools needed include oil-based paint, masking tape, a paintbrush, painter’s tape, 220-grit sandpaper, and a multipurpose latex primer. You can also use other devices such as screwdrivers, which will be helpful when you are taking apart the furniture.
- Floor Preparation
You should ensure that you leave the floor clean after painting your furniture. Therefore, before you start painting, place a tack cloth on the floor to prevent paint from getting onto it. This is especially so if you intend to work indoors.
- Dismantle the furniture.
The next step is to take the furniture apart. You should also make sure that you remove any hardware that you do not intend to paint from the site. The hardware includes lock pieces and drawers. Also, ensure you mark all the pieces according to where they are supposed to be installed after painting.
2. Clean and sand Your Wood
Before you apply any primer, ensure your wood is clean. If the wood is fresh, your work will be simpler as you will only need to sand it. However, if you are painting used wood, you will have to wipe it with a damp cloth and leave it to dry.
Part of the reason for cleaning the surface is to ensure the product has a smooth finish. Therefore, you should also make sure there are no cracks, holes, or dents. The imperfections may be repaired using readily available products.
- Sanding
Before painting any wooden surface, one should sand it using sandpaper. If this is your first time sanding a wooden surface, ensure that you sand your wood gently and systematically for a smooth finish.
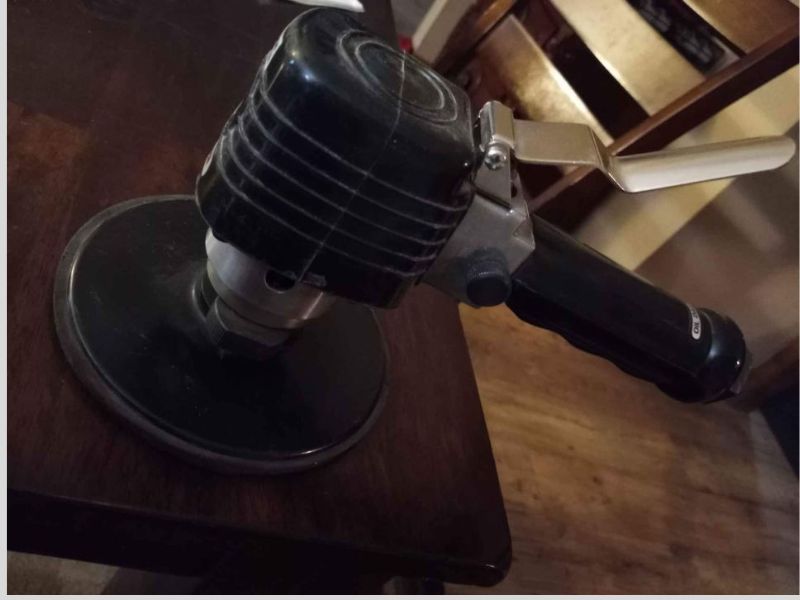
Sandpaper is more effective than a hard-bristled brush because you will sand even hard-to-reach areas. Make sure you get rid of any old paint or varnish on the surface of your furniture.
If the area that needs sanding is large, an orbit sander like the Bosch ROS20VSC is a good choice to speed up the process.
- Remove the dust.
After you are through with sanding, remove any remedial dust from the surface by cleaning it with a dry cloth. This prevents the particles from preventing the paint from reaching the surface. If you intend to use a water-based primer, remove the dust using an old paintbrush or a damp cloth. Use tack cloth if you want to use the oil-based technique.
3. Apply Primer
After cleaning the wood, the next step is to apply a coat of primer. Priming is essential as it prevents stains from showing after you are through with painting. It also helps in hiding knots and smoke damage.
Wood is porous, and it absorbs paint erratically, leaving some areas with more color than others. A primer helps even out the surface while also making it smooth.
Remember that the primer should be similar to the paint that you will be applying.
It is recommended that you use a semi-gloss or satin finish using an oil-based or latex primer. Latex paint is a viable choice for furniture, which means you can use a latex primer to cover up the stains on the wood.
You can spray the primer or apply it using a paintbrush. If you do not apply primer to your wood, the paint may peel off. As such, make sure you prime your wood before painting. After applying the primer, please leave it to dry. However, if the primer seems clear or streaky on the wood, do not be reluctant to apply a second coat.
4. Sanding the Primer
Sand the surface to assist you to maintain the surface as flat and smooth as possible once the primer has completely dried. Sanding will also get rid of any remaining lumps, dents, brush marks, and blemishes. To avoid scraping the primer, we normally sand with fine-grain sandpaper with a 200-grit rating while using mild pressure. We then wipe the primer dust with a tack cloth and we are ready for painting.
5. Apply Paint
Here is the tricky part. If you intend to use a paintbrush, ensure you use one that is of good quality, or else it will shed bristles and leave some on the surface of your wood. Also, choose the right brush size for your hand. Do not use a larger brush than your hand can handle, as you may end up painting places you did not intend to paint. After the primer is dry, it is time to paint the first coat.
The initial coat should be a type of paint that can be sanded easily. For your furniture, you can use flat paint. However, flat paint bonds well if you apply multiple coats. Make sure that the brush strokes are in line with the direction of the wood grain. However, you do not need to worry about brush strokes if you are spraying your paint.
painting using brush
If you are using a brush, be careful not to load excess paint on the brush. It tends to be messy when the brush is loaded with too much paint. Move the brush using complete strokes from one edge to another, using only one direction.
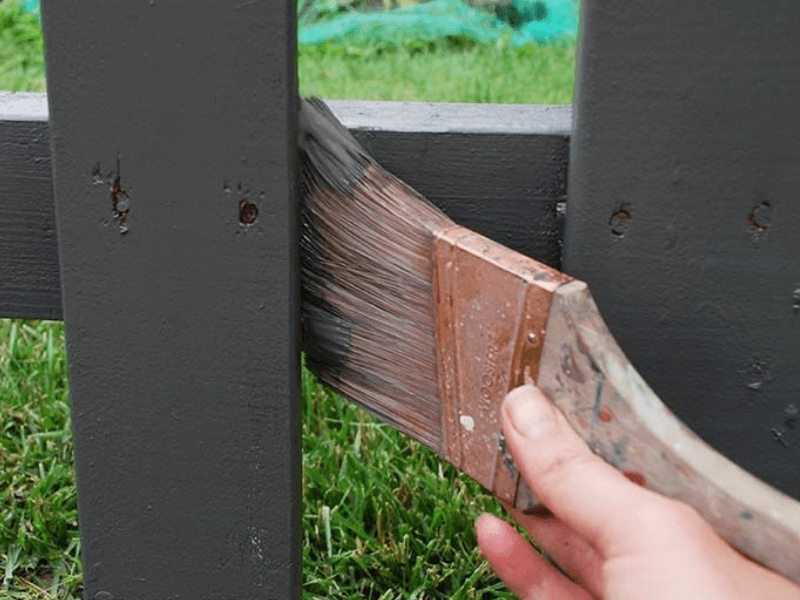
Also, do so lightly, as light strokes hide the strokes. It is better to apply two light coats than to apply a single heavy coat while saving some time. Remember, painting is an art of patience, and good results require a considerable amount of time.
Before painting, be sure to prepare your brush by dipping it in water if you are using the water-based technique, or thinner if you are using the oil-based technique. Doing so ensures that you do not have a hard time cleaning the brush after use.
painting sing a roller
You can also use a roller to apply paint. However, if you are painting furniture, look for a smaller roller than the one used to paint walls. Make sure you use a quality roller, as cheap rollers will always disappoint you. An effective roller is one covered in a material similar to wool.
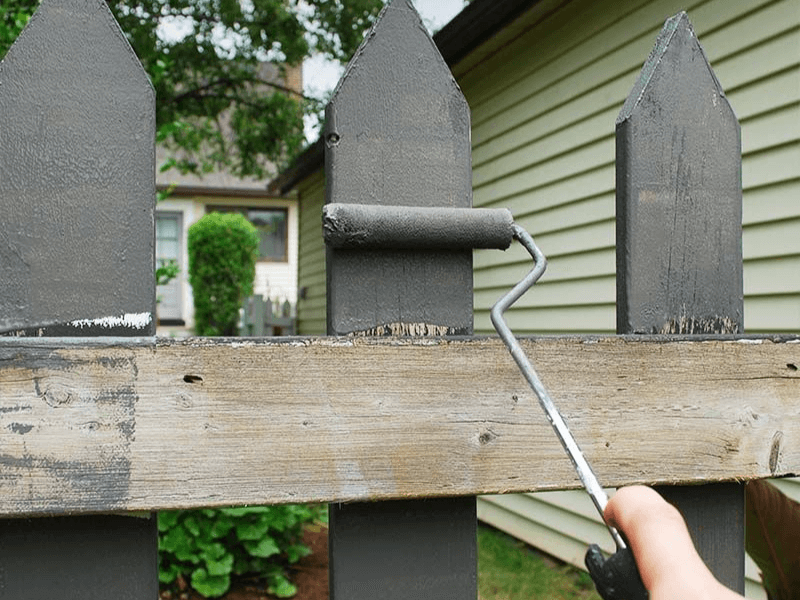
Also, the same as with a brush, be sure to use a light touch to avoid visible roller marks. After applying the first coat, please leave it to dry. If you use the oil-based technique and want to leave the first coat dry overnight, put your brush or roller in a plastic bag and put it in the refrigerator. This will help keep the paint moist, and hence you will not need to clean your tools every day.
You can also choose to use a spray instead of a brush or roller. Spaying is effective as it does not leave brush strokes or roller marks. However, you need proper ventilation if you are spraying your paint.
Must Read: Can You Paint Over Stained Wood?
Acrylic paint: Can you use Acrylic paint on Wood?
Sanding the first coat
Sanding your wood after applying the first coat is essential as it prevents the second coat from coming off and gives it a smooth and fine finish. After sanding, clean the surface with a dry cloth to get rid of any dust residue.
6. Applying the Second Coat
You are now ready to apply the final coat of your paint. At this point, you need to know which type you prefer. Some people might prefer dark wax, while others might opt for light wax. Apply the final coat gently, ensuring it has a smooth finish. After applying the final coat, please leave it to dry.
- Decorations
This is the right time to decorate your wood. After applying the second coat, you can add a little decoration to your wood, depending on how you will use it. If it is for outdoor use, perhaps in the backyard, you may choose to decorate it by drawing some flowers on it. The decorations are perfect, especially if you have kids.
Ensure you use a small brush to draw the decorations while also considering the primary color on the background. If the background has a dull color, you may use bright colors for decorations to ensure the contrast is clear and your artwork is visible.
- Seal
Your wood is bound to age with time and according to how you use it. However, you can slow the process by sealing the wood. Applying a seal helps keep the wood durable.
It also makes your furniture look pleasant. The sealant is usually transparent and seals the paint and wood, making it beautiful and smooth. The quality sealant helps enhance the final coat of your wood, making it seem like a professional’s work.
Applying a sealant is almost the same as painting. If you used a brush to paint your wood, use a brush to apply the sealant too. However, you should stir the sealant lightly to help avoid creating bubbles.
Also, when applying the sealant, move the brush strokes from one edge to the other and create a flawless appearance that does not have drips or bubbles.
7. Finish
After applying the sealant, you will need to add a little finish to help cover your entire project. This is especially so if you will be using your wood in exposed areas such as outdoors.
One of the products you can use is wax, which you apply by rubbing against the wood using a rag. Be careful not to leave excess wax on the surface of your wood. Also, if you choose to wax your furniture, do not leave it in direct sunlight, as wax does not react well to warmth.
You can also choose to use polyurethane, which may be applied using a brush or sprayed. The application helps keep the wood pleasant for a long time. However, you should note that polyurethane is an oil-based product, and so you should apply it in a well-ventilated area. Also, when you want to refinish your wood, you will need to completely scrape off the polyurethane or sand it down, as it cannot be removed using a solvent.
You may also use polyacrylic, especially if you have kids in the house. Polycrylic is a water-based product made from volatile organic compounds. When applying the compound, it will seem white, but that is not causing alarm as it will be clear once it dries off.
Conclusion on how to paint wood
You do not need to spend money replacing your old furniture with new ones. Instead, you can use simple steps to refurbish the furniture. That way, you will have saved a lot and also enjoy the art of painting. The procedures provided will help refurbish your wood and also make it last longer. If you follow all the instructions using quality products, your project will come out as an elegant piece of art.
Must Read: Can You Use Exterior Paint Inside?
Can you use Interior Paint Outside?
