
Wood carving is the art of creating intricate designs and shapes from a block of wood, but let's be real, it's mainly an excuse to play with knives and saws without getting in trouble. It's a craft that's been around for centuries, with early examples dating back to ancient Egypt and Greece. But, is it hard? Well, it depends on who you ask. For some, it's a relaxing hobby, while for others, it's a frustrating exercise in futility. So, let's take a closer look at the difficulty of wood carving and what you can expect if you decide to take up the craft and unleash your inner lumberjack.
The difficulty of Wood Carving
Physical Demands
Let's start with the obvious - wood carving requires a lot of physical effort. You'll be using your hands and arms to hold and manipulate the carving tools, which can get tiring after a while. And, if you're working on a larger piece, you may need to bend and twist your body to reach all the areas you need to carve. Hey, at least you'll have an excuse to eat those extra slices of pizza guilt-free!
Mental Demands
But, it's not just the physical demands that make wood carving hard. It's also a mentally challenging craft. You'll need to have a clear vision of what you want your finished piece to look like and be able to plan and execute your carving accordingly. And, if things don't go as planned, you'll need to be able to think on your feet and make adjustments as needed. But don't worry, if you get stuck, you can always ask your carving tools for advice. They're usually pretty wise.
Patience and Precision
Another important aspect of wood carving is patience and precision. You'll need to take your time and work carefully to achieve the desired results. And, if you're not careful, you can easily make a mistake that can ruin the whole piece. So, if you're someone who gets frustrated easily or has a hard time being patient, wood carving may not be a hobby for you. But don't worry, if you do mess up, you can always tell people it's supposed to be abstract art.
Read Next
- Wood Carving Tips for Beginners
- Can You Whittle with Any Knife?
- The Best Woodcarving Knife for Beginners
- Chainsaw Carving for Beginners
- How to Prepare Wood for Carving
- Best Whittling Kits: Beginners & Pros
Tools and Materials
Now that we've covered the difficulties of wood carving, let's talk about the tools and materials you'll need.
Recommended article: Relief carving for beginners
Types of Wood
The type of wood you use will depend on the type of piece you're creating. Some of the most popular woods used in carving include basswood, tupelo, and butternut. Each has its own unique characteristics and is better suited for certain types of carving.
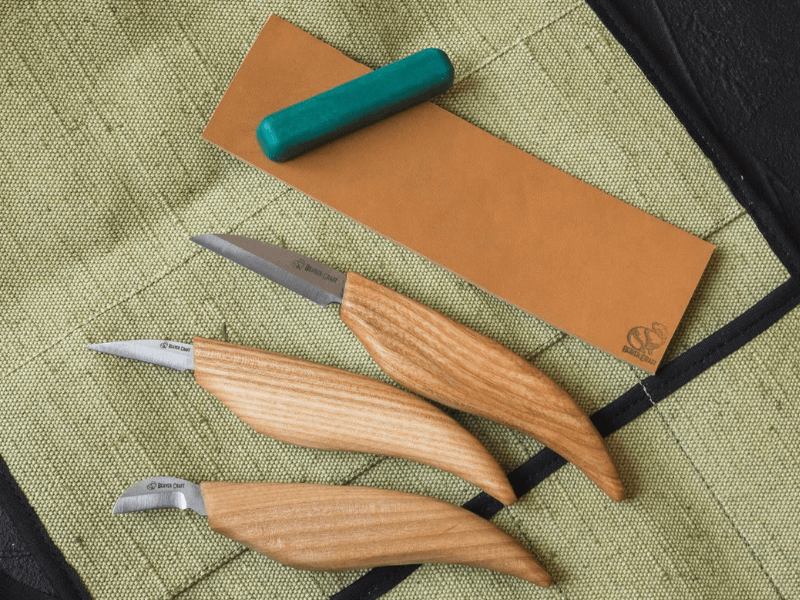
Carving Tools
When it comes to carving tools, there are many different types to choose from. Some of the most common include knives, chisels, gouges, and rasps. Each tool serves a different purpose and is used for different types of carving.
Safety Equipment
Safety is always a top priority when working with any type of power or hand tool. So, be sure to wear protective gear, such as goggles and gloves, and work in a well-ventilated area.
Techniques and Skills
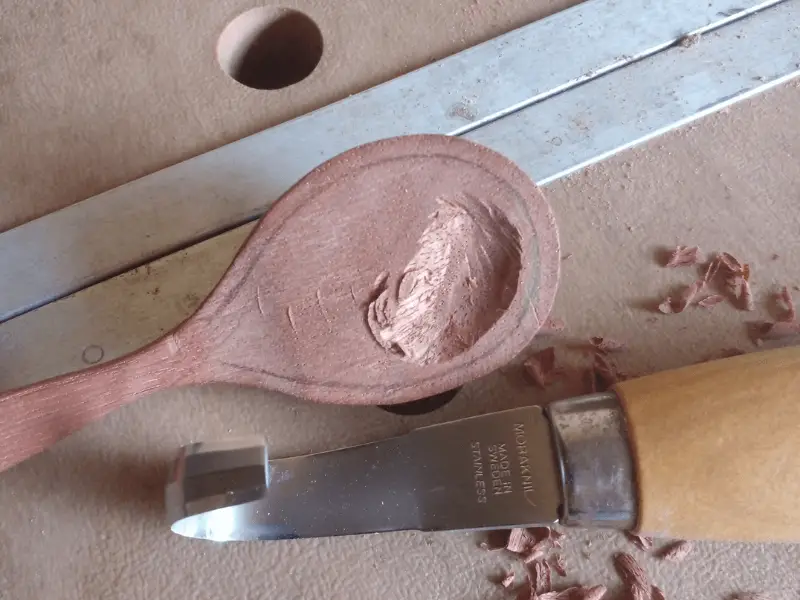
Basic Carving Techniques
There are several basic techniques you'll need to master if you want to become a successful wood carver. These include roughing out, detailing, and texturing. Each technique requires a different set of skills and tools and can take some practice to master.
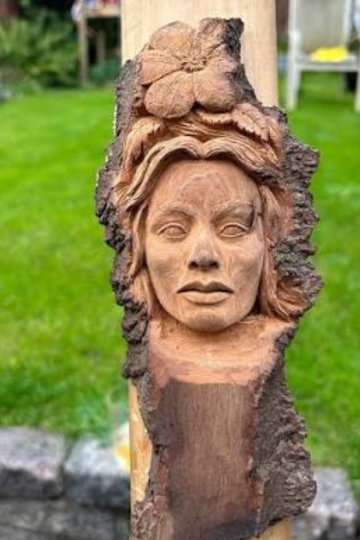
Advanced Techniques
Once you've mastered the basic techniques, you can move on to more advanced techniques such as relief carving and chip carving. These techniques are more challenging and require a higher level of skill and precision.
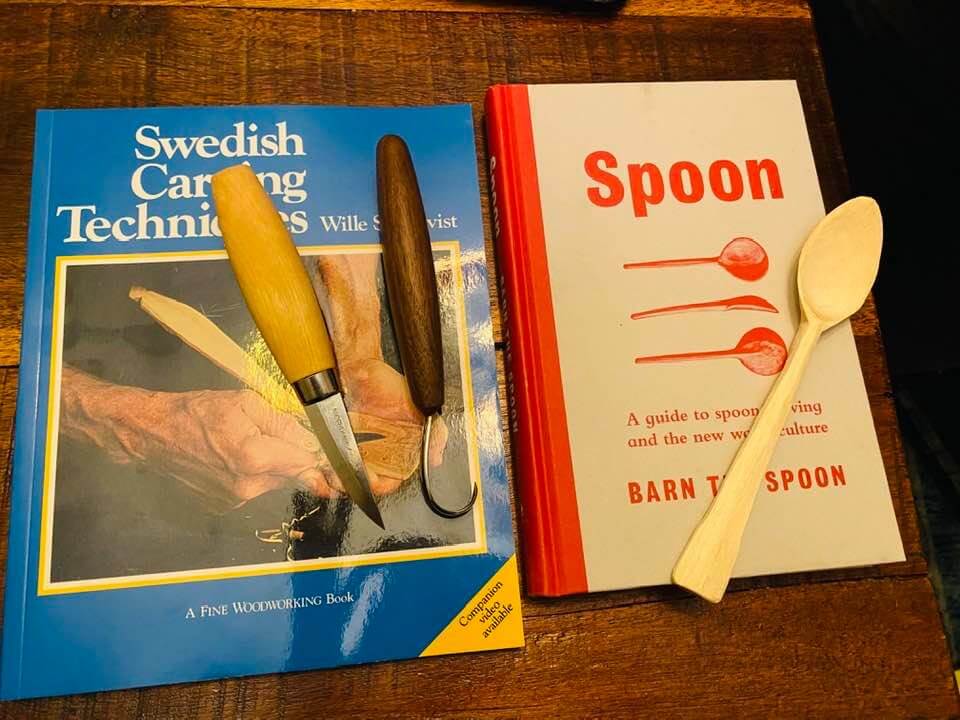
Learning Resources
If you're just starting out, there are many resources available to help you learn the craft. You can take classes, read books, or watch online tutorials. And, as you become more experienced, you can join a carving club or group to share tips and techniques with other carvers.
Summary: is wood carving hard?
In conclusion, wood carving can be a challenging hobby, but it's also a lot of fun. It's not for everyone, and it does require some physical effort, patience, and precision. But, with the right tools, techniques, and resources, you can create beautiful pieces of art that will be admired for years to come. And, if all else fails, you can always use your finished piece as a doorstop or paperweight. Just kidding (kind of). Happy carving!
Murray Berger says
I have been woodcarving for more than 55years and I still love it.
Mego says
That's wonderful to hear! Woodcarving is a timeless craft that requires skill, patience, and creativity. It's impressive that you have been practicing woodcarving for over 55 years and still have a passion for it.